In the previous instalment I found that the keyboard on the Amiga 1000 was not fully working, and it needed a clean anyway. So, I went ahead and started working on it.
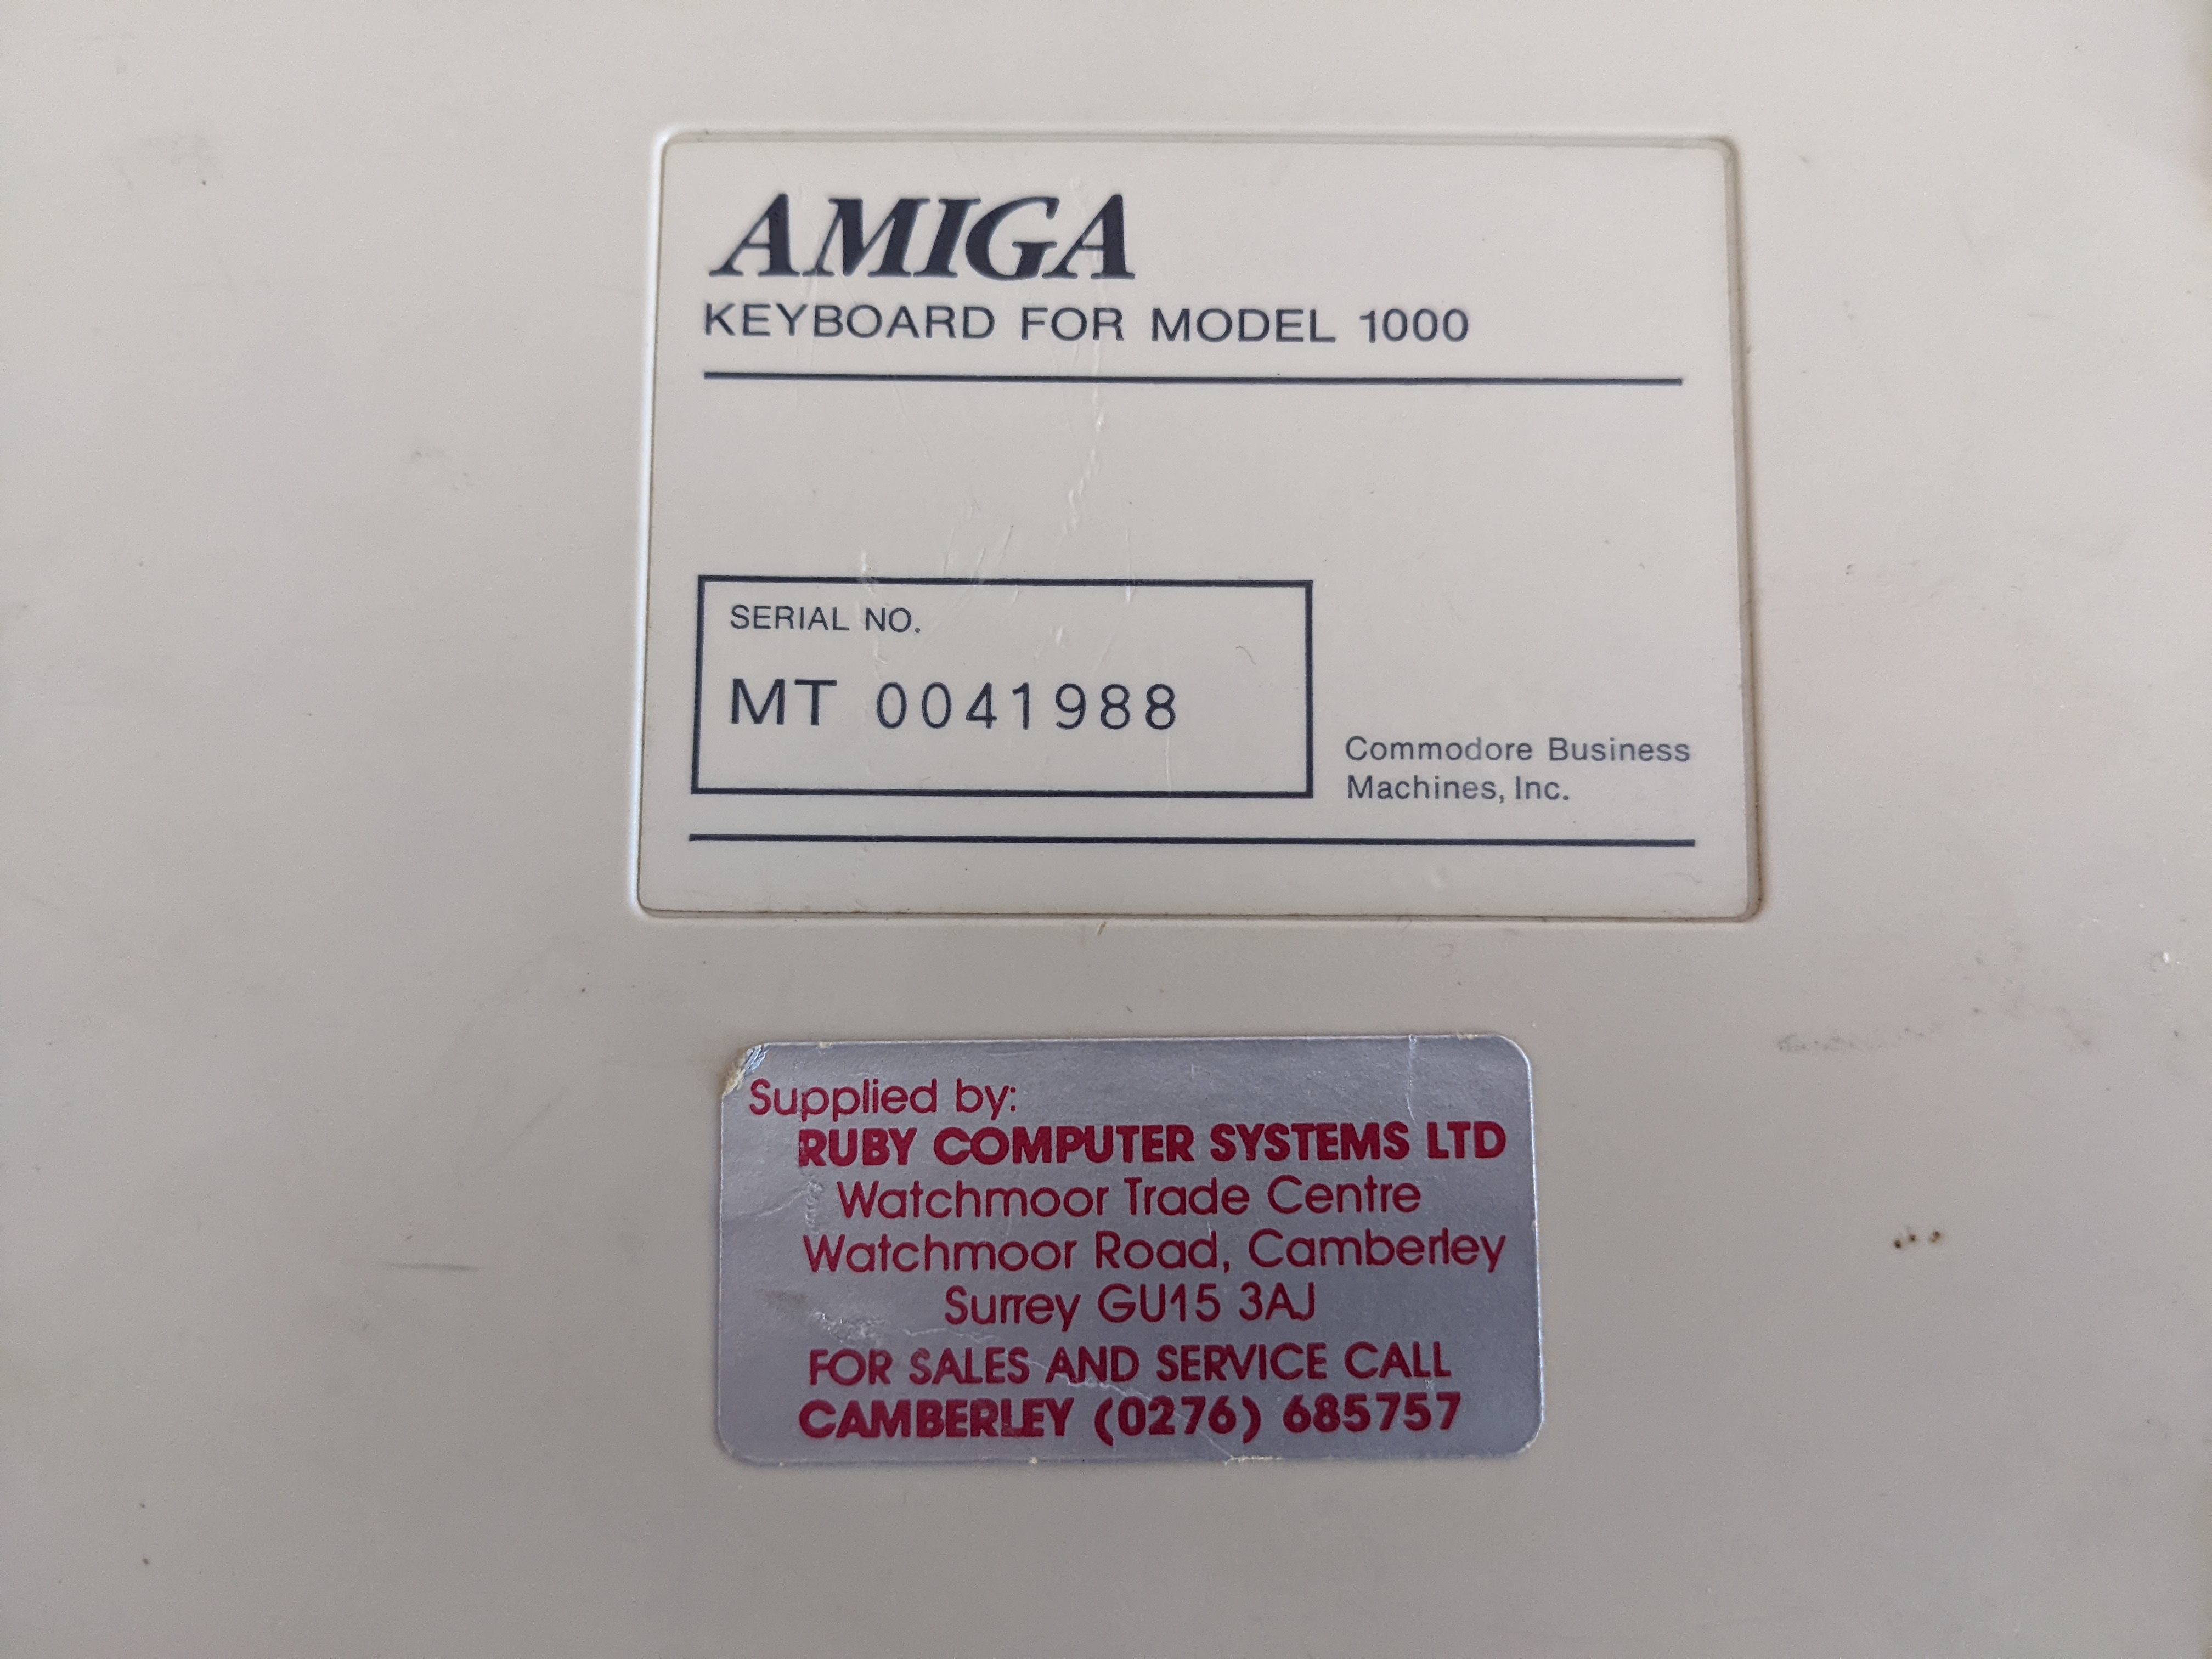
Some of the keys were not registering so it had to be opened up to see what we could do about that. I flipped it over and there are some screws on the back, also this label. I guess I now know where this Amiga originally came from!
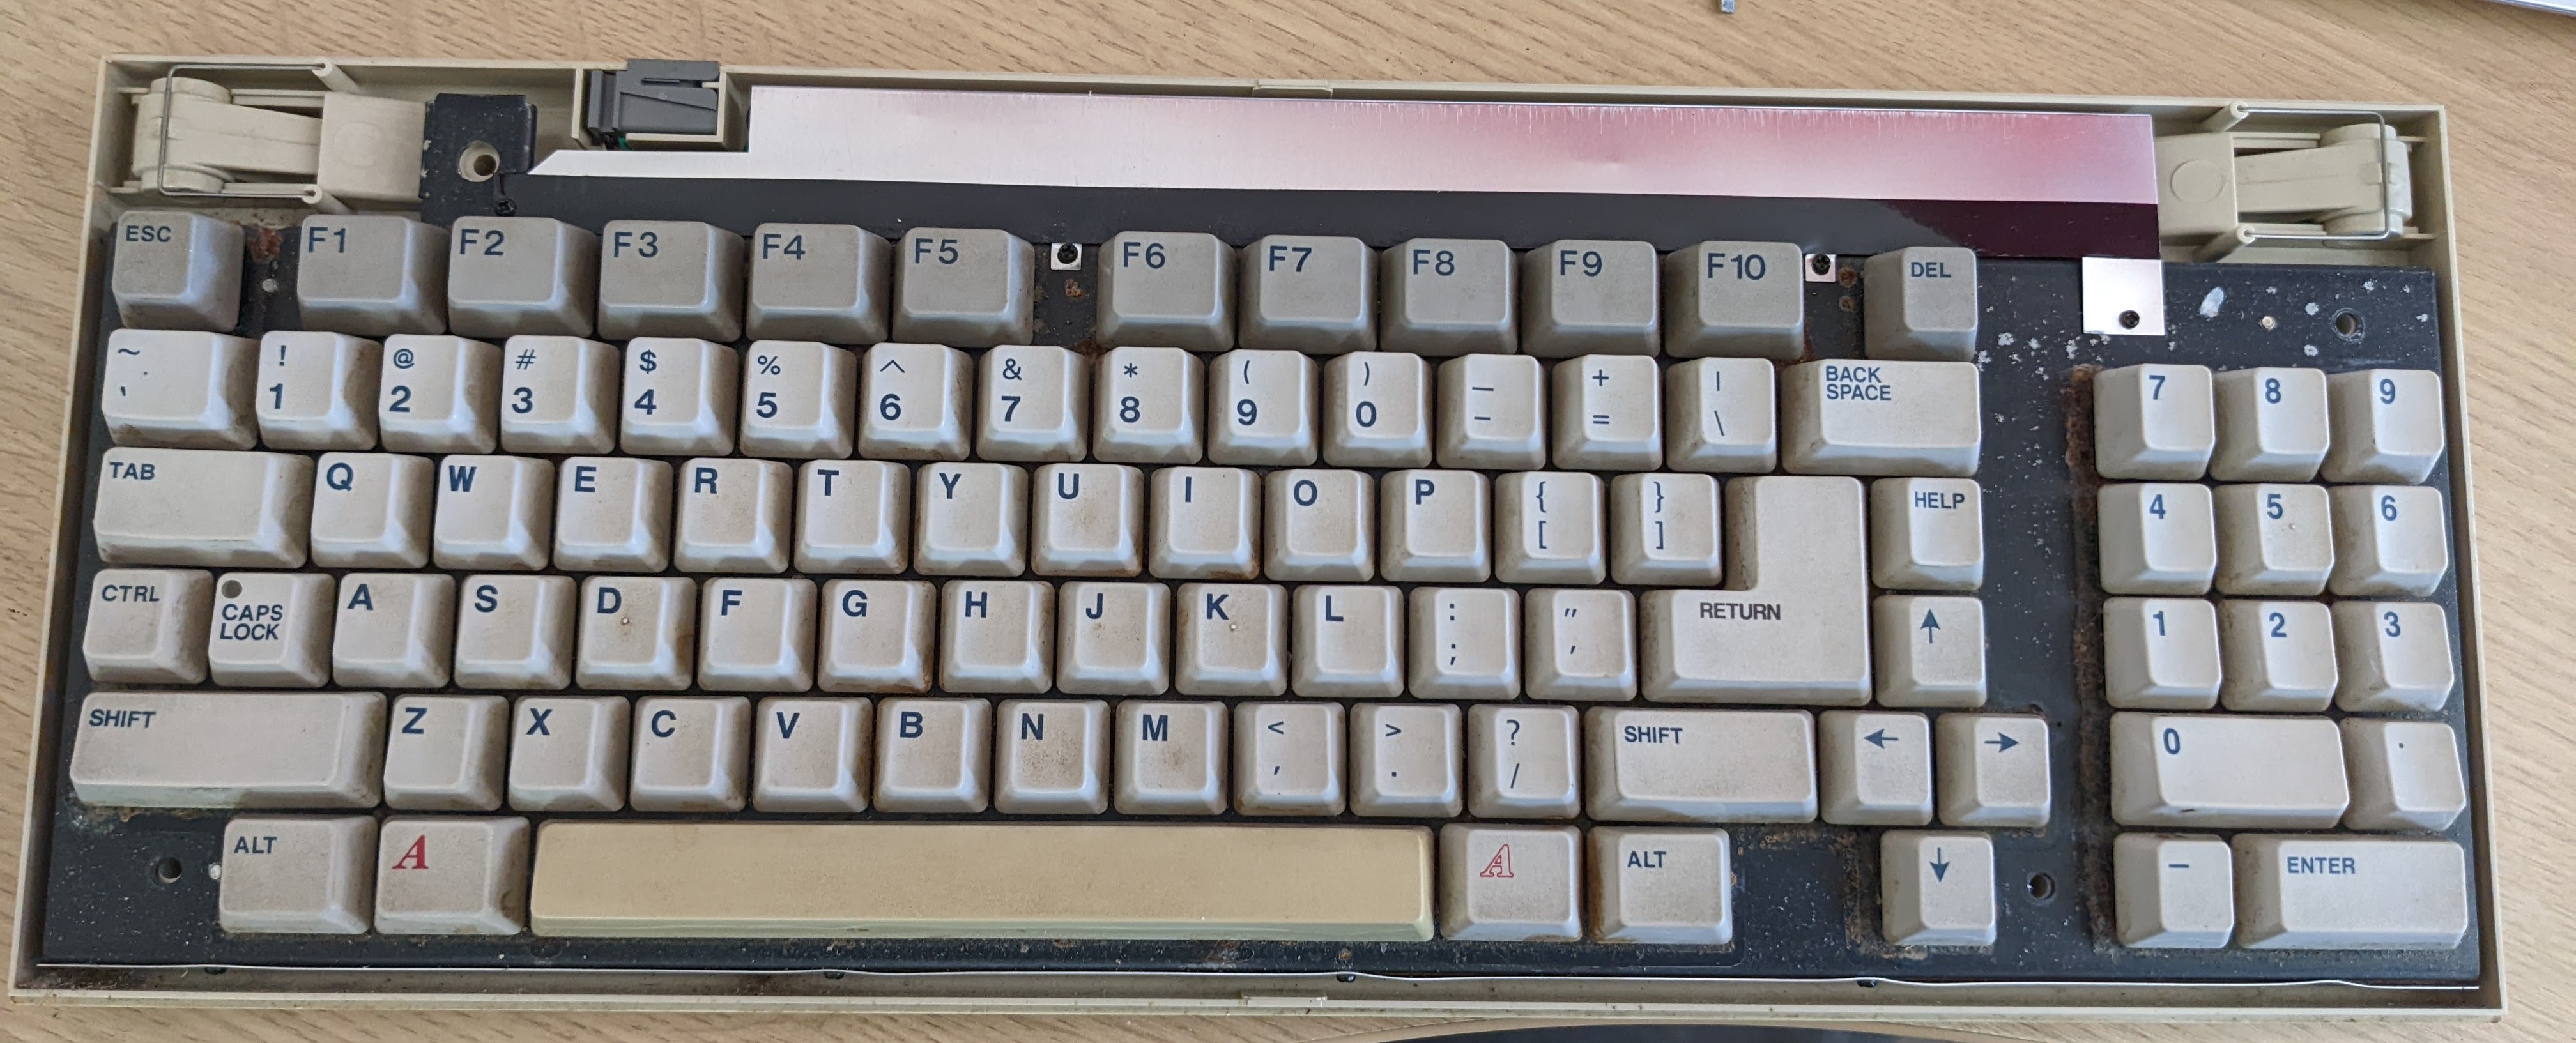
After we take the top casing off we can dissemble the keyboard, lots of lovely dirt over 36 years, yum!
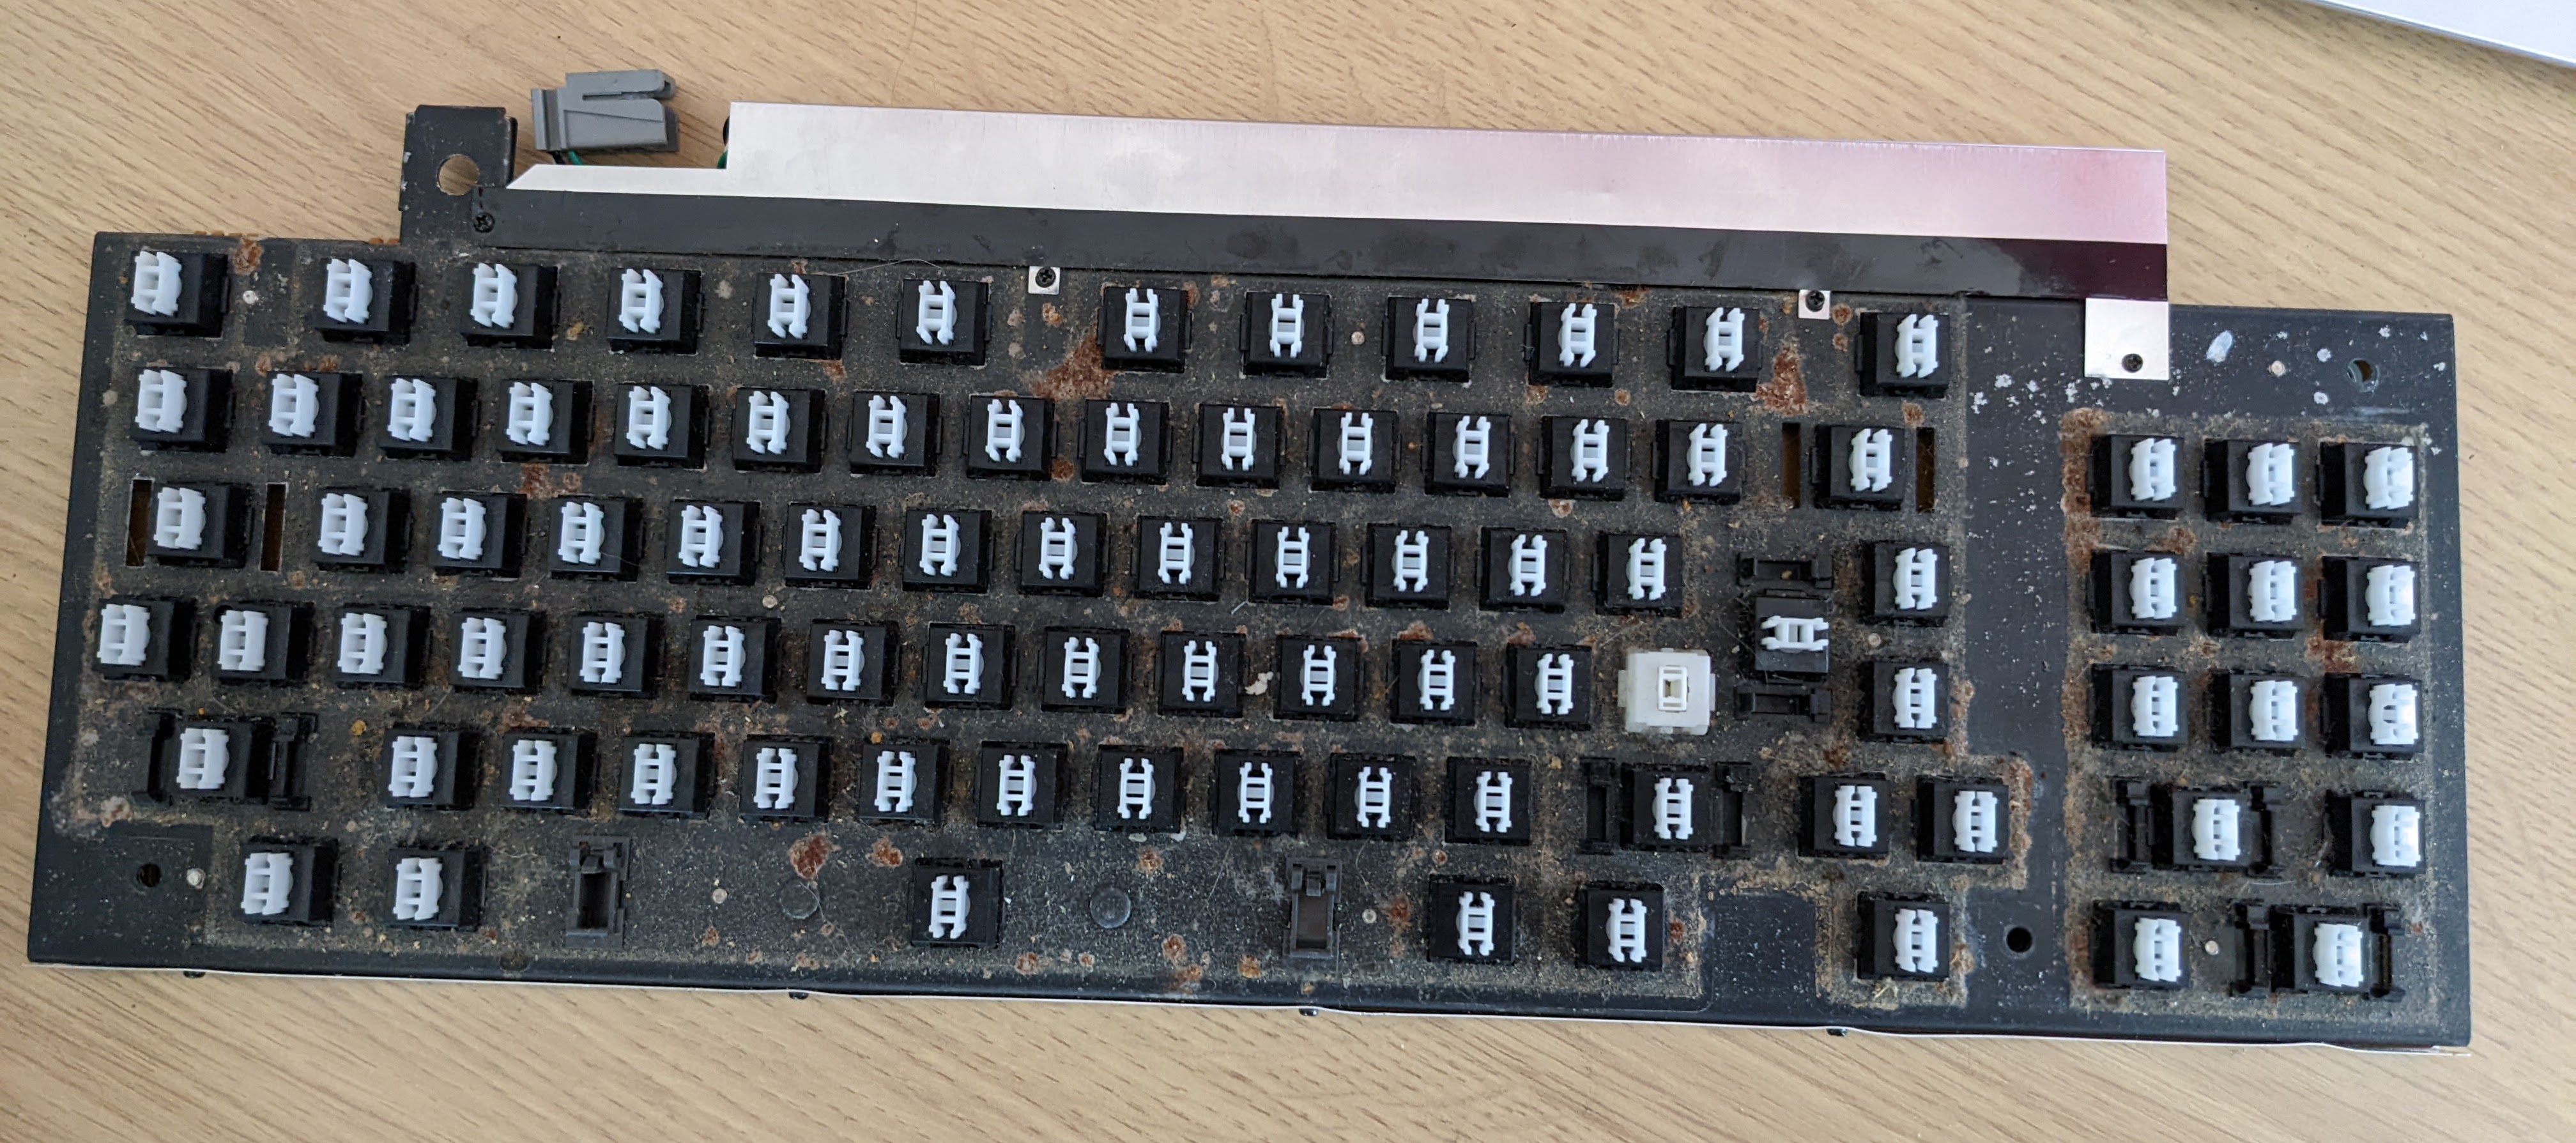
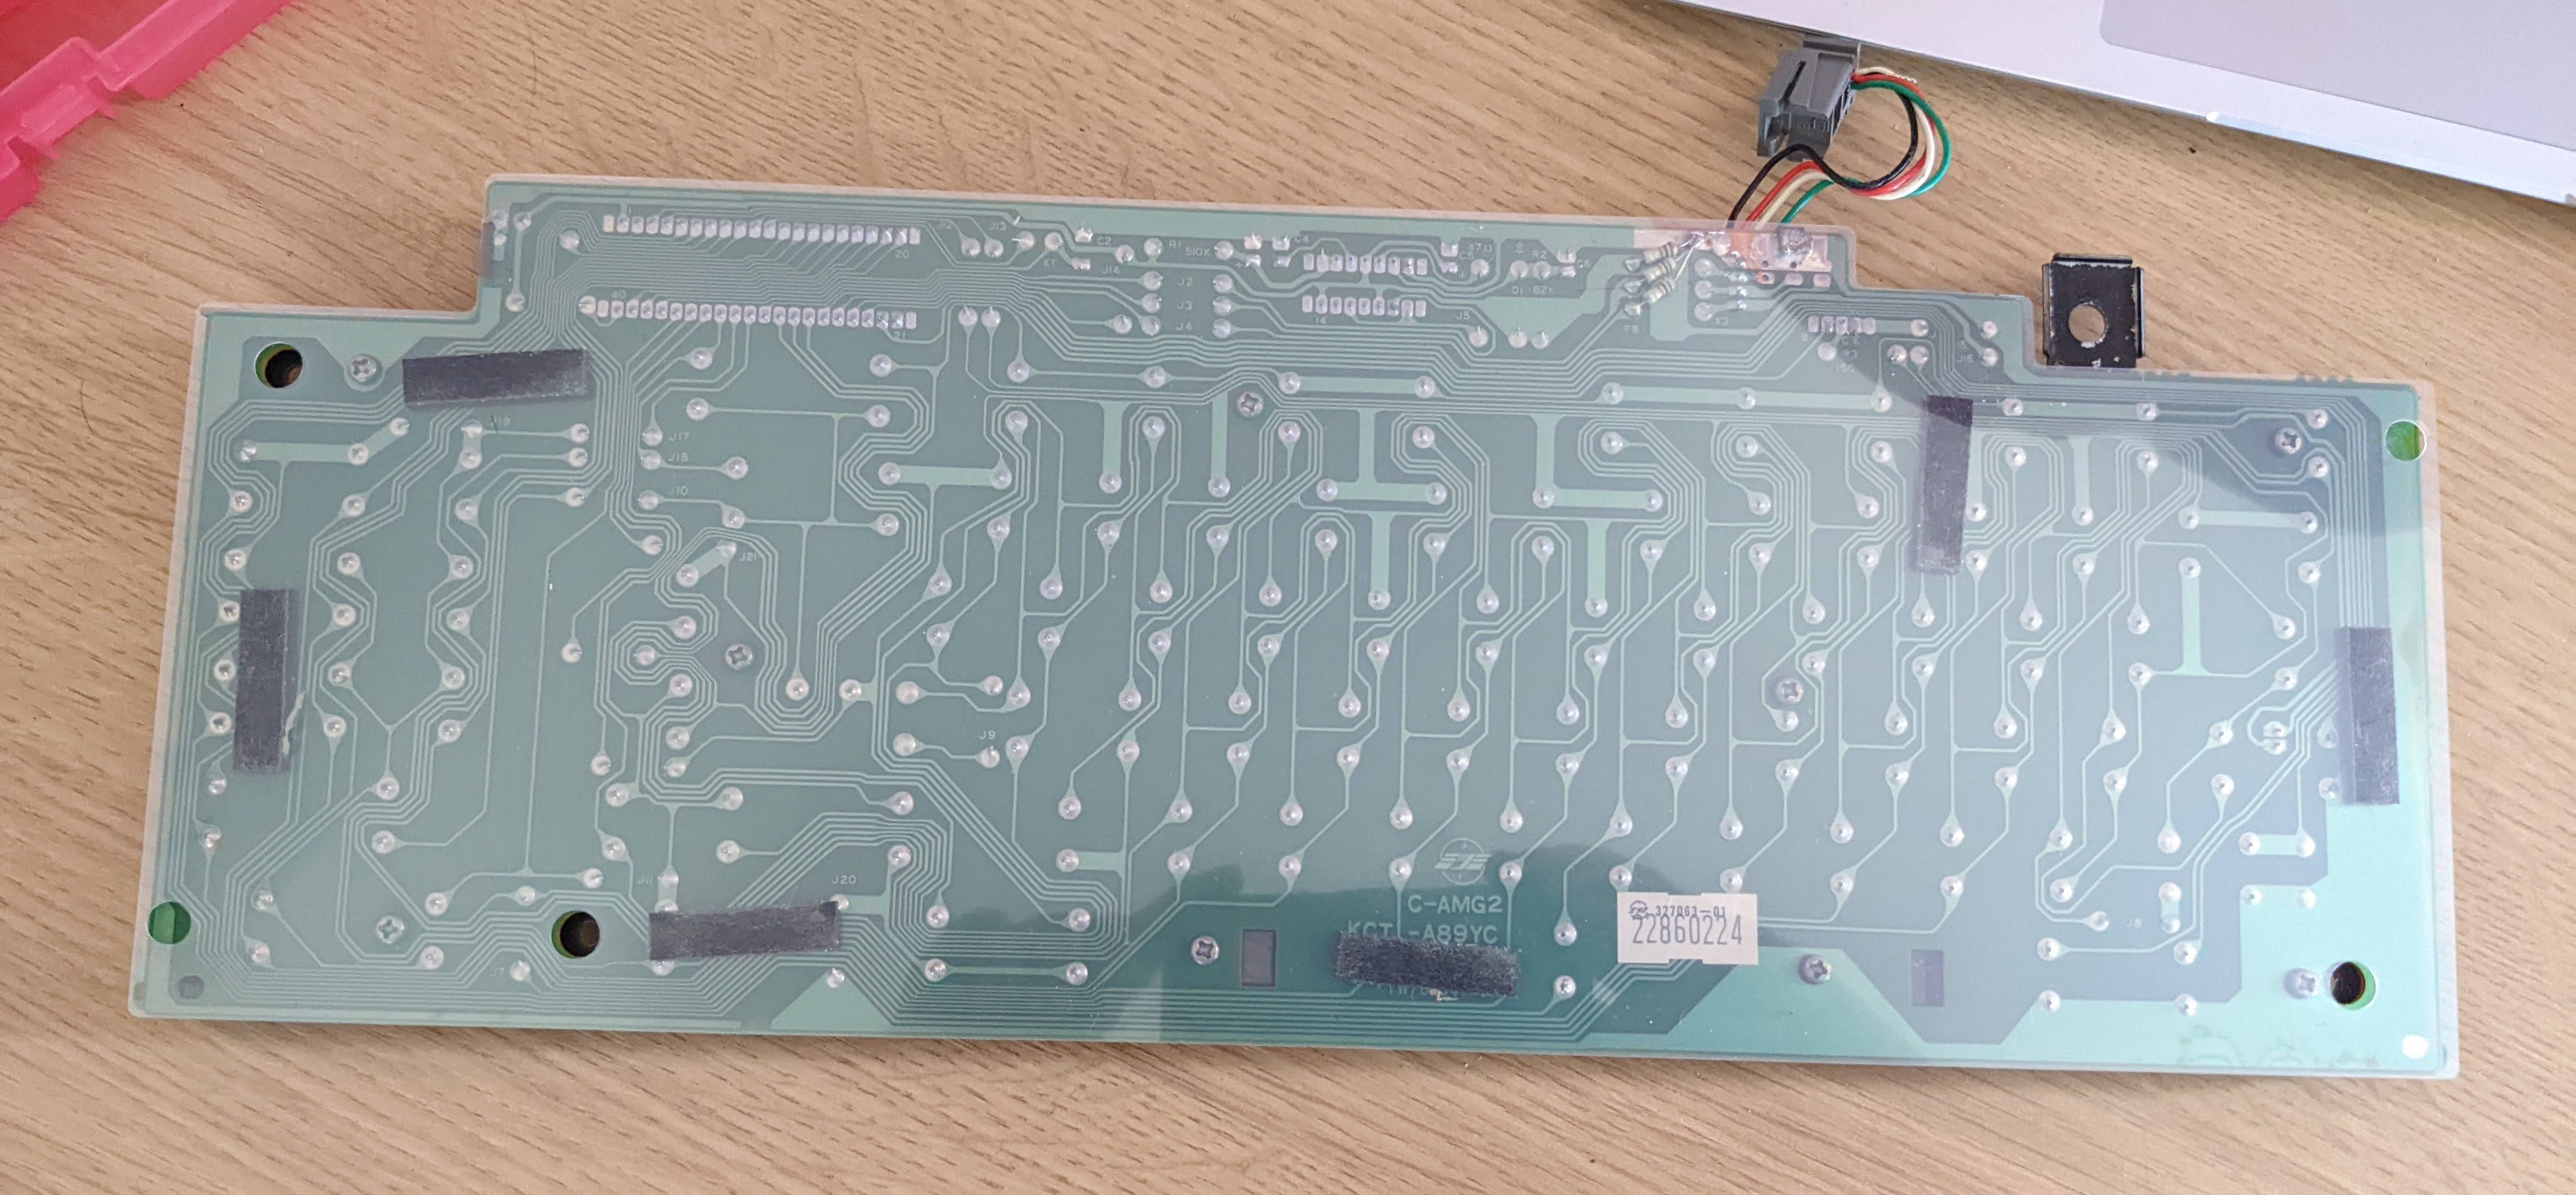
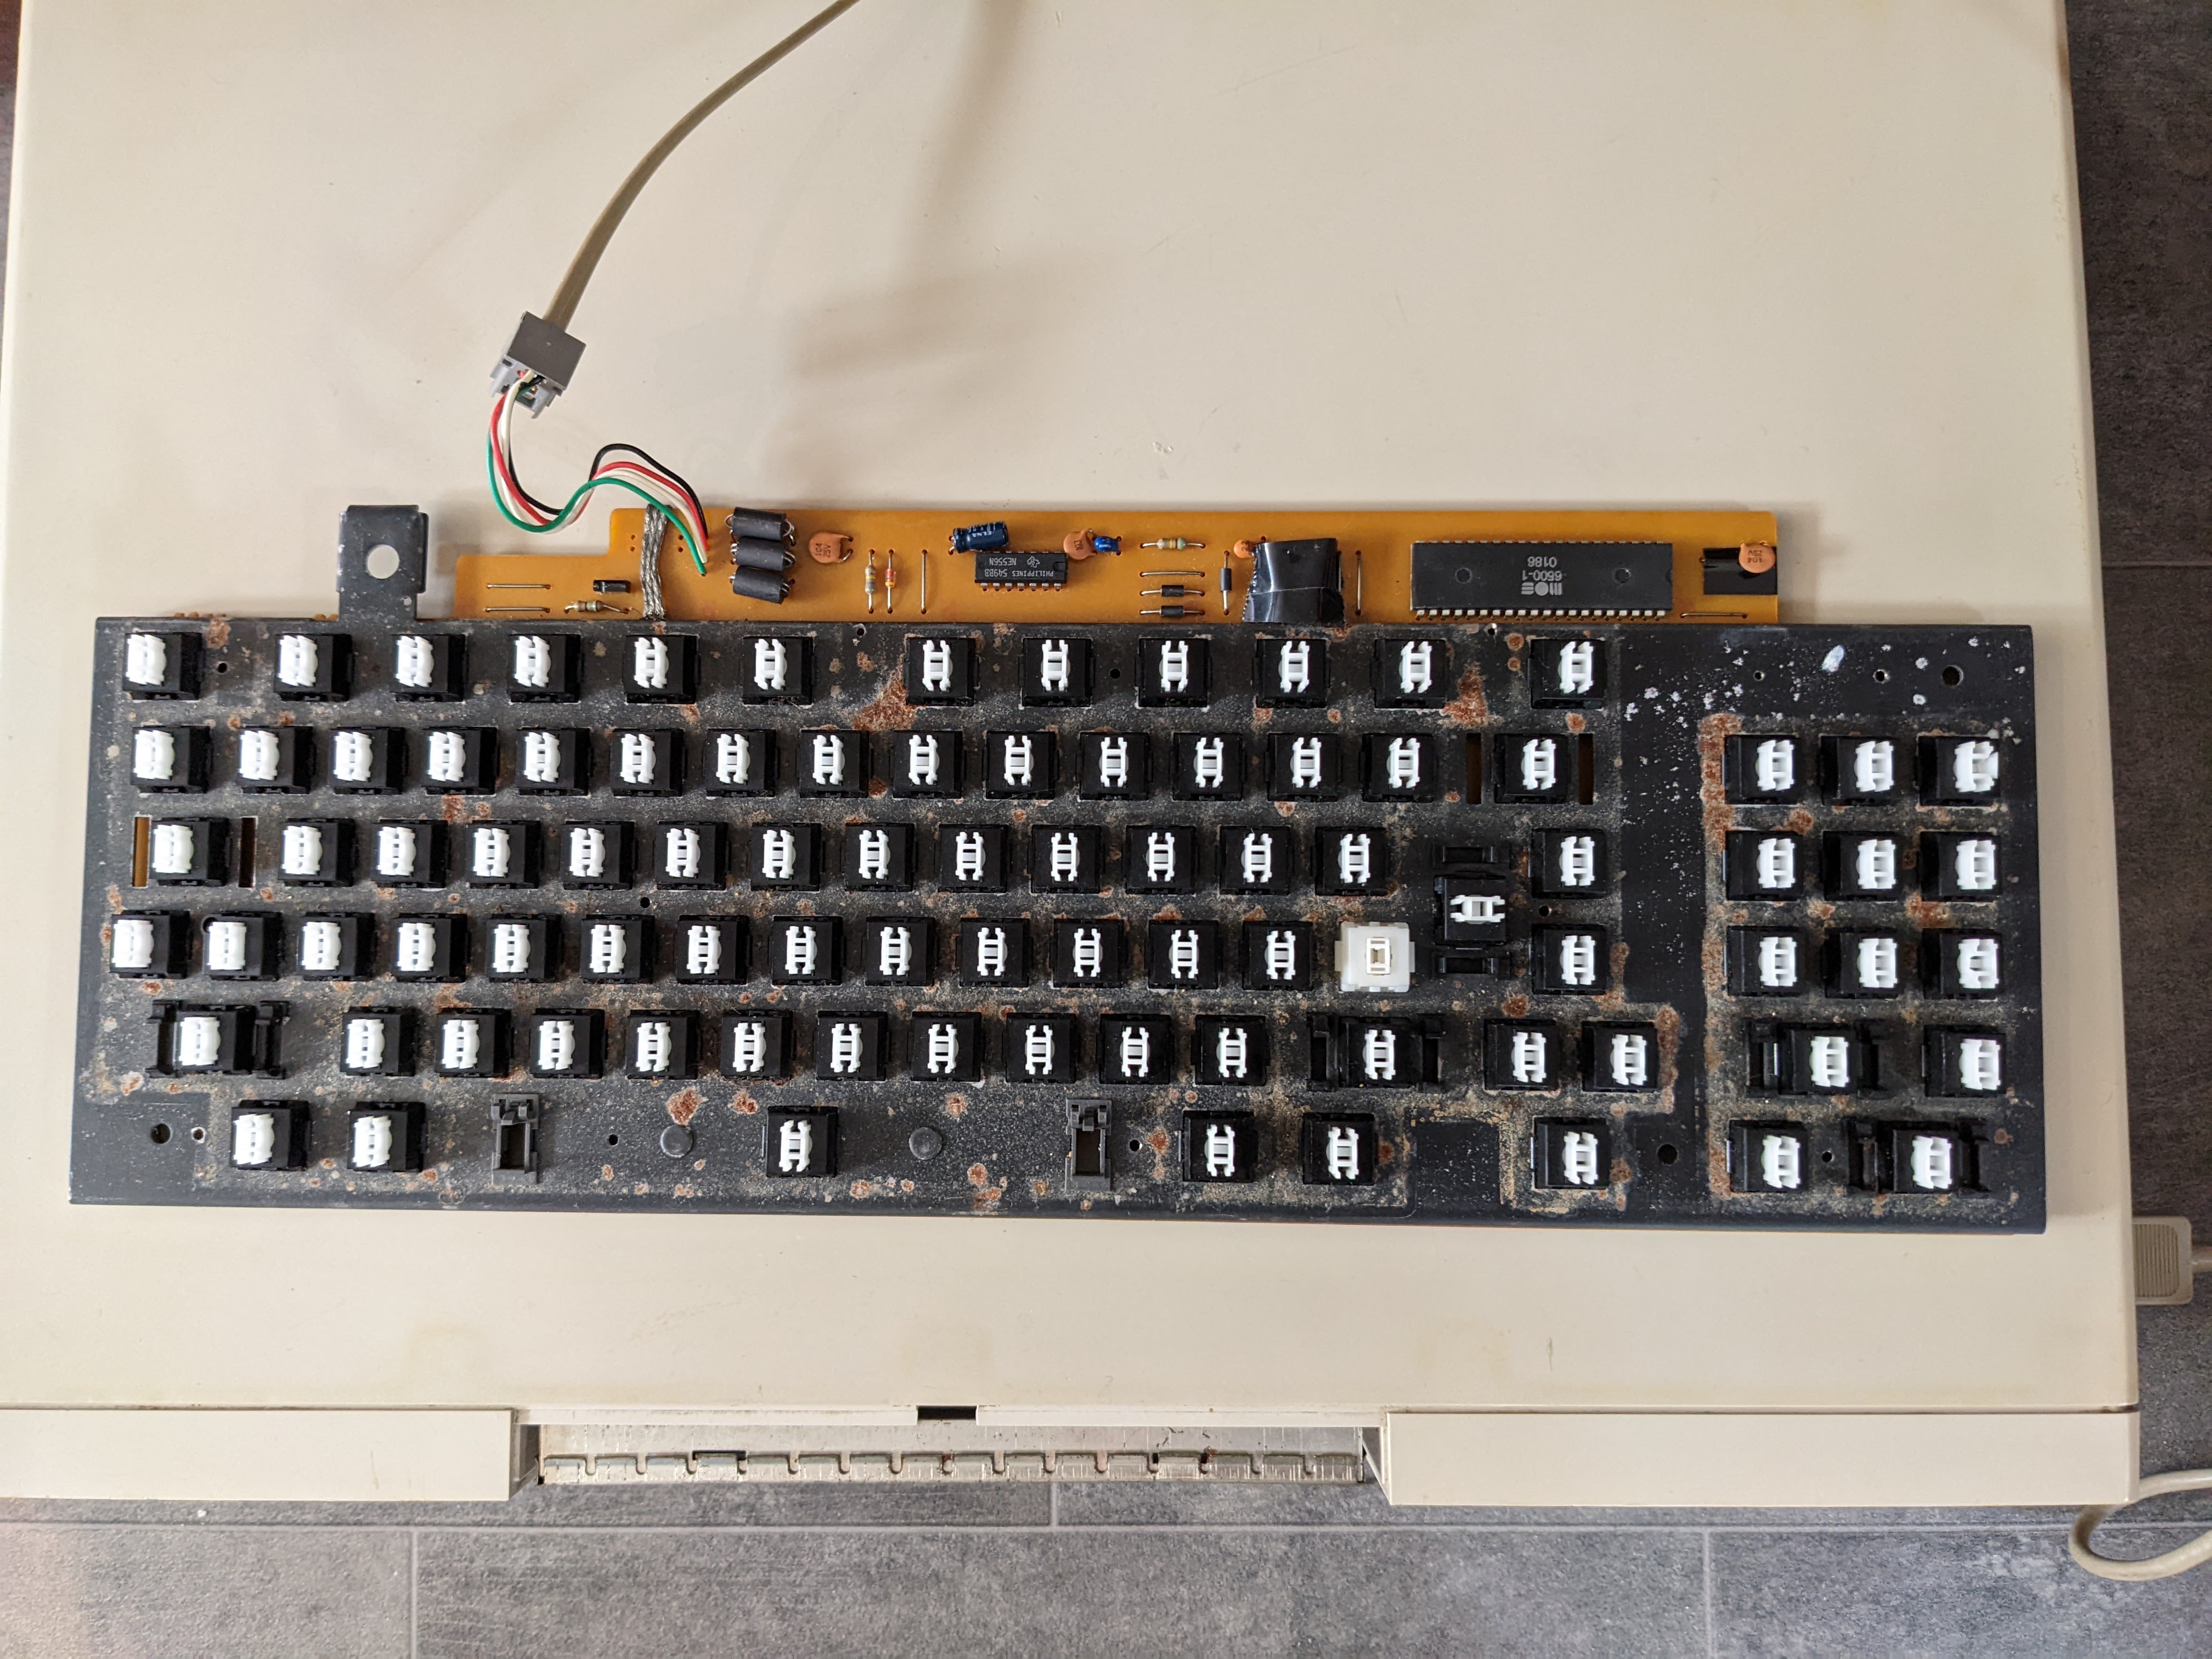
A bunch of tiny screws removes the metal shield, one wasn’t actually screwed in and was lose in the case, this is the underside of the keyboard, no flimsy membrane here, this is real mechanical switches.
I tested every switch with a multimeter and found even though many “worked” they were not very sensitive and would definitely cause me problems later if they don’t already. So I de-soldered all the keys that misbehaved.
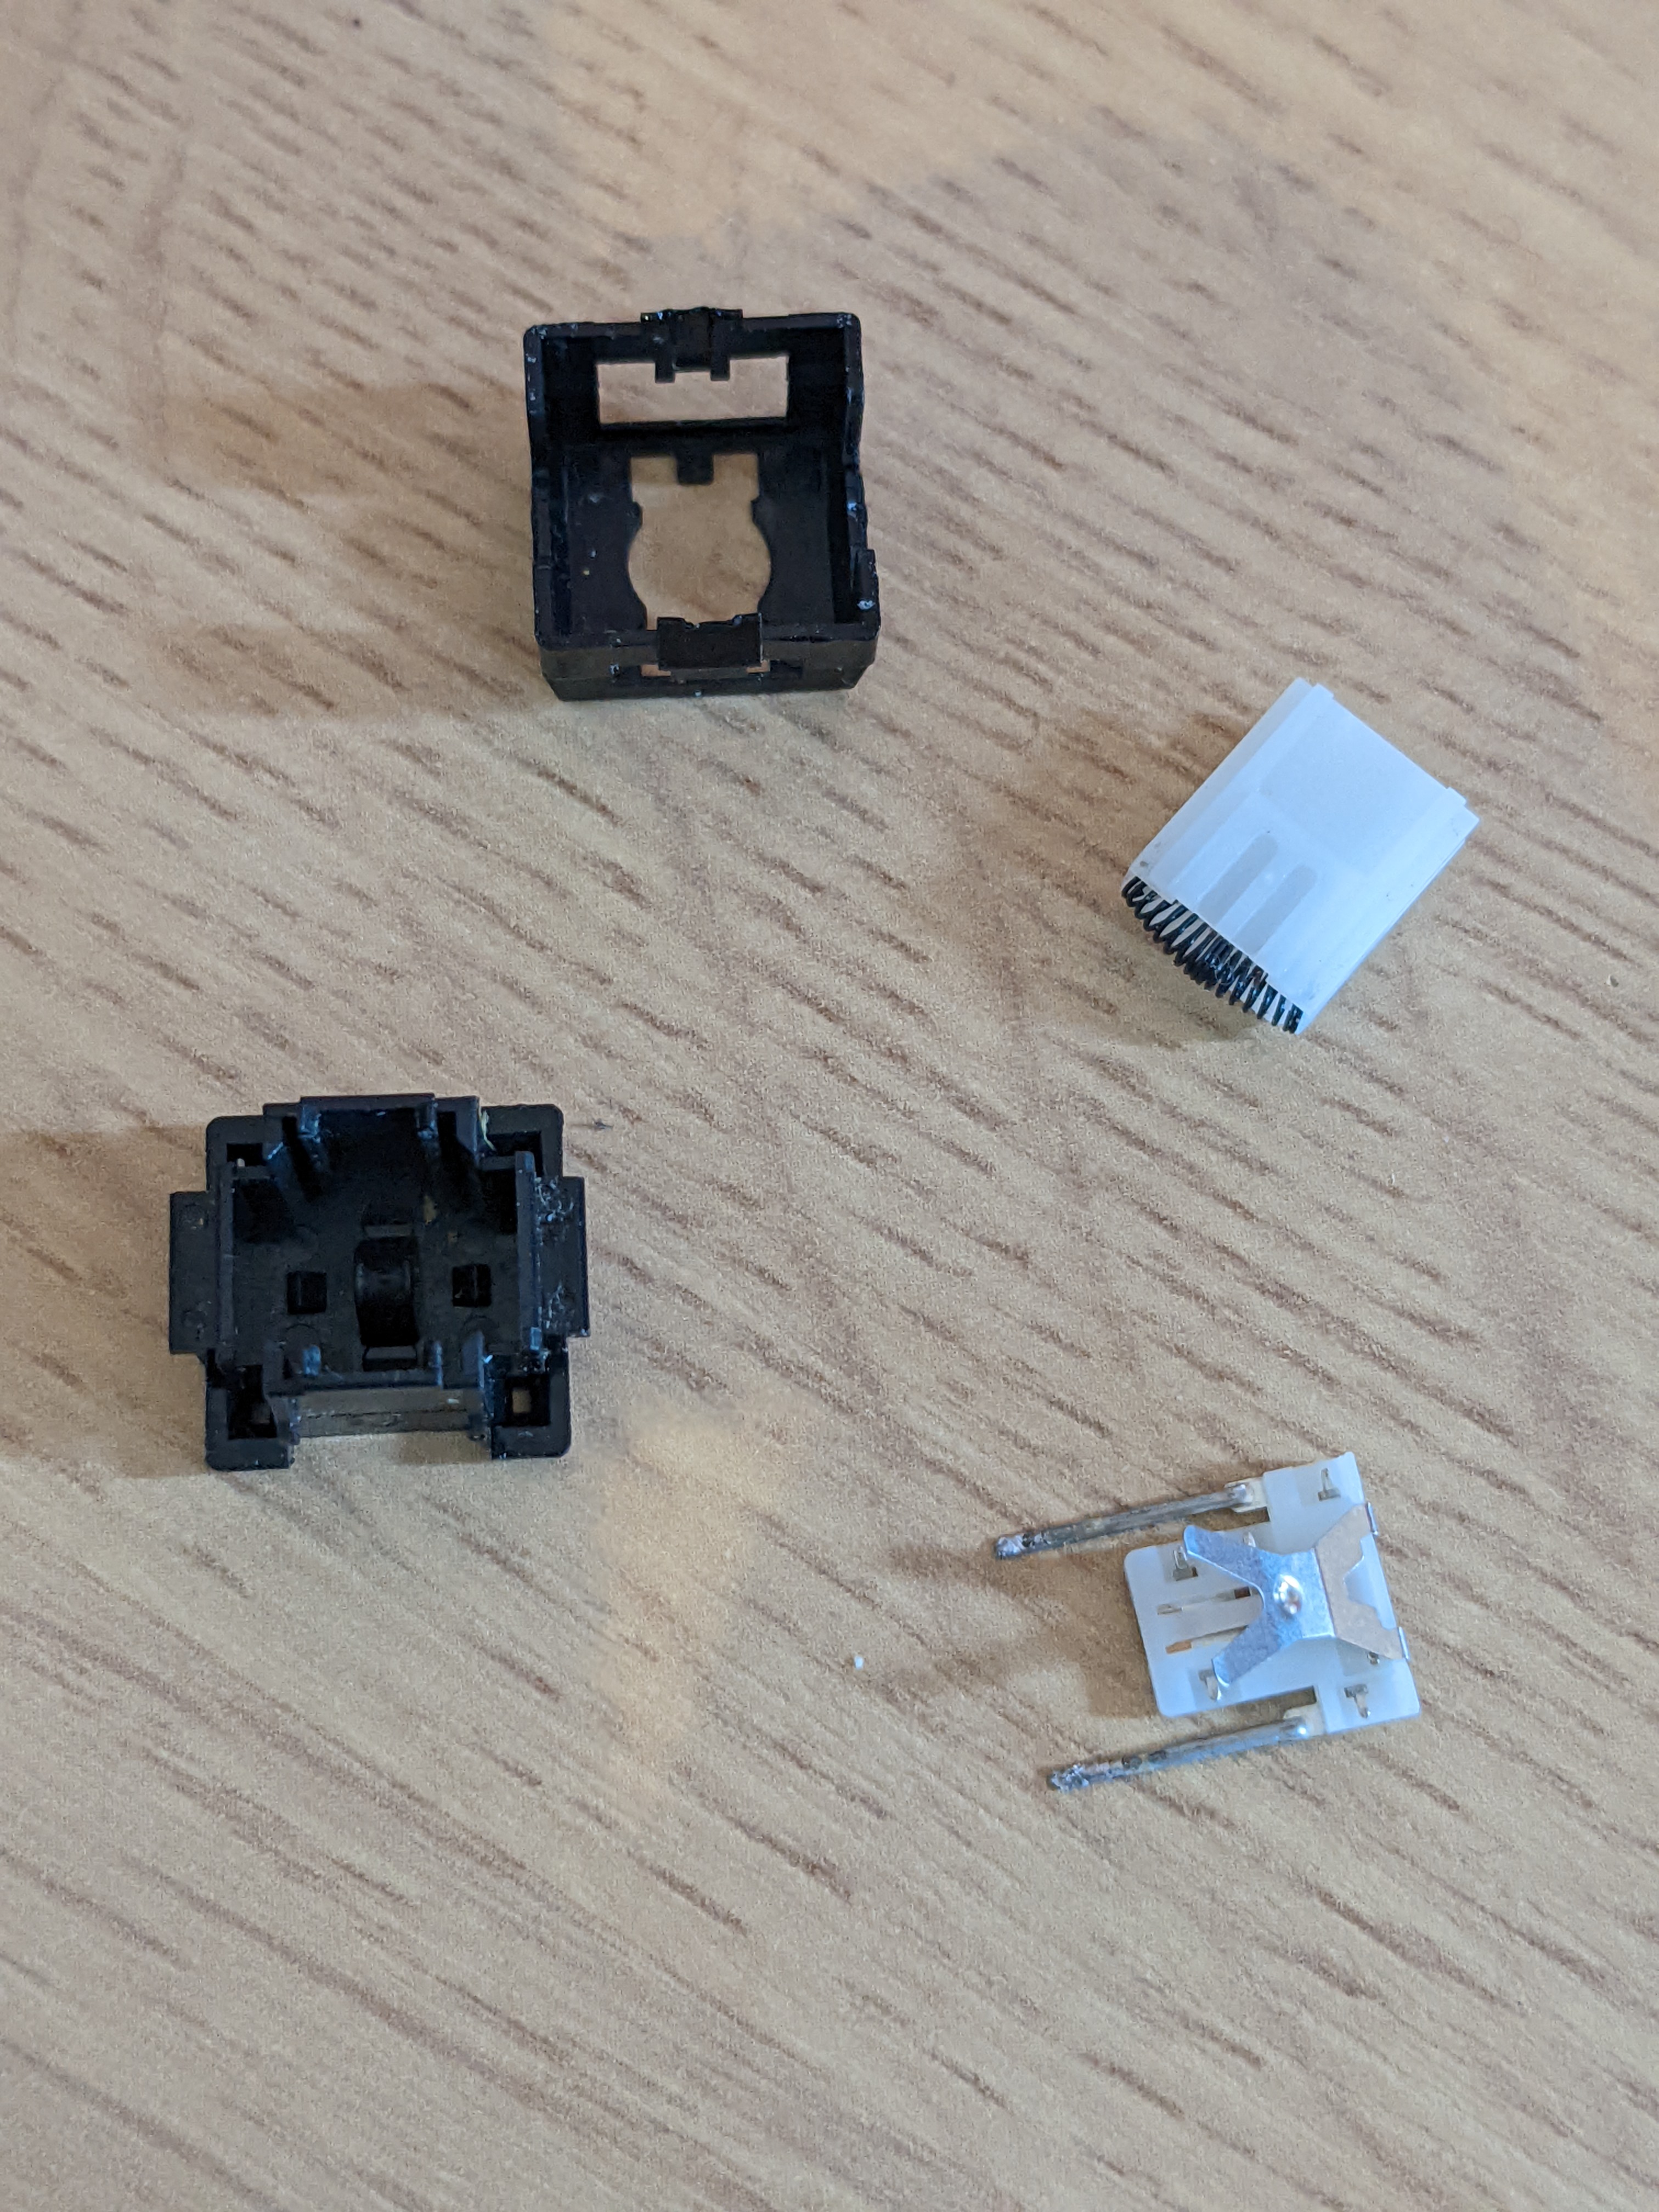
Every key needed to be carefully pried open and inside there is a tiny spring switch mechanism and a plunger with a spring on the bottom to bounce back up.
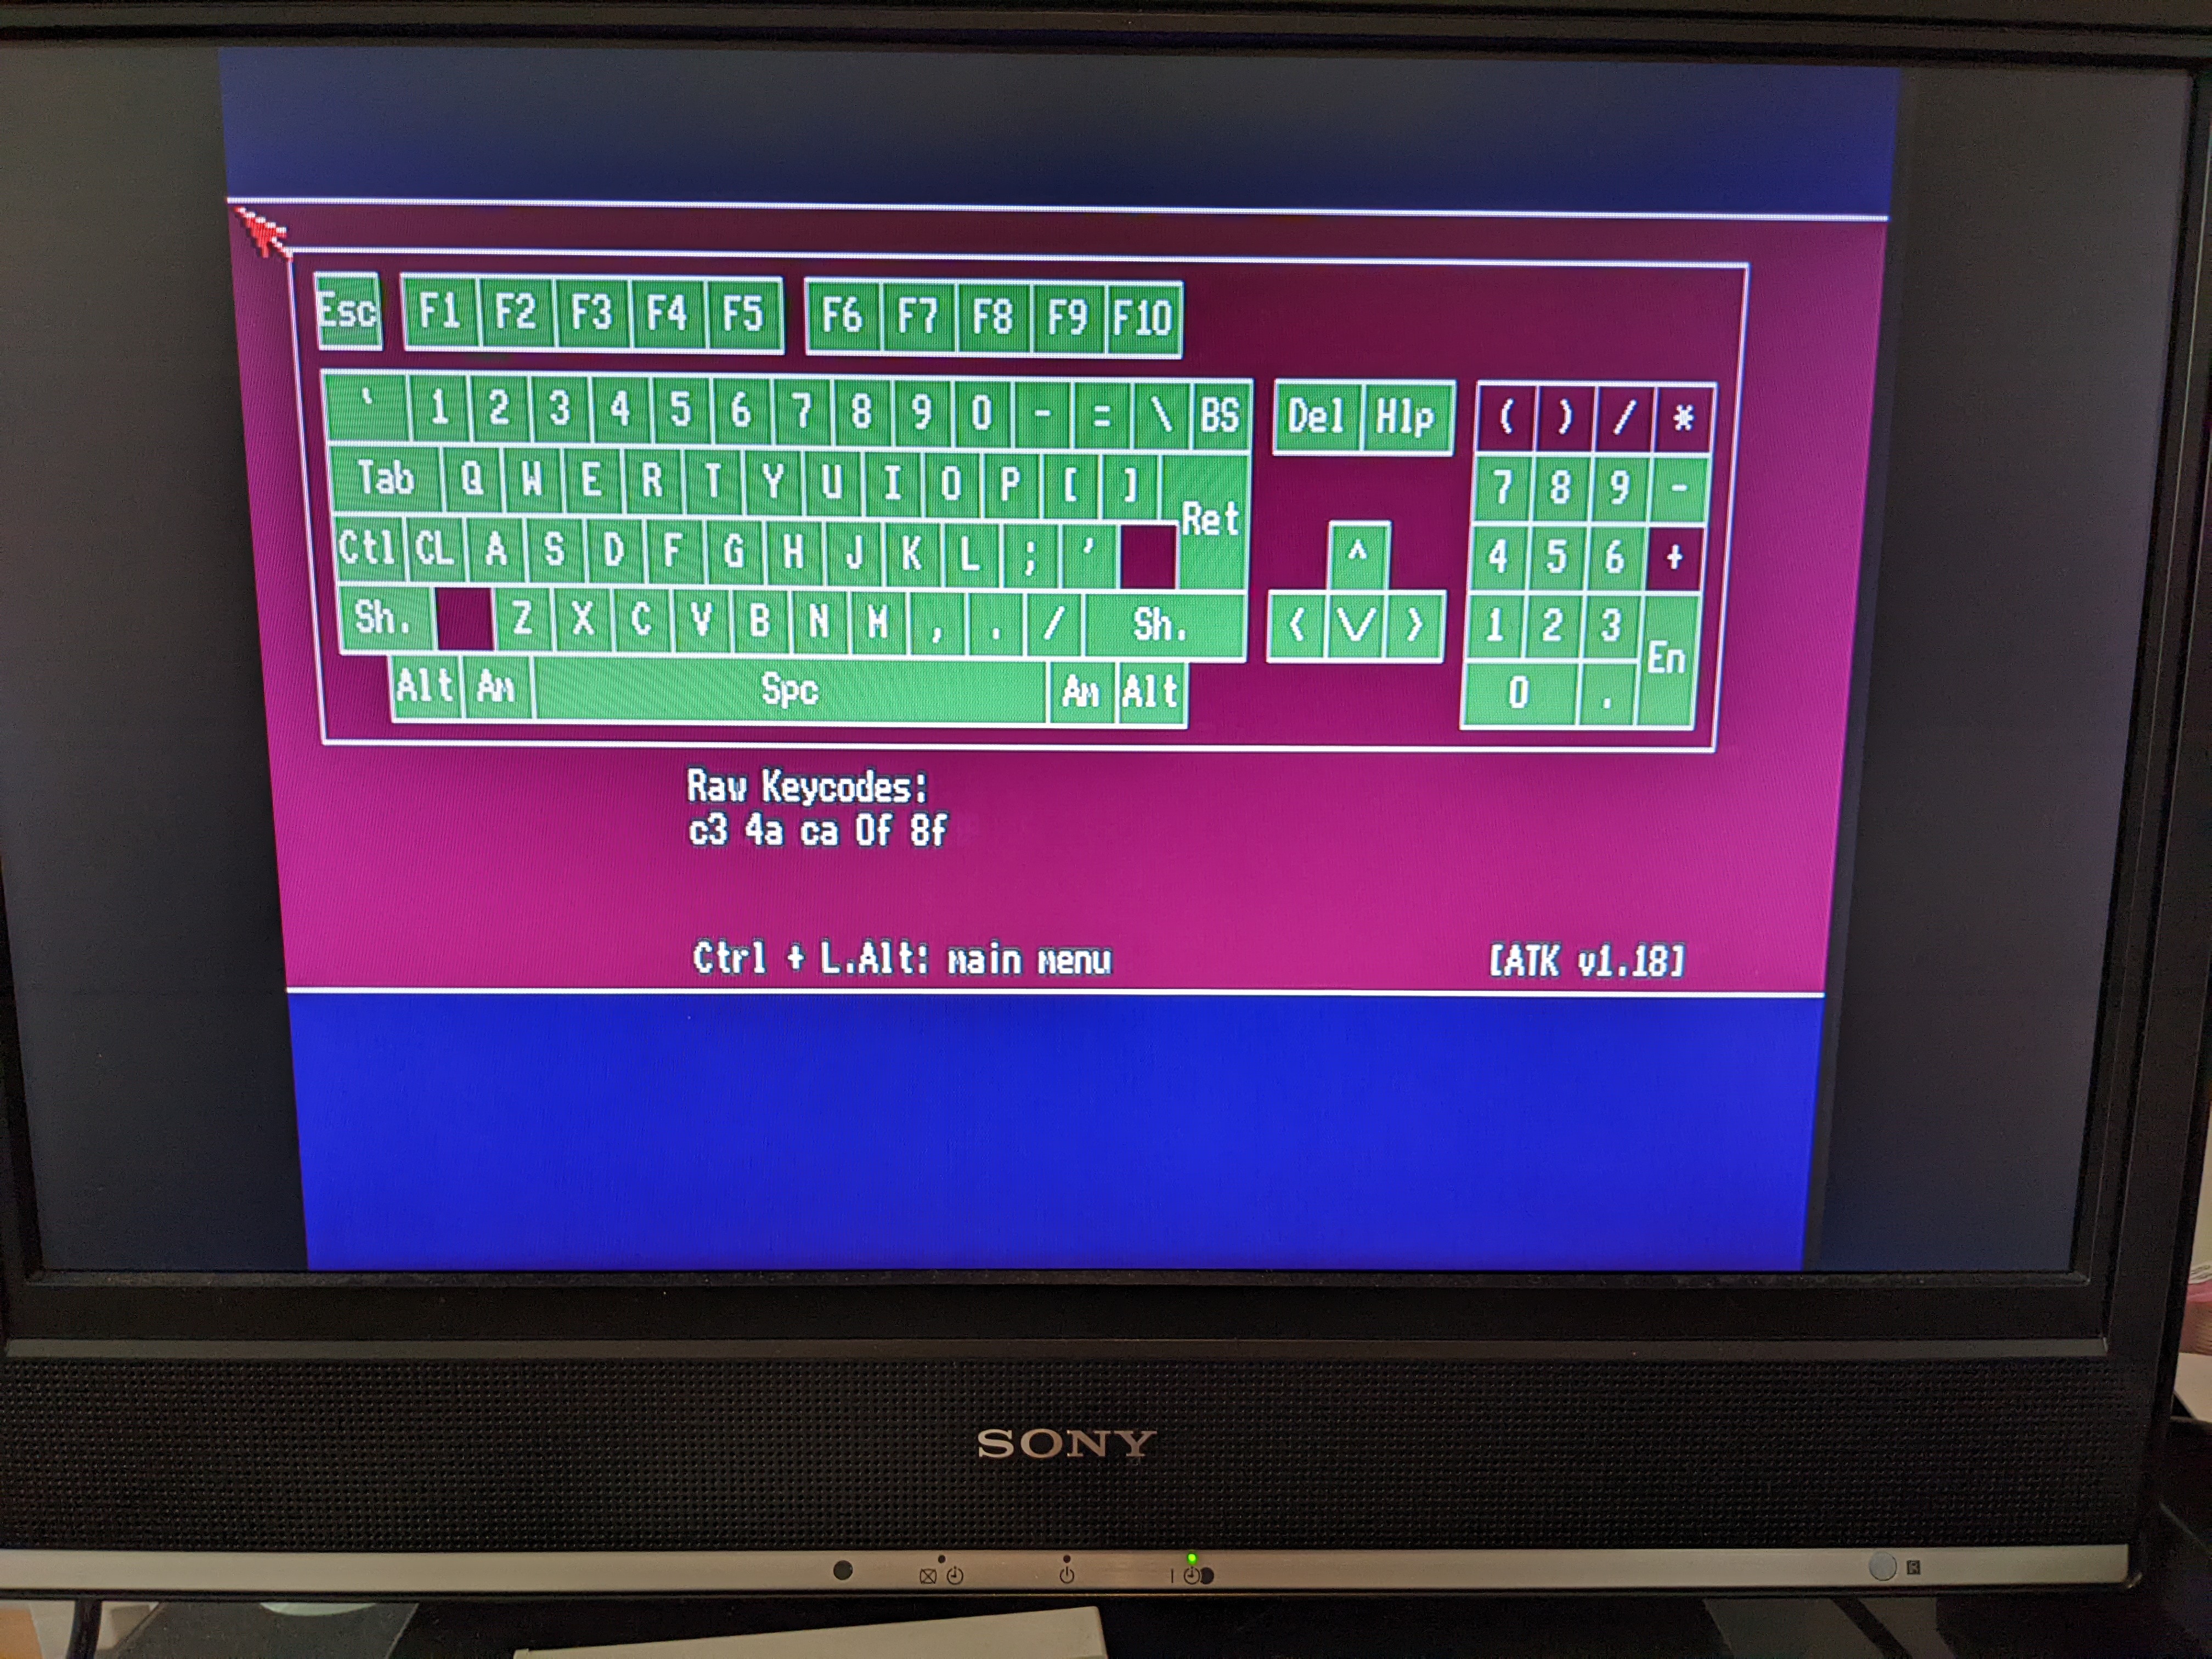
On every one of these key the ‘X’ shaped spring needed bending up slightly and then they worked perfect. Once fixed and soldered back on I tested the keys with ATK (the numeric keypad only has a ‘-‘ maths symbol). Before there were 5 keys not working at all and some that didn’t register easily, now they all registered perfectly.
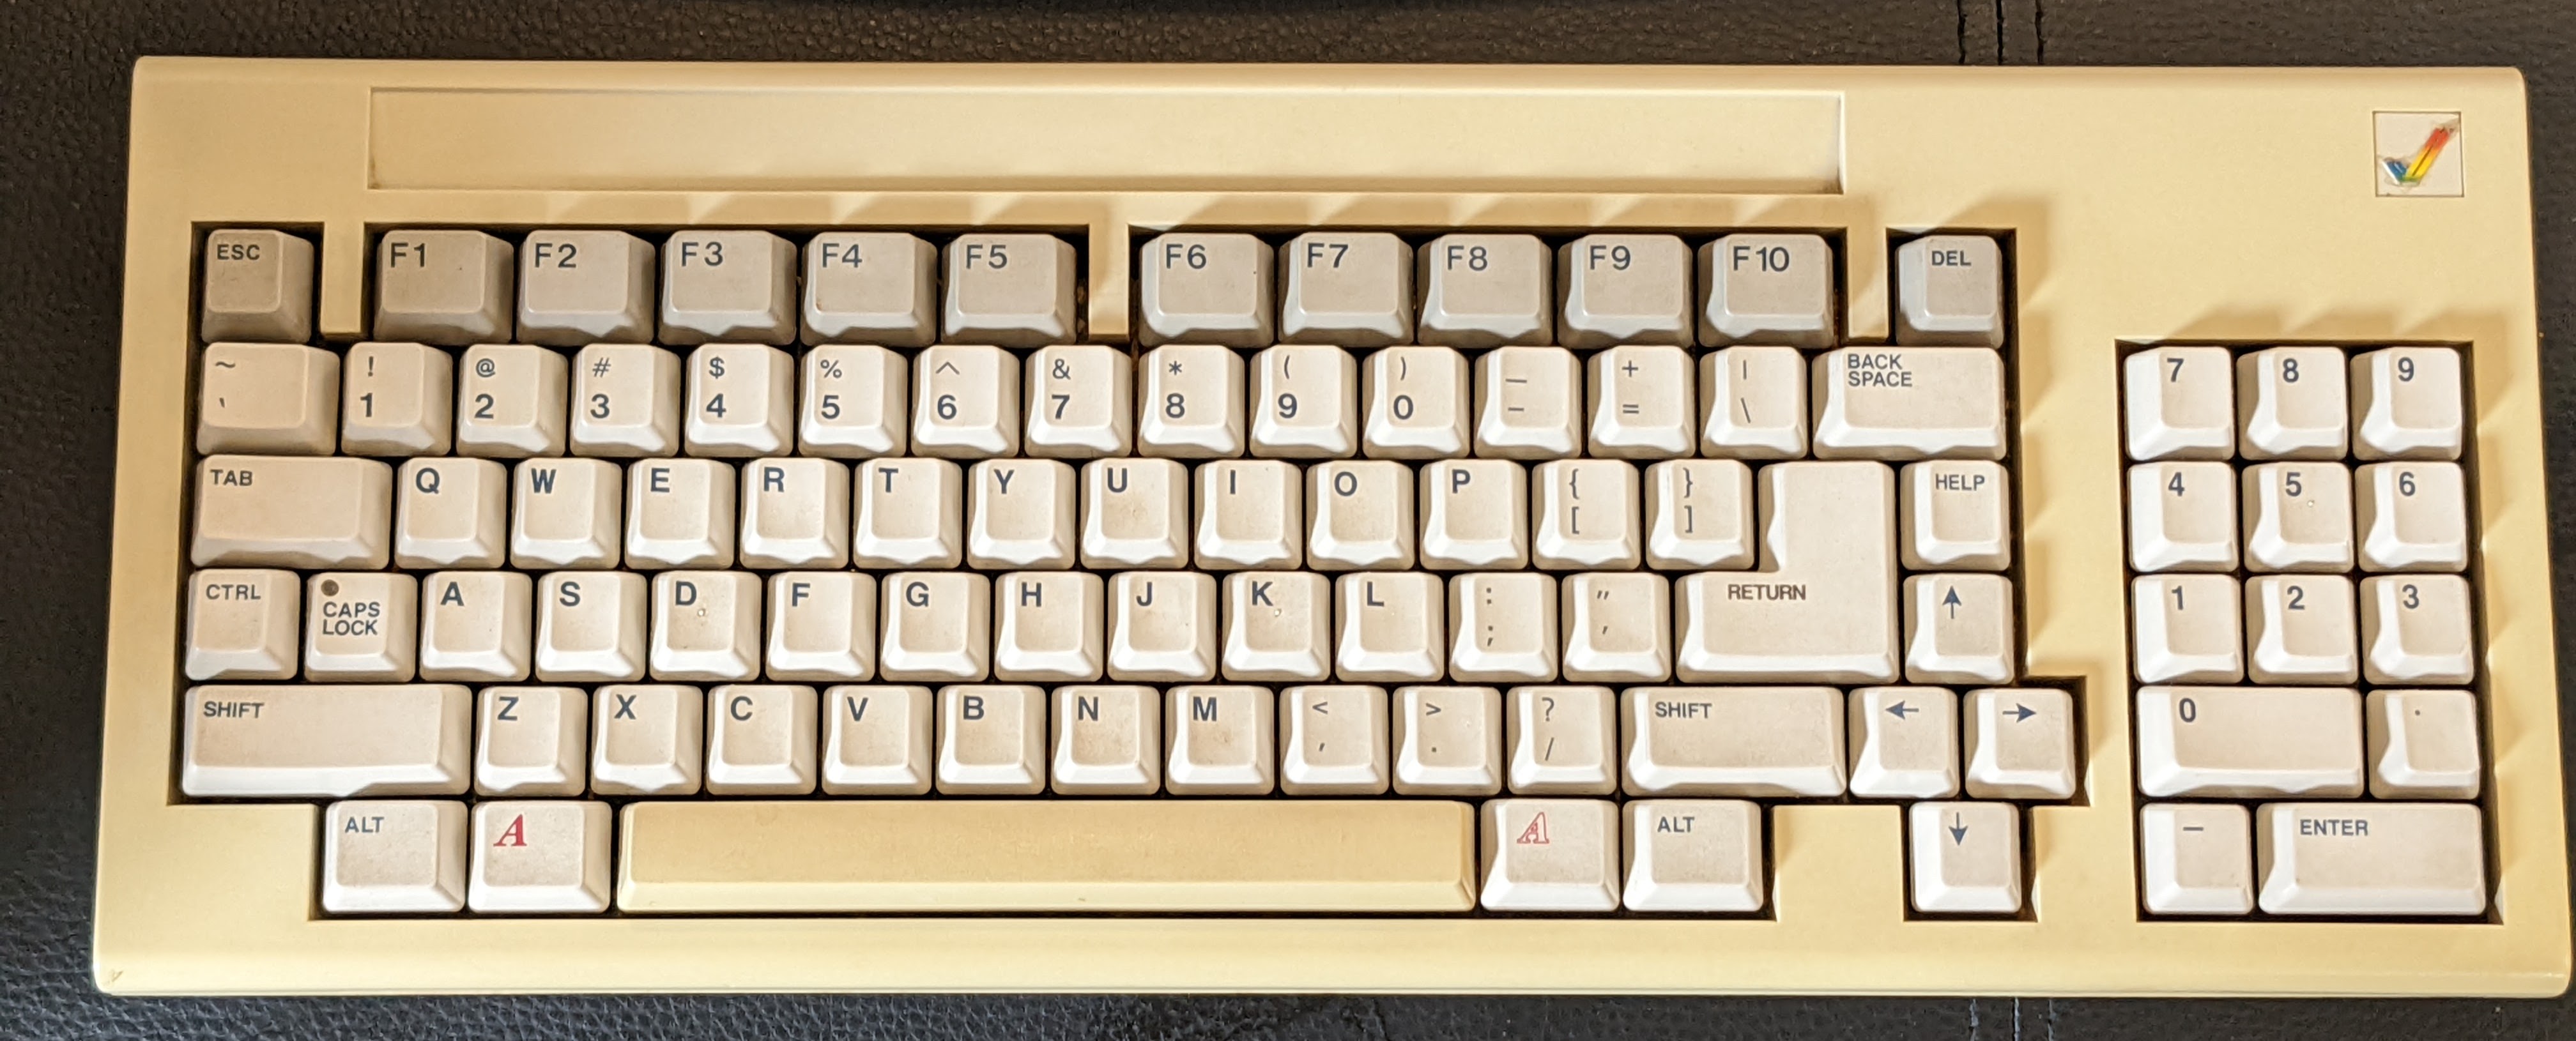
All good, now for a lot of gentle cleaning and reassembling, and we have a before and after photos below.
I probably could have cleaned the keys a bit deeper but I am happy with the outcome. Really the only thing left to do with this Amiga is try and find replacement rubber feet (and one missing on the keyboard too) and a replacement front memory cover. I’m definitely going to be having some fun with this machine in the future.
此内容由惯性聚合(RSS阅读器)自动聚合整理,仅供阅读参考。 原文来自 — 版权归原作者所有。