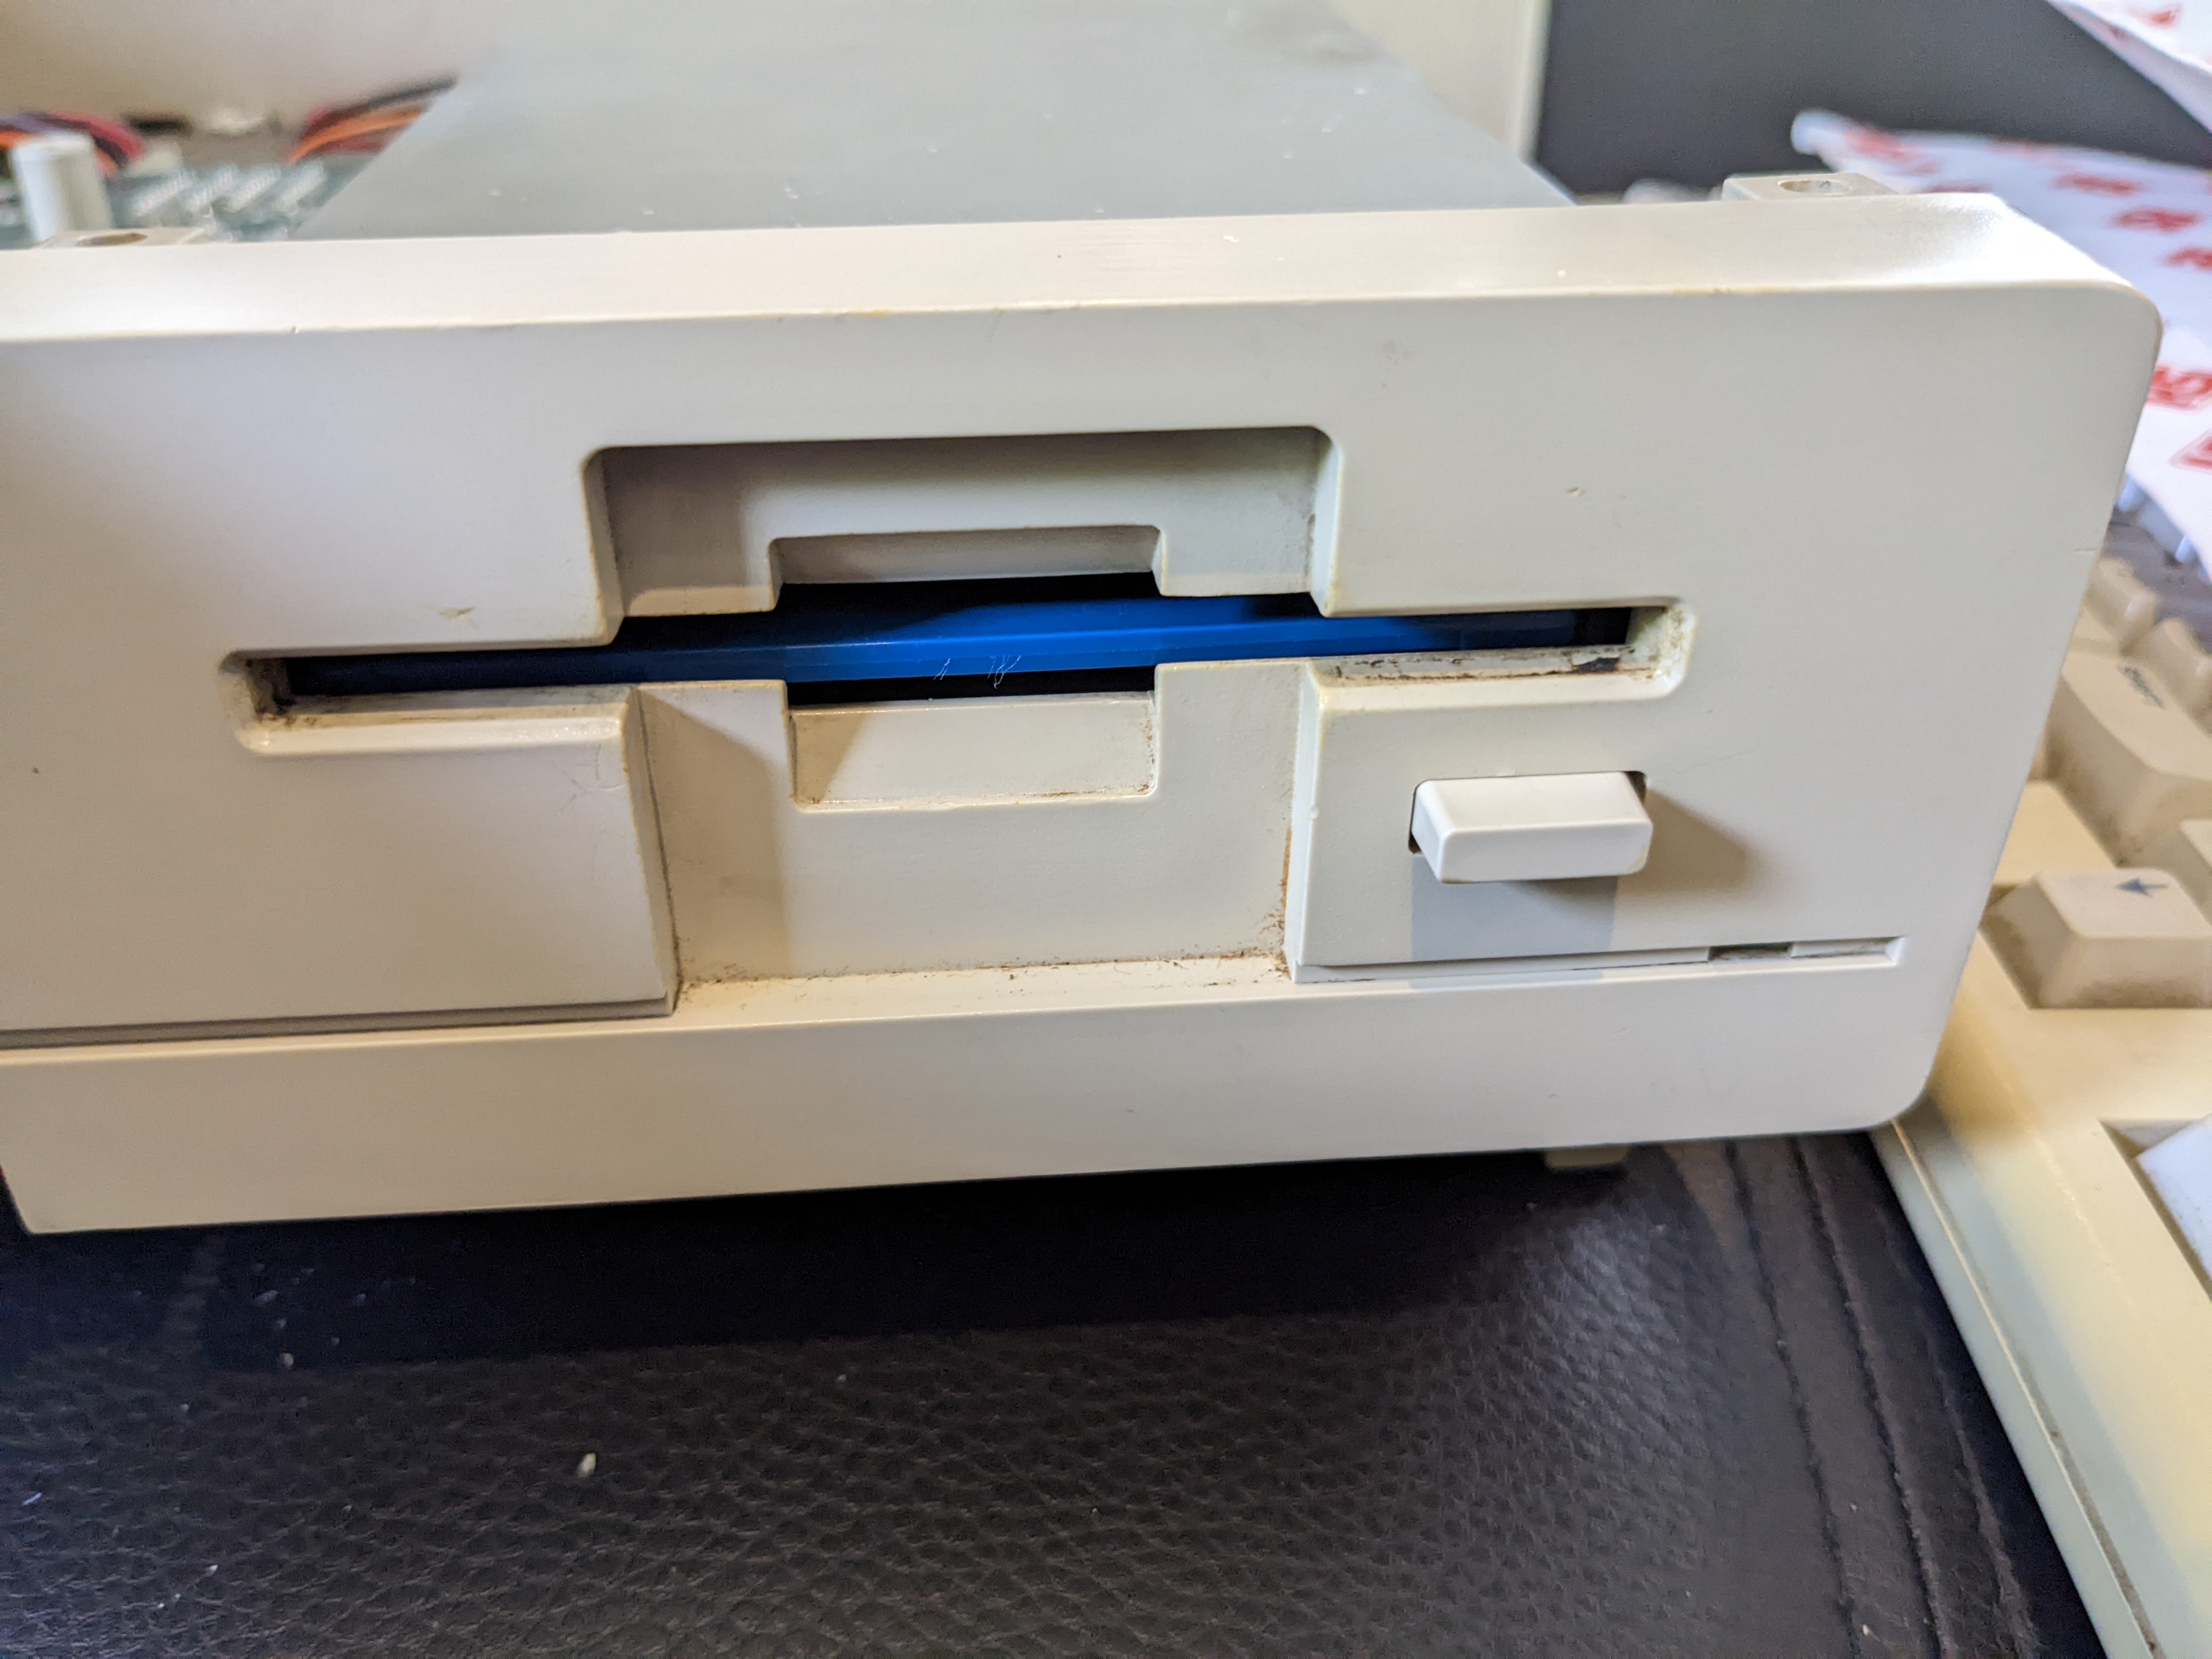
As part of restoring my Amiga 1000 into the beautiful machine it once was, I wanted to be able to use the floppy drive without having to use a USB stick in the hole to eject it. And here my adventure starts…
I asked a friend who is great at 3D printing and we couldn’t find any stock 3D file to match. We also found it difficult to determine how the original button actually fitted to the clip.
The clips hold a magnet which triggers a reed switch so that the drive can sense when a disk is inserted. That is actually really smart, but makes figuring out how to fit a button that is stable a bit more difficult.
I then came up with a plan B, root through my Amiga stock and see if there is any replacement drive that will fit. As luck would have it a stock Chinon drive from an Amiga 500 fits perfectly, button and all, the Amiga 500 is also the same colour as the Amiga 1000 so it wouldn’t look out of place.
The main issue is the drive LED. For the Amiga 500 this is handled on the motherboard when the Amiga engages the drive motor. On the Amiga 1000 this is directly wired to the PCB of the floppy drive. After a bit of fiddling with a multimeter I figured a few things out and then I found someone else had done the exact same thing in the past. Simply add a 2.2K resistor to R13 and then the A/K pads are for the LED.
After a lot of testing to make sure I wouldn’t damage the Amiga 1000’s LED I gave it a try…
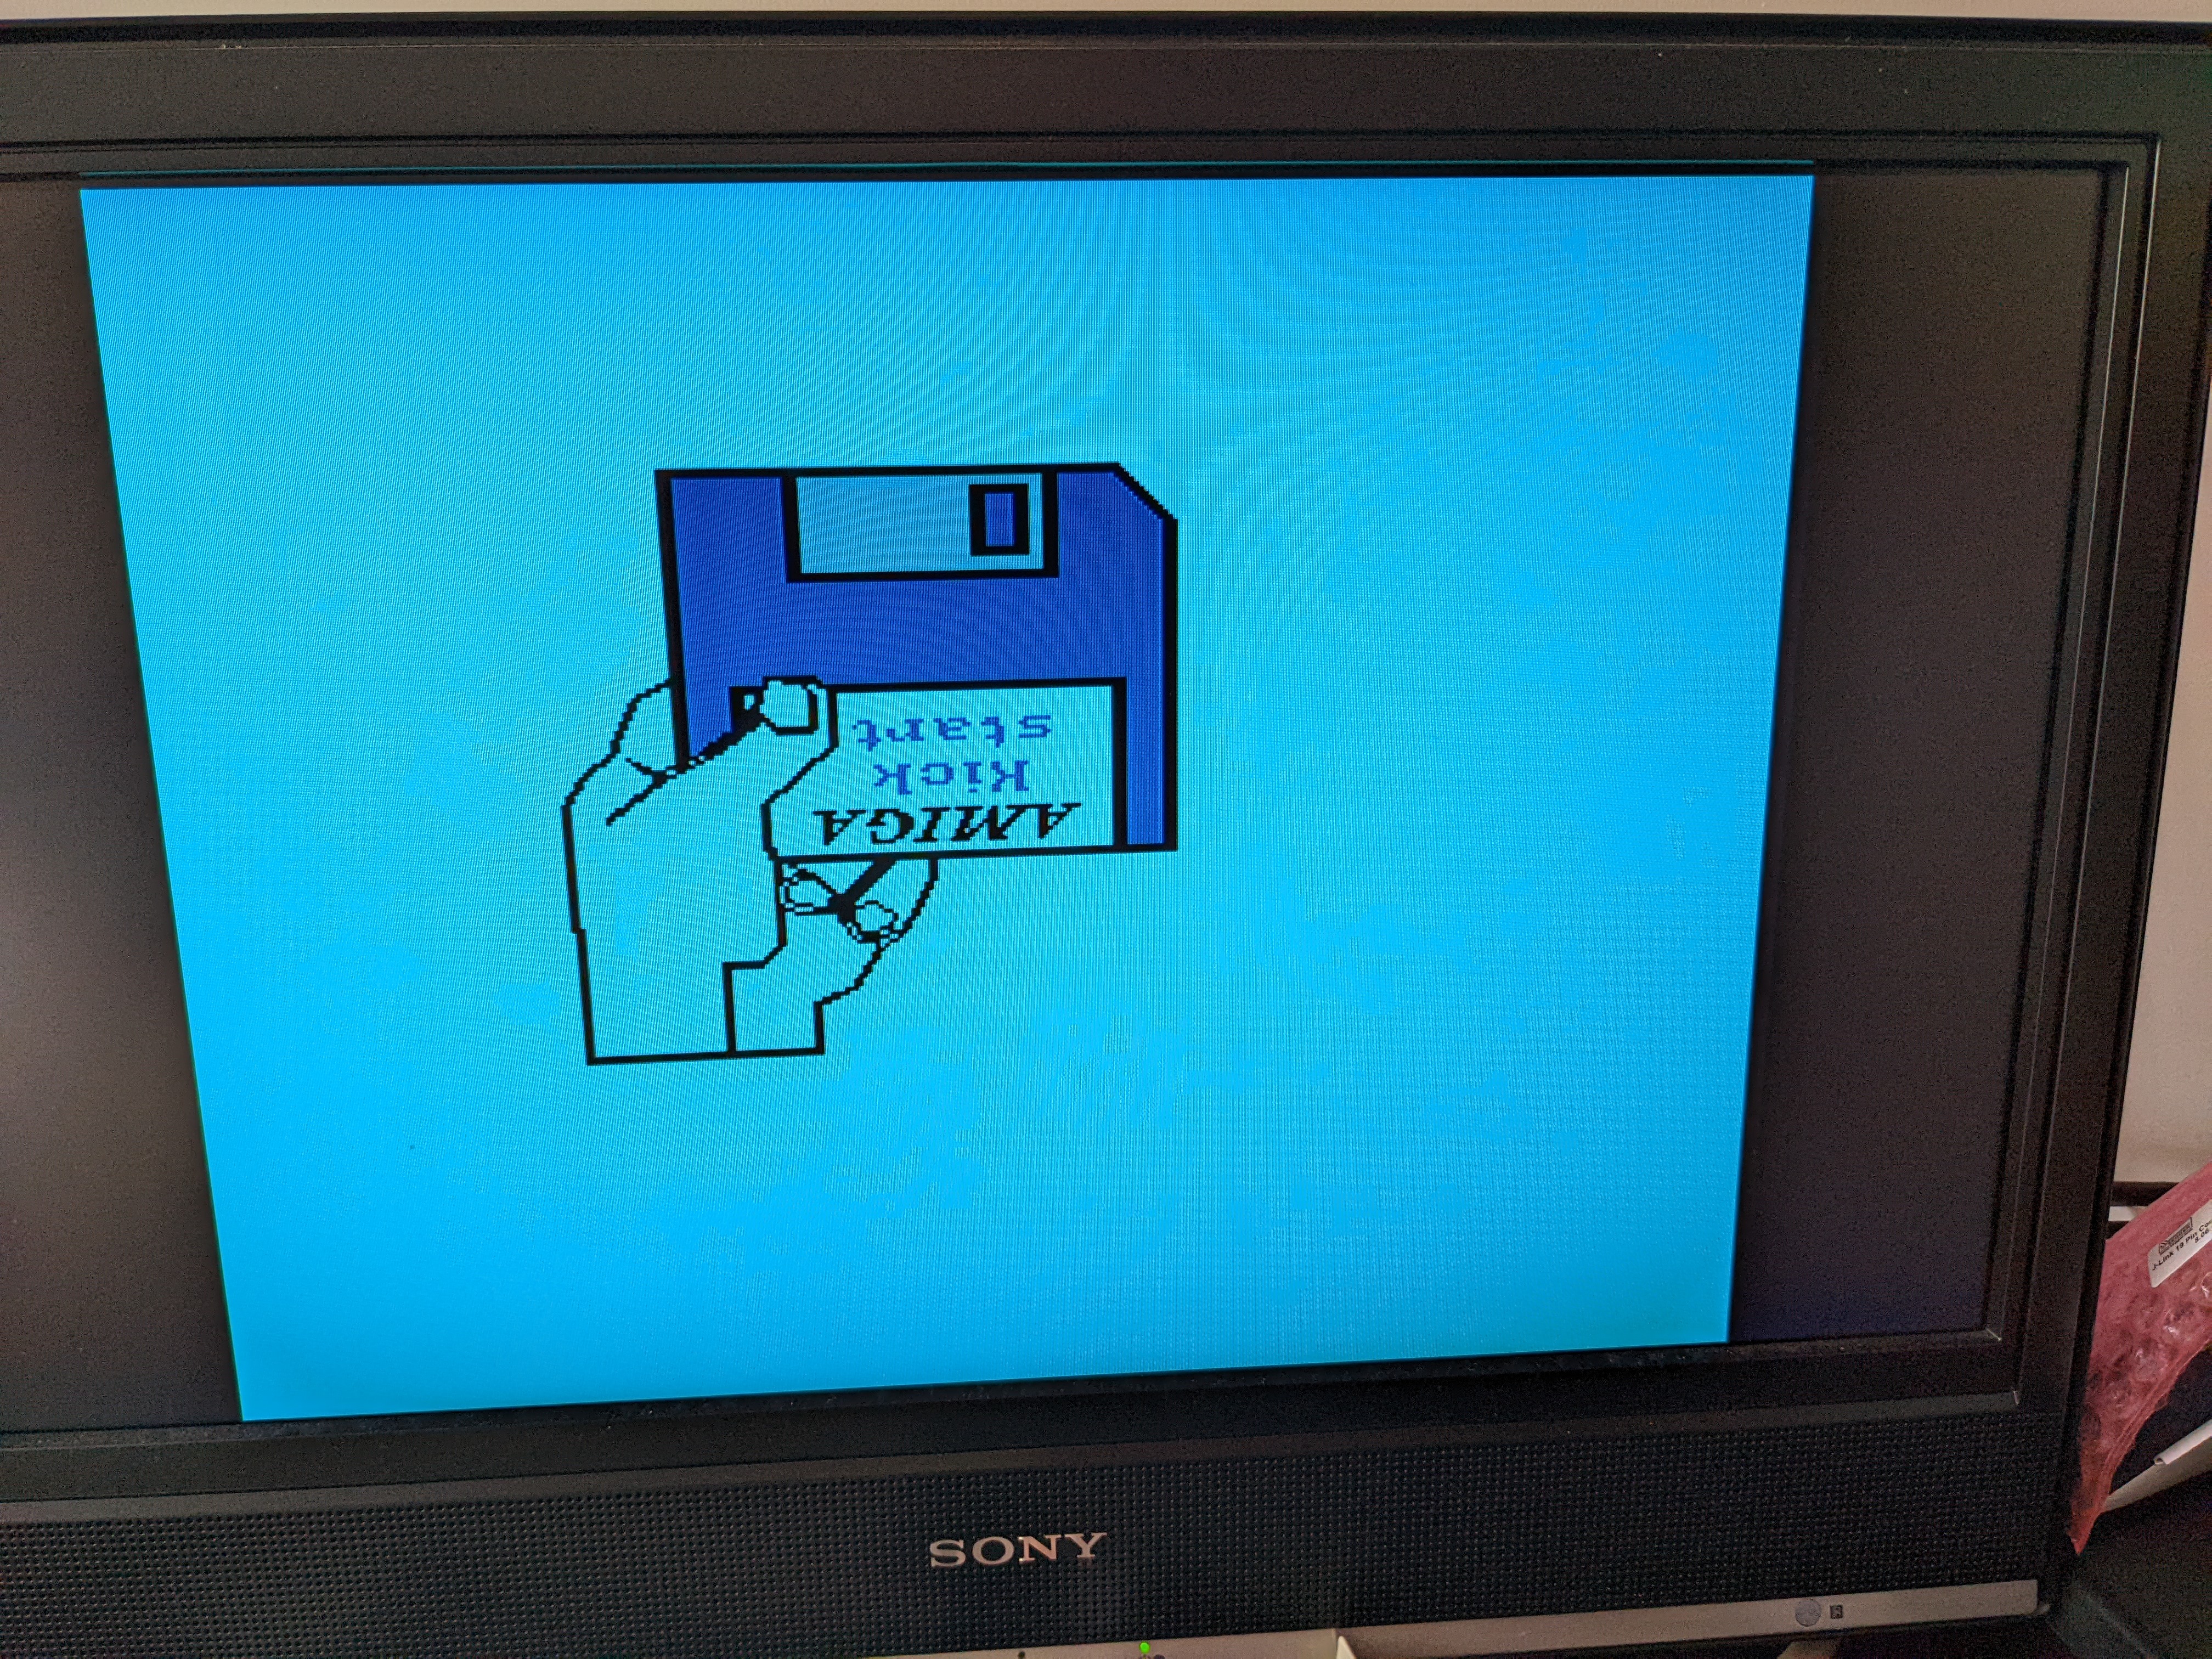
I cleaned up the soldering and put some heat shrink over the connectors to the LED and this was ready to go. I put this in the Amiga 1000 to do the final test, turned it on and… I was greeted to a light blue screen.
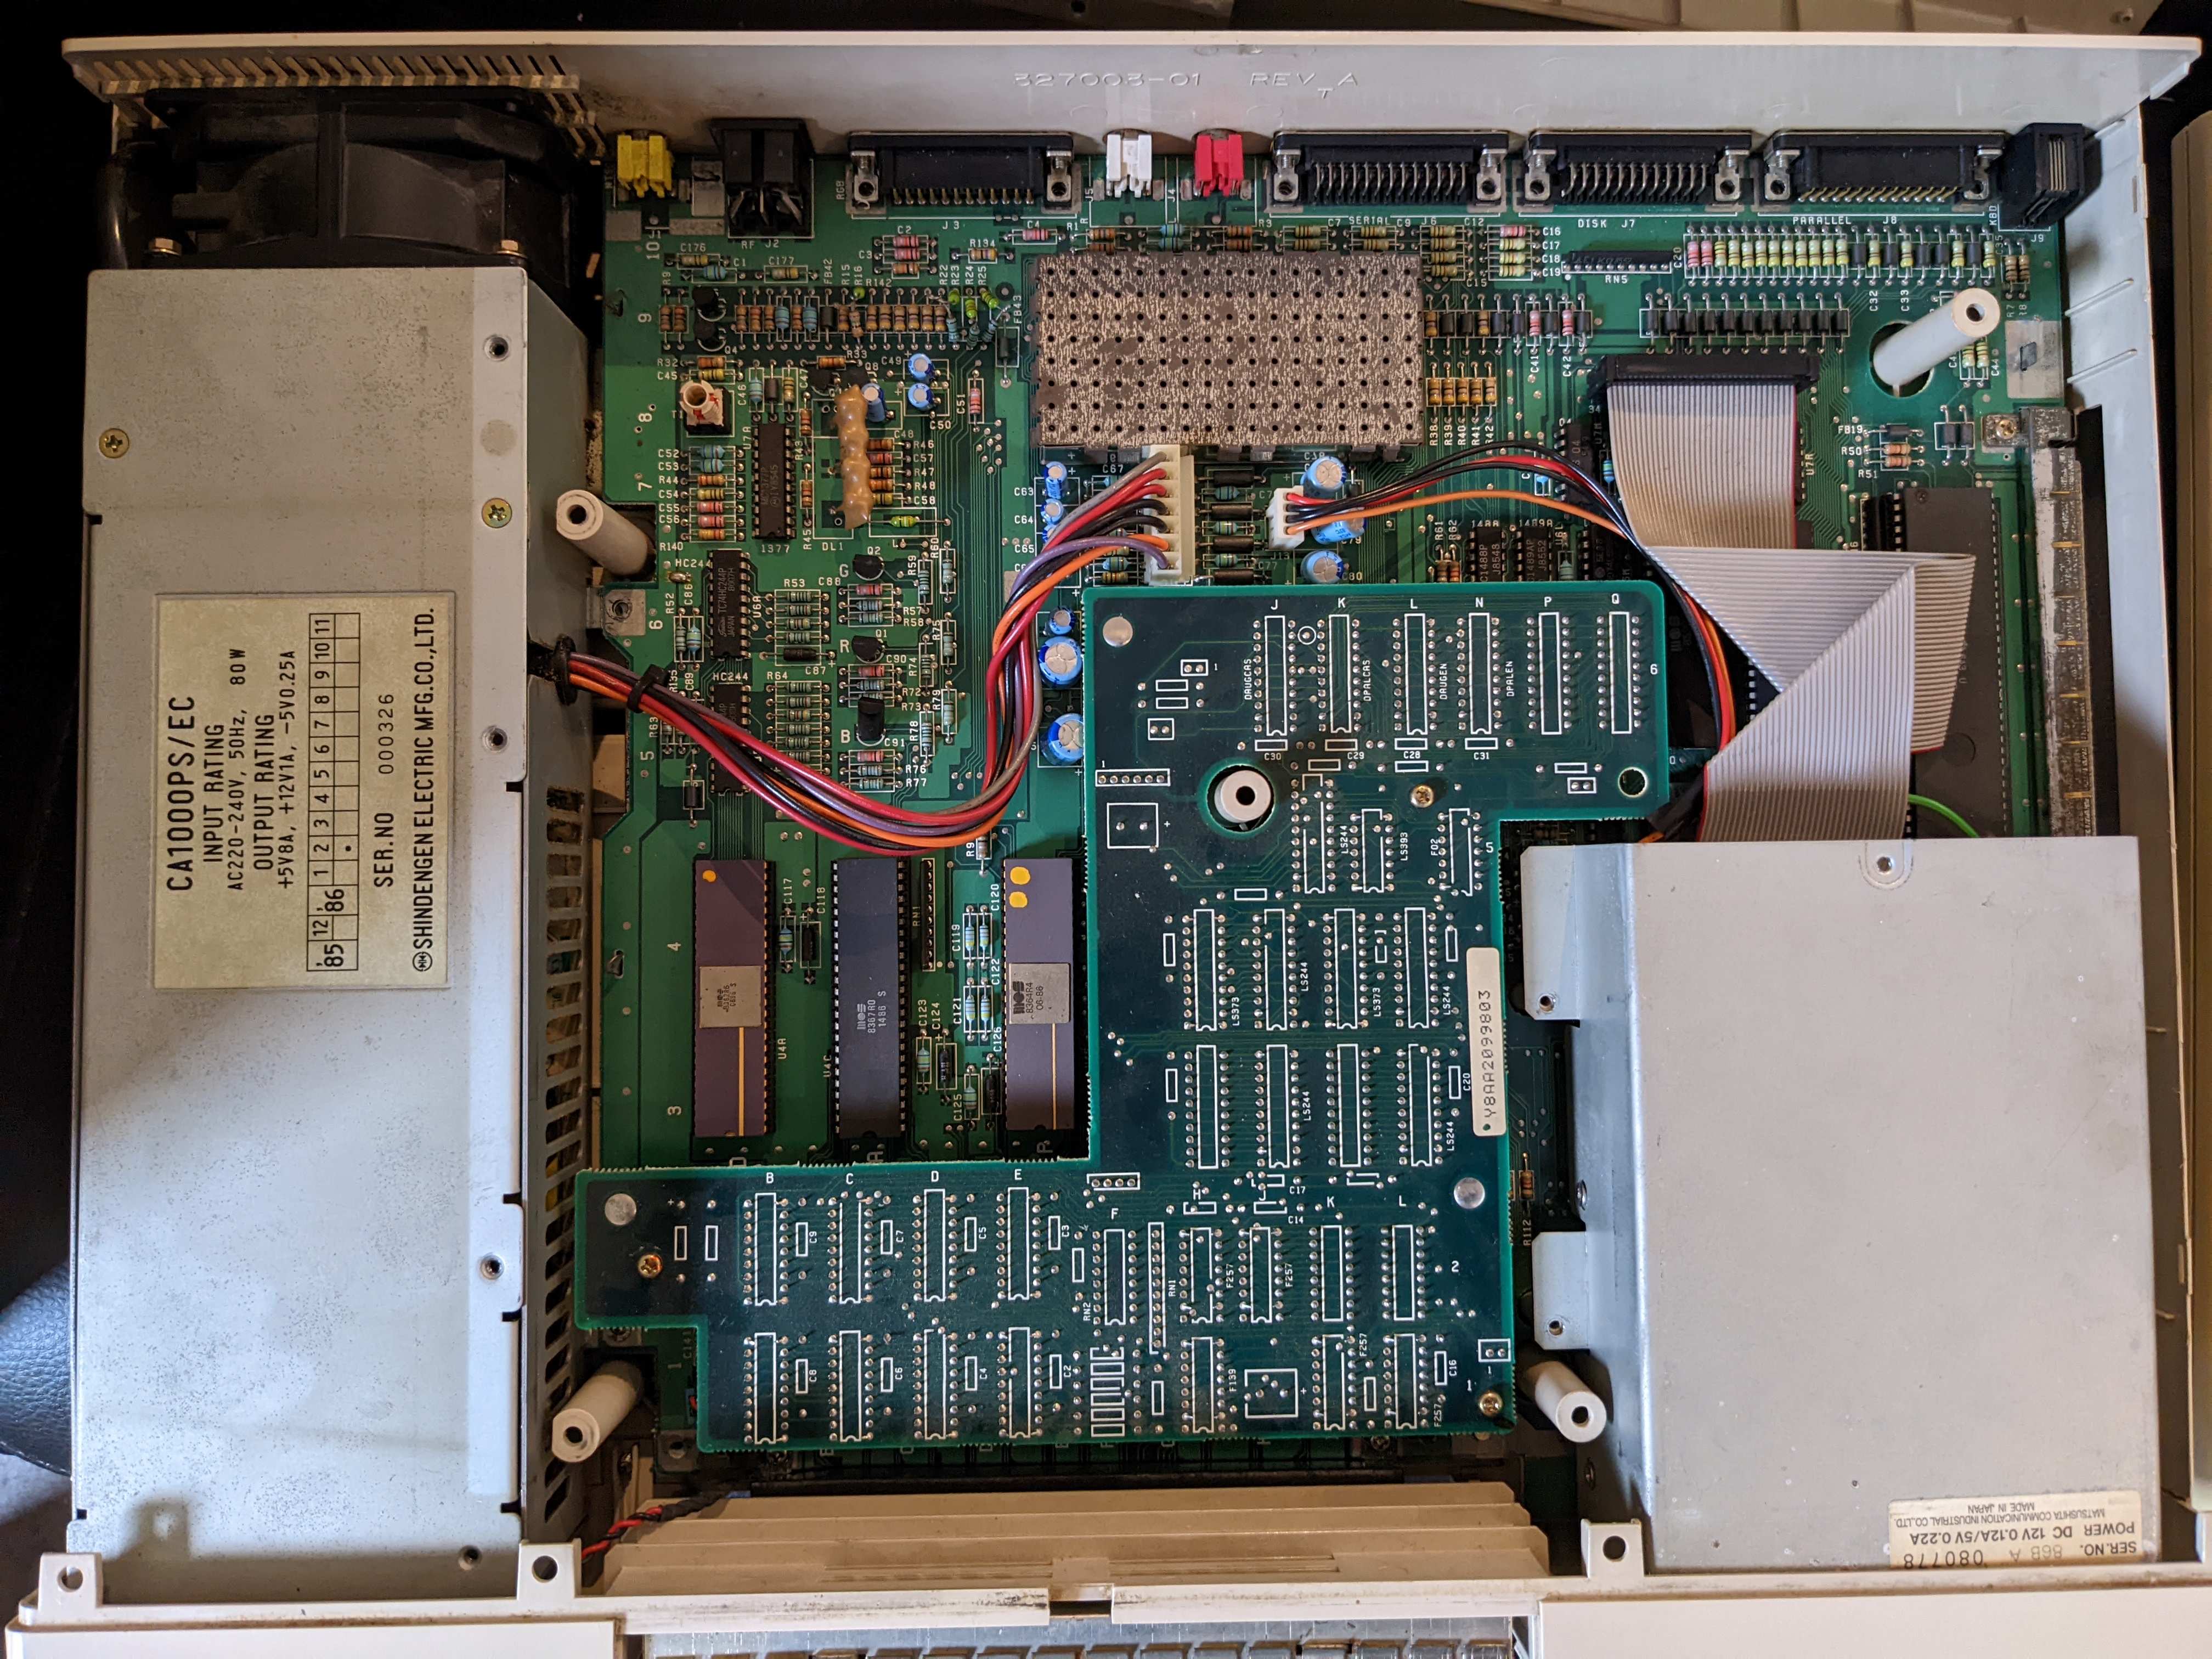
A light blue screen indicates that the Write Controlled Store (WCS) has failed a memory test. Backing up a bit, you’ll remember that my Amiga 1000 has a mezzanine board.
This is the WCS board. When the Amiga 1000 was first release the full ROM wasn’t quite ready, so there is a very small ROM which is designed to read the Kickstart ROM from a floppy disk and write it to the 256KB of RAM on this board. The RAM is mapped to 0xFC0000 – 0xFFFFFF. It will then lock the board until it is powered off.
So, I figured I would try and figure out which RAM chip was bad. I wrote a PiStorm test based on buptest to test this RAM area. It passed! LIV2 then gave me a truncated version of DiagROM so that it would fit in the bottom 256K of ROM space so that I could test the top area, and… It passed!
But wait a minute, something looks “off”… Let’s try a normal boot again…
Son of a…. So, I wasn’t seeing a light blue screen at all. What I was seeing was a grey screen whilst the boot ROM diagnostics were running, not giving it enough time and assuming the RAM was bad. In reality the red wire in my SCART lead had broken… One quick SCART lead change later, and…
After a couple of hours of complex diagnostics it turns out it was a simple SCART cable that was the problem. Whilst frustrating I have learned more about the Amiga 1000 boot sequence than I ever wanted to know and it seems the Amiga 1000 is actually working fine. All ready for cleanup.
此内容由惯性聚合(RSS阅读器)自动聚合整理,仅供阅读参考。 原文来自 — 版权归原作者所有。