The firmware in my RAMCHECK is very old, there were many updates since then. Unfortunately, the firmware was not published on the internet before Innoventions closed down. So, this is my adventure about obtaining new firmware.
My RAMCHECK runs version 2.06E. It is pretty good, but I have noticed when running the advanced test that it is marking some known-good RAM sticks as bad. I figured that this is something that is fixed with newer firmware. It might also allow for more modules to work with my RAMCHECK in the future.
I had no luck looking at archive.org, because firmware upgrades required registration with Innoventions. But, I happened to notice a video by Adrian’s Digital Basement where he was showing the RAMCHECK he owns. In that video, his was running a much more up-to-date version. I wondered if it was possible for him to retrieve that firmware for me. But first, I needed to disassemble mine to see how easy a firmware upgrade would be.
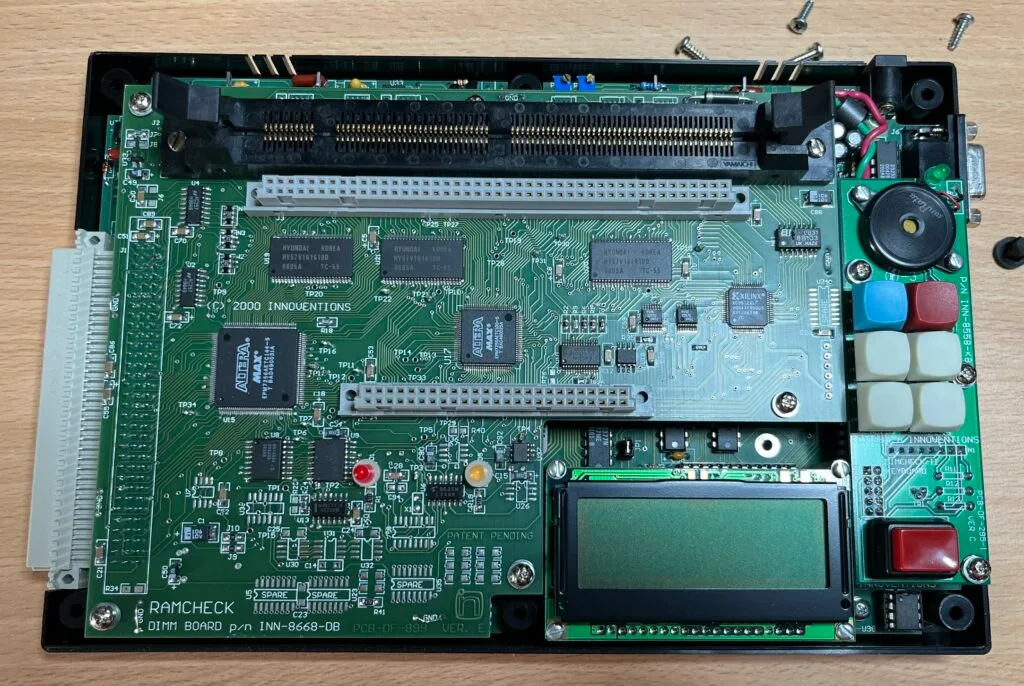
Disassembly was quite simple. The six rubber feet on the bottom were plugs which revealed screws. Undoing them meant the lid easily came off. This revealed the mezzanine board with the DIMM and module sockets, which in-turn was removed using six screws.
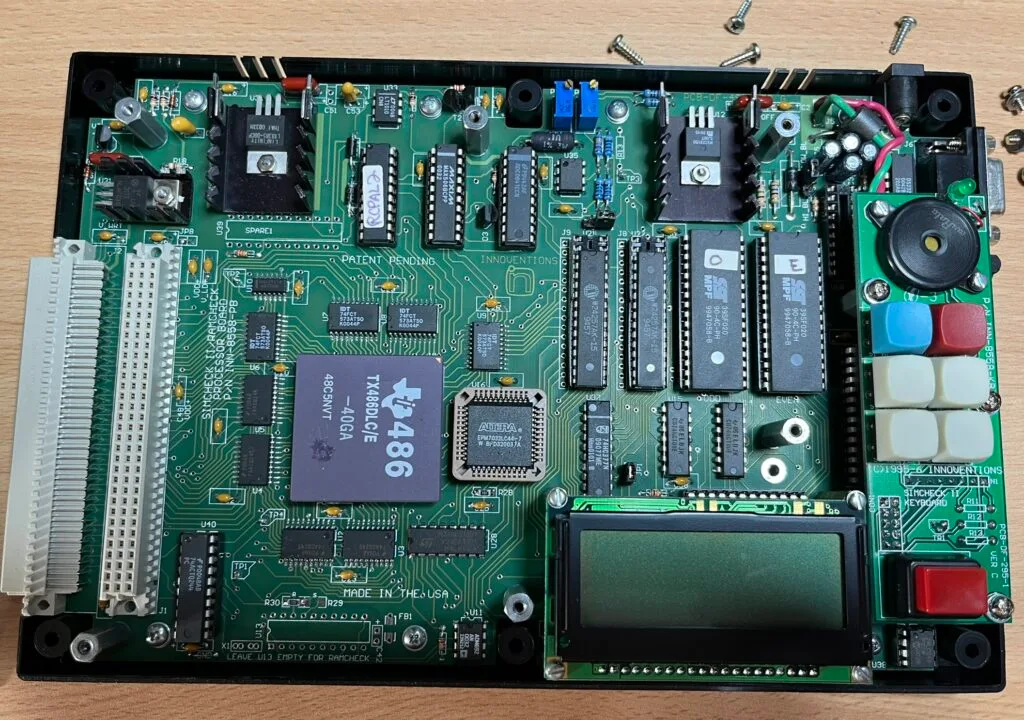
Now this is really cool. The main motherboard is powered by a Ti 486 CPU. (The TX486DLC was a 486 CPU for a 386 motherboard). I was not expecting that. I thought it was going to be a 32-bit microcontroller. I also immediately noticed a couple of things that made me think that this was going to be possible:
I’m very familiar with the SST chips, I use them in my ROMulus boards and have even written flashing software for them. They are 8bit EEPROM chips and the 020 variant are 256KB in size. Two of them are used to provide 16bits of data to the CPU. Hence the ‘O’ and ‘E’ labels for ‘Odd’ and ‘Even’.
If you haven’t seen Adrian’s videos, you should definitely watch them. I think his videos tend to focus on vintage PC and Apple repairs, but they are very good content. I reached out to him, and he replied willing to help me out and archive everything for the rest of the community.
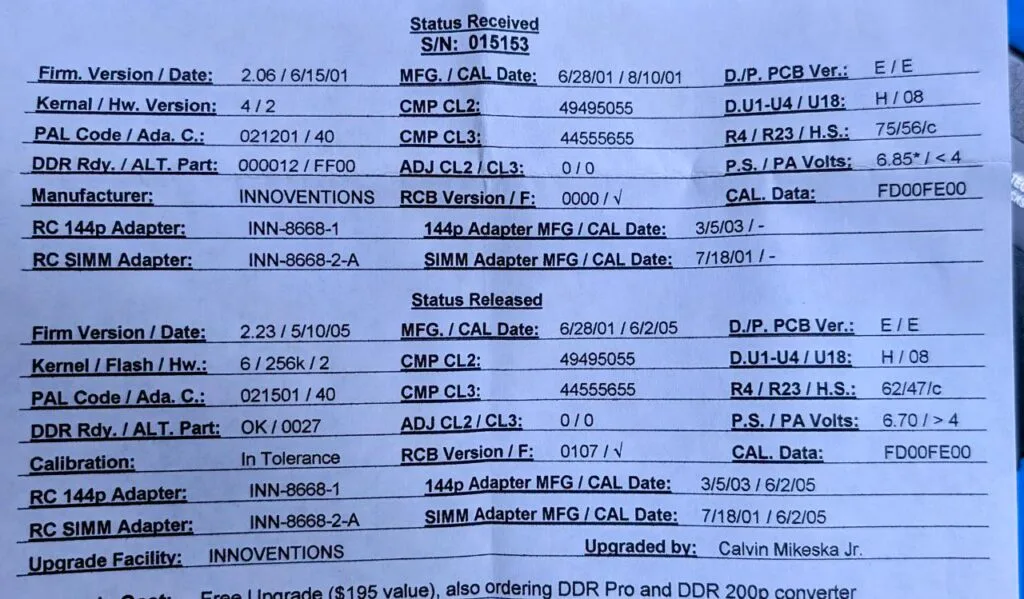
There was a small problem, however. He had documentation that indicated that when his was upgraded to support DDR RAM, it had more work done to it than just a firmware upgrade. Amongst other things, there was a PAL chip upgrade.
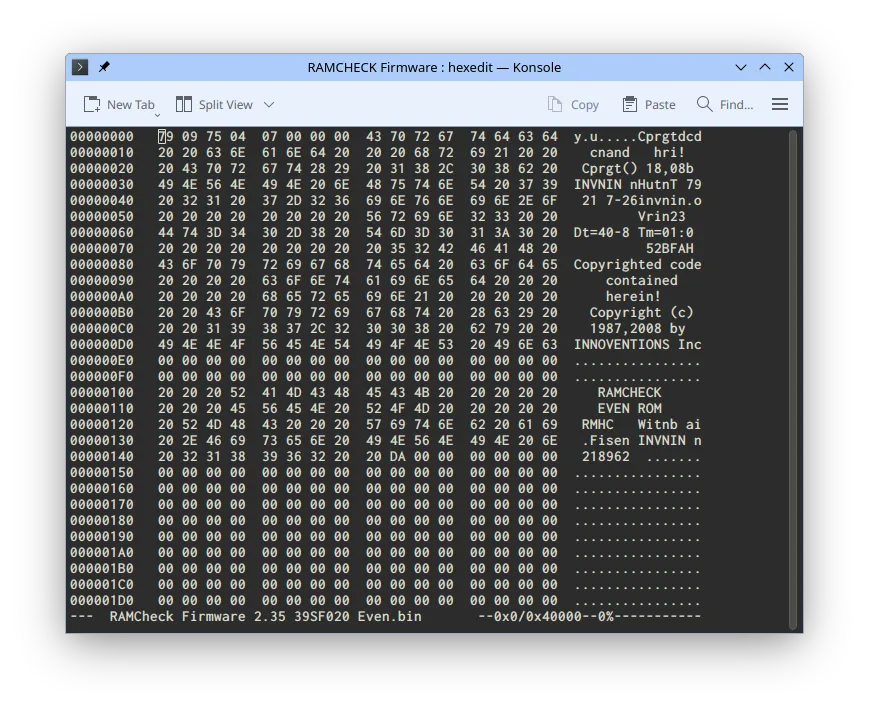
This documented a 2.23 upgrade, but he mentioned that his was subsequently software upgraded to 2.35. He managed to backup the EEPROM chips in his device and attempted to backup the PAL chip, but that one was locked (to be expected).
It is also possible that the CPLDs, one next to the CPU and three on the mezzanine board, had also had a firmware upgrade. Whilst there is an EEPROM in the bottom right corner, that appears to be just storing the settings, not things like calibration dates and values. That version information is stored somewhere, because it is available in the menus.
I’ve been using a GALEP-5 EPROM programmer lately. I think it is kinda cool because it’s still supported and has Linux software, even if it doesn’t look great in a modern distro. Using this I dumped the EEPROMs of my device. I also dumped the PAL chip, but as with most PAL chips, it is difficult to know if you got a real backup until you actually burn it. Protected chips tend to give you _something_ even if it is junk. I acquired the same model of PAL chip, and found it was a bad backup.
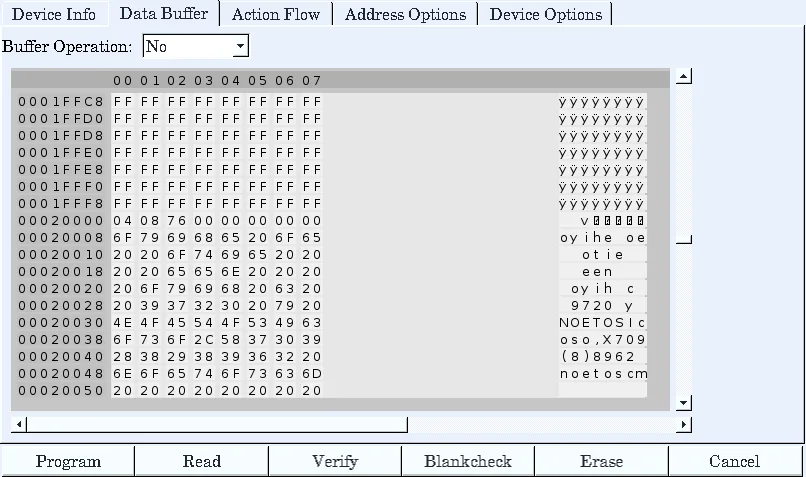
This was interesting, only the bottom half of the EEPROM was in use. Which was actually useful to me to know, as we will see shortly. The backup of Adrian’s newer ROMs used the full ROM space.
Now, I wanted to flash the ROMs, but I didn’t want to flash over my own EEPROMs, mostly so that I could easily go back and forth as needed. I didn’t have SST39SF020s in stock, but I did have SST39SF040s. These are 512KB instead of 256KB, they utilise an extra pin which is unused in the 020 for the extra address space. I checked the motherboard and that pin was connected, so they had intended the possibility of upgrading to that much in the future, at least at a hardware level.
Given my knowledge that the first half of my 020s were empty, I flashed Adrian’s ROMs onto the top half of my 040s. I plugged them in, and…
To quote Adrian, “It freakin’ works!”. Now, that message is an indication that my board did not go through the full upgrade, and our theory is the PAL is the key to this. This doesn’t matter to me, because I don’t have the DDR modules for this device.
Let’s try it with a 72-pin SIMM…
Fantastic! This stick would fail in the more advanced tests on the old firmware, but I pulled it from a working machine.
You may have noticed the 30-pin SIMM left locking lever is missing. It was not working great, and I found out that it is actually broken. I should be able to design and 3D print a replacement, but that is a task for another day.
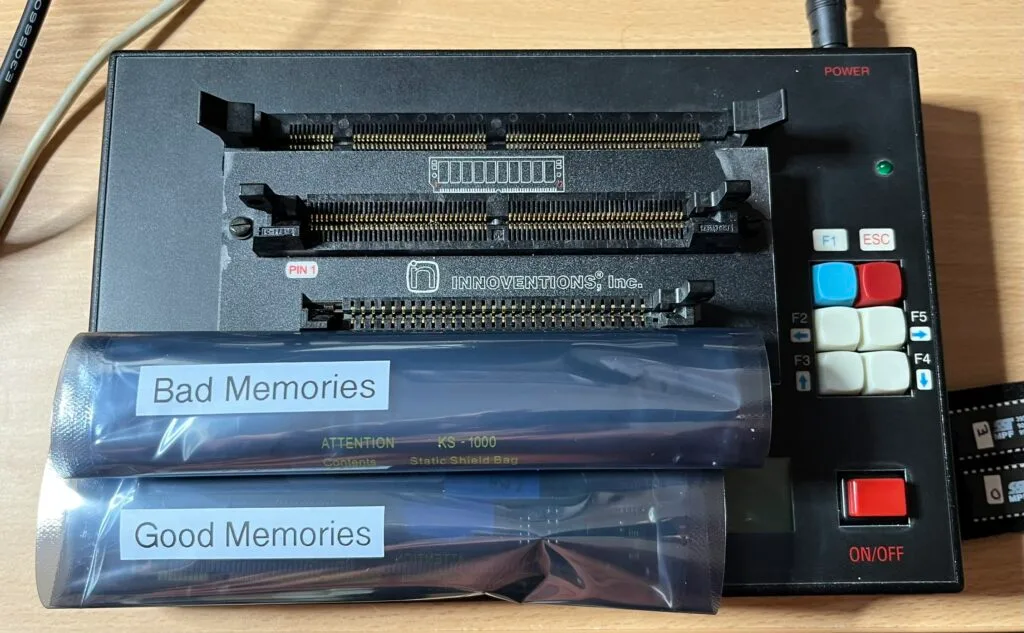
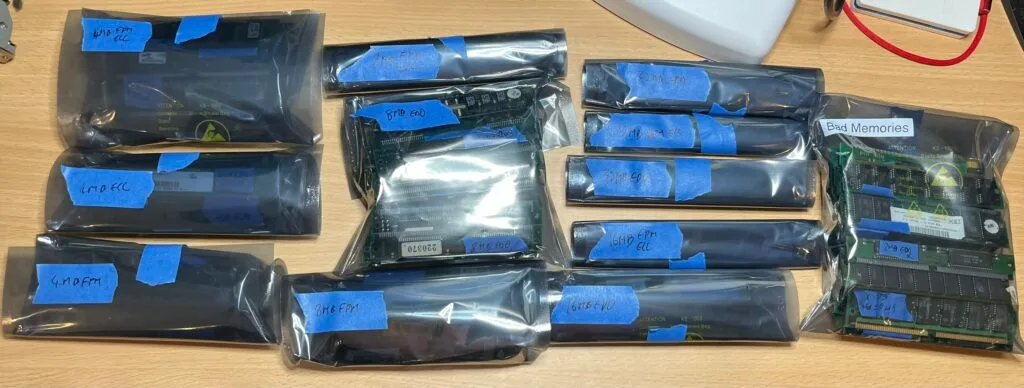
With the upgrade done, I ran some tests on some piles of RAM I had available (over 100x 72-pin SIMMs). I was able to easily label each one with its specifications (capacity, FPM/EDO, etc.) and sort into good and bad piles.
The firmware from both of our backups is on archive.org. Adrian has also created a video of his part of the adventure, I’ll update this post when it is available. If you have a different firmware version, please let us know, it would be great to have a full range of versions on archive.org.
Many thanks to Adrian from Adrian’s Digital Basement for all the help you have given me on this little adventure.
The video on Adrian’s Digital Basement second channel is available here.
此内容由惯性聚合(RSS阅读器)自动聚合整理,仅供阅读参考。 原文来自 — 版权归原作者所有。