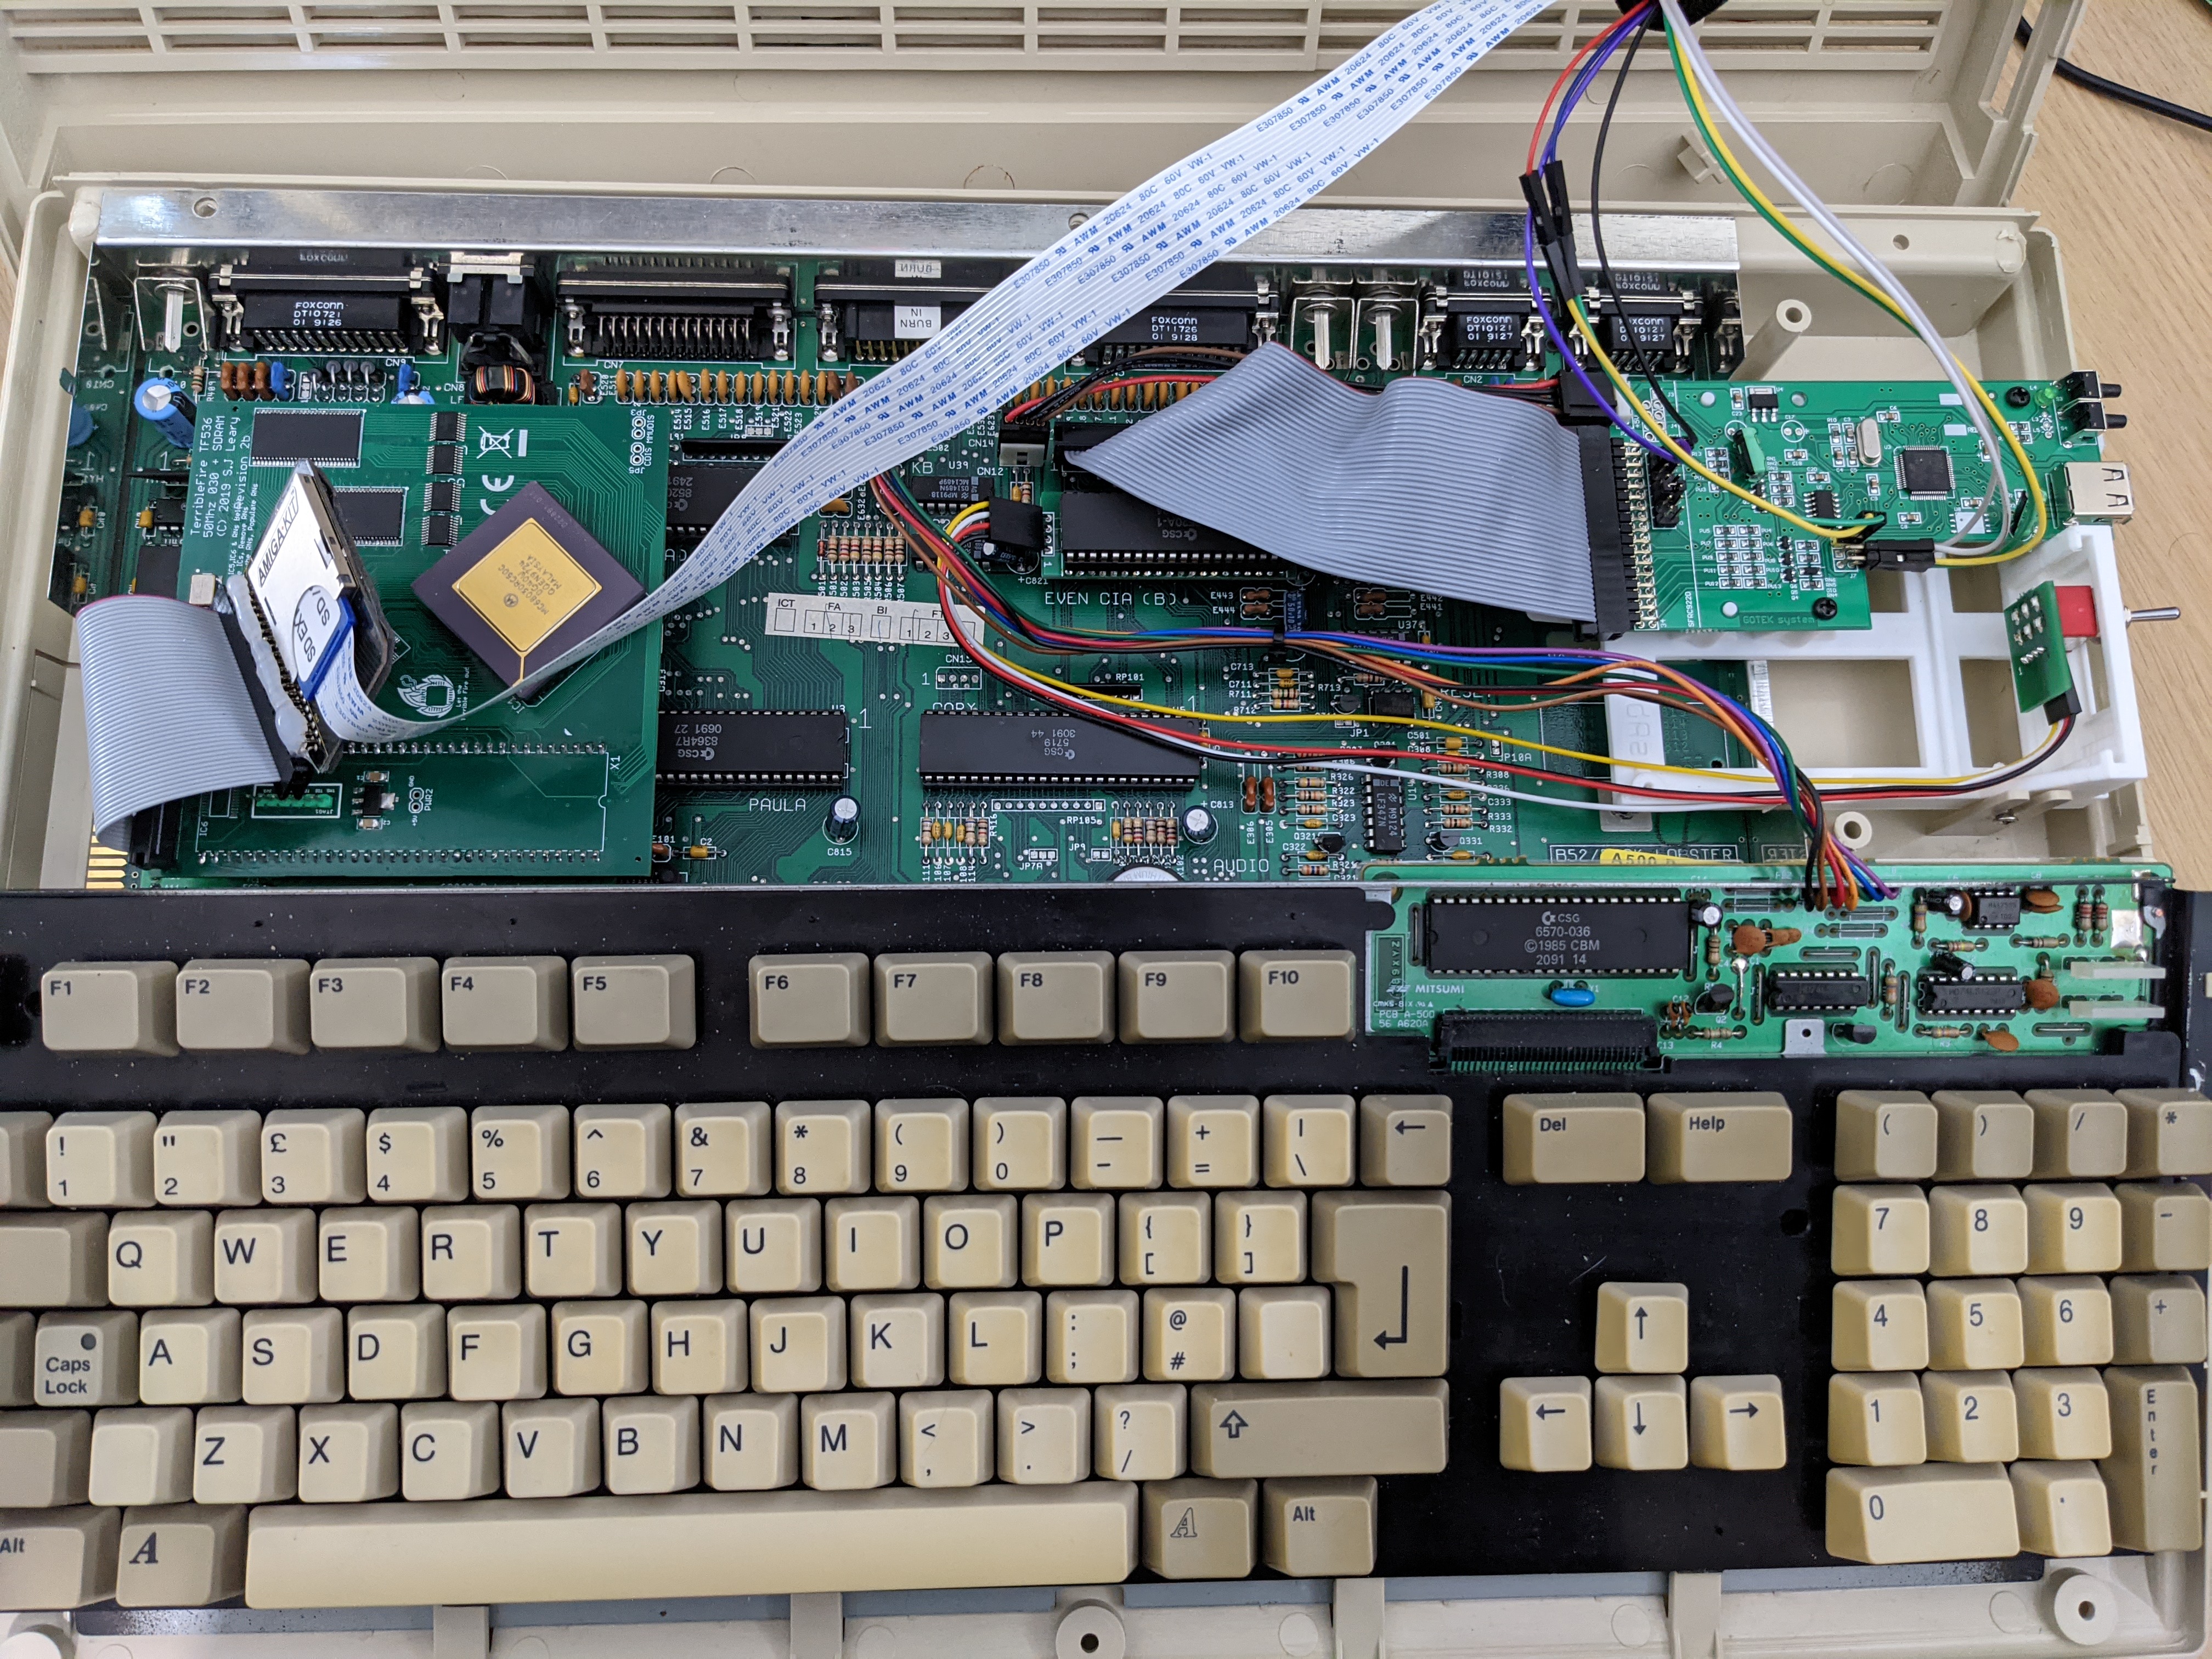
My journey through trying out Amiga upgrades has been continuing recently with some minor changes to my Amiga 500 Plus. These ones are a little more minor but still useful.
Many Amiga games and applications only work when running from the floppy drive labelled “DF0”, this is the internal floppy drive for the Amiga 500. If, like me, you have a Gotek internally you may sometimes want to boot from physical media in an external floppy drive (usually labelled “DF1”). This is where the DF0 switch comes in.
This is a product sold by AmigaKit which fits under the Even CIA chip and has a physical switch which switches between the internal and external drives for DF0 and DF1.
Fitting the CIA side of this was relatively easy, but on rev. 8a boards like mine there is a capacitor in the way, so I had to bend the pins for the switch up slightly to make it work. Alternatively I could have replaced the capacitor like I did for the CPU relocator board, but I figured this was easier for now.
For the switch side I found that the hole where my Gotek OLED display was is the perfect size for the switch. The thread fits through fine and the washers and nut that comes with it holds it in place.
I need to be a little careful fitting the lid back on, but it fits great. I just toggle the switch up to make the external DF0 and down for normal.
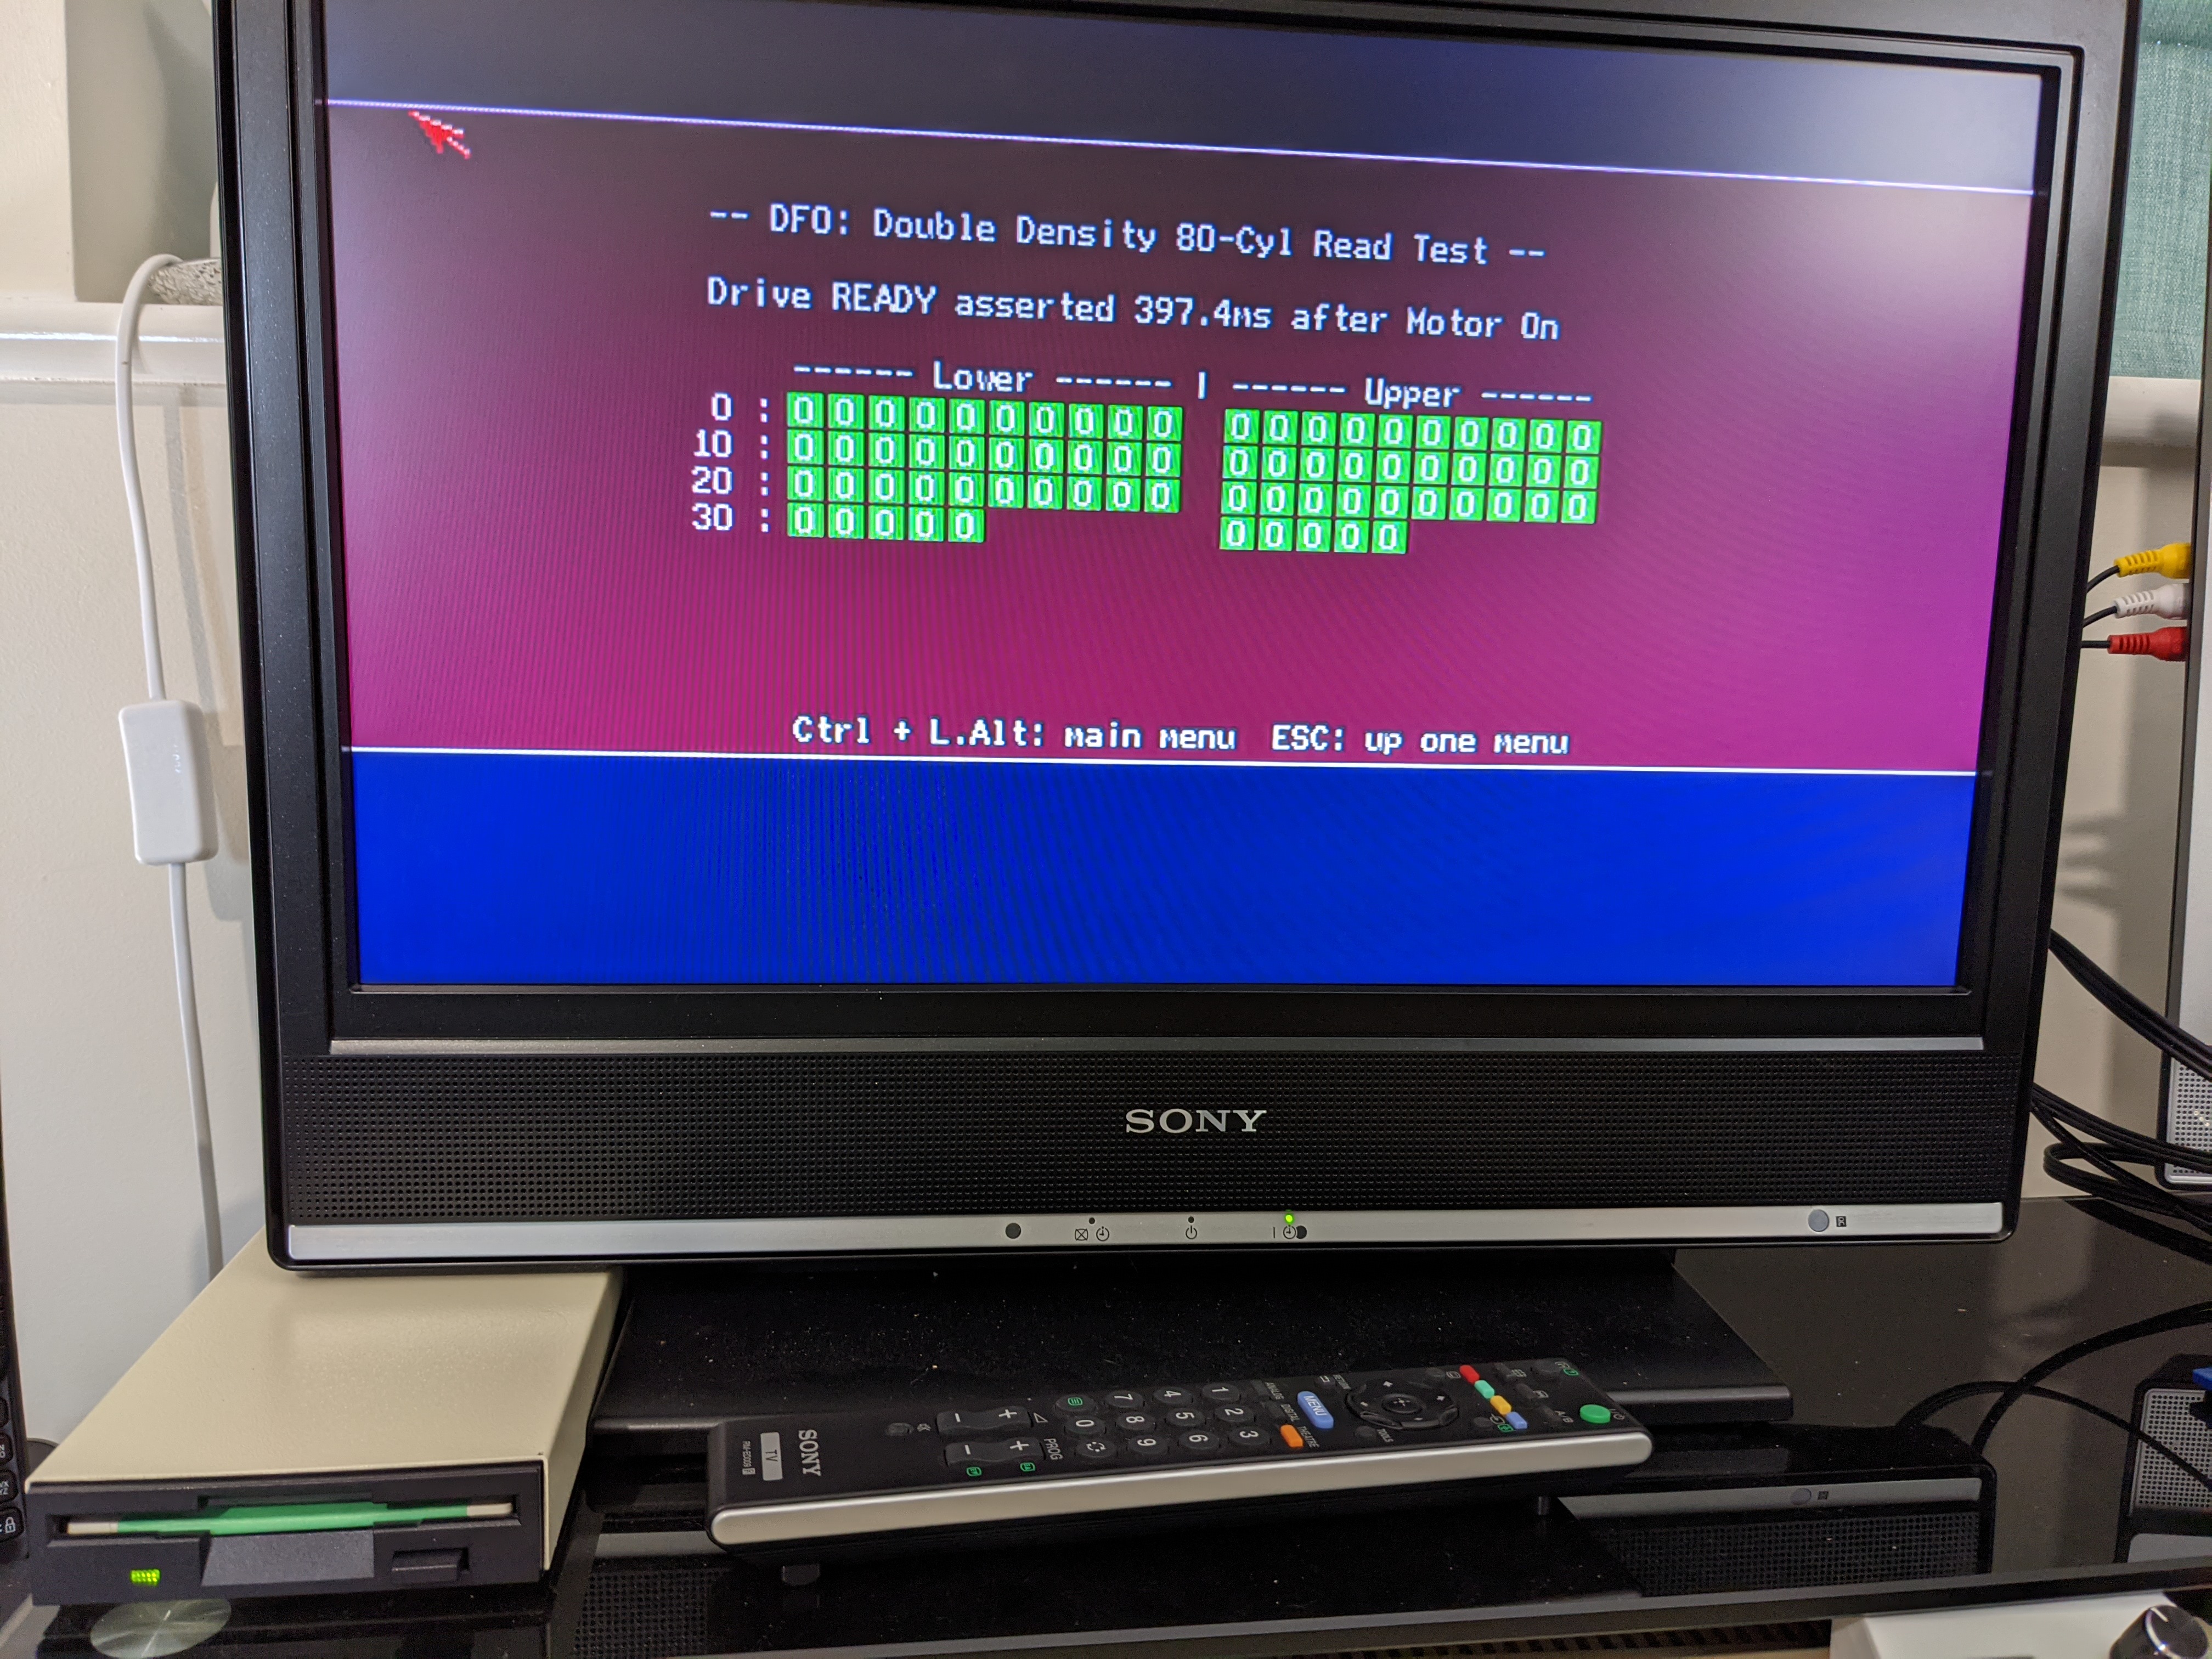
Here you can see AmigaTestKit testing “DF0” but is actually talking to my external floppy drive.
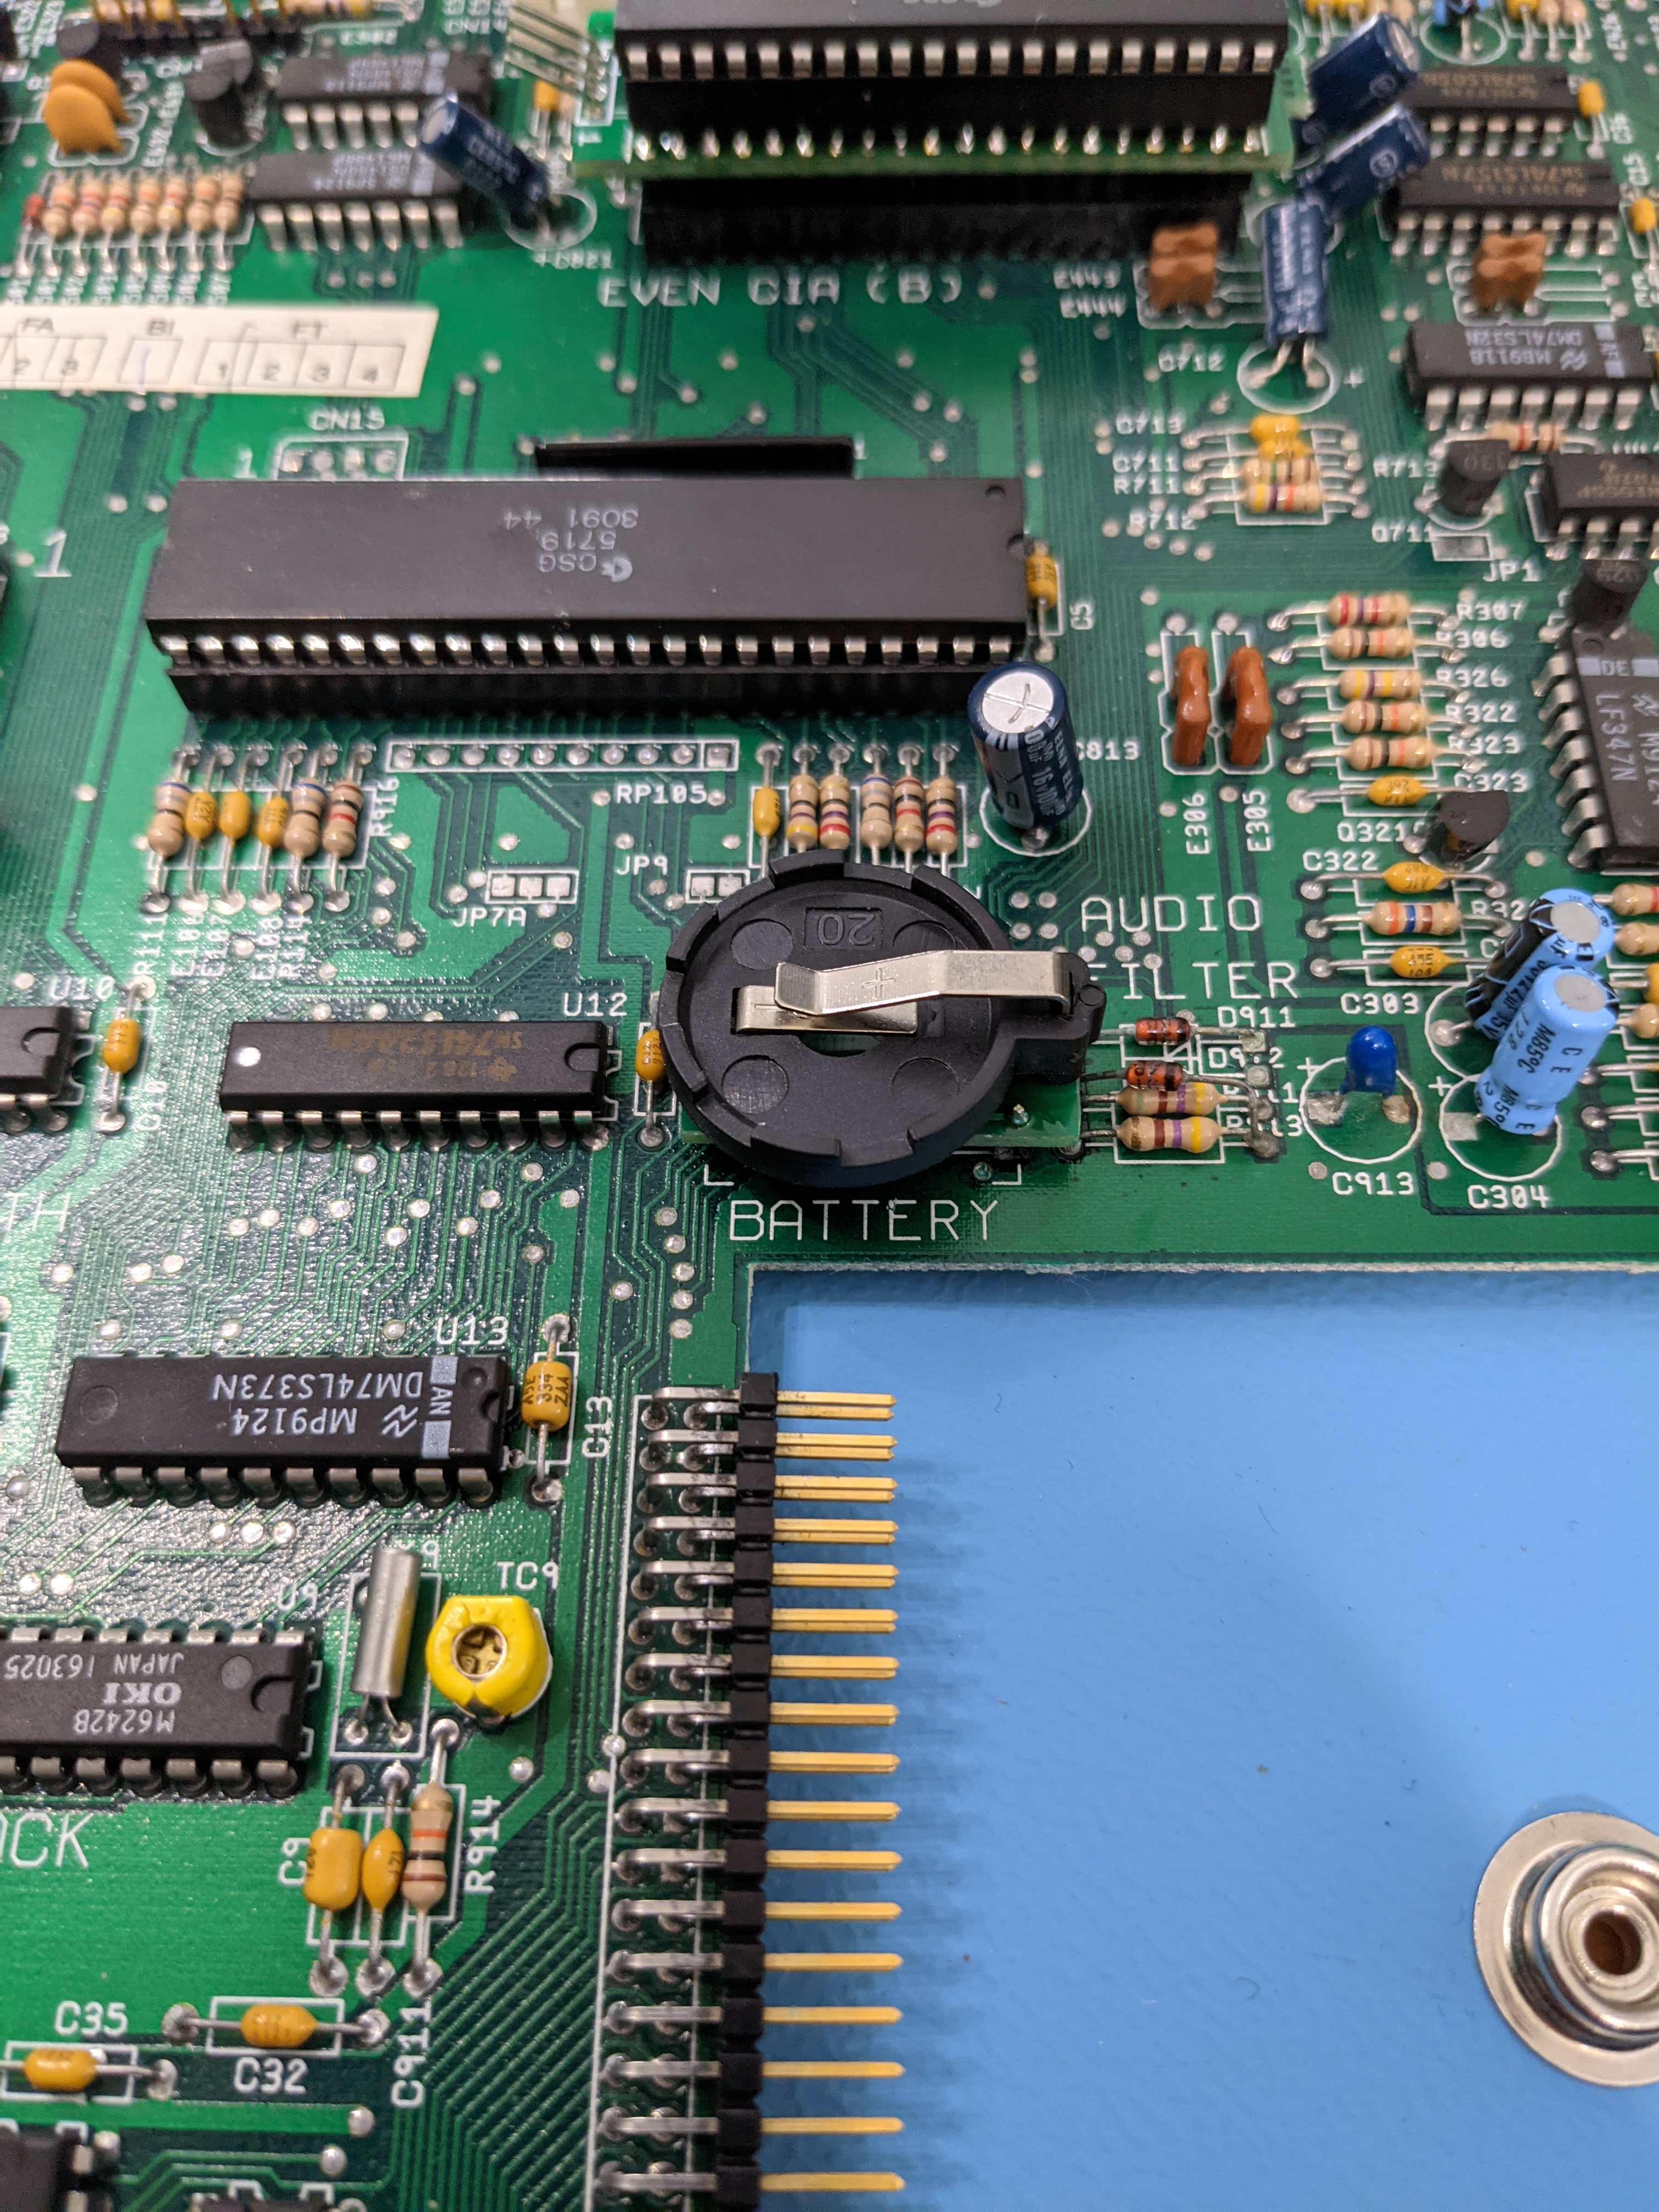
The Amiga 500 Plus came with a battery soldered onto the motherboard. Unfortunately these batteries degrade over time, leak and destroy the motherboard. I was luckily that the battery on mine had done very little damage. But it was still the first thing I removed when I repaired this Amiga.
Now that I have the accelerator I’m booting more often into Workbench and having a working real time clock is becoming more useful. Especially since Amiga OS 3.1.4 is Y2K compliant.
AmigaKit sell a mini PCB which fits the same profile as the original battery but has a coin cell socket and a diode on it (to stop the Amiga trying to charge it).
I cleaned up the PCB holes around the battery area and soldered it on. The legs are a little long so I trimmed them afterwards too.
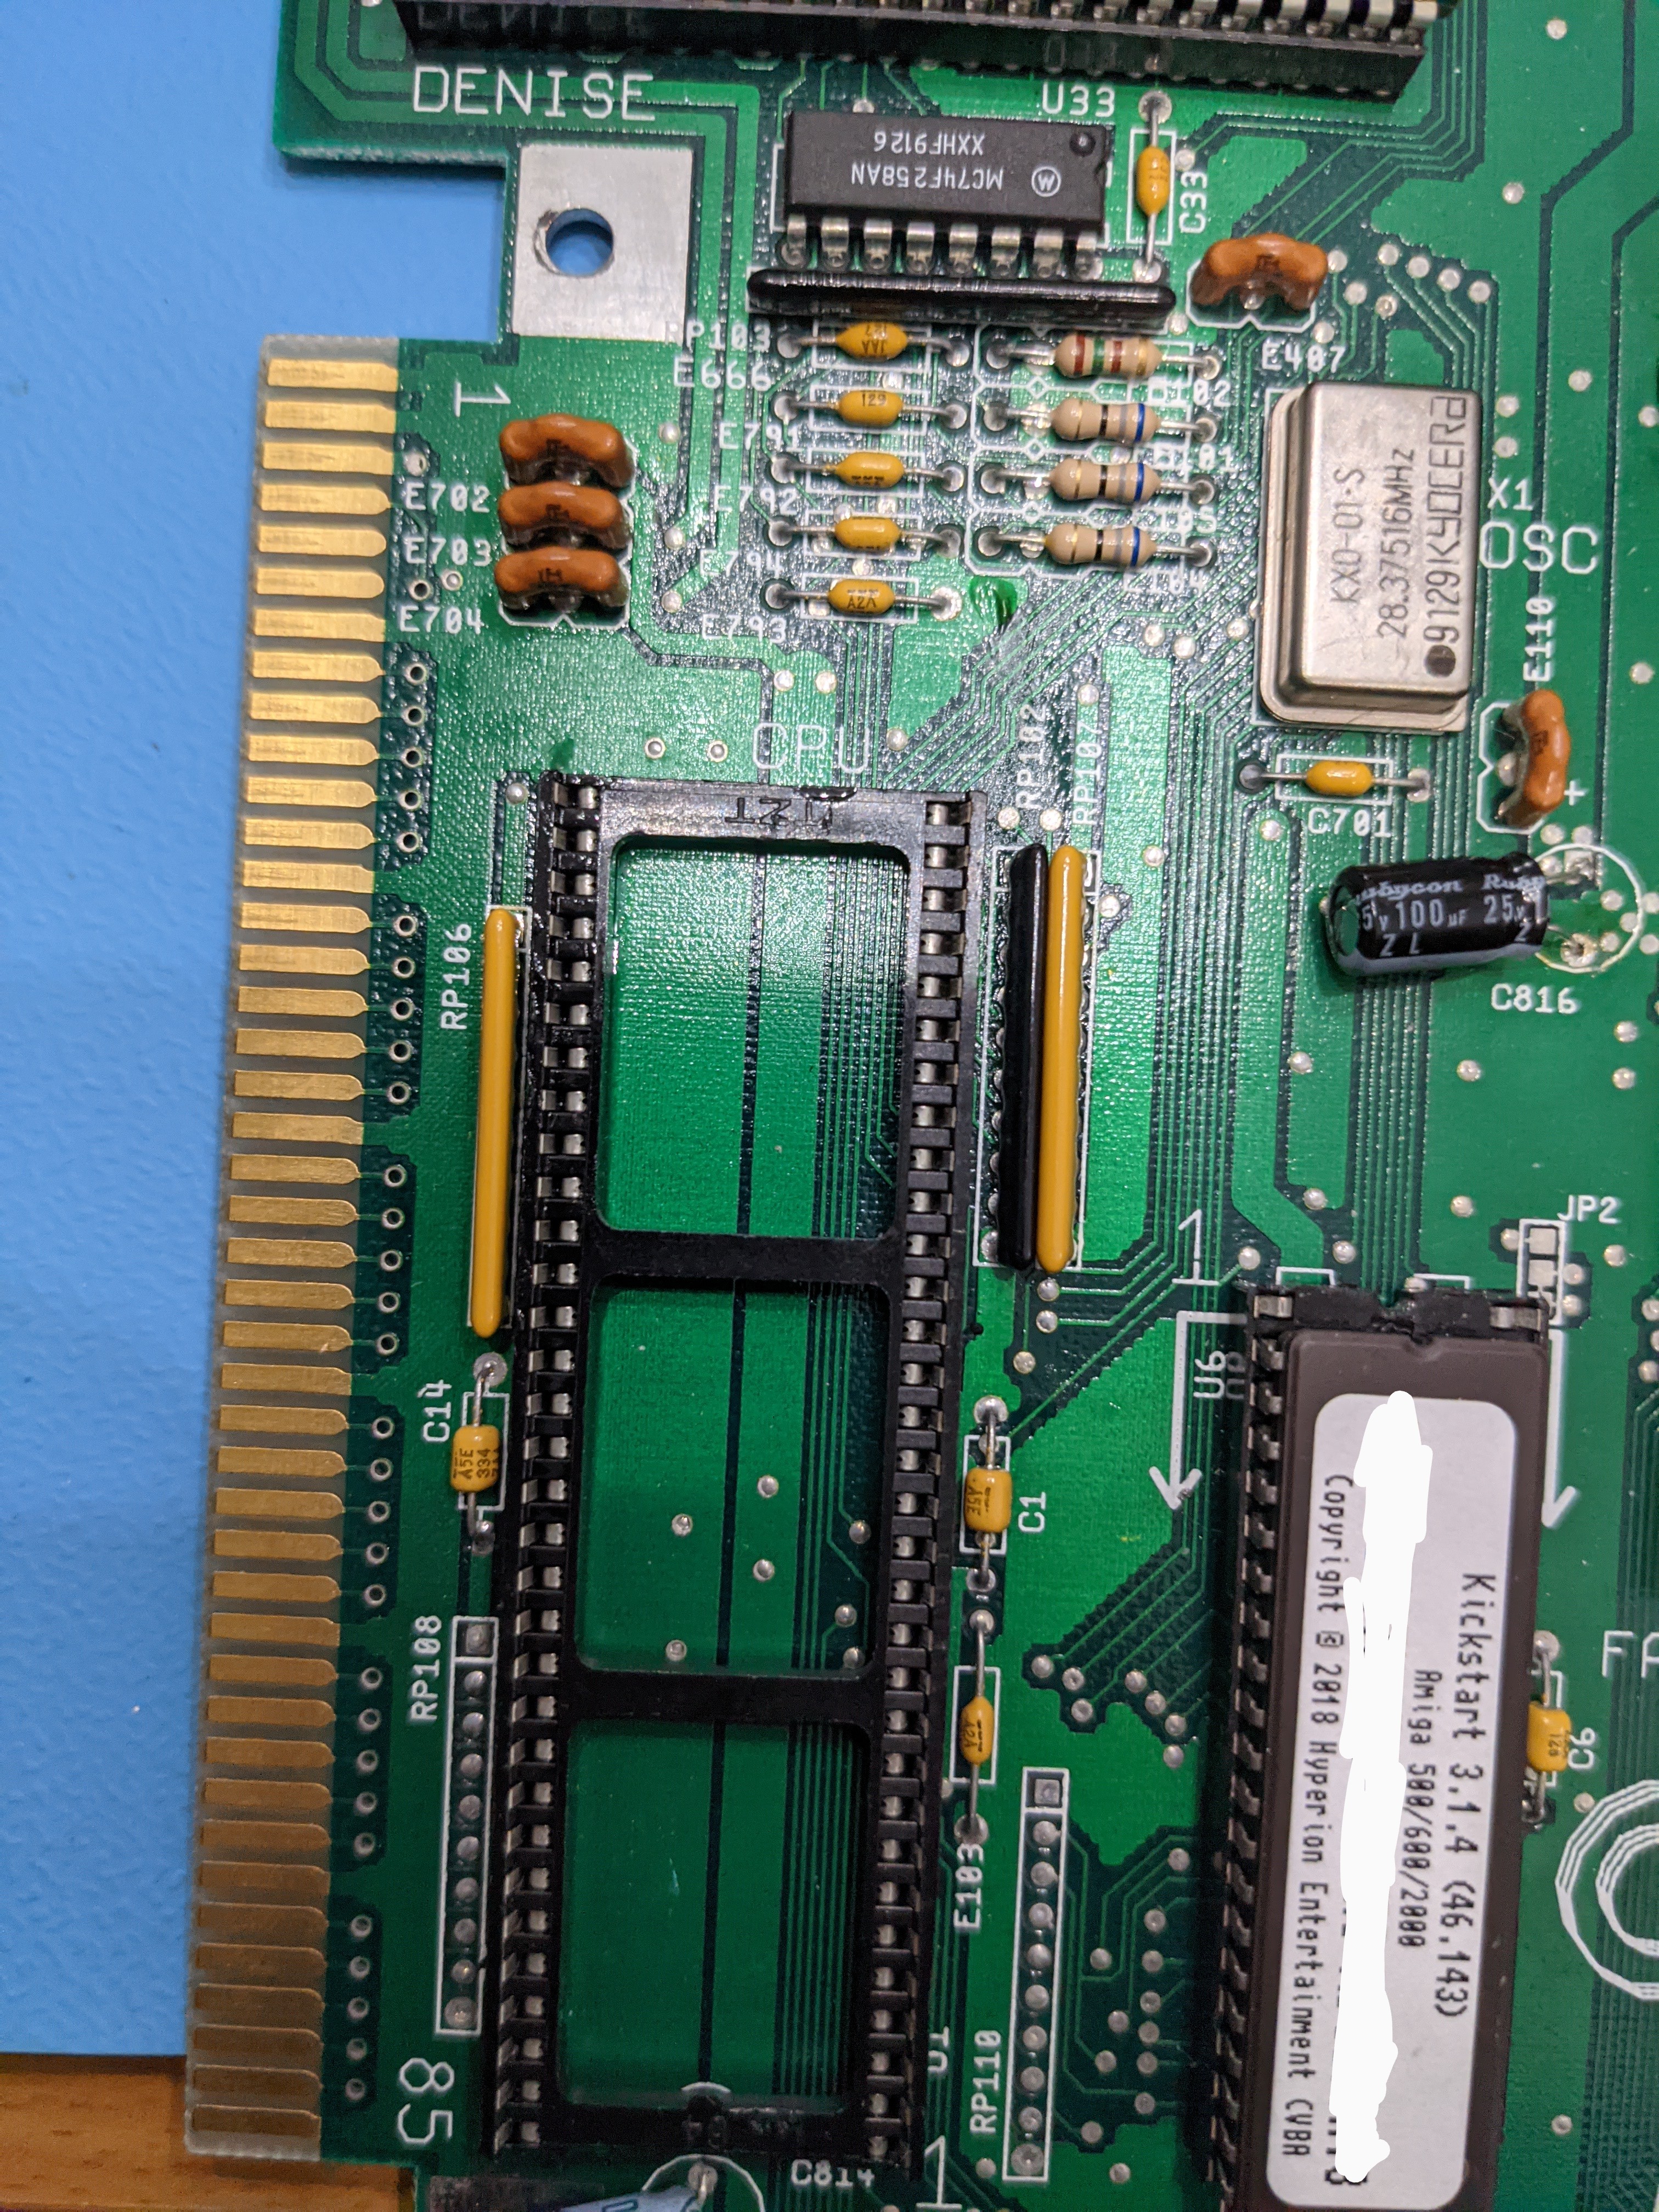
Whilst I was at it, I also soldered on the missing pull-up resistors for the high Amiga address lines, they are labelled RP106 and RP107 on the PCB. These weren’t installed due to a cost-saving measure, but in rev 8a Amigas with Kickstart 3.1 EPROMs instabilities can happen without them. Whilst I don’t think I have experienced them I thought it was better safe than sorry.
Update 2026-05-09: Do not populate these, see my A570 blog post to learn why.
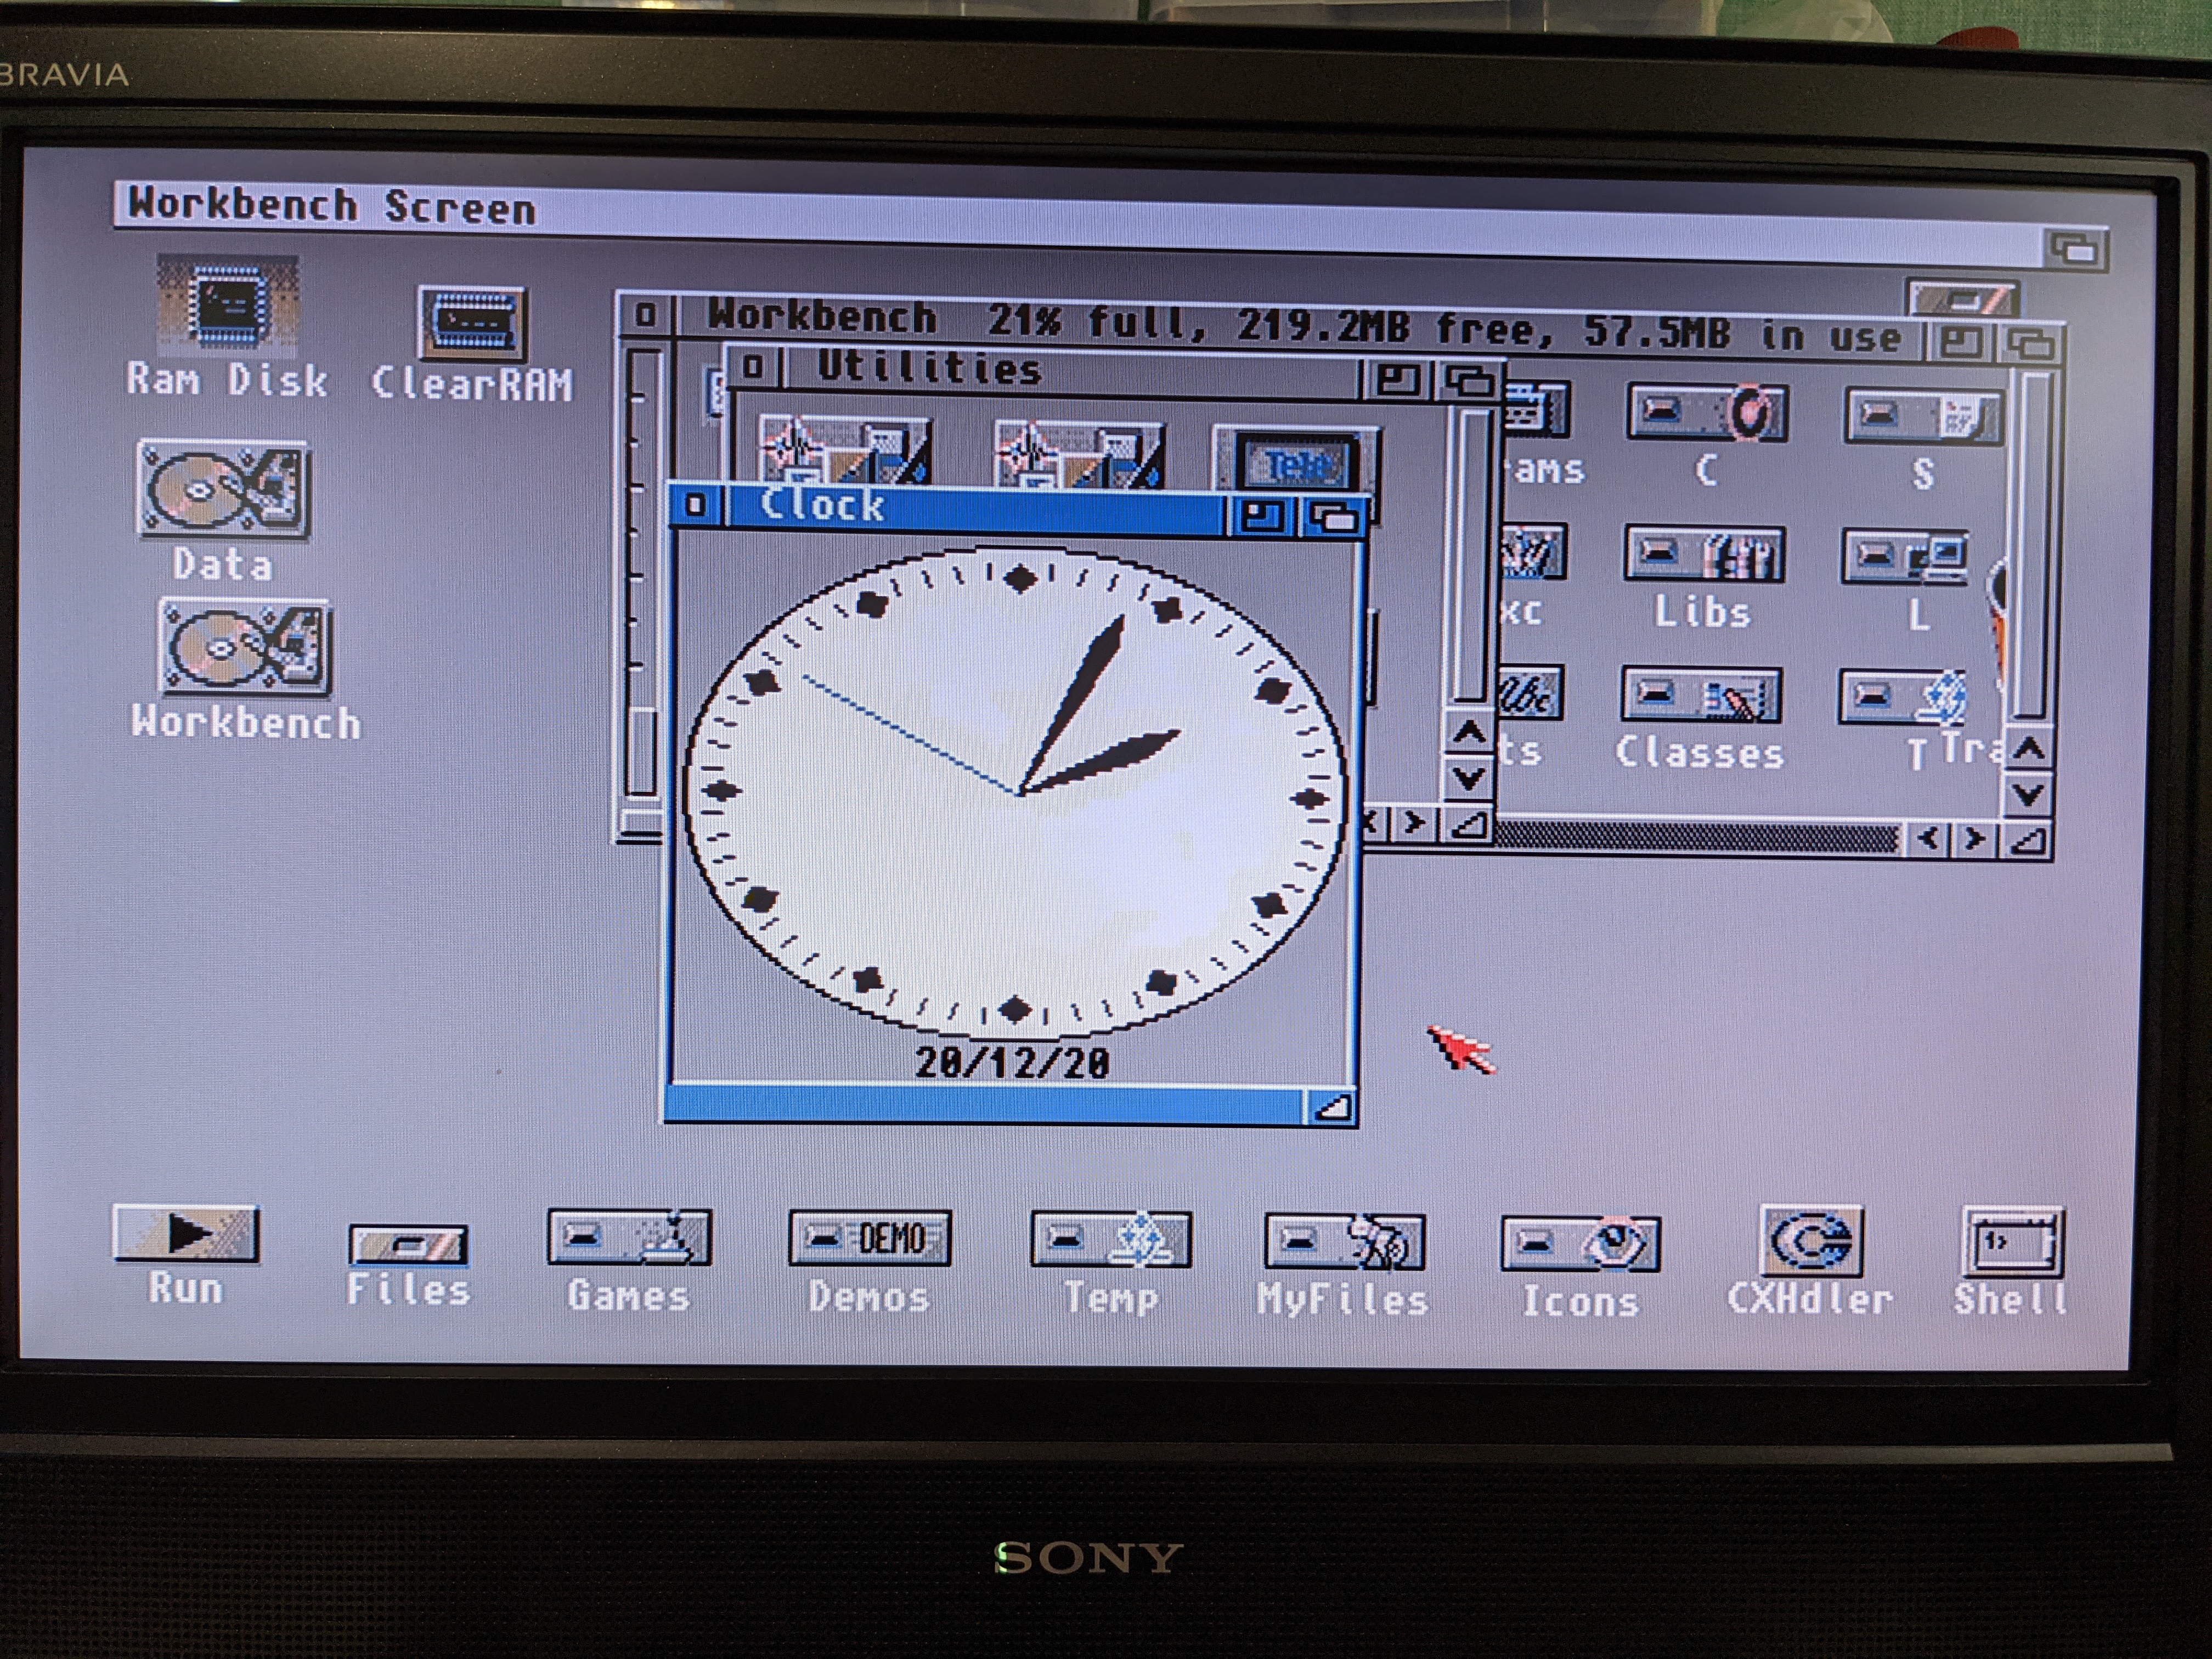
To test it, I set the time / date and then turned it off for a couple of hours. When I switched it on I loaded the clock application and the time / date was still correct.
As of today, this is what my Amiga 500 Plus looks like internally. It is almost as far as I want to take it, but there is still a couple of things I am building to try inside it. I’ll post more hardware changes in the next couple of weeks.
此内容由惯性聚合(RSS阅读器)自动聚合整理,仅供阅读参考。 原文来自 — 版权归原作者所有。