注意:以下全部操作尽量不要在Windows系统下操作 scaffolds source themes文件夹和_config.yml package.json文件
1
2
3
4
5
6
7
8
mkdir source cd source git init git remote add origin [email protected] :Disappear9/disappear9.github.io.git git checkout --orphan source git add . git commit -m "Initial commit" git push origin source:source
创建 .travis.yml
1
2
language: node_js node_js: stable
用Github登录并且关联项目
让Travis CI可以push到你的仓库
生成一个 ssh 密钥对:
1 $ ssh-keygen -t ed25519 -f travis.key
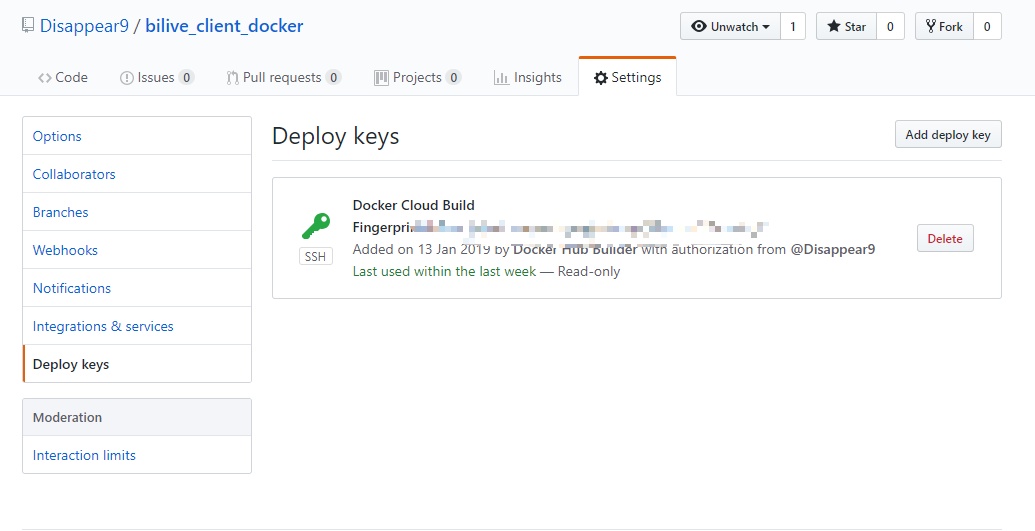
把travis.key.pub中的内容粘贴到Deploy keys
总不能把私匙直接放项目里把?下面第一个坑来了:
1
2
$ sudo apt install ruby $ sudo gem install travis
瞬间报错
1
2
ERROR: Error installing ffi: ERROR: Failed to build gem native extension.
Google了一圈,缺依赖,安上:
1 apt install ruby-dev curl
好了,能正常运行了
1
2
3
4
# 如果是私有项目要加 --pro 参数 $ travis login --auto # 加密完成后会在当前目录下生成 travis.key.enc 文件 $ travis encrypt-file travis.key -add
如果使用Windows系统,到这一步就会各种报错,官方甚至直接把这条写进了文档 ,说明不要在Windows系统下操作
1
2
Caveat # There is a report of this function not working on a local Windows machine. Please use the WSL (Windows Subsystem for Linux) or a Linux or macOS machine
加密完成后把travis.key.enc放进travis文件夹,查看.travis.yml会发现多了这样一行
1
2
openssl aes-256-cbc -K $encrypted_************_key -iv $encrypted_************_iv -in .travis/travis.key.enc -out ~/.ssh/id_rsa -d
其中的$encrypted_************_key和iv应该会被自动添加到Travis的环境变量
然后就是第二个坑 $ travis encrypt-file travis.key -add时加上 –debug参数,这样工具就会打印出API日志,其中value长度为32位的是iv,更长的是key,然后手动把他们加入到Travis的环境变量(添加的时候不要把前面的$符号打进去,不然又是报错)(手贱这一下我调了半天没找到错误在那……)
.travis.yml 1 2 3 4 5 6 7 8 9 10 11 12 13 14 15 16 17 18 19 20 21 22 23 24 25 26 27 28 29 30 31 32 language: node_js node_js: stable branches: only: - source cache: yarn: true directories: - node_modules - themes addons: ssh_known_hosts: - github.com before_install: - openssl aes-256-cbc -K $encrypted_************_key -iv $encrypted_************_iv -in travis/travis.key.enc -out ~/.ssh/id_ed25519 -d - chmod 600 ~/.ssh/id_ed25519 - git config --global user.name "Disappear9" - git config --global user.email "[email protected] " - chmod +x travis/deploy.sh install: - yarn script: - hexo clean - hexo generate after_success: - travis/deploy.sh
deploy.sh(放进travis文件夹)
deploy.sh 1 2 3 4 5 6 7 8 9 10 11 12 13 14 #!/bin/bash set -evexport TZ='Asia/Shanghai' git clone --depth=1 -b master [email protected] :Disappear9/disappear9.github.io.git .deploy_git cd .deploy_gitgit checkout master mv .git/ ../public/cd ../publicgit add . git commit -m "Site updated: `date +" %Y-%m-%d %H:%M:%S"`" git push origin master:master --force
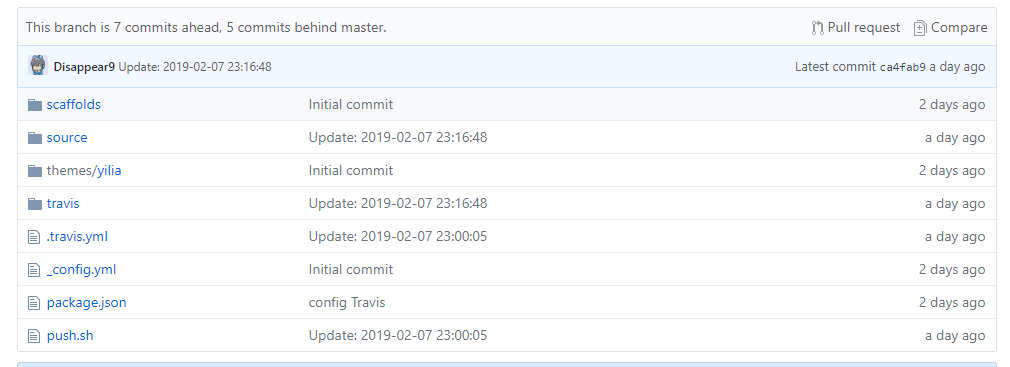
上面这些步骤做完后你的目录看起来应该是这样的
https://github.com/Disappear9/disappear9.github.io/tree/source
完成后git push origin source:source 这样Travis ci就会开始构建了
https://blessing.studio/deploy-hexo-blog-automatically-with-travis-ci/ https://segmentfault.com/a/1190000013286548