
2019年时给博客配置了Travis CI 自动构建,然后前几天准备发个文章,写完反手一个git push博客就崩了。
Hexo
首先你的Hexo必须是已经在本地环境下配置好的,能正常运行hexo g。
生成&配置秘钥
使用ssh-keygen生成一对秘钥
1
| ssh-keygen -t ed25519 -C "Hexo Deploy Key" -f github-deploy-key
|
直接回车,不要设置密码
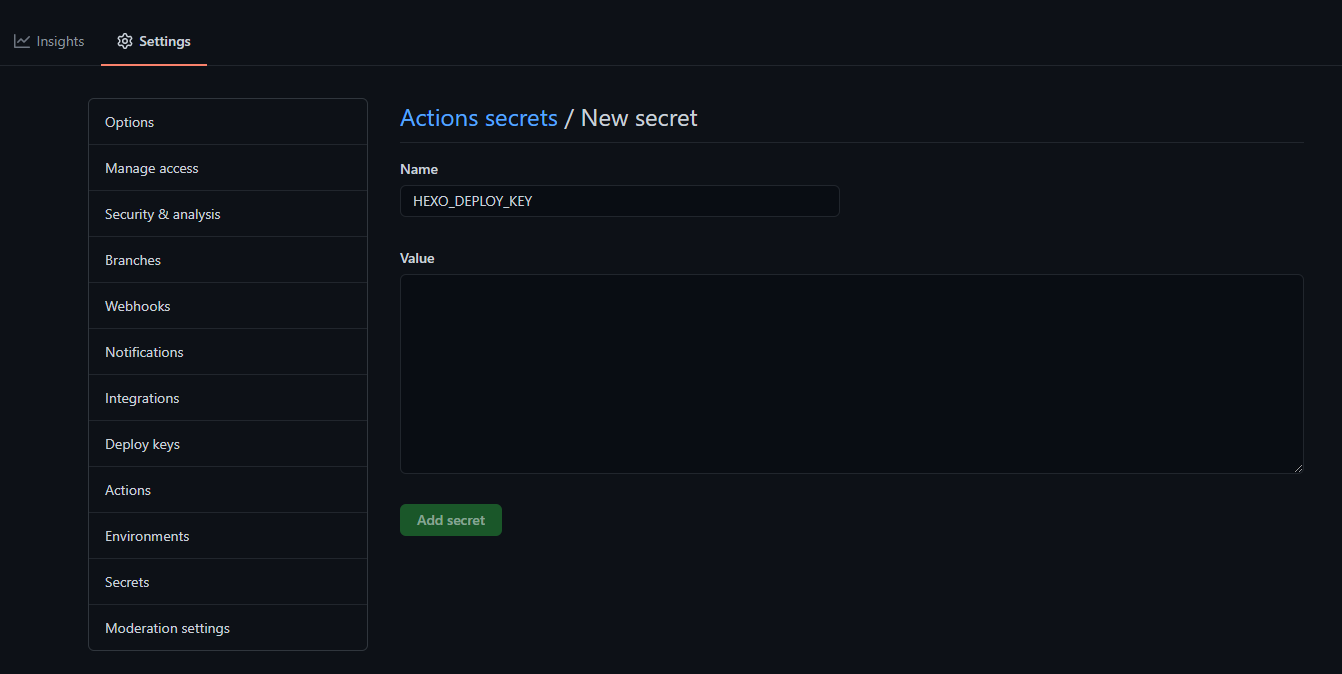
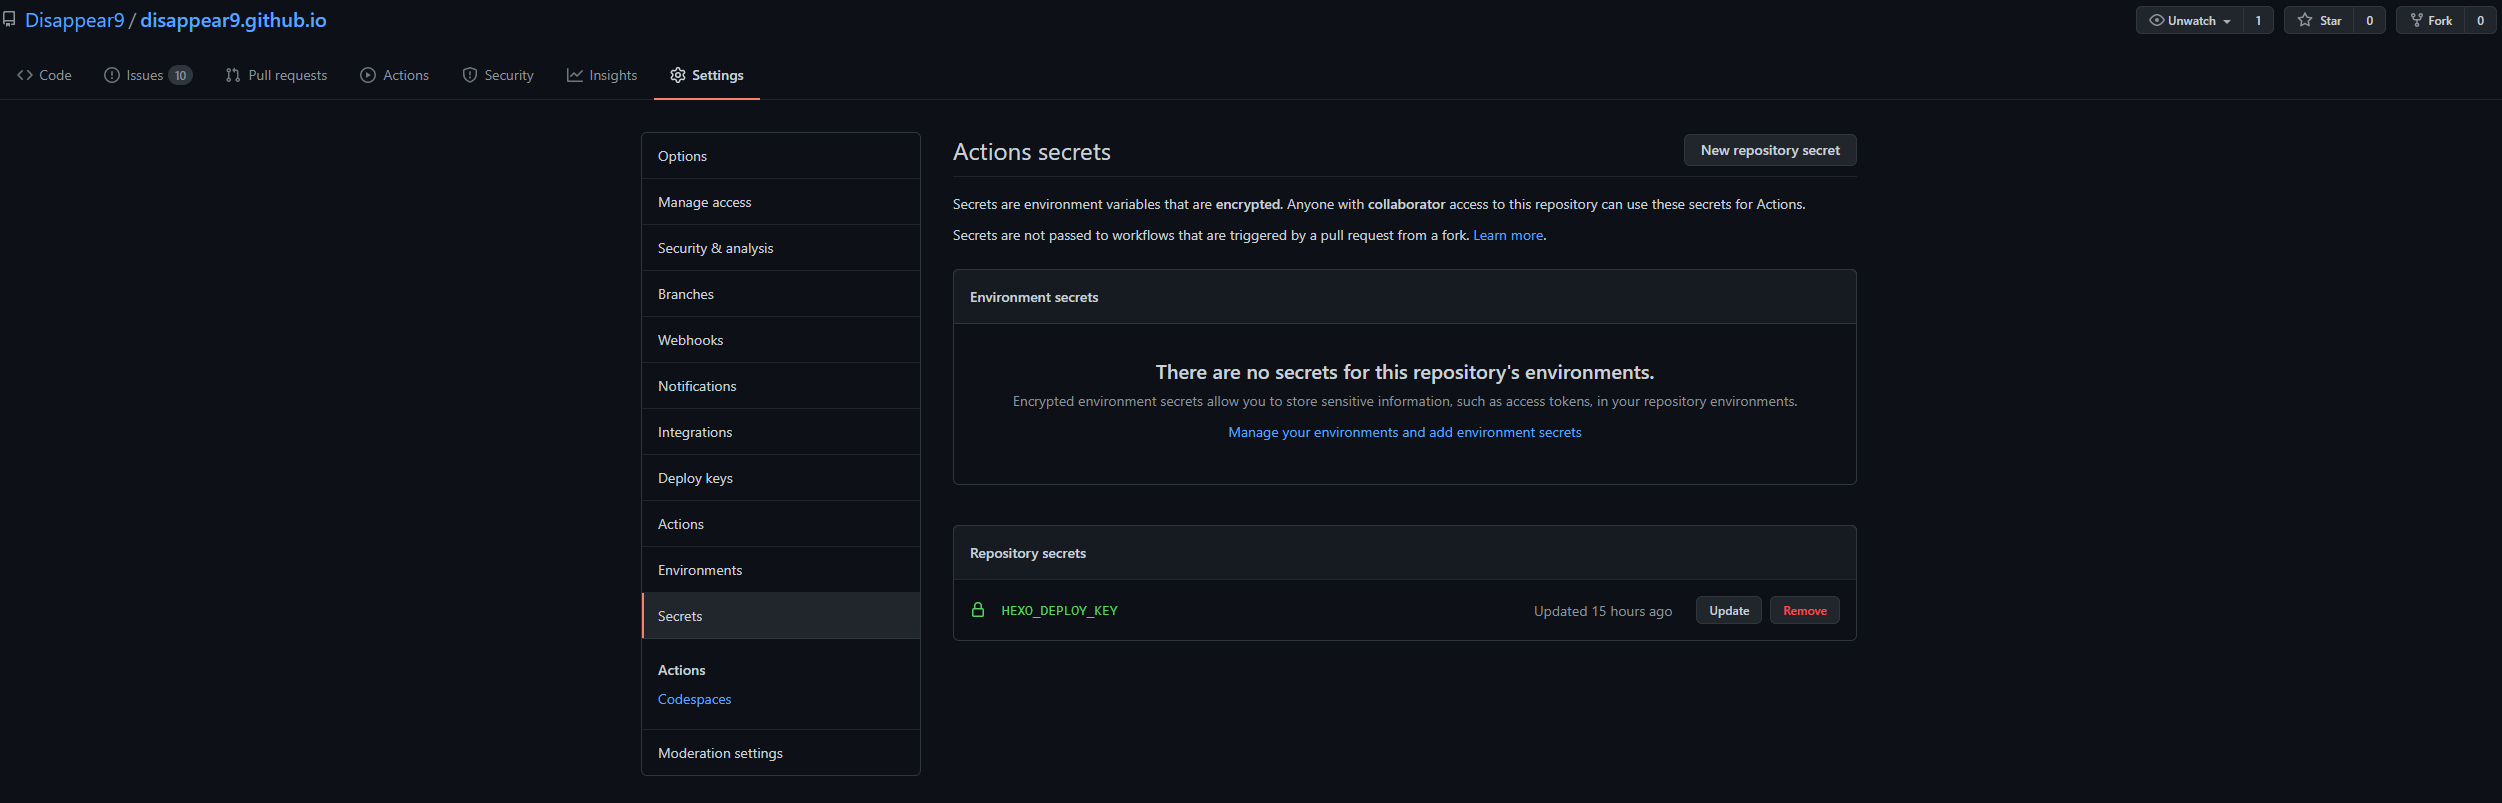
在 GitHub 上打开仓库-> Settings -> Secrets添加一个Secrets,Name填HEXO_DEPLOY_KEY,Value把上面生成的私钥粘贴进去
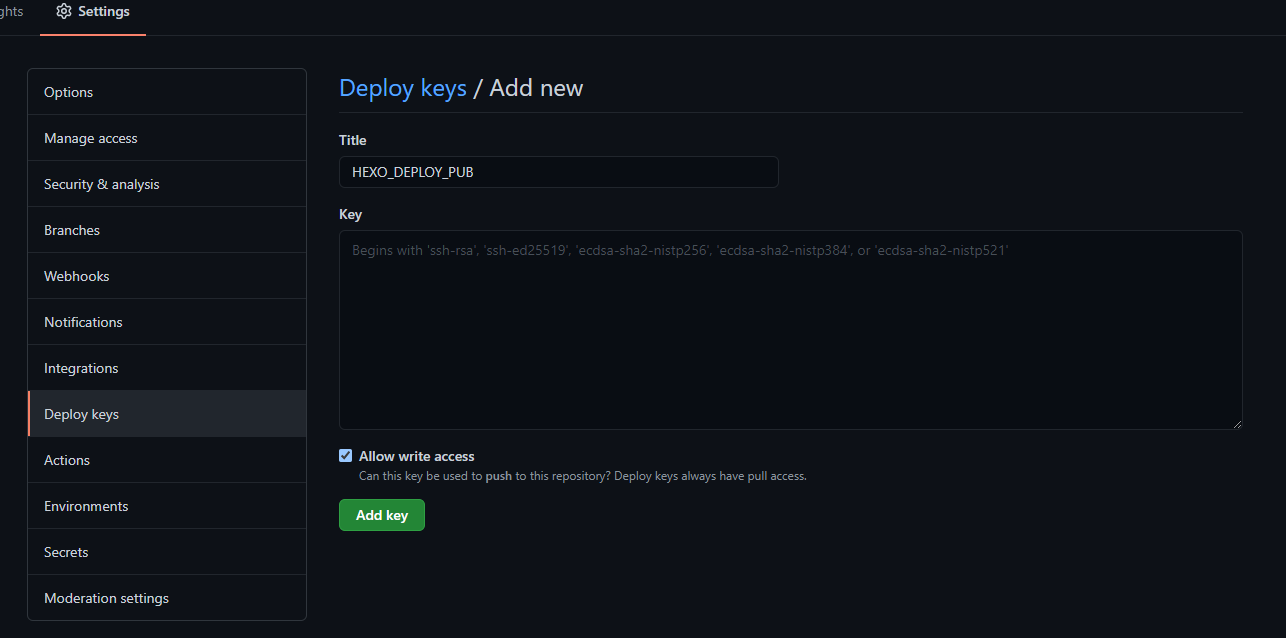
打开仓库-> Settings -> Deploy keys添加一个Key,Title填HEXO_DEPLOY_PUB,Key把上面生成的公钥粘贴进去,勾选下面的Allow write access
准备文件
创建一个空的分支,从原有的hexo源文件目录下拷贝这些文件&文件夹:
- scaffolds
- source
- themes
- _config.yml(hexo的)
- package.json
修改配置文件
为了防止以后由于长时间未维护,主题或hexo更新导致的博客炸掉,所以配置主题为submodule。
1
| git submodule add https://github.com/JoeyBling/hexo-theme-yilia-plus themes/yilia
|
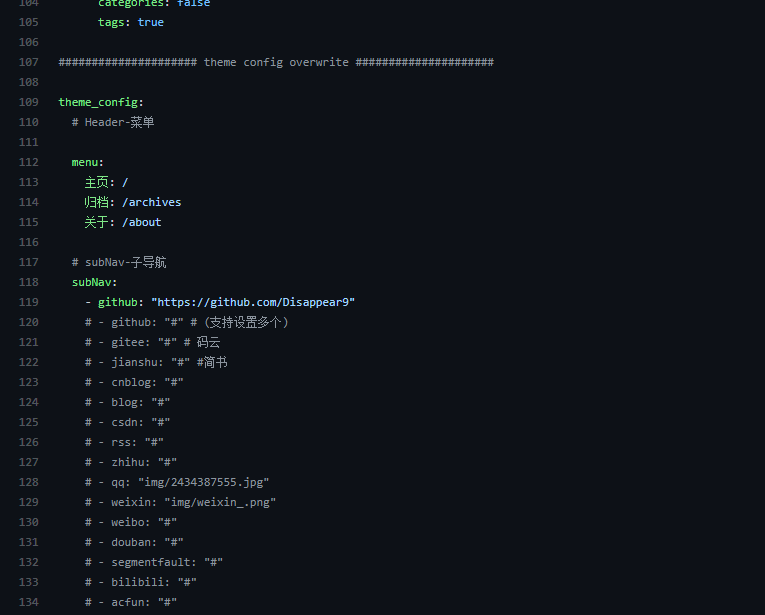
在_config.yml的最后添加一项theme_config:
参考:https://blog.xxwhite.com/2020/blog-ci.html#%E4%B8%BB%E9%A2%98%E5%AD%90%E6%A8%A1%E5%9D%97%E5%8C%96
配置Workflow
创建一个新文件:.github/workflows/deploy.yml
.github/workflows/deploy.yml1
2
3
4
5
6
7
8
9
10
11
12
13
14
15
16
17
18
19
20
21
22
23
24
25
26
27
28
29
30
31
32
33
34
35
36
37
38
39
40
41
42
43
44
| name: Hexo Deploy
on:
push:
branches:
- source
jobs:
build:
runs-on: ubuntu-18.04
if: github.event.repository.owner.id == github.event.sender.id
steps:
- name: Checkout source
uses: actions/checkout@v2
with:
ref: source
- name: Setup Node.js
uses: actions/setup-node@v1
with:
node-version: '12'
- name: Setup Hexo
env:
ACTION_DEPLOY_KEY: $
run: |
mkdir -p ~/.ssh/
echo "$ACTION_DEPLOY_KEY" > ~/.ssh/id_ed25519
chmod 700 ~/.ssh
chmod 600 ~/.ssh/id_ed25519
ssh-keyscan github.com >> ~/.ssh/known_hosts
git config --global user.email "[email protected]" #设置git提交时的Email
git config --global user.name "Disappear9" #设置git提交时的用户名
npm install hexo-cli -g
npm install
git submodule update --init --recursive #拉取submodule
rm themes/yilia/_config.yml #删除主题自带的配置文件
chmod +x deploy.sh
- name: Deploy
run: |
hexo g
./deploy.sh
|
由于使用hexo d部署会让git的commit看起来很丑,所以把部署写进脚本deploy.sh(放在新建分支的根目录下)
deploy.sh1
2
3
4
5
6
7
8
9
10
11
12
13
14
| #!/bin/bash
set -ev
export TZ='Asia/Shanghai'
git clone --depth=1 -b master [email protected]:{用户名}/{仓库}.git .deploy_git
cd .deploy_git
git checkout master
mv .git/ ../public/
cd ../public
git add .
git commit -m "Site updated: `date +"%Y-%m-%d %H:%M:%S"`"
git push origin master:master --force
|
加个Badge

参考:https://docs.github.com/cn/actions/managing-workflow-runs/adding-a-workflow-status-badge
1
| https://github.com/<OWNER>/<REPOSITORY>/workflows/Hexo%20Deploy/badge.svg
|
完
https://github.com/Disappear9/disappear9.github.io/tree/source
欢迎参考






