


The below tutorial demonstrates how to create and use the new ASP.NET Master Pages and Site Navigation features within VS 2005 Web Application Projects. Please make sure that you have already completed Tutorial 4: Data Binding against Objects before reviewing this one.
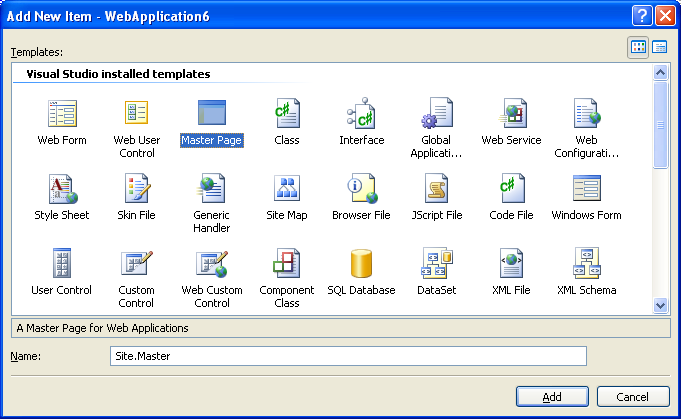
Right-click on the project and select Add->Add New Item to add a new MasterPage called "Site.Master" to the project:
This will then create a default master page template that you can edit either in WYSIWYG design-mode or in HTML source mode:
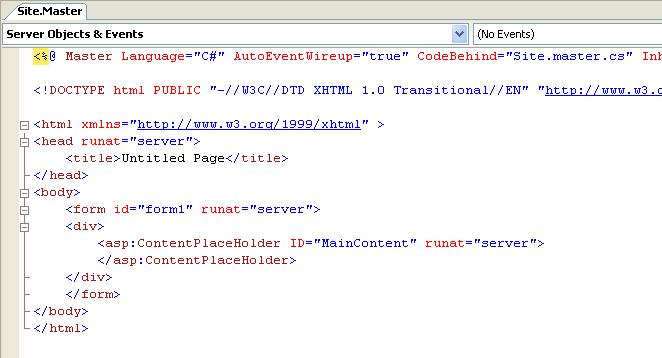
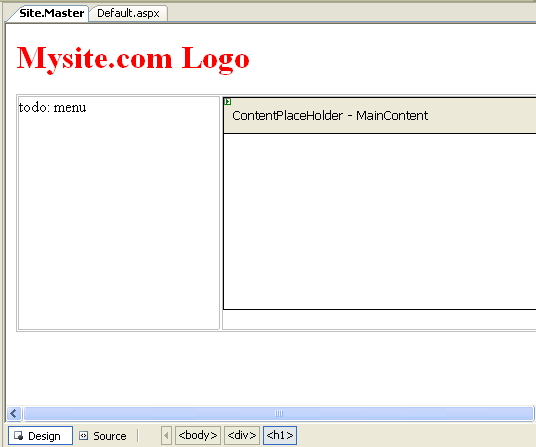
Modify the Site.Master content to have a logo at the top, and then use a table to (or divs with CSS) to create a two column layout in the page. Place the <asp:contentplaceholder> control with the ID of "MainContent" in the second column, and leave the first column for a menu we'll add later in this tutorial.

If you switch into WYSIWYG design mode the Site.Master will look like this:
Now we are ready to have pages in our site pick up and use the master-page file.
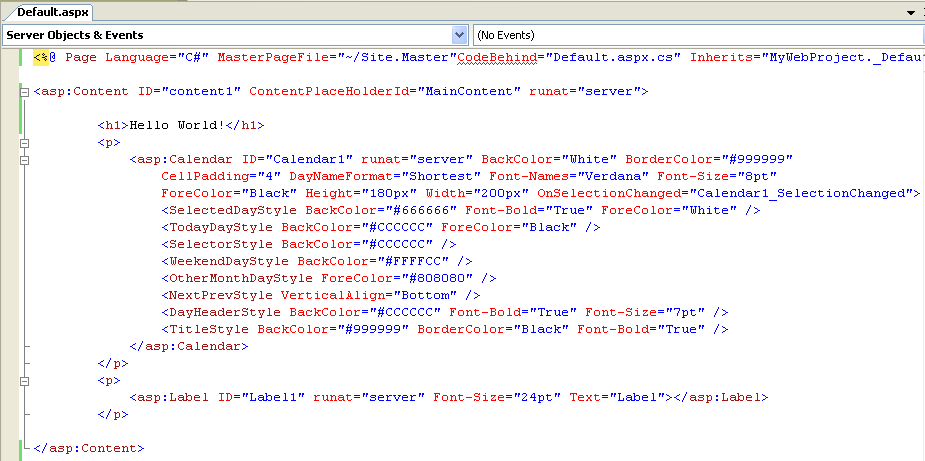
Open the default.aspx page we built in an earlier tutorial, and switch to HTML source-view. To update it to use the master-page go to the top <%@ Page %> directive and add a "MasterPageFile" attribute:

Note that VS 2005 will provide intellisense completion for both the attribute name, as well as provide a list of all valid master-pages in the project that you can use. Select the new "Site.Master" file that we just created.
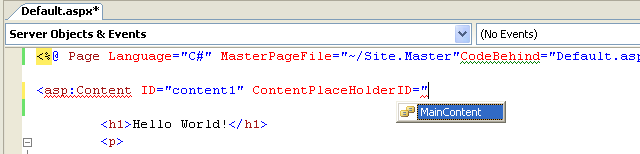
Then delete the static html previously on the page, and add an <asp:content> control to the page with an id of "content1". Note that VS 2005 will provide intellisense on all of the valid contentplaceholders within the Site.Master file that you can override:
Wrap all previous content on the page with the <asp:content> control:
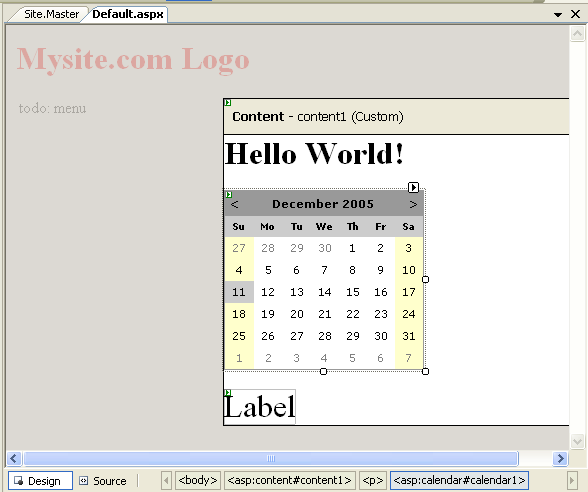
Click on the "design" tab to switch into WYSIWYG mode. You'll then see the default.aspx page inside the Master Page:
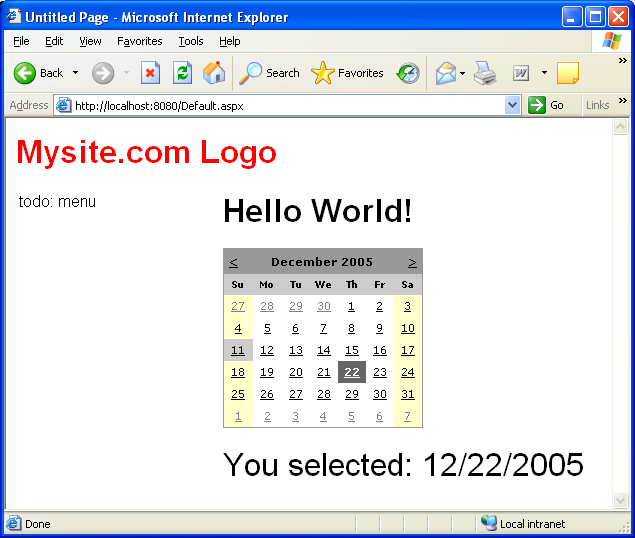
Select the Default.aspx page in the Solution Explorer and set it as the startup page (right-click and choose "Set as Startup Page"). Then press F5 (or ctrl-F5) to run it.
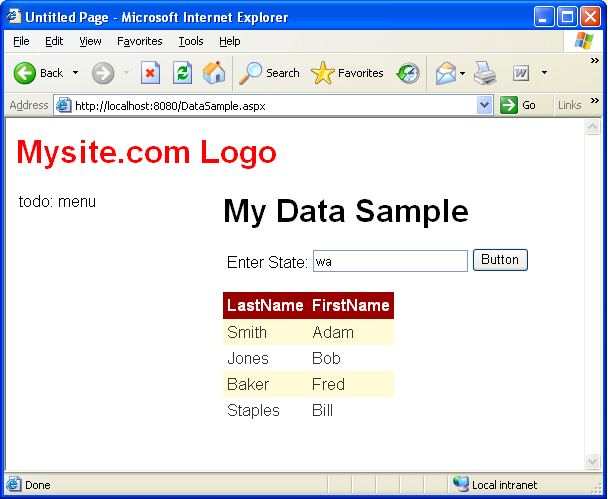
Now repeat the above process for the DataSample.aspx page as well:
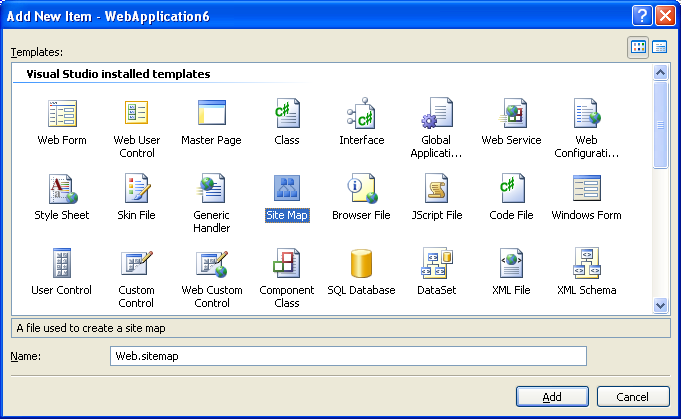
Right-click on the project and select Add->Add New Item to add a new Site Map file called "Web.SiteMap" to the project:
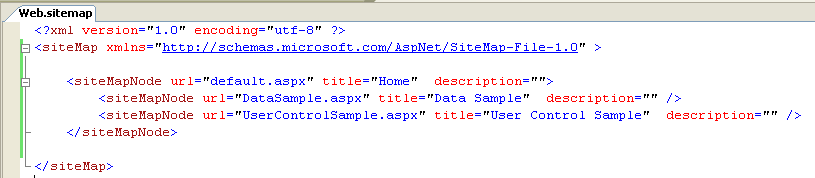
Edit the new web.sitemap file to have the below three nodes within the site-map (a root node for the home page, a sub-node for the data page we built, and another sub-node for a future page we are going to build in the next tutorial section):
Open the Site.Master page up again and switch to design-mode. Delete the "todo: menu" comment in the left-most column, and then drag/drop the "Treeview" control from the "navigation" section of the Toolbox in VS:
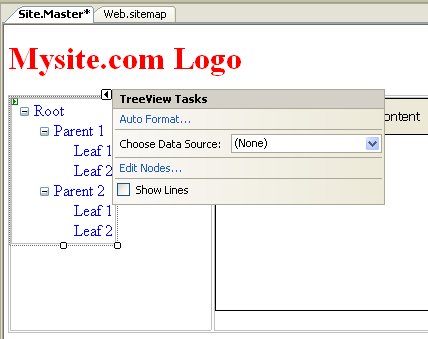
Select a New Datasource from the drop-down list above, and choose the "Site Map" datasource:
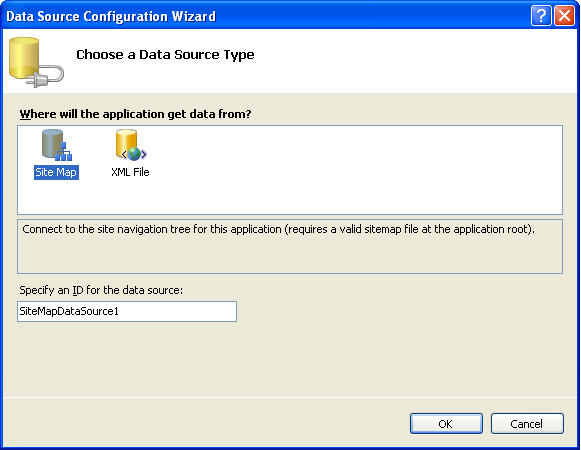
This will then data-bind the Treeview against the web.sitemap file we created above. Choose the auto-format menu item in the "common tasks" menu and format it as "simple":
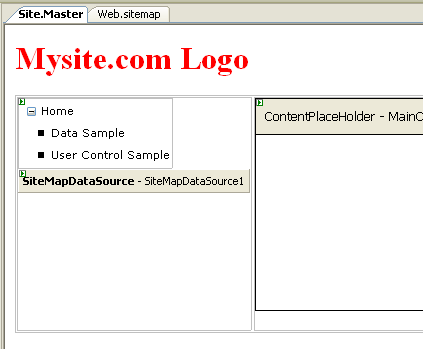
Note how the tree-view menu shows the current web.sitemap's hierarchy at design-time.
Press the F5 or Ctrl-F5 key to build and run the site:
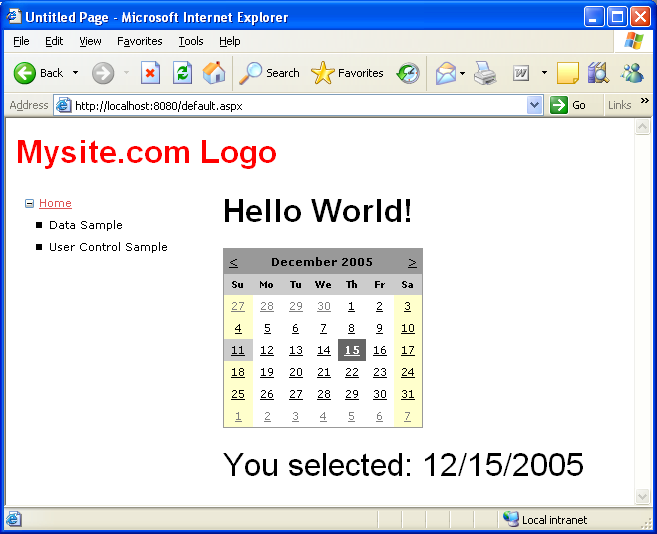
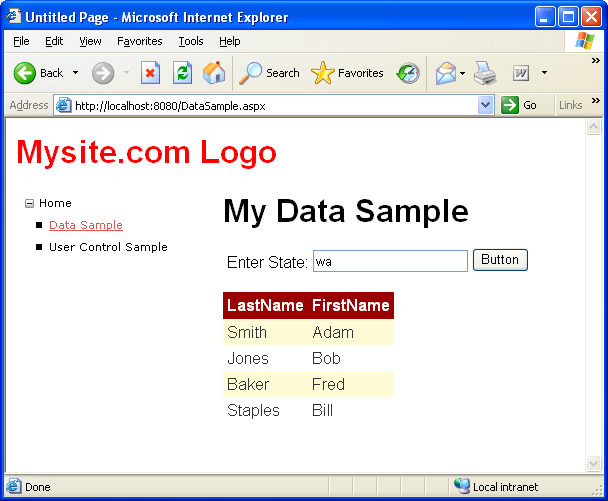
Notice how the tree-view menu automatically highlights (by underlining - although you can style it however you want) the current node in the site-hierarchy as a user navigates around the site.
此内容由惯性聚合(RSS阅读器)自动聚合整理,仅供阅读参考。 原文来自 — 版权归原作者所有。