








1、下载指定版本 3.6.23 zip压缩文件 ,似乎高版本已经不支持在server2008了!
下载地址:https://www.mongodb.com/try/download/enterprise
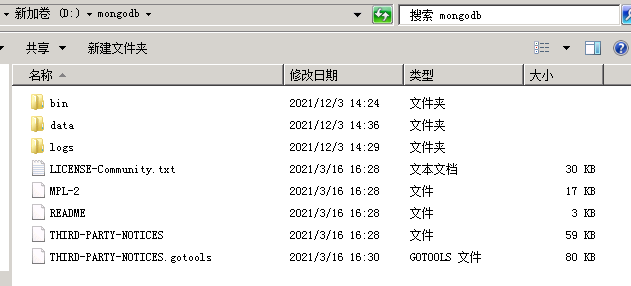
2、D盘新建mongodb目录把文件解压在此目录中并新建两个文件夹data和logs
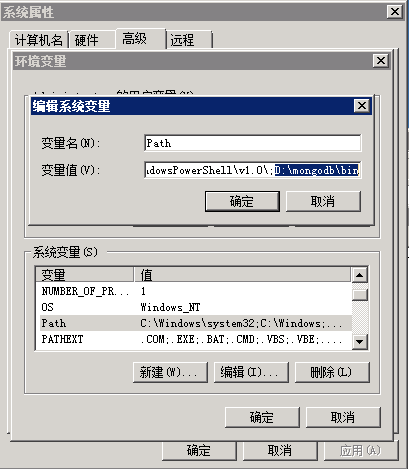
3、新增环境变量 在Path中新增D:\mongodb\bin
4、在D:\mongodb\bin目录下新建配置文件mongod.cfg

5、mongod.cfg配置文件内容如下
# mongod.conf

# for documentation of all options, see:
#   http://docs.mongodb.org/manual/reference/configuration-options/

# Where and how to store data.
storage:
  dbPath: D:\mongodb\data
  journal:
    enabled: true
#  engine:
#  mmapv1:
#  wiredTiger:

# where to write logging data.
systemLog:
  destination: file
  logAppend: true
  path:  D:\mongodb\logs\mongod.log

# network interfaces
net:
  port: 27017
  bindIp: 0.0.0.0


#processManagement:

security:
  authorization: enabled
  #authorization: disabled

#operationProfiling:

#replication:

#sharding:

## Enterprise-Only Options:

#auditLog:

#snmp:
6、执行新增服务命令
mongod --config "D:\mongodb\bin\mongod.cfg" --install --serviceName "MongoDB"
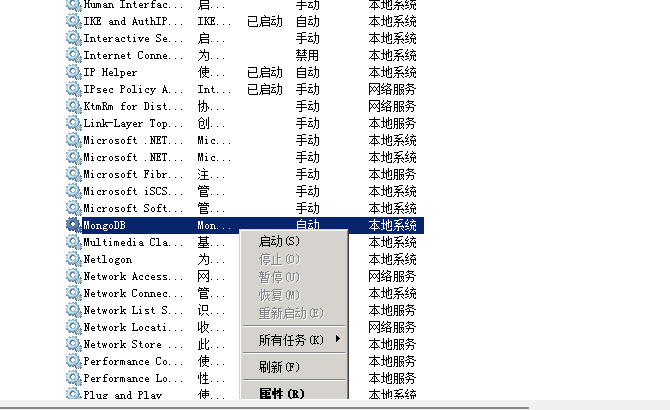
7、检查是否执行成功,如果服务是停止状态手动启动
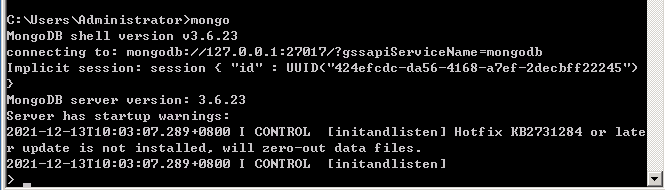
8、打开命令窗口,输入mongo 进入命令行模式
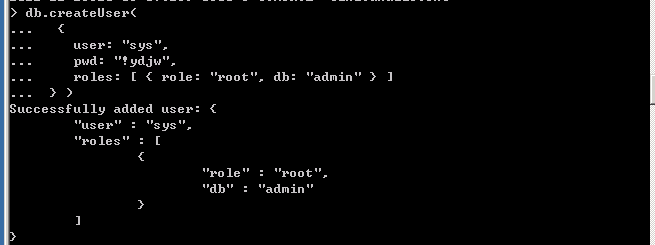
9、增加超级管理员
db.createUser(
  {
    user: "sys",
    pwd: "!ydjw",
    roles: [ { role: "root", db: "admin" } ]
 } )
10、切换超级管理员

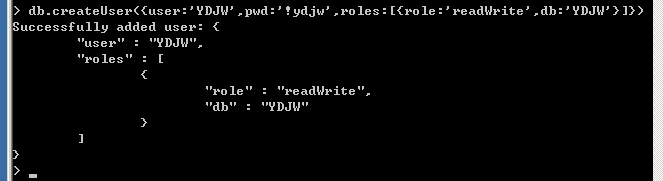
11、超级管理员创建普通用户
db.createUser({user:'YDJW',pwd:'!ydjw',roles:[{role:'readWrite',db:'YDJW'}]})
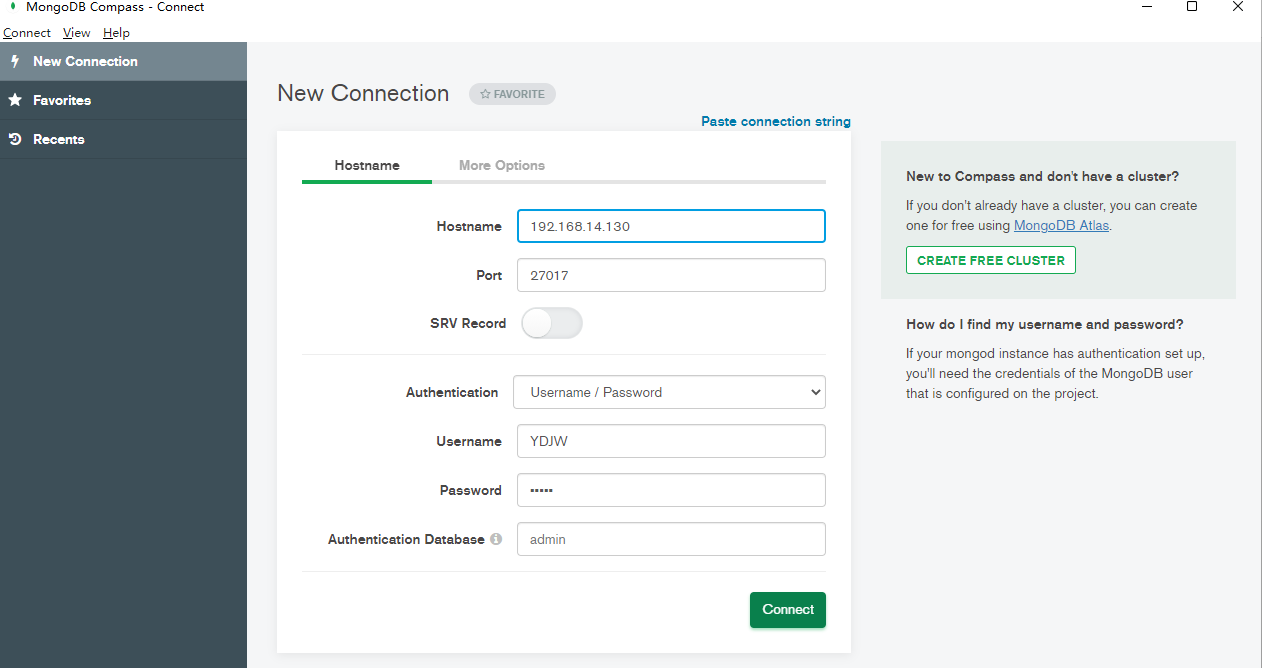
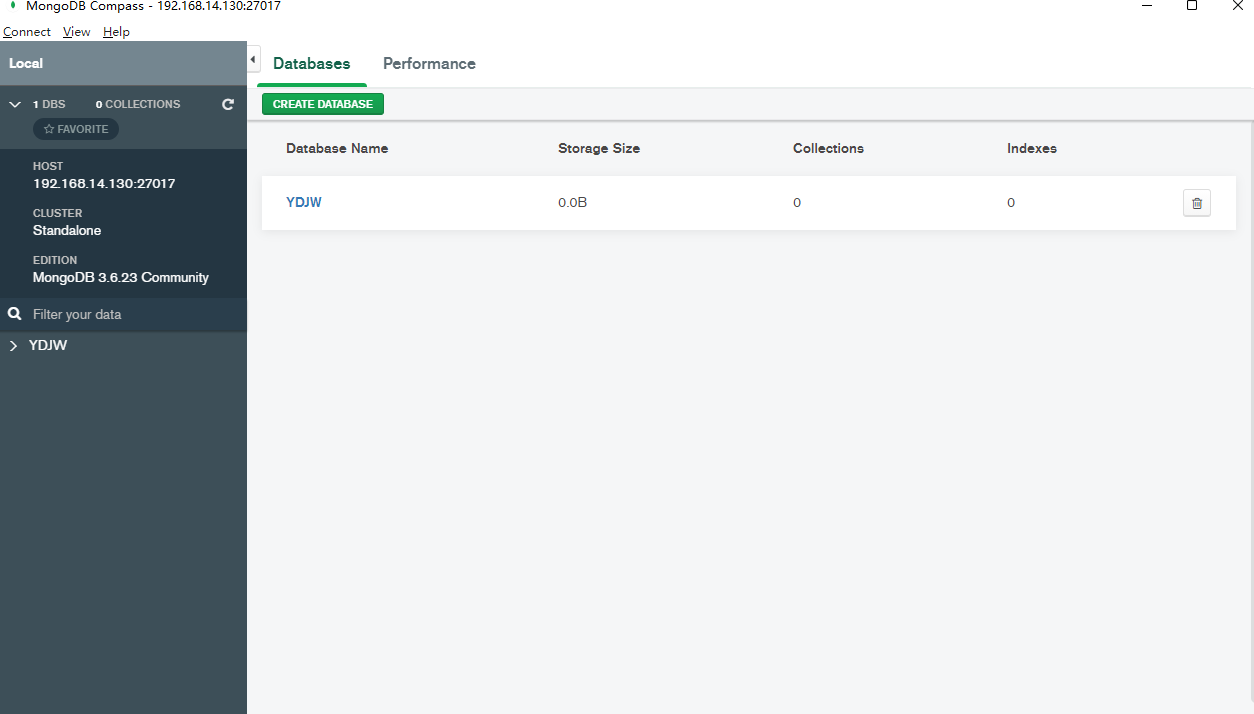
12、测试连接 用户名:YDJW 密码:!ydjw
13、卸载服务
mongod.exe --remove --serviceName "MongoDB"
此内容由惯性聚合(RSS阅读器)自动聚合整理,仅供阅读参考。 原文来自 — 版权归原作者所有。