








theHarvester is a free, open-source tool designed for gathering open-source intelligence (OSINT) from various online sources. Its functionality has been significantly enhanced with the integration of the Netlas API. This combination allows users to collect not only general information about a company but also detailed data about its network infrastructure.
In this article, we’ll explore the technical aspects of using theHarvester, including installation steps, key commands, and practical examples when used in conjunction with Netlas.
Installing the tool is quite straightforward. There are four main methods:
Each installation method is thoroughly detailed on theHarvester GitHub page: Installation Guide. For this article, we will use one of the latest versions of Kali Linux, which comes with theHarvester pre-installed.
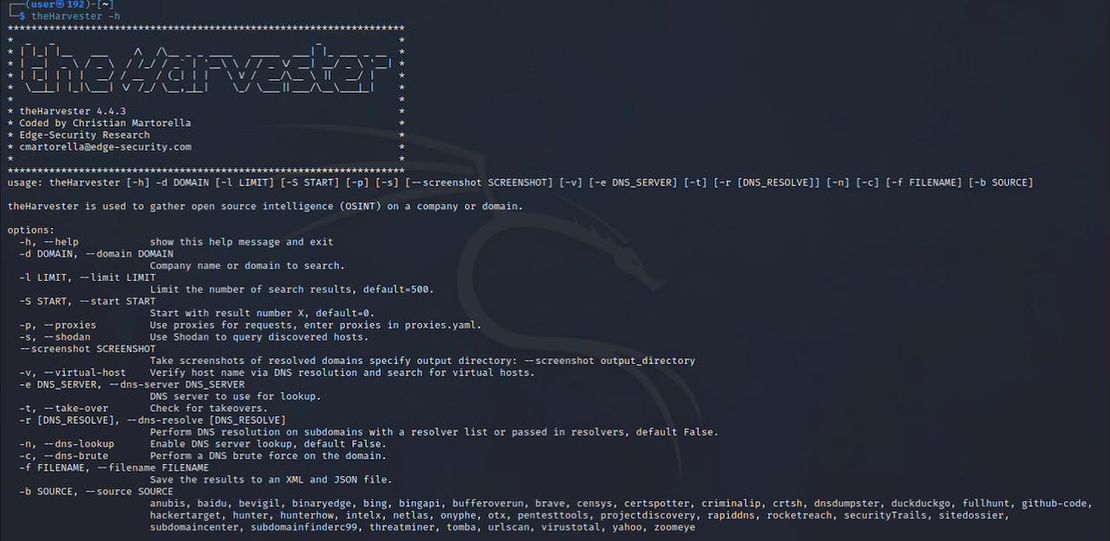
To check if theHarvester is installed on your system, run the following command:
If the tool is installed, this command will display the usage help documentation for theHarvester. The next picture shows the result of the command.
The Netlas API is an application programming interface that allows other tools and applications, such as theHarvester, to interact with Netlas’s extensive data collections. These datasets contain information on millions of network devices worldwide.
What is stored in Netlas Database?
To connect the Netlas API to theHarvester, follow these steps:
Obtain a Netlas API Key:
Configuring theHarvester
To set up the Netlas API key, locate the api-keys.yaml configuration file. If theHarvester was installed via setup.py or is part of Kali Linux, this file is typically located in /usr/local/etc/theHarvester/. If you cloned the repository from GitHub, it will be in the root directory.
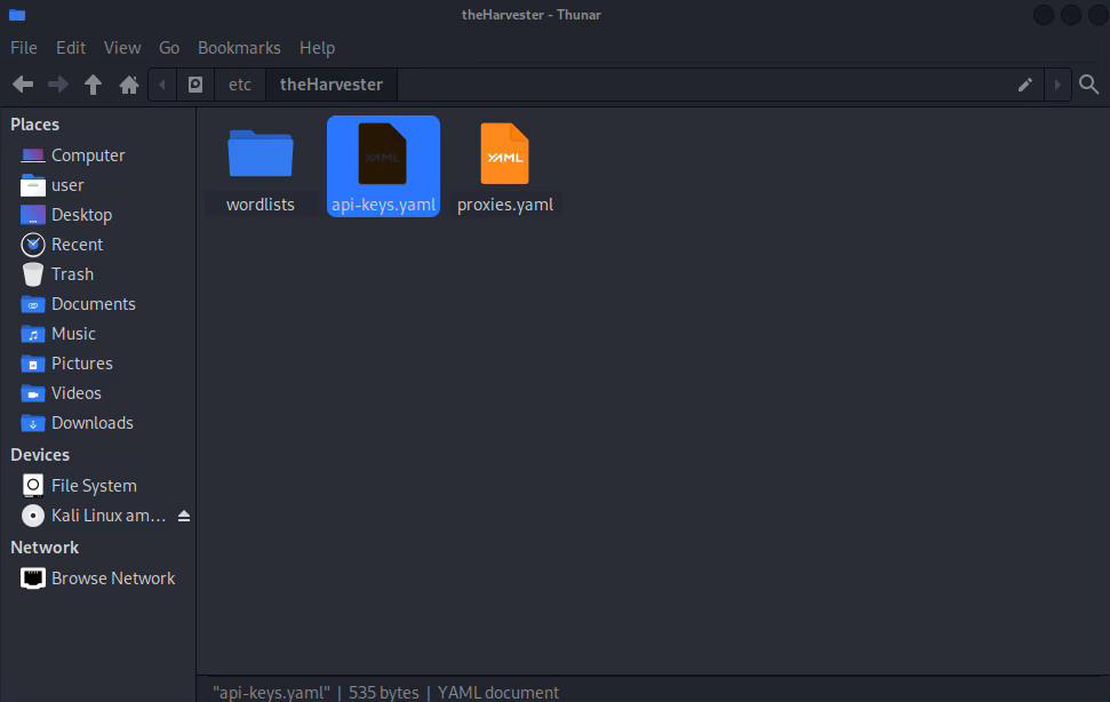
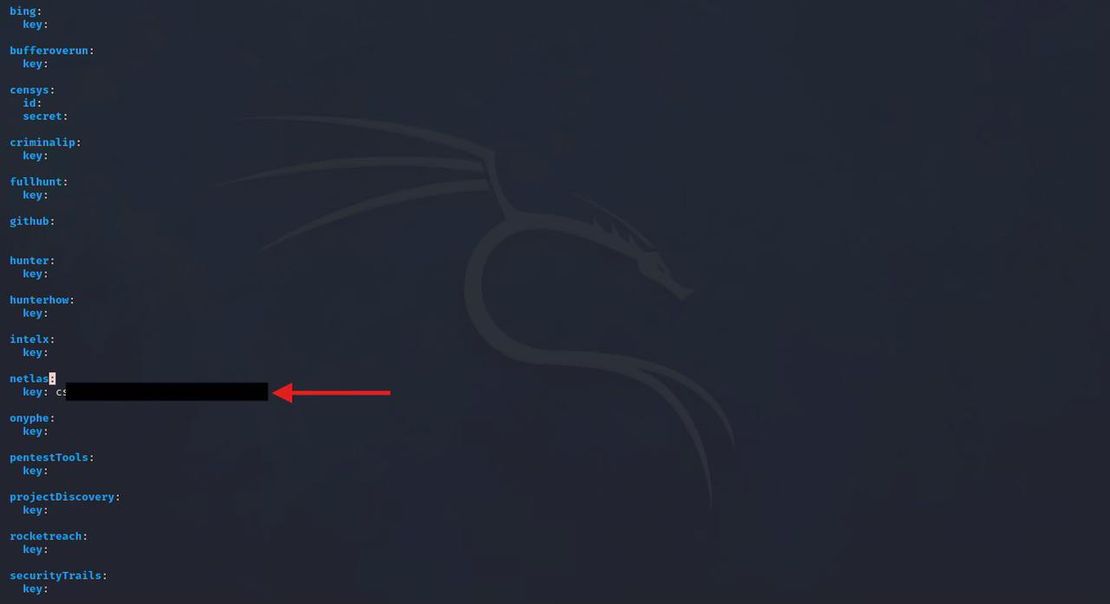
Let’s look at the code that enables theHarvester to interact with the Netlas API:
class SearchNetlas:
    def __init__(self, word, limit: int) -> None:
        self.word = word
        self.totalhosts: list = []
        self.totalips: list = []
        self.key = Core.netlas_key()
        self.limit = limit
        if self.key is None:
            raise MissingKey('netlas')
        self.proxy = False

    async def do_count(self) -> None:
        """Counts the total number of subdomains

        :return: None
        """
        api = f"https://app.netlas.io/api/domains_count/?q=*.{self.word}"
        headers = {'X-API-Key': self.key}
        response = await AsyncFetcher.fetch_all([api], json=True, headers=headers, proxy=self.proxy)
        amount_size = response[0]['count']
        self.limit = amount_size if amount_size < self.limit else self.limit

    async def do_search(self) -> None:
        """Download domains for query 'q' size of 'limit'

        :return: None
        """
        user_agent = Core.get_user_agent()
        url = "https://app.netlas.io/api/domains/download/"

        payload = {
            "q": f"*.{self.word}",
            "fields": ["domain"],
            "source_type": "include",
            "size": self.limit,
            "type": "json",
            "indice": [0]
        }

        headers = {
            'X-API-Key': self.key,
            "User-Agent": user_agent,
        }
        response = await AsyncFetcher.post_fetch(url, data=payload, headers=headers, proxy=self.proxy)
        resp_json = json.loads(response)

        for el in resp_json:
            domain = el["data"]["domain"]
            self.totalhosts.append(domain)
As shown in the integration code, Harvester uses the Netlas API to retrieve domains based on a query. The process begins with the do_count() method, which returns the number of subdomains identified by Netlas. Next, the do_search() method is used to download these subdomains.
The limit parameter plays a critical role in this process, as it determines the maximum number of results that can be returned in a single query. The do_count() method utilizes the count API call, while do_search() relies on the download API call.
A key advantage of the download method is its ability to handle streaming data, allowing users to retrieve results in any quantity. This enables users to access all subdomains identified by Netlas, making it a powerful tool for comprehensive domain analysis.
Let’s explore a command for searching subdomains using the Netlas module:
theHarvester -d target.com -b netlasThis command instructs theHarvester to gather open-source information about the web application target.com and its associated subdomains using Netlas as the data source.
Breaking Down the Command:
theHarvester: The tool itself, designed for collecting OSINT data.
-d target.com:
-b netlas:
Here’s command executing results:
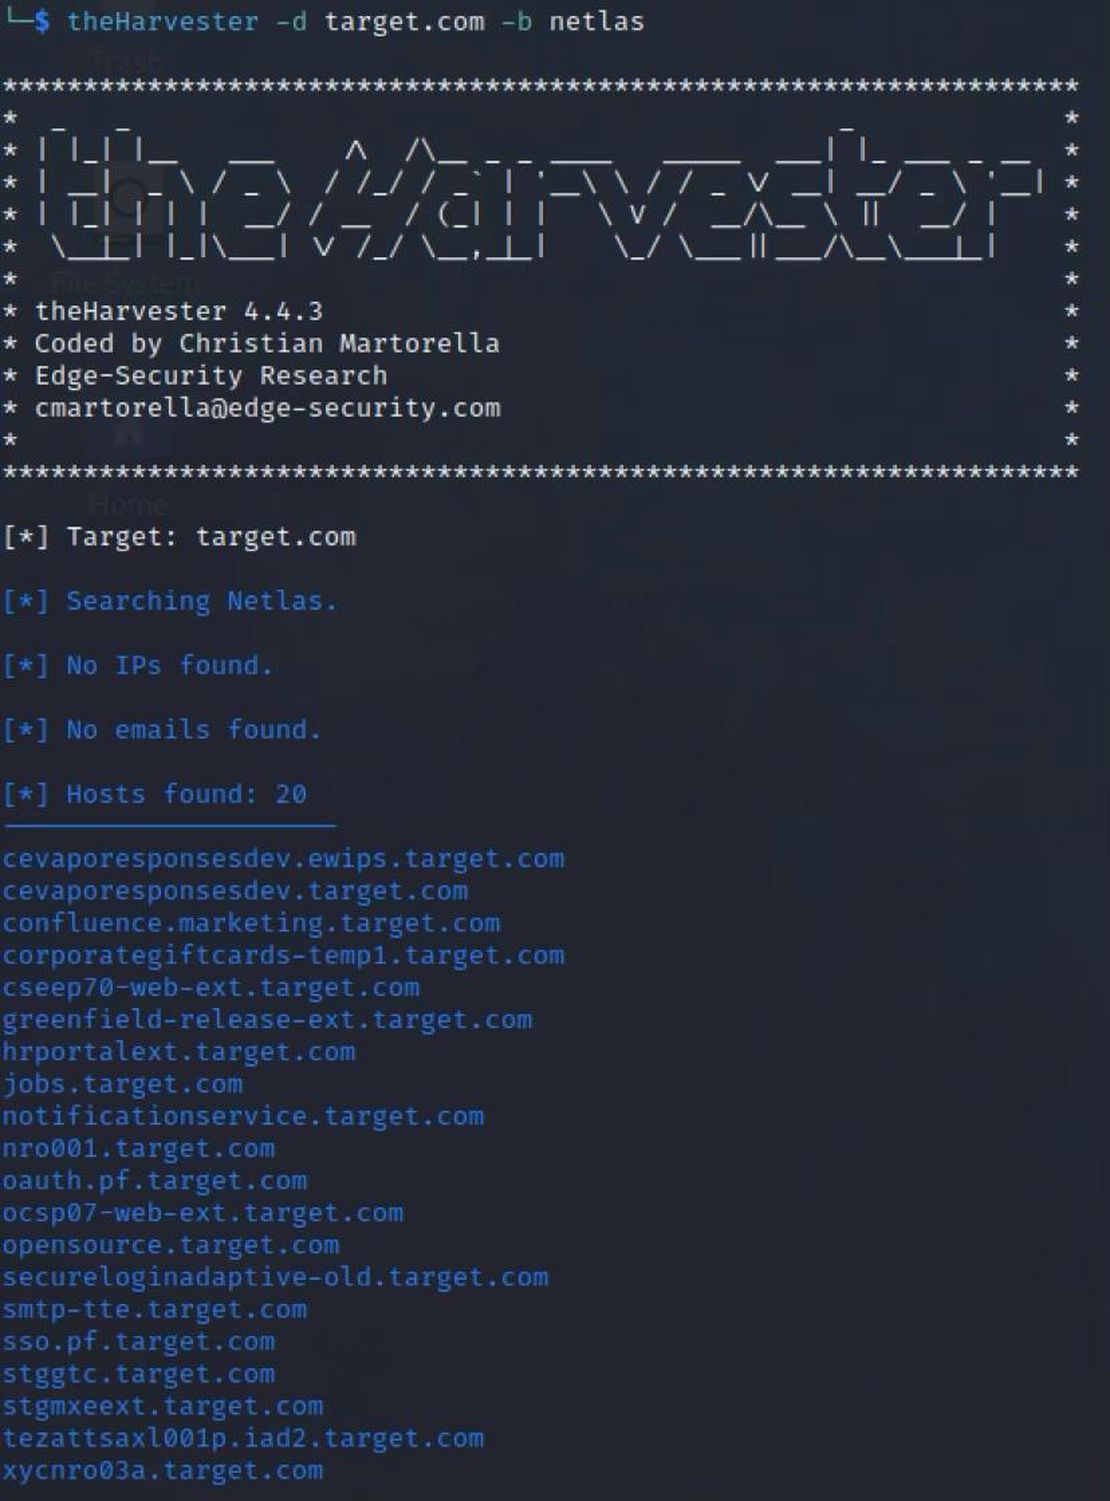
After running theHarvester -d target.com -b netlas, you can check the search history in your Netlas account to view the query that theHarvester executed:

theHarvester offers extensive coverage across various information sources, including search engines, social networks, and databases. By integrating with the Netlas API, it gains access to detailed data about domain names and network devices, providing deeper insights into infrastructure. Netlas is particularly effective in identifying IoT devices and other network components that might be overlooked by other tools.
Together, theHarvester and the Netlas API form a powerful OSINT toolset, enhancing your ability to conduct thorough research and analysis.

Book Your Netlas Demo
Chat with our team to explore how the Netlas platform can support your security research and threat analysis.
此内容由惯性聚合(RSS阅读器)自动聚合整理,仅供阅读参考。 原文来自 — 版权归原作者所有。