






Ayrton |
We recently released a new and improved onboarding flow for PlanetScale. The goal of our new onboarding is to help developers quickly connect and query their PlanetScale databases.
How to connect varies greatly by the language and framework your application uses. Each framework has small quirks, so it was important to us that no matter what language/framework your application uses, we offer a one-track path for you to get connected.
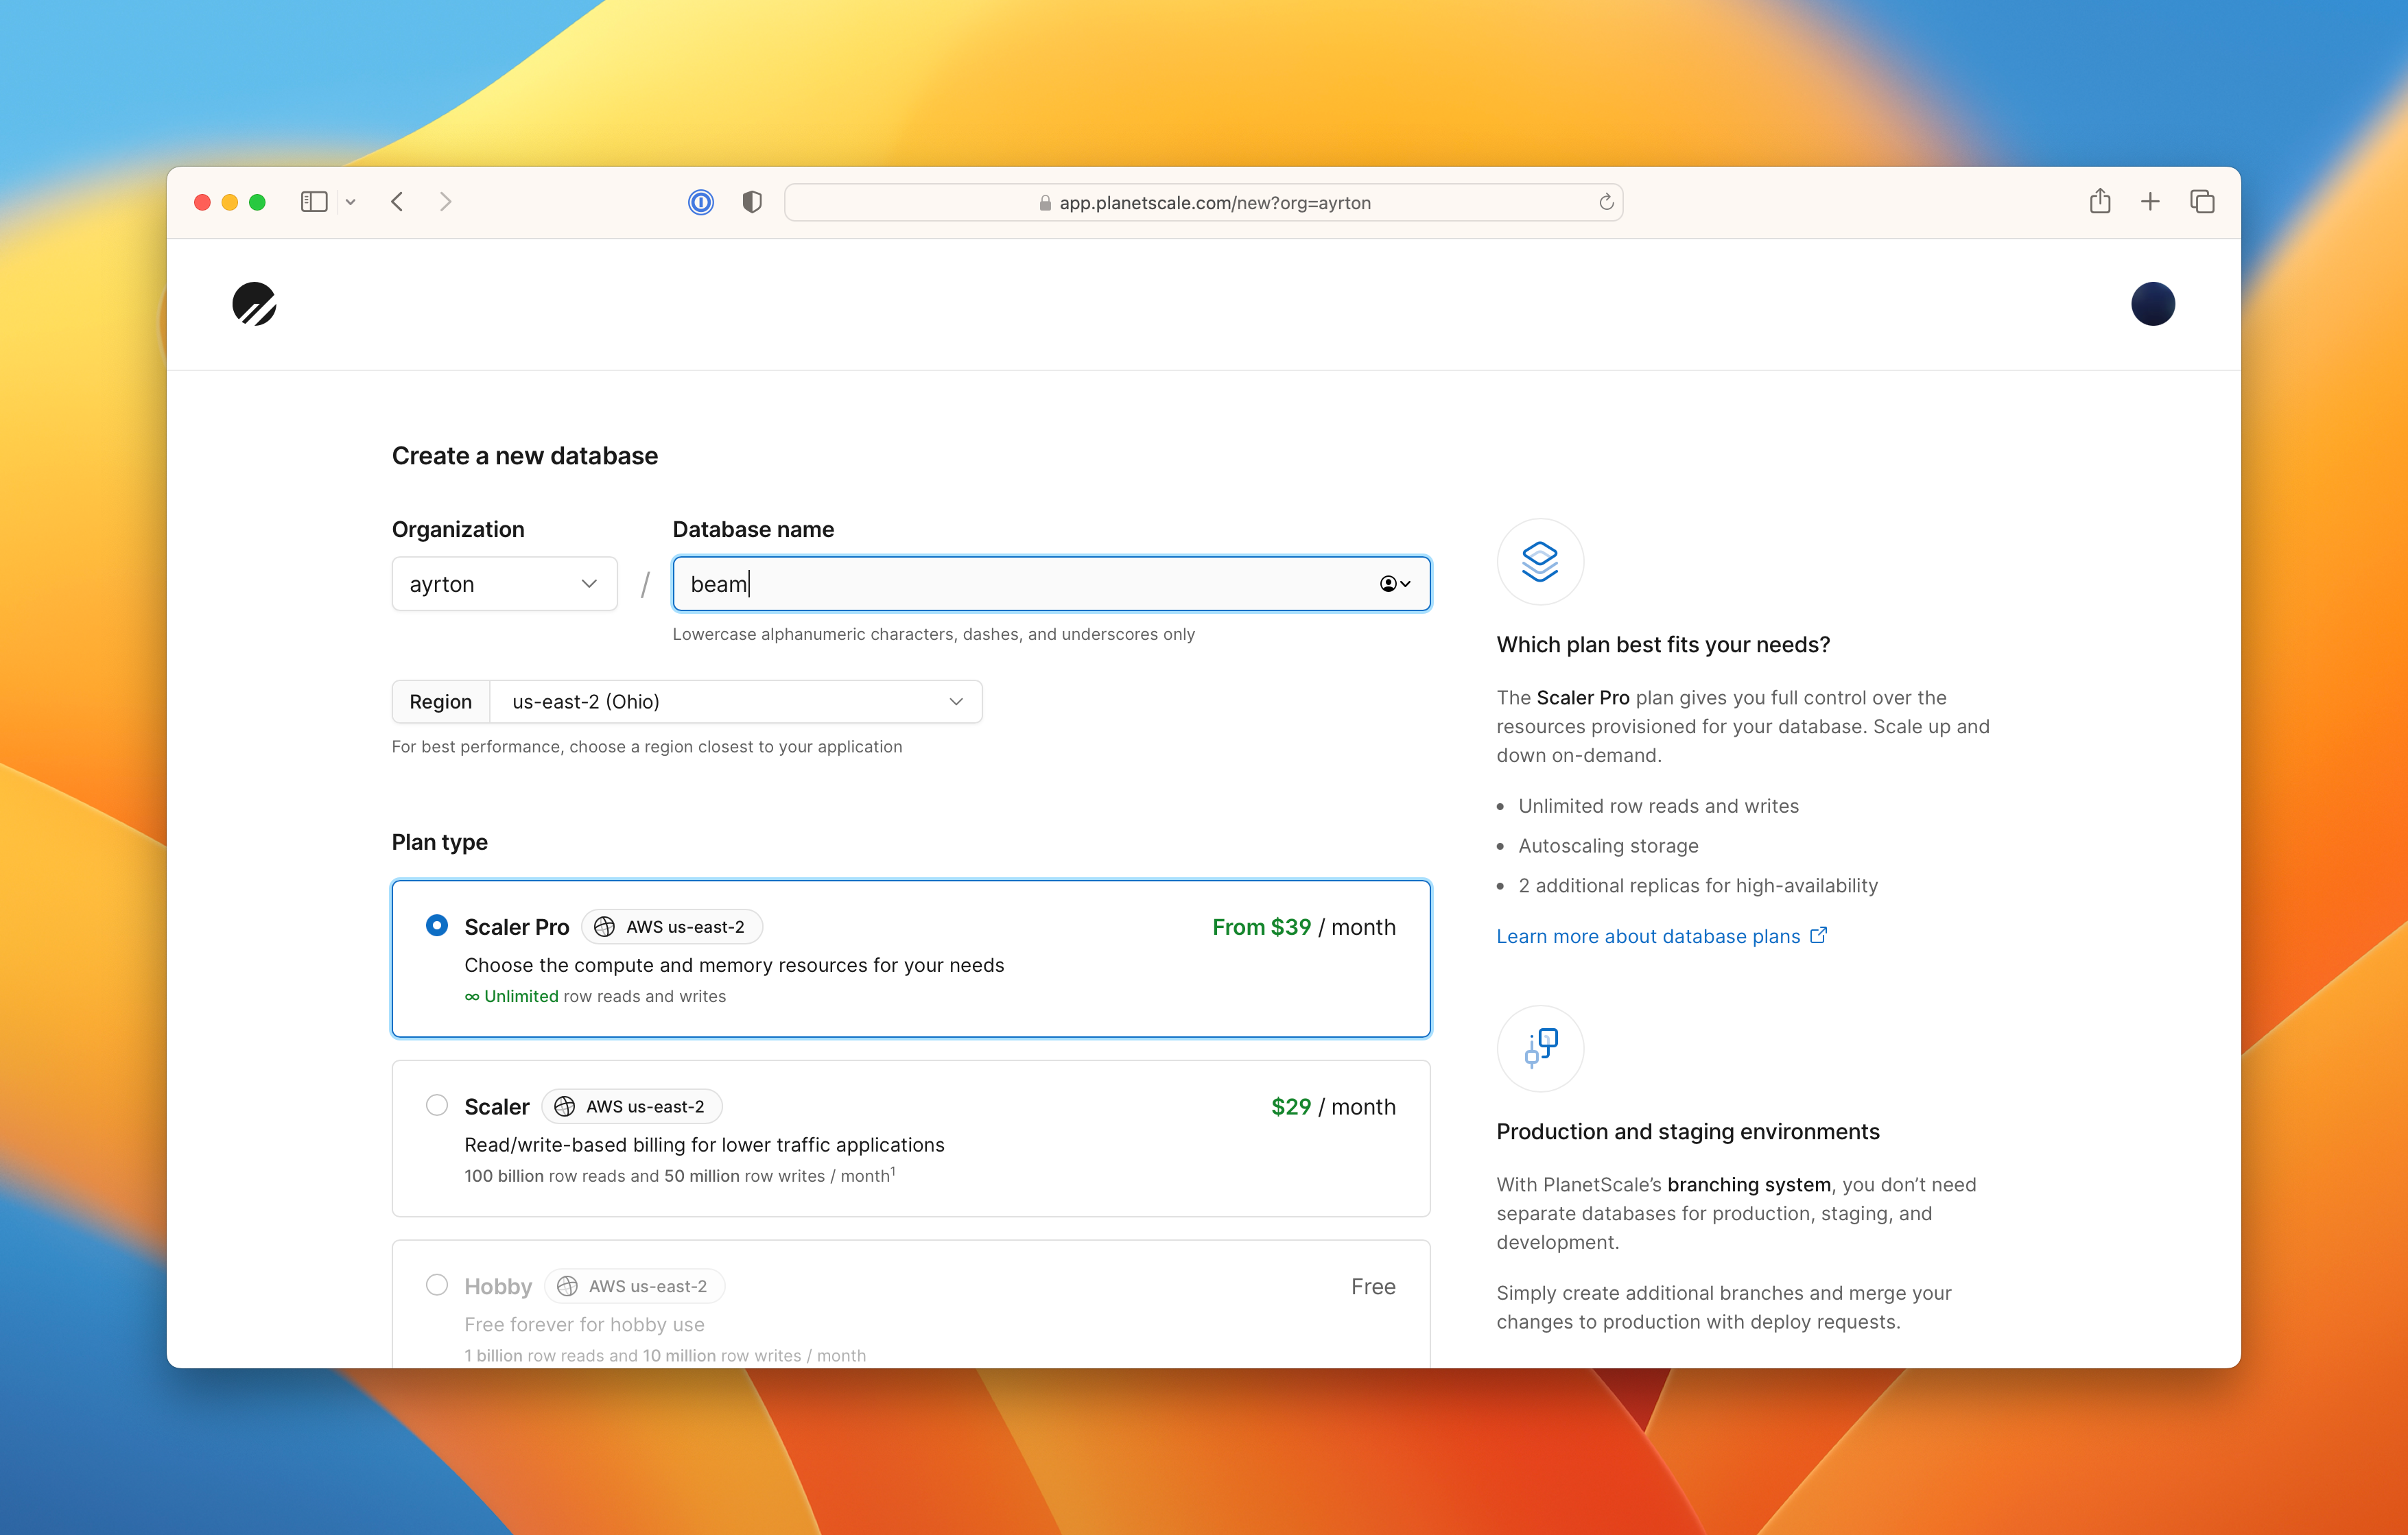
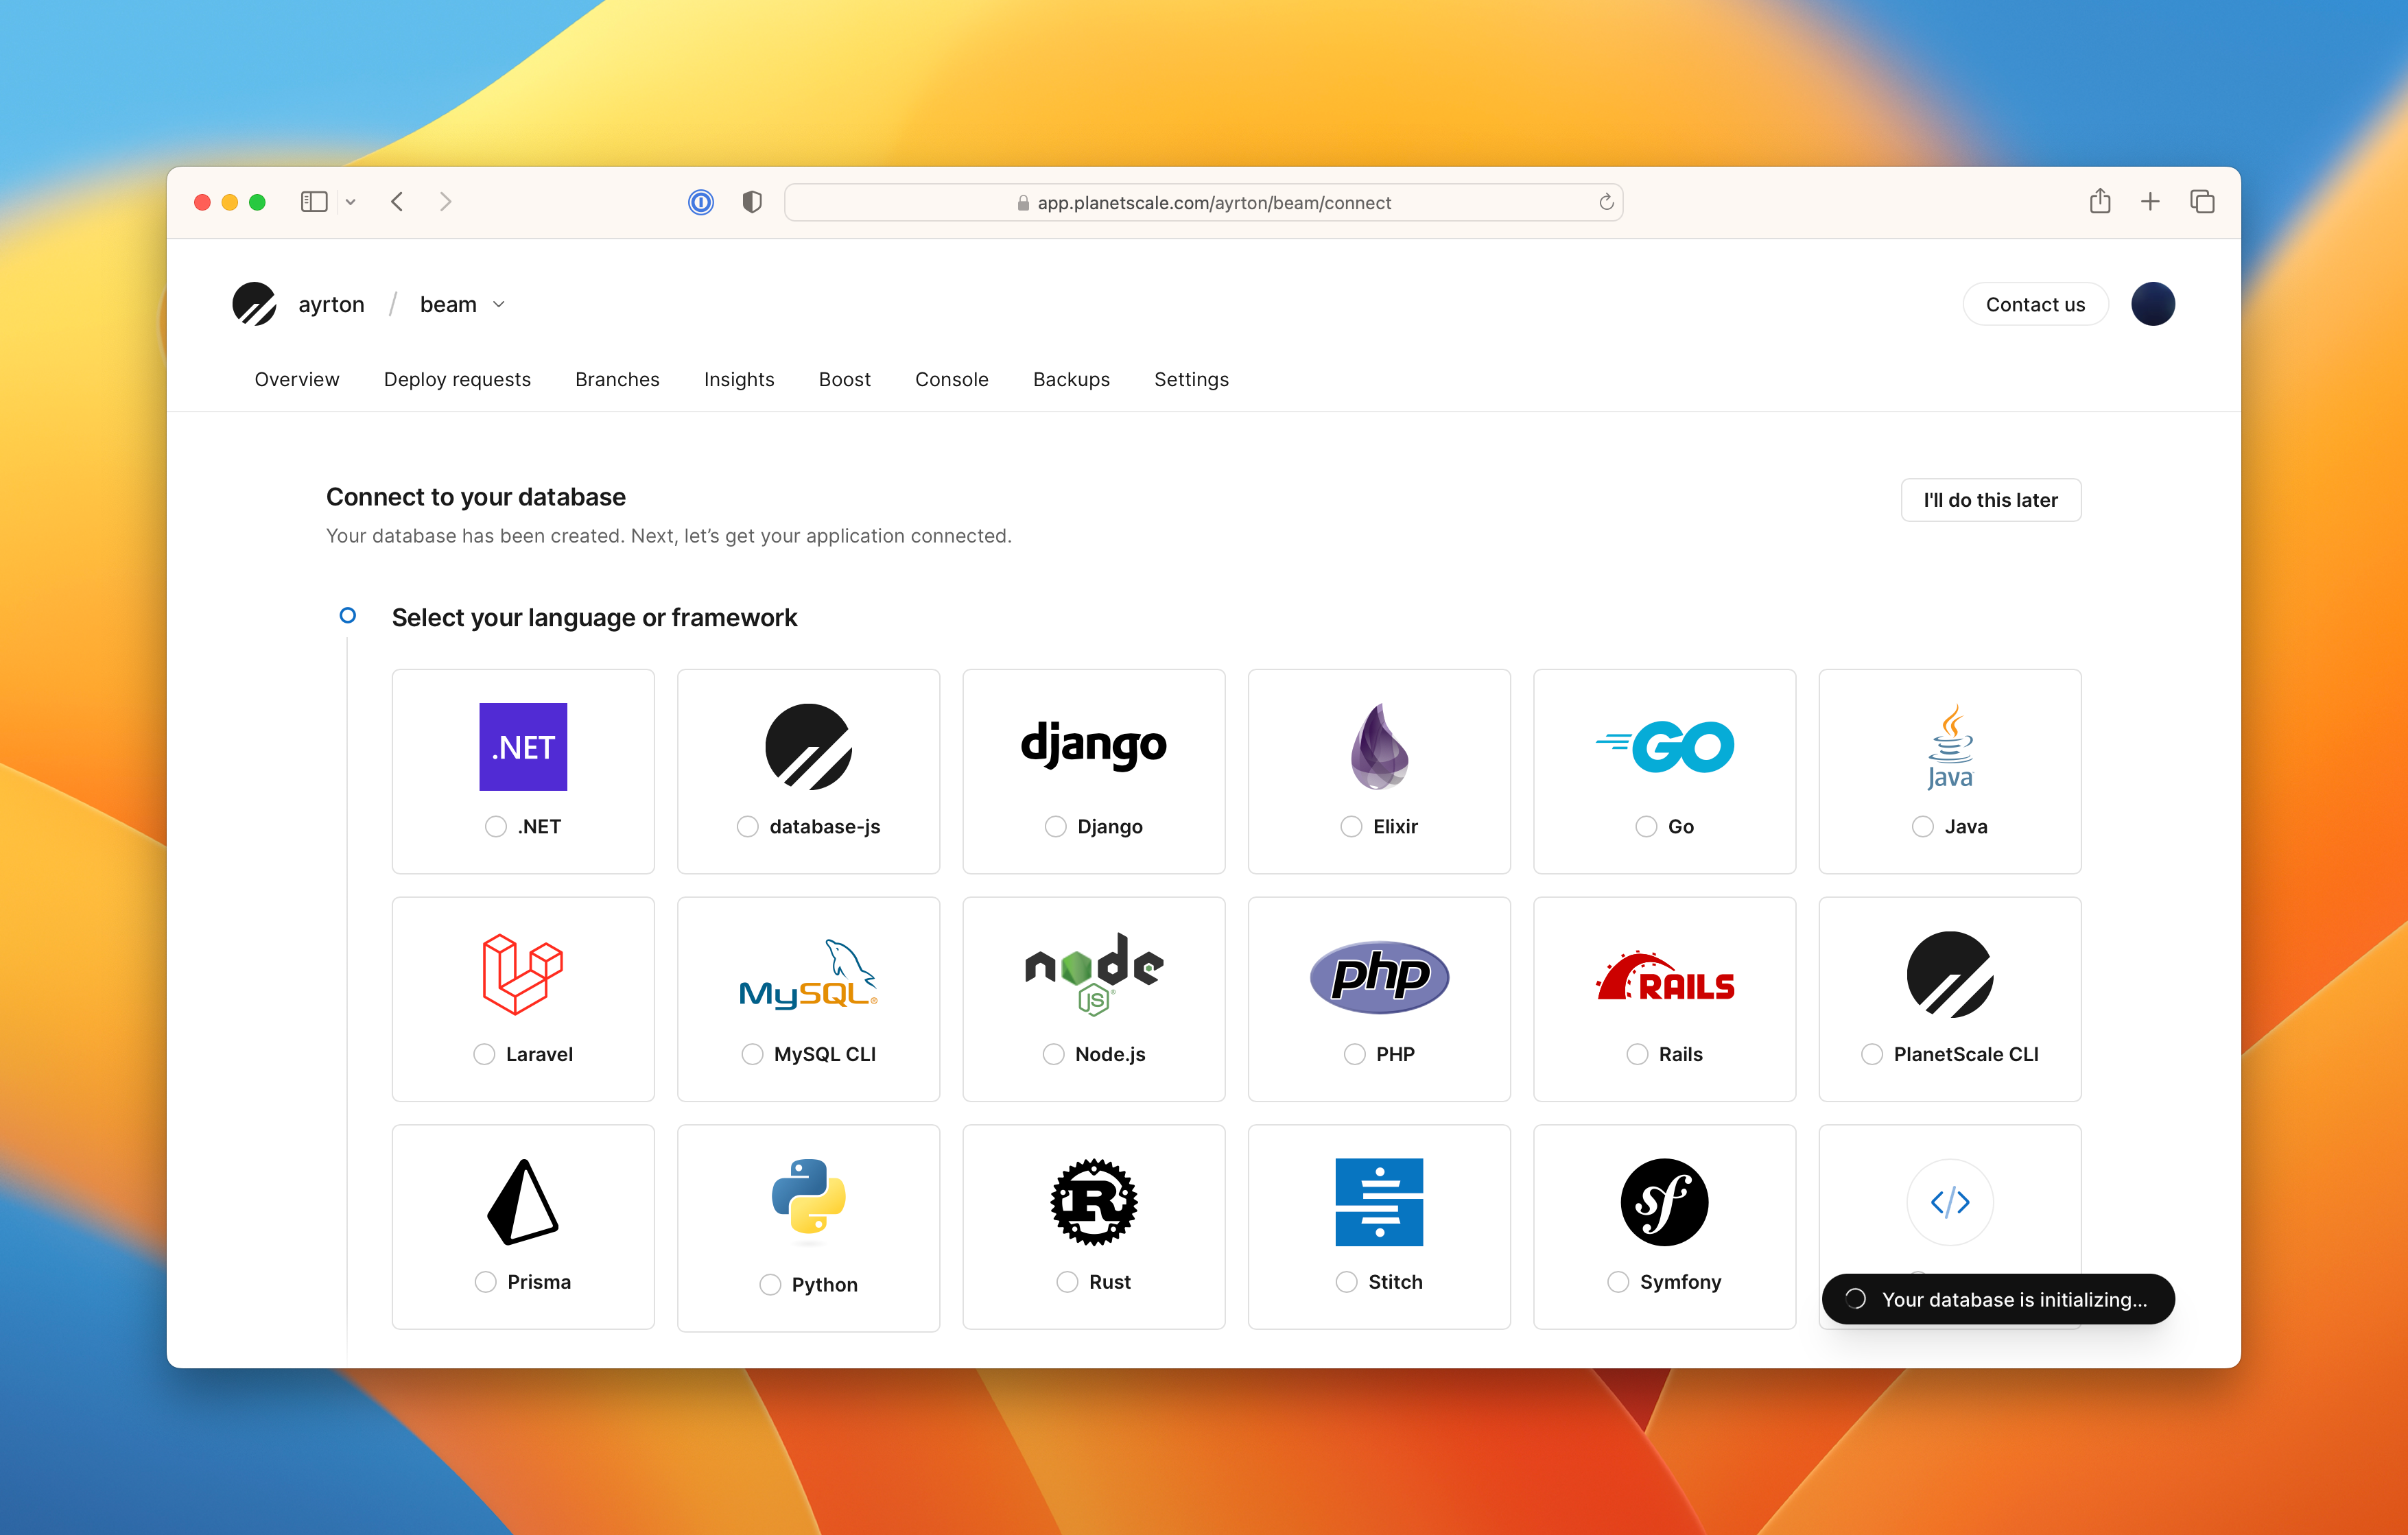
The key to building out this onboarding was Markdoc. This post will go into more detail about how we built our product onboarding using Markdoc.
More flexibility with Markdoc
Markdoc, created by Stripe, is a Markdown-based syntax for creating custom documentation sites.
One of the reasons we're able to ship so quickly at PlanetScale is because we prioritize easy-to-use tools that allow anyone at the company to contribute. For this reason, using Markdown and GitHub for our product onboarding was an obvious choice for us.
As we started building, we quickly realized we wanted to have more interactive and personalized content. Static Markdown content just wasn't going to cut it. This is when we had the idea to explore using Markdoc.
The Markdoc syntax is a superset of Markdown, specifically the CommonMark specification. This means you can write content in the Markdown you know and love, but also allows you to extend it to add custom attributes, custom tags, and use functions and/or variables.
Building out the onboarding
Let's dive into some of the code. The following snippet is part of the Markdown used to render a connection tutorial in the onboarding flow.
```bash
rails credentials:edit --environment production
```

Add the following:

```bash {% file="config/credentials.yml.enc" %}
planetscale:
  username: {% $user %}
  host: {% $host %}
  database: {% $database %}
  password: {% $password %}
```
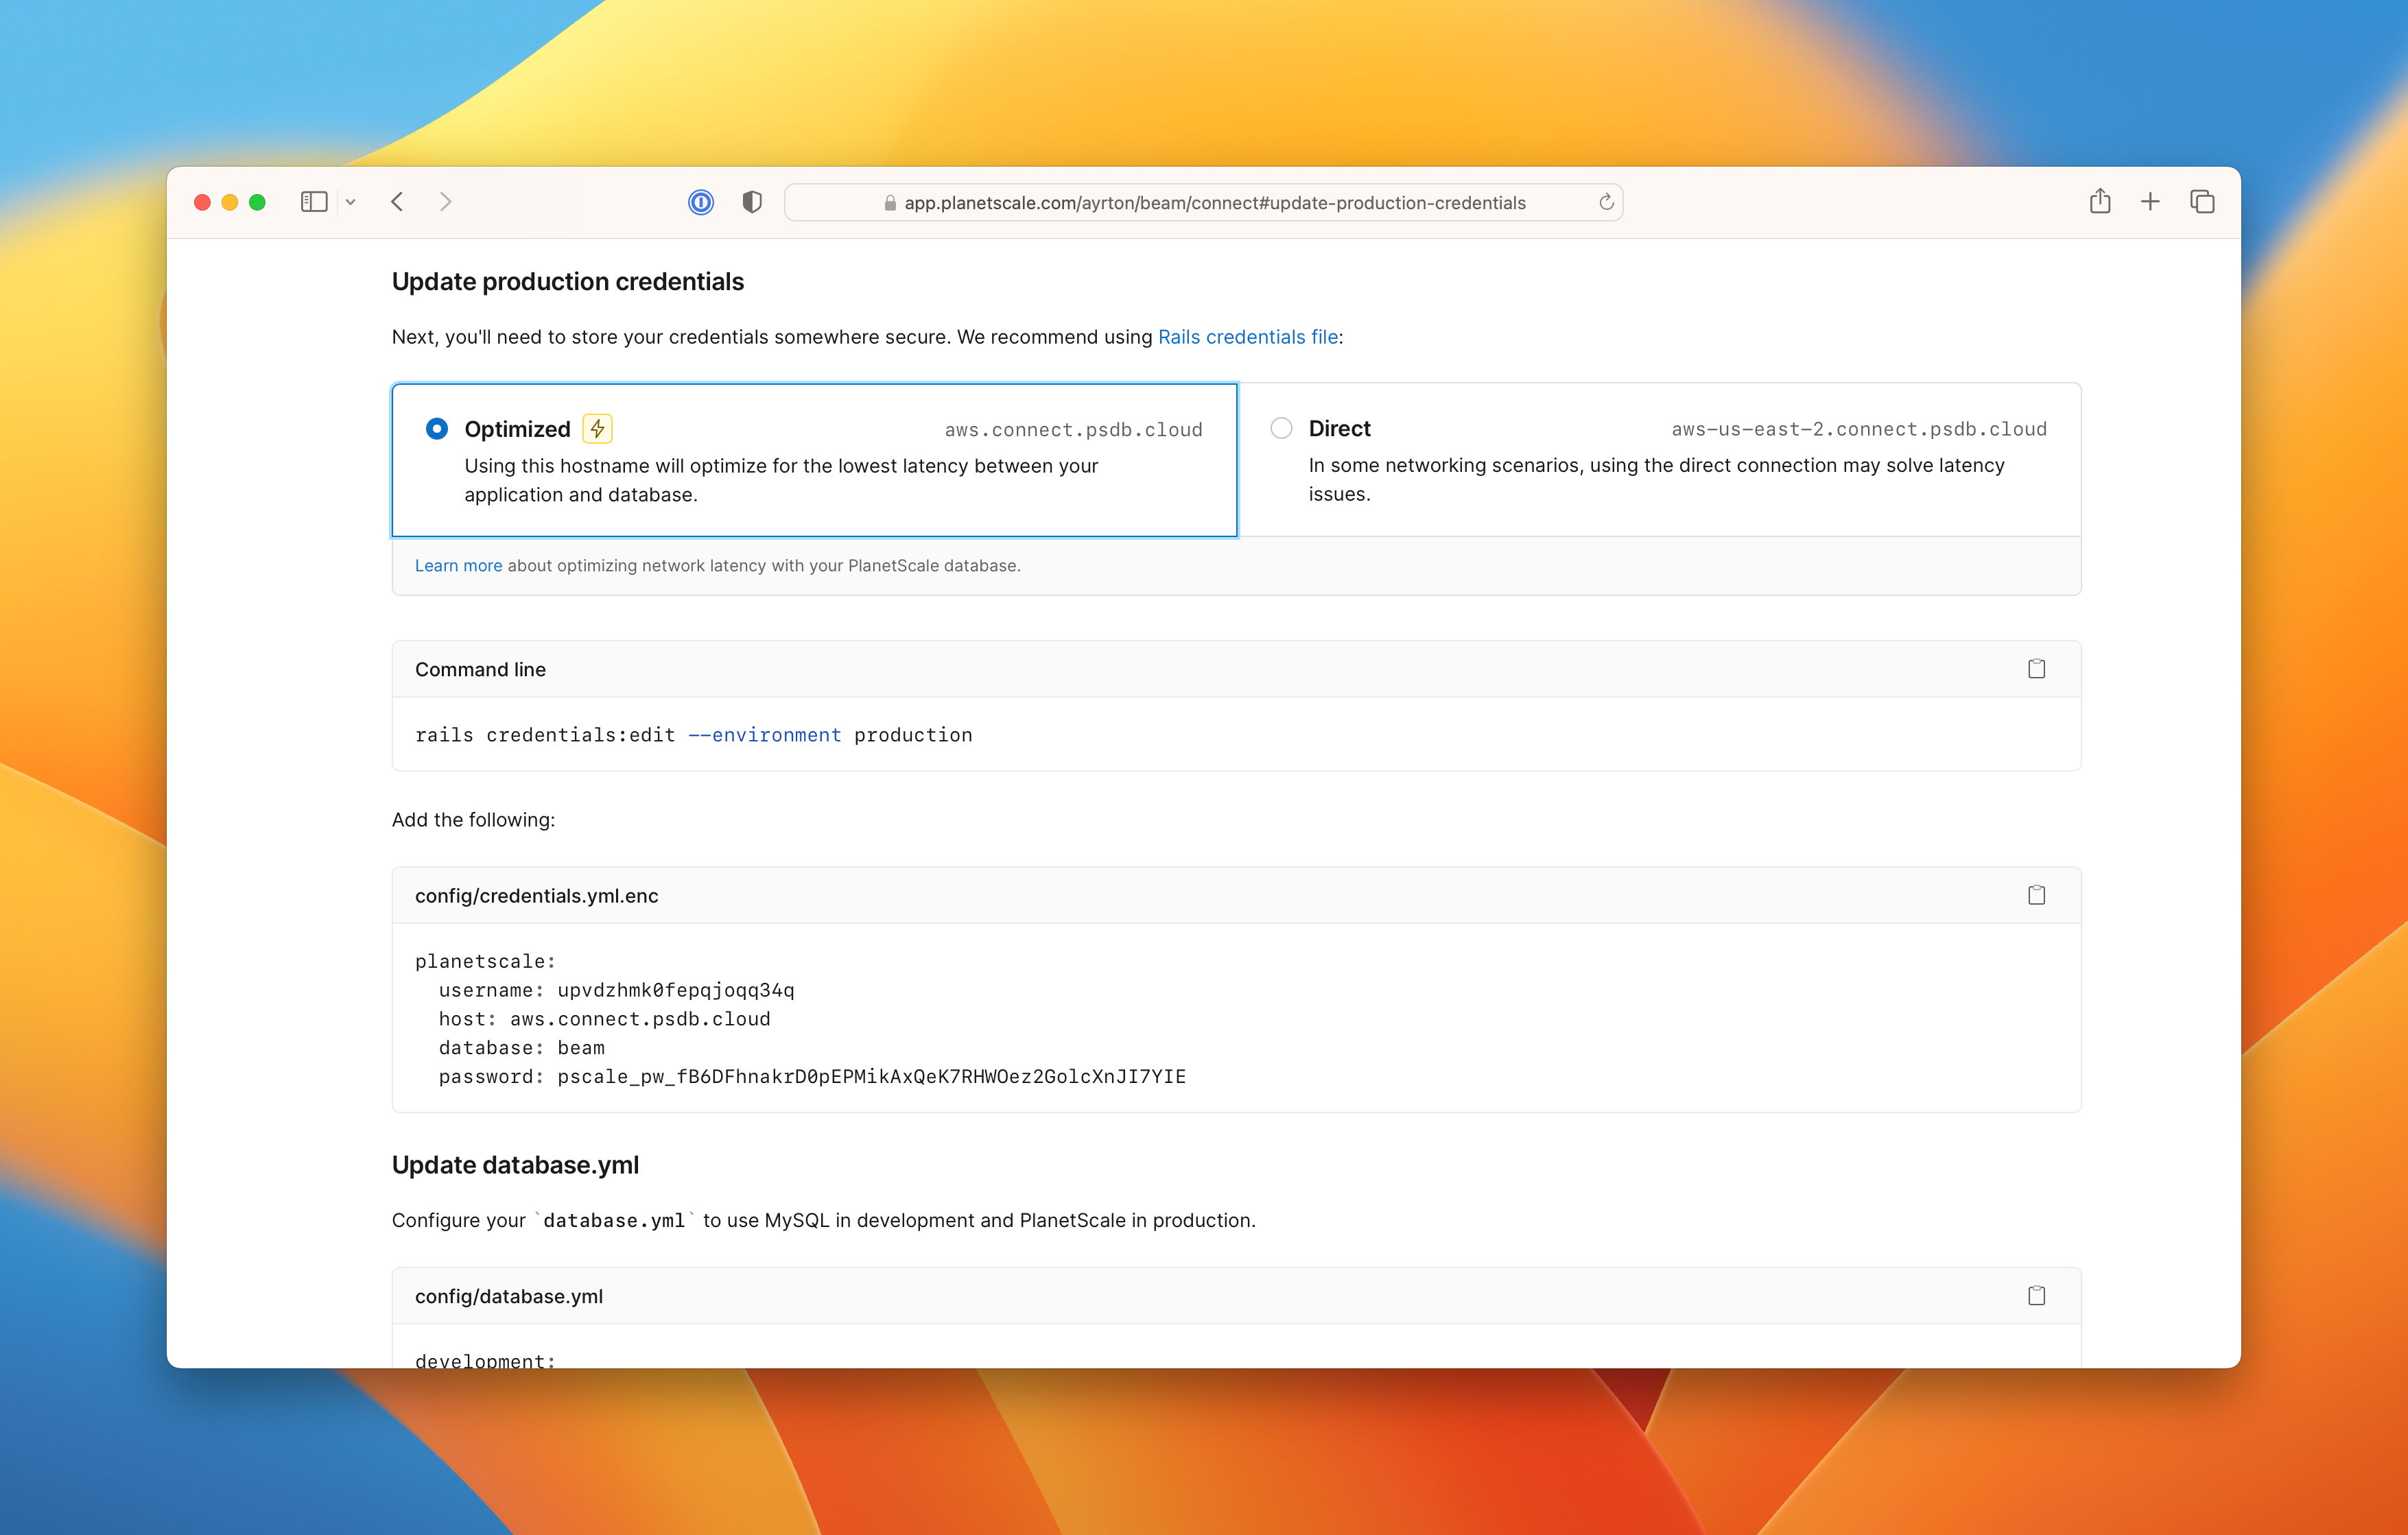
You'll notice that we are using variables here inside the Markdown, i.e., $user, $host, $database, and $password. The goal was for each path in onboarding to be custom to the user and as easy as possible for them to follow. Providing easily copy and pastable code specific to the selected framework was key. And this is where variables became important.
Variables in Markdoc
Variables let you customize your Markdoc documents at runtime. We use variables to inline the users credentials directly into the content rather than using a static placeholder value.
This is a lot like blade templates in Laravel and erb templates in Ruby on Rails. The following snippet shows how we set up variables to populate those Markdown fields.
Note
All credentials have been invalidated prior to publishing this. We are leaving the full, unblurred credentials in for clarity.
import React from 'react'
import { parse, renderers, transform } from '@markdoc/markdoc'

export default function Page() {
  const config = {
    variables: {
      host: 'us-east.connect.psdb.cloud',
      user: 'mpl0y3jv3a92h4qc4ufn',
      database: 'beam',
      password: 'pscale_pw_V8db13jnq5mrOWcGFn6GTs6AerDI7A0womsmnJ1qxOc',
      ssl_ca: '/etc/ssl/certs/ca-certificates.crt'
    }
  }

  const doc = `# Configure your application\n…`
  const ast = parse(doc)
  const content = transform(ast, config)
  const children = renderers.react(content, React, {})

  return <div>{children}</div>
}
Nodes in Markdoc
To help contextualize the file that the onboarding code snippets live in, we want to extend the code blocks to accept an additional file attribute. Markdoc nodes enable you to customize how your document renders without using any custom syntax.
The following example extends the code snippet from the previous section by adding a new fence node, which displays the filename above a code snippet.
import React from 'react'
import { parse, renderers, transform } from '@markdoc/markdoc'

export default function Page() {
  const config = {
    nodes: {
      fence: Fence.scheme
    },
    variables: {
      host: 'us-east.connect.psdb.cloud',
      user: 'mpl0y3jv3a92h4qc4ufn',
      database: 'beam',
      password: 'pscale_pw_V8db13jnq5mrOWcGFn6GTs6AerDI7A0womsmnJ1qxOc',
      ssl_ca: '/etc/ssl/certs/ca-certificates.crt'
    }
  }

  const doc = `# Configure your application\n…`
  const ast = parse(doc)
  const content = transform(ast, config)
  const children = renderers.react(content, React, { components: { Fence } })

  return <div>{children}</div>
}

function Fence({ children, file, language }) {
  return (
    <div>
      <div>{file}</div>

      <pre>
        <code className={`language-${language}`}>children</code>
      </pre>
    </div>
  )
}

Fence.scheme = {
  render: Fence.name,
  children: ['pre', 'code'],
  attributes: {
    file: {
      type: String
    },
    language: {
      type: String
    }
  }
}
Further customizations
One challenge we have seen users face is deciding which SSL certificate to use when connecting securely to PlanetScale. To address this, we built a common component that will swap out the certificate based on the users detected operating system.
This also extends the snippet from the previous section, adding in functions to detect the user's operating system and return the correct string for the ssl_ca variable.
import React from 'react'
import { parse, renderers, transform } from '@markdoc/markdoc'

export default function Page({ userAgent }) {
  const platform = connectPlatform(userAgent)
  const sslCertificate = connectSslCertificate(platform)

  const config = {
    nodes: {
      fence: Fence.scheme
    },
    variables: {
      host: 'us-east.connect.psdb.cloud',
      user: 'mpl0y3jv3a92h4qc4ufn',
      database: 'beam',
      password: 'pscale_pw_V8db13jnq5mrOWcGFn6GTs6AerDI7A0womsmnJ1qxOc',
      ssl_ca: sslCertificate
    }
  }

  const doc = `# Configure your application\n…`
  const ast = parse(doc)
  const content = transform(ast, config)
  const children = renderers.react(content, React, { components: { Fence } })

  return <div>{children}</div>
}

function connectPlatform(userAgent) {
  userAgent = userAgent.toLowerCase()

  switch (true) {
    case /linux/.test(userAgent):
      return 'linux'
    case /mac/.test(userAgent):
      return 'mac'
    case /windows/.test(userAgent):
      return 'windows'
    default:
      return 'ubuntu'
  }
}

function connectSslCertificate(platform) {
  switch (platform) {
    case 'linux':
      return '/etc/ssl/certs/ca-certificates.crt'
    case 'mac':
      return '/etc/ssl/cert.pem'
    default:
      return '/etc/ssl/certs/ca-certificates.crt'
  }
}

function Fence({ children, file, language }) {
  return (
    <pre>
      <div>{file}</div>

      <code className={`language-${language}`}>children</code>
    </pre>
  )
}

Fence.scheme = {
  // …
}
Because a user's development environment is often different from their production environment, we also had to add a selector that allows users to select the certificate on their own. The final code for that is shown below.
import React, { createContext, useState } from 'react'
import { parse, renderers, transform } from '@markdoc/markdoc'

const Platform = createContext({ platform: null, setPlatform: () => {} })

export default function Page({ userAgent }) {
  const initialPlatform = connectPlatform(userAgent)
  const [platform, setPlatform] = useState(initialPlatform)

  const sslCertificate = connectSslCertificate(platform)

  const config = {
    nodes: {
      fence: Fence.scheme
    },
    variables: {
      host: 'us-east.connect.psdb.cloud',
      user: 'mpl0y3jv3a92h4qc4ufn',
      password: 'pscale_pw_V8db13jnq5mrOWcGFn6GTs6AerDI7A0womsmnJ1qxOc',
      ssl_ca: sslCertificate
    }
  }

  const doc = `# Configure your application\n…`
  const ast = parse(doc)
  const content = transform(ast, config)
  const children = renderers.react(content, React, { components: { Fence } })

  return (
    <Platform.Provider value={{ platform, setPlatform }}>
      <div>{children}</div>
    </Platform.Provider>
  )
}

function connectPlatform(userAgent) {
  // …
}
function connectSslCertificate(platform) {
  // …
}

function Fence({ children, file, language }) {
  const { platform } = useContext(Platform)

  const isDotEnvFile = file === '.env'
  const isWindowsPlatform = platform === 'windows'

  return (
    <div>
      <div>
        <div>{file}</div>

        {isDotEnvFile && (
          <select
            onChange={(event) => {
              setPlatform(event.target.value)
            }}
            value={platform}
          >
            <option value='linux'>Linux</option>
            <option value='mac'>macOS</option>
            <option value='windows'>Windows</option>
          </select>
        )}
      </div>

      <pre>
        <code className={`language-${language}`}>children</code>
      </pre>

      {isDotEnvFile && (
        <div>
          {isWindowsPlatform && (
            <>
              For Windows you may need to download a root certificate to connect securely.{' '}
              <a href='/docs/vitess/connecting/secure-connections#windows'>Learn more</a>
            </>
          )}
          {!isWindowsPlatform && (
            <>
              View the{' '}
              <a href='/docs/vitess/connecting/secure-connections#ca-root-configuration'>
                certificate authority root
              </a>{' '}
              paths for the SSL CA details.
            </>
          )}
        </div>
      )}
    </div>
  )
}

Fence.scheme = {
  // …
}
Outcomes using Markdoc
We are extremely happy with how the onboarding turned out, and based on some early data, it seems to be a huge win for new users as well. Working with Markdoc made the building process incredibly simple and straightforward. We're already finding that maintenance, like adding new frameworks, is very manageable as well.
We'd love to hear if you've been able to get your hands on Markdoc yet. If you'd like to experience our onboarding process first-hand, make sure you sign up for a PlanetScale account to give it a go.