








Elastic Job 3.0版本还在完善中,坑比较多,此文使用2.1.5作为测试
1、安装Zookeeper
关键命令
cd /opt
# 解压压缩包,解压完成后当前目录生成一个apache-zookeeper-3.6.1-bin的文件夹
tar -zxvf apache-zookeeper-3.6.1-bin.tar.gz
# 修改文件夹名称为zookeeper-3.6.1(好记)
mv apache-zookeeper-3.6.1-bin  zookeeper-3.6.1


cd /opt/zookeeper-3.6.1/conf
# 复制一份配置文件,名为zoo.cfg
cp zoo_sample.cfg zoo.cfg
# 修改配置文件
vim zoo.cfg
# 所有参数默认即可,在最后加上
admin.serverPort=2190


vim /etc/profile
# 替换为自己的安装目录
export ZOOKEEPER_HOME=/opt/zookeeper-3.6.1
# 我安装的东西较多,参考截图红框设置
export PATH=$PATH:$ZOOKEEPER_HOME/bin


# 启动(未设置环境变量可以cd到安装目录/bin下面)
zkServer.sh start
# 查看是否启动成功,也可以在安装目录/logs/下查看启动日志
ps -ef|grep zookeeper
参考
2、Elastic-job环境搭建
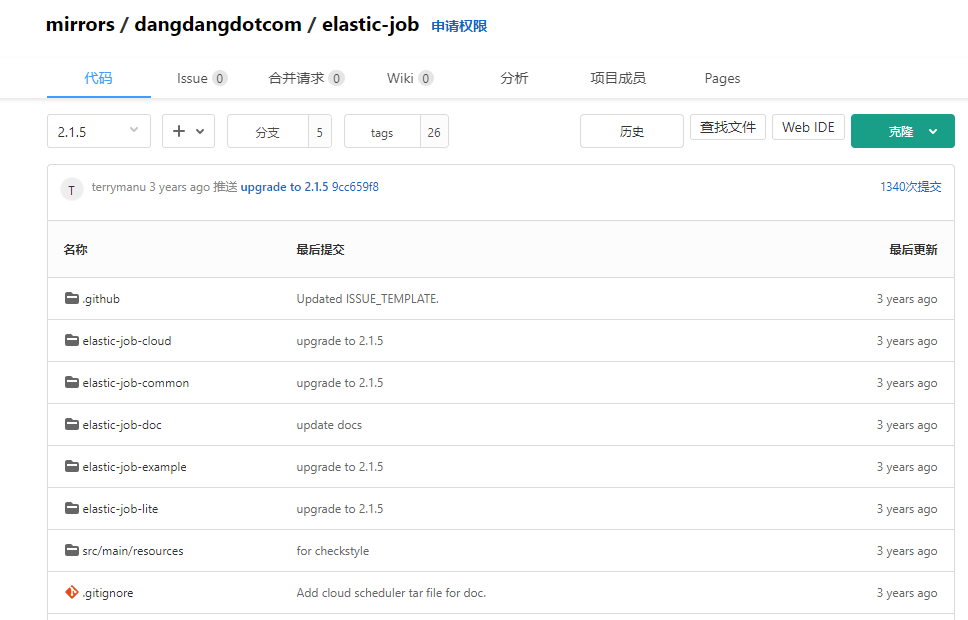
下载源码,分支为2.1.5 https://codechina.csdn.net/mirrors/dangdangdotcom/elastic-job?utm_source=csdn_github_accelerator
执行
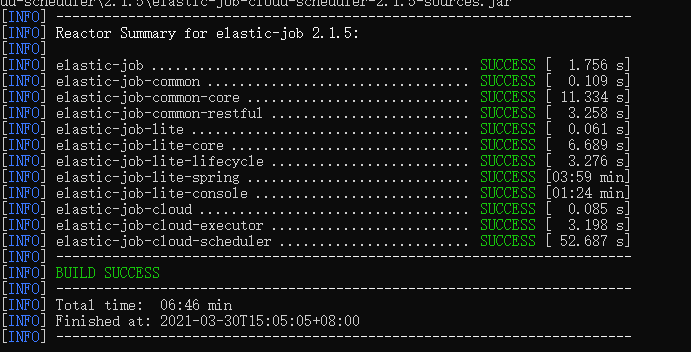
mvn clean package -Dmaven.test.skip=true
进行源码编译打包,几分钟后即可全部编译完成
进入elastic-job-lite-console-2.1.5\bin windows下执行 start.bat
启动成功,默认端口8899

浏览器登录后添加注册中心配置
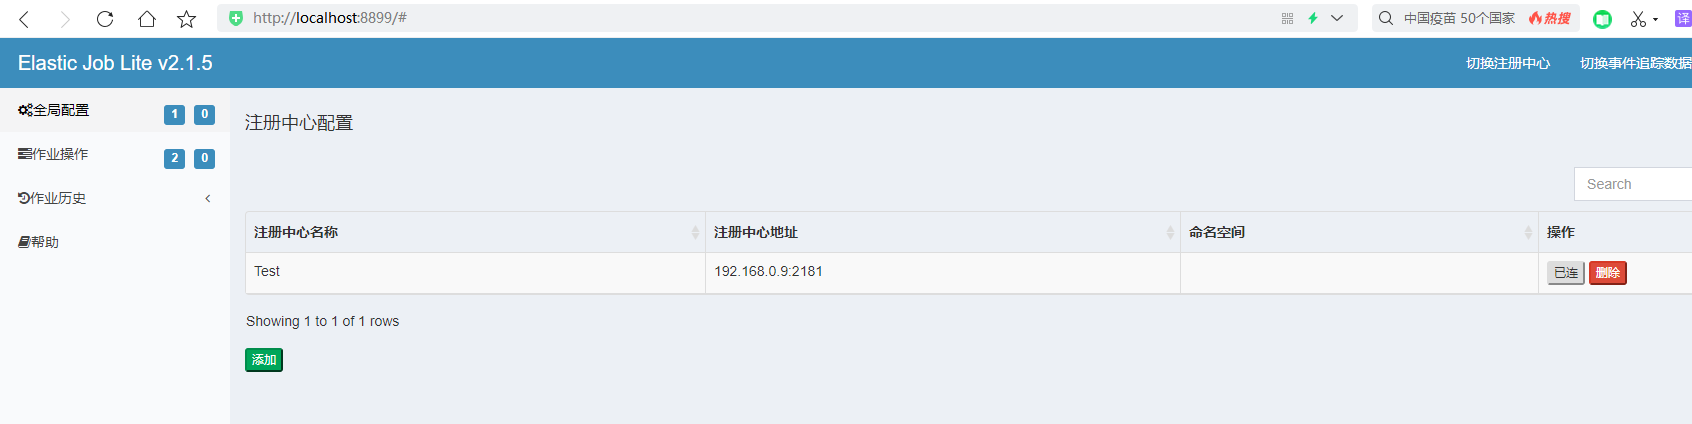
2、新建一个Spring Boot项目,pom文件加上如下配置
   <properties>
        <java.version>1.8</java.version>
        <project.build.sourceEncoding>UTF-8</project.build.sourceEncoding>
        <project.reporting.outputEncoding>UTF-8</project.reporting.outputEncoding>
        <spring-boot.version>2.1.18.RELEASE</spring-boot.version>
        <elasticjob.version>2.1.5</elasticjob.version>
    </properties>


        <!-- 引入elastic-job-lite核心模块 -->
        <dependency>
            <groupId>com.dangdang</groupId>
            <artifactId>elastic-job-lite-core</artifactId>
            <version>${elasticjob.version}</version>
        </dependency>

        <!-- 使用springframework自定义命名空间时引入 -->
        <dependency>
            <groupId>com.dangdang</groupId>
            <artifactId>elastic-job-lite-spring</artifactId>
            <version>${elasticjob.version}</version>
        </dependency>
3、新建一个简单Job类
public class TestJob implements SimpleJob {

    @Override
    public void execute(ShardingContext shardingContext) {
        int item = shardingContext.getShardingItem();

        System.out.println(String.format("-----ThreadId:%s,当前分片项:%s",Thread.currentThread().getId(),item));
    }
}
4、自定义bean的xml
<?xml version="1.0" encoding="UTF-8"?>
<beans xmlns="http://www.springframework.org/schema/beans"
       xmlns:xsi="http://www.w3.org/2001/XMLSchema-instance" xmlns:reg="http://www.dangdang.com/schema/ddframe/reg"
       xmlns:job="http://www.dangdang.com/schema/ddframe/job"
       xsi:schemaLocation="http://www.springframework.org/schema/beans
                        http://www.springframework.org/schema/beans/spring-beans.xsd
                        http://www.dangdang.com/schema/ddframe/reg
                        http://www.dangdang.com/schema/ddframe/reg/reg.xsd
                        http://www.dangdang.com/schema/ddframe/job
                        http://www.dangdang.com/schema/ddframe/job/job.xsd
                        ">
    <!--配置作业注册中心 -->
    <reg:zookeeper id="jobRegesterCenter" server-lists="192.168.0.9:2181" namespace="lfp-elastic-job" base-sleep-time-milliseconds="1000" max-sleep-time-milliseconds="3000" max-retries="3" />

    <!-- 配置作业-->
    <job:simple id="testJob" class="cn.wison.elasticjobdemo.jobs.TestJob" registry-center-ref="jobRegesterCenter" cron="* * * * * ?"
                disabled="false" overwrite="true" sharding-total-count="4" sharding-item-parameters="0=A,1=B,2=C" description="测试" />
</beans>
5、修改启动Main函数
@SpringBootApplication
@ImportResource(locations={"classpath:jobs.xml"})
public class ElasticJobDemoApplication {
6、启动程序执行可以看到分片执行效果
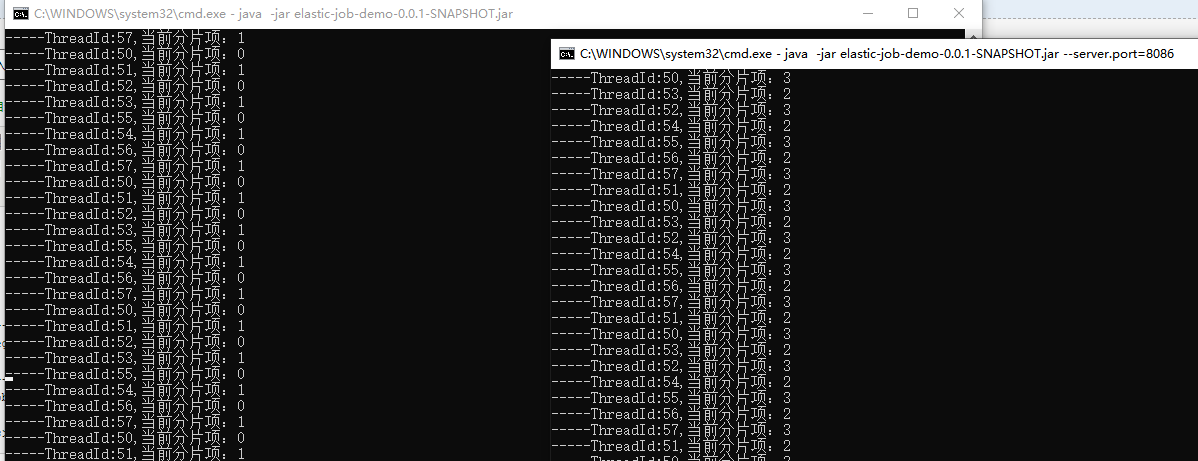
此内容由惯性聚合(RSS阅读器)自动聚合整理,仅供阅读参考。 原文来自 — 版权归原作者所有。