惯性聚合 高效追踪和阅读你感兴趣的博客、新闻、科技资讯
阅读原文 在惯性聚合中打开

推荐订阅源

阮一峰的网络日志
阮一峰的网络日志
Hugging Face - Blog
Hugging Face - Blog
Recent Announcements
MongoDB | Blog
MongoDB | Blog
OSCHINA 社区最新新闻
OSCHINA 社区最新新闻
G
Google Developers Blog
L
LangChain Blog
The GitHub Blog
The GitHub Blog
酷 壳 – CoolShell
酷 壳 – CoolShell
GbyAI
GbyAI
MyScale Blog
MyScale Blog
让小产品的独立变现更简单 - ezindie.com
U
Unit 42
Martin Fowler
Martin Fowler
Cyber Security Advisories - MS-ISAC
H
Hackread – Cybersecurity News, Data Breaches, AI and More
Apple Machine Learning Research
爱范儿
爱范儿
博客园 - 聂微东
大猫的无限游戏
大猫的无限游戏
M
MIT News - Artificial intelligence
A
About on SuperTechFans
Stack Overflow Blog
Stack Overflow Blog
V
V2EX

博客园 - 斌言

Claude Code + deepseek在Windows环境上的搭建教程 docker部署.NET6并挂载目录 unable to access 'https://github.com/langgenius/dify.git/': Failed to connect to github.com port 443 after 21111 ms: Could not connect to server .NET6 MVC 无刷新上传文件 docker快速搭建部署mqtt ubuntu安装smaba CentOS7.9安装Docker centos7.9 安装 openGauss 5.0.0 CentOS 7 yum安装MongoDB CentOS 7.4安装.NET6 react native SectionList组件实现多选 react-native-vector-icons 安装 apk文件查看指纹证书方法 supervisor 安装及基本使用 WinForms 嵌入 Web服务 ASP.NET Core http请求内容过大, IIS服务器 返回 Request Too Long 解决方案 ASP.NET Core MVC中调用Json()时默认使用Newtonsoft.Json返回数据 react native android9 axios network error .NET Core3.1升级.NET5 oracle连接报错
server2008 安装mongodb
斌言 · 2021-12-03 · via 博客园 - 斌言

1、下载指定版本 3.6.23  zip压缩文件 ,似乎高版本已经不支持在server2008了!

         下载地址:https://www.mongodb.com/try/download/enterprise

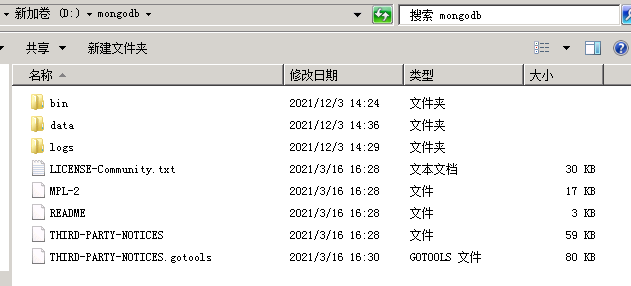
2、D盘新建mongodb目录把文件解压在此目录中并新建两个文件夹data和logs
       

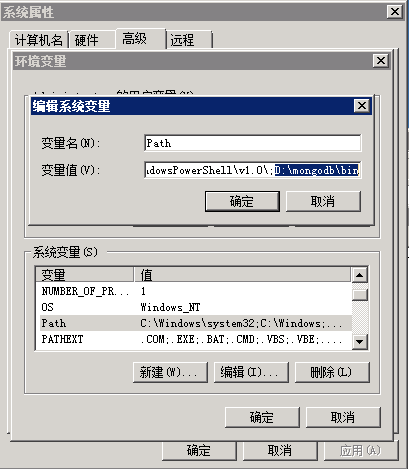
3、新增环境变量 在Path中新增D:\mongodb\bin
          

4、在D:\mongodb\bin目录下新建配置文件mongod.cfg


5、mongod.cfg配置文件内容如下

# mongod.conf

# for documentation of all options, see:
#   http://docs.mongodb.org/manual/reference/configuration-options/

# Where and how to store data.
storage:
  dbPath: D:\mongodb\data
  journal:
    enabled: true
#  engine:
#  mmapv1:
#  wiredTiger:

# where to write logging data.
systemLog:
  destination: file
  logAppend: true
  path:  D:\mongodb\logs\mongod.log

# network interfaces
net:
  port: 27017
  bindIp: 0.0.0.0


#processManagement:

security:
  authorization: enabled
  #authorization: disabled

#operationProfiling:

#replication:

#sharding:

## Enterprise-Only Options:

#auditLog:

#snmp:

6、执行新增服务命令

 mongod --config "D:\mongodb\bin\mongod.cfg" --install --serviceName "MongoDB"

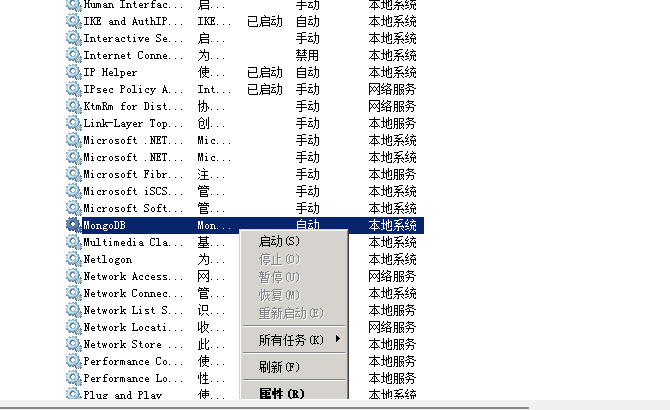
7、检查是否执行成功,如果服务是停止状态手动启动
  

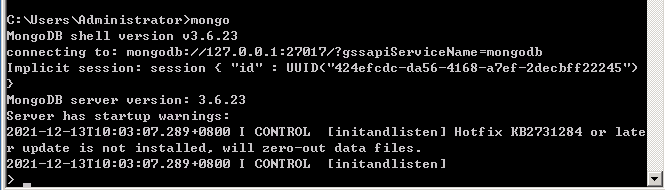
8、打开命令窗口,输入mongo 进入命令行模式
 

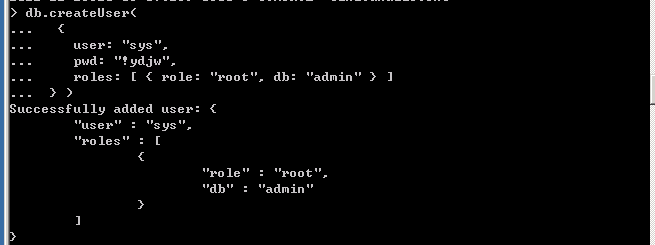
9、增加超级管理员

db.createUser( 
  { 
    user: "sys", 
    pwd: "!ydjw", 
    roles: [ { role: "root", db: "admin" } ] 
 } )
10、切换超级管理员

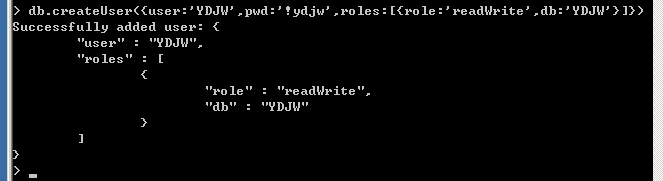
11、超级管理员创建普通用户

db.createUser({user:'YDJW',pwd:'!ydjw',roles:[{role:'readWrite',db:'YDJW'}]})
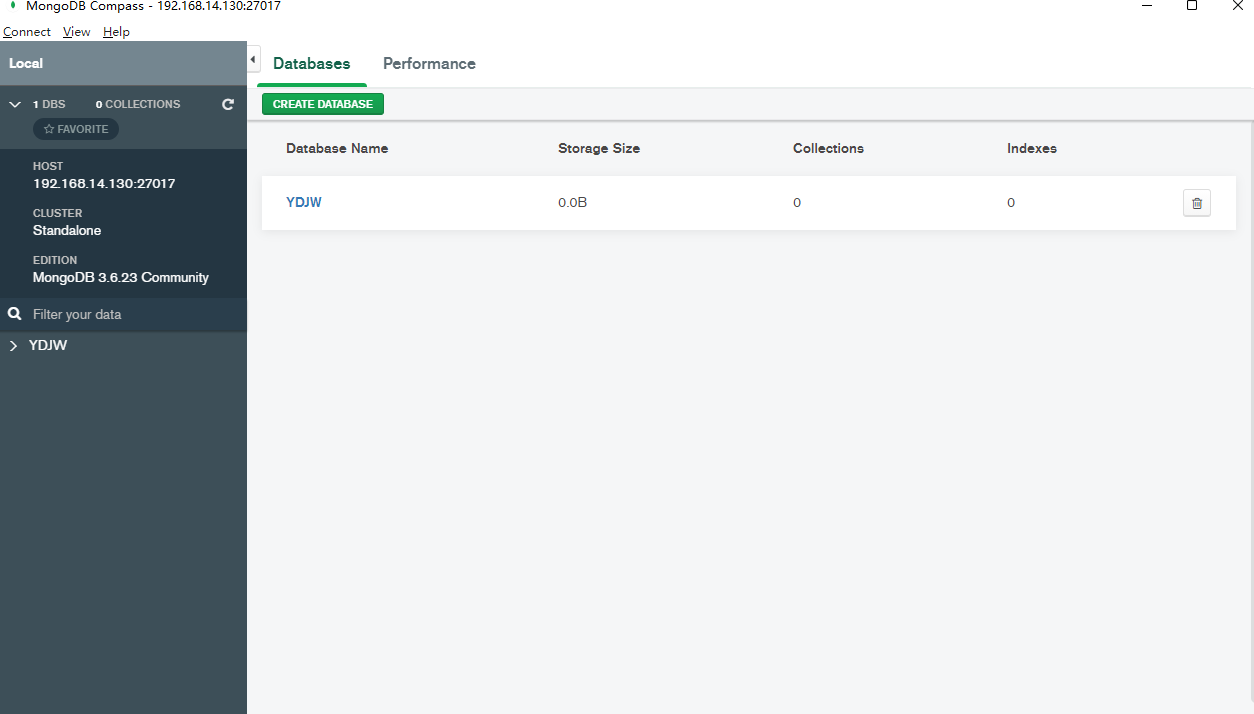
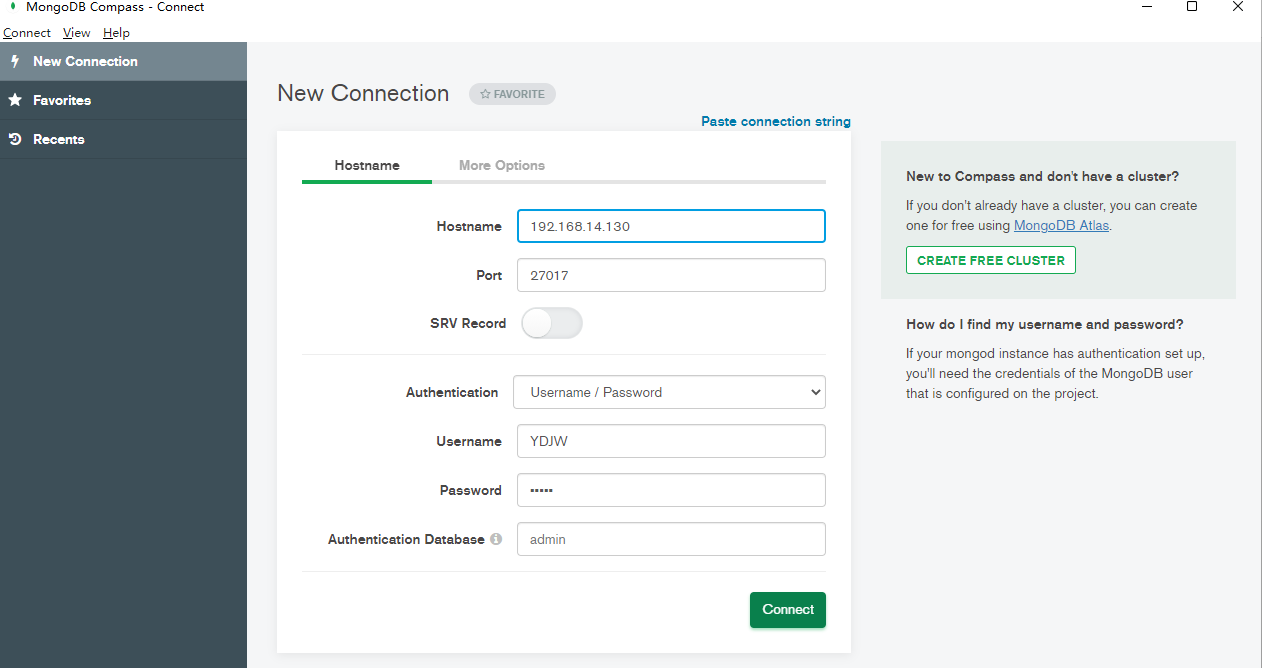
12、测试连接 用户名:YDJW  密码:!ydjw


 13、卸载服务   

mongod.exe --remove --serviceName "MongoDB"