






Github Actions, is a continuous integration tool from GitHub, offers developers a new way to automate workflows.
Each action, which is a set of custom instructions can be combined with other actions to create a workflow.
When I ran some tests on Github actions, I found out that these temporary containers are very powerful machines. Below are some specs (for Ubuntu 18.04):
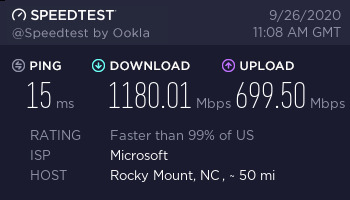
That was pretty amazing ✨. Moreover it was capable of installing multiple packages and running multiple languages.
The scope of this article is to get a Temporary File Sharing Platform for short amount of time
What do we need to make this work ?
Create a Github Repository, can be public (as we don’t share/show Ngrok URL details with anyone)
Create a file named fileshare.yml under .github/workflows, so that file path will be .github/workflows/fileshare.yml
Below is the workflow we need to use … It’s pretty basic, you may add more params to browsepy or use pyngrok for more functionality :)
Paste the code below in fileshare.yml
| |
We will be using BrowsePy - a simple web file browser using Flask. This has feature that we need:
Ngrok offers, in Free tier:
which is fair for this project.
I have added timeout 20m so that ‘browsepy’ will quit after 20 minutes, although github actions can run for ~50 minutes !
At last we remove uploaded files and auth-token from runner by
rm -rf public/
rm -rf ~/.ngrok2/
Now we have to do 2 more steps for Ngrok to work:
Ngrok Authtoken from https://dashboard.ngrok.com/auth/your-authtoken
which will be different for each accountNgrok Authtoken in https://github.com/<your repo>/settings/secrets as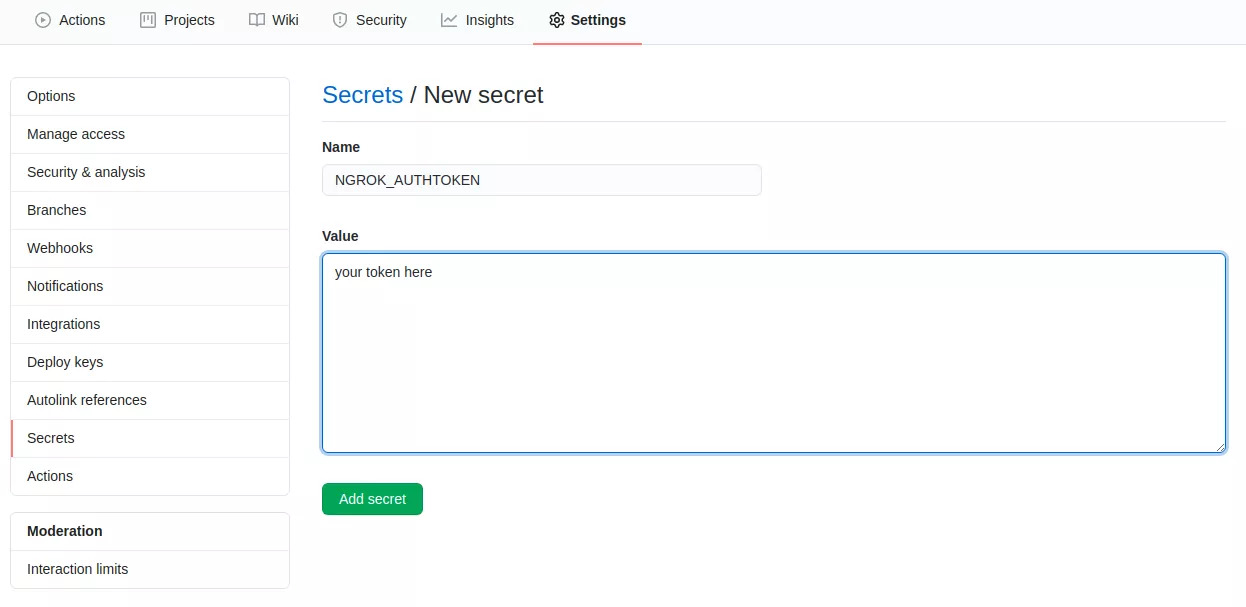
We can now go to Actions Tab for Repository created
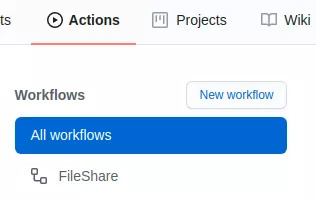
And RUN the workflow
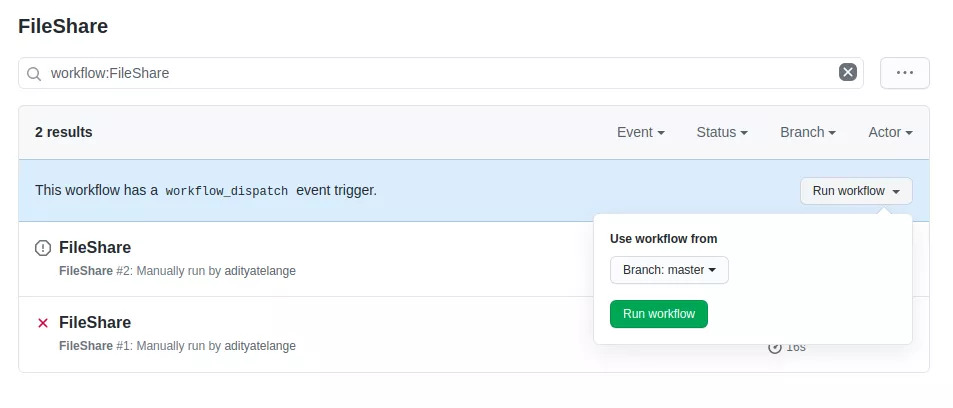
After Running go to ngrok dashboard to find the Tunnel Url
Tunnels Online : https://dashboard.ngrok.com/status/tunnels
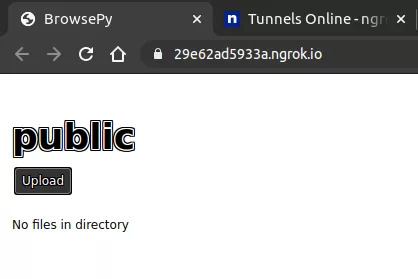
Go to the https://<tunnel url>.ngrok.io/ and enjoy Temporary File Sharing
Kudos to you if you have read so far 🙌
此内容由惯性聚合(RSS阅读器)自动聚合整理,仅供阅读参考。 原文来自 — 版权归原作者所有。