

惯性聚合 高效追踪和阅读你感兴趣的博客、新闻、科技资讯
阅读原文 在惯性聚合中打开

推荐订阅源

B
Blog RSS Feed
J
Java Code Geeks
H
Help Net Security
Google DeepMind News
博客园 - 司徒正美
Microsoft Security Blog
宝玉的分享
宝玉的分享
Stack Overflow Blog
Stack Overflow Blog
D
DataBreaches.Net
The GitHub Blog
The GitHub Blog
S
SegmentFault 最新的问题
U
Unit 42
博客园 - 三生石上(FineUI控件)
Last Week in AI
Last Week in AI
M
MIT News - Artificial intelligence
WordPress大学
WordPress大学
小众软件
小众软件
博客园 - 叶小钗
D
Docker
量子位
P
Proofpoint News Feed
博客园_首页
T
Tailwind CSS Blog
F
Fortinet All Blogs

Replicate's blog

How to make remarkable videos with Seedance 2.0 – Replicate blog How to prompt Seedream 5.0 – Replicate blog Recraft V4: image generation with design taste – Replicate blog Run Isaac 0.1 on Replicate – Replicate blog Run FLUX.2 on Replicate – Replicate blog How to prompt Nano Banana Pro – Replicate blog Retro Diffusion's pixel art models are now on Replicate – Replicate blog Replicate is joining Cloudflare – Replicate blog Extract text from documents and images with Datalab Marker and OCR – Replicate blog How to prompt Veo 3.1 – Replicate blog IBM's Granite 4.0 is now on Replicate – Replicate blog Which image editing model should I use? – Replicate blog Introducing our new search API – Replicate blog Torch compile caching for inference speed – Replicate blog Announcing Replicate's remote MCP server – Replicate blog How to prompt Veo 3 with images – Replicate blog Open source video is back – Replicate blog Generate consistent characters – Replicate blog Bria is now on Replicate – Replicate blog How we optimized FLUX.1 Kontext [dev] – Replicate blog Compare AI video models – Replicate blog The FLUX.1 Kontext hackathon – Replicate blog How to prompt Veo 3 for the best results – Replicate blog Get the most from Google Veo 3 – Replicate blog FLUX.1 Kontext from the community – Replicate blog Use FLUX.1 Kontext to edit images with words – Replicate blog Generate incredible images with Google's Imagen 4 – Replicate blog Run OpenAI’s latest models on Replicate – Replicate blog NVIDIA H100 GPUs are here – Replicate blog Run 30,000+ LoRAs on Hugging Face with Replicate – Replicate blog
Run Stable Diffusion 3 on your own machine with ComfyUI –...
2024-06-14 · via Replicate's blog

Stable Diffusion 3 (SD3) just dropped and you can run it in the cloud on Replicate, but it’s also possible to run it locally using ComfyUI right from your own GPU-equipped machine.

What is Stable Diffusion 3?

Stable Diffusion 3 (SD3) is the latest version of Stability AI’s tool that creates images from text. It’s faster and makes better images than older versions. SD3 is really good at making complex scenes with lots of details and clear text from the prompt.
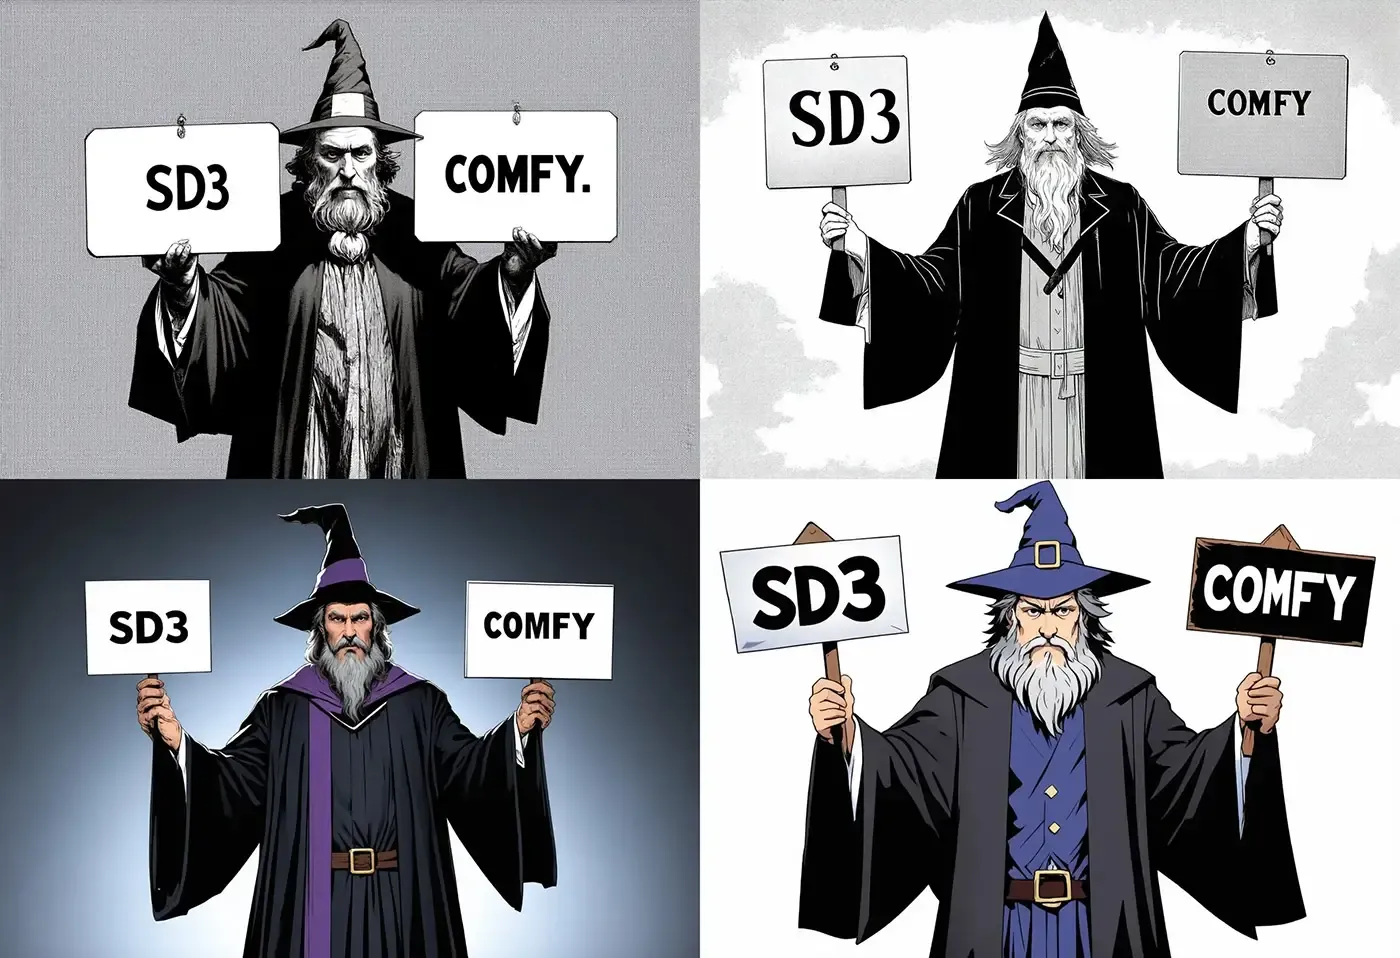
SD3 and Comfy
A wizard holding two signs, one in their left hand with the label ‘SD3’ and one in their right hand with the label ‘COMFY’“

What is ComfyUI?

ComfyUI is a graphical user interface (GUI) for Stable Diffusion models like SD3. It lets you connect different AI models (called nodes) together to create custom images, just like connecting Lego blocks. You don’t need to know any code to use it. ComfyUI makes it fun and simple to try out different combinations (called “workflows”) and make unique pictures.

A special thanks to comfyanonymous for creating ComfyUI and fofr for creating a Cog compatiable version of it

Prerequisites

To follow this guide, you’ll need:

  • A GPU-equipped machine (NVIDIA GPU with at least 8GB VRAM recommended)
  • The ability to copy and paste into terminal 😉

Step 1: Install Cog

Start by installing Cog. It’s a tool that sets up everything you need to package and run a machine learning model in a container environment. Open your terminal and run these commands:

sudo curl -o /usr/local/bin/cog -L “https://github.com/replicate/cog/releases/latest/download/cog_$(uname -s)_$(uname -m)” sudo chmod +x /usr/local/bin/cog

Step 2: Clone the ComfyUI repository

Next, clone the ComfyUI code from GitHub:

git clone —recurse-submodules git@github.com:fofr/cog-comfyui-sd3.git cd cog-comfyui-sd3

Step 3: Start ComfyUI

Start ComfyUI. Run this command to download weights and start the ComfyUI web server:

sudo cog run —use-cog-base-image -p 8188 /bin/bash -c “python scripts/get_weights.py workflow_api.json && cd ComfyUI/ && python main.py —listen 0.0.0.0”

This might take a while, so relax and wait for it to finish.

Step 4: Open the ComfyUI web interface

After ComfyUI starts, open your web browser and go to http://<YOUR-IP>:8188. If you don’t know your machine’s IP address, run this command in your terminal:

hostname -I

That’s it! You should now see the ComfyUI interface ready to use.

Step 5: Load the SD3 Workflow

Don’t worry if you don’t have the SD3 workflow file. You can download it from GitHub using this command:

curl -O “https://raw.githubusercontent.com/fofr/cog-comfyui-sd3/main/workflow_api.json

After downloading the workflow_api.json file, open the ComfyUI GUI, click “Load,” and select the workflow_api.json file.

Step 6: Generate Your First Image

Go to the “CLIP Text Encode (Prompt)” node, which will have no text, and type what you want to see. For example, "cat on a fridge".

The “CLIP Text Encode (Negative Prompt)” node will already be filled with a list of things you don’t want in the image, but feel free to change it.

Finally, click the “Queue Prompt” button to make your first image. Now you can start creating amazing visuals!
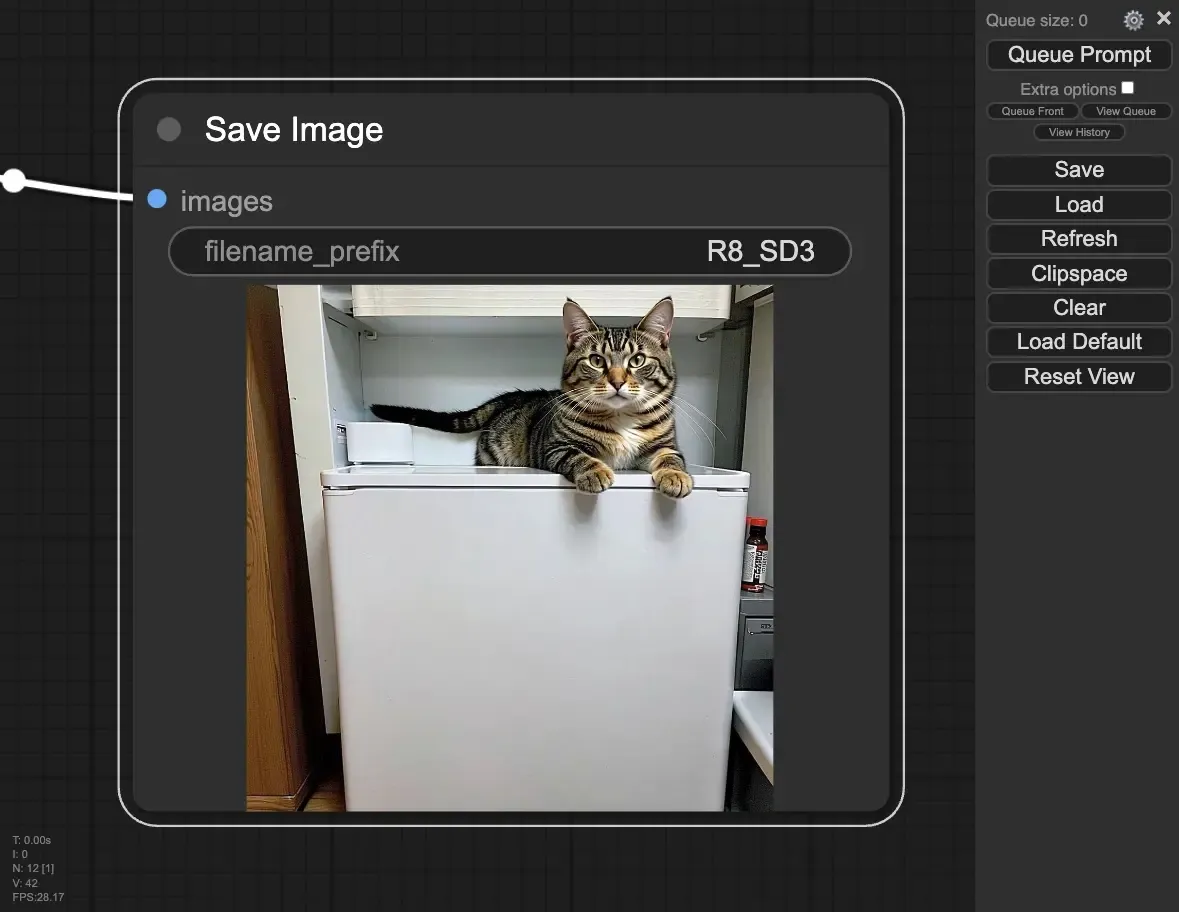
ComfyUI GUI Output for 'cat on a fridge'

What’s next?