





Jupyter Notebooks are files that combine two content types:
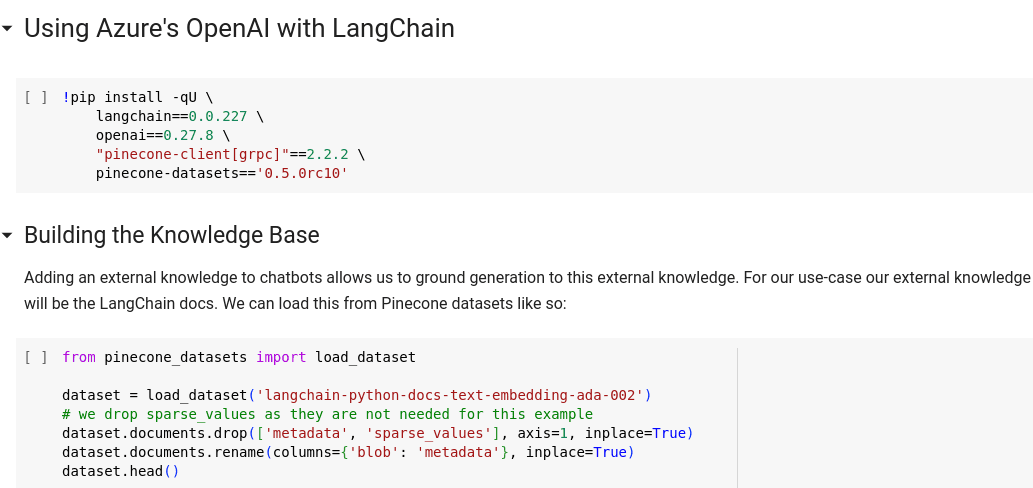
Jupyter Notebooks combine text and executable Python code, making them ideal for learning, prototyping and experimentation.
The combination of these two types of files is powerful: Notebooks allow you to tell a story in words and images while presenting code that can be run or tweaked in place.
Jupyter Notebooks are easy to start using. Unlike nearly every programming language, they do not require installation or setup on your local machine if you run an open-source Notebook via one of the hosting providers we’ll introduce in this post.
Jupyter Notebooks are easy to share, making them ideal for Machine Learning and AI research, modeling, fine-tuning, experimentation, and collaboration.
When you’re finished reading this blog post, you’ll understand:
The fastest way to get started is with open-source Jupyter Notebooks. Pinecone hosts a wide array of Notebooks demonstrating AI use cases, such as:
To run any of these Notebooks which use Pinecone’s vector database, you’ll need a free Pinecone account, which you can get from the Pinecone dashboard. Pinecone has a generous free tier that allows you to create and use an index - perfectly sufficient for running through any examples in the above repository.
If you’d like a more in-depth walkthrough of how to use the Pinecone dashboard, see the Getting Started guide in the learn directory of our examples repository.
The examples in our learn directory are organized by topic - each directory is named after the overall topic:
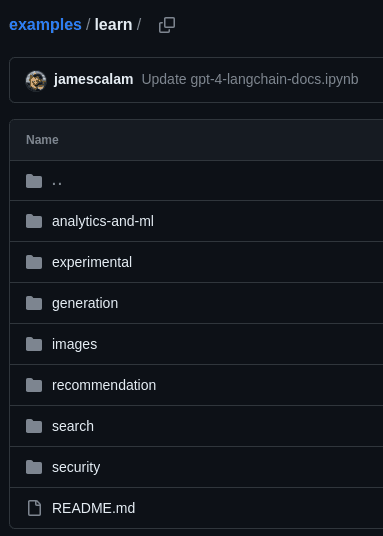
Pinecone's example Jupyter Notebooks in GitHub cover a wide array of AI techniques
Within each topic, you’ll find multiple Notebook files. Notebooks end in the `.ipynb` file extension.
We’ll choose the Azure OpenAI with LangChain Notebook to demonstrate loading the notebook in Google Colab:
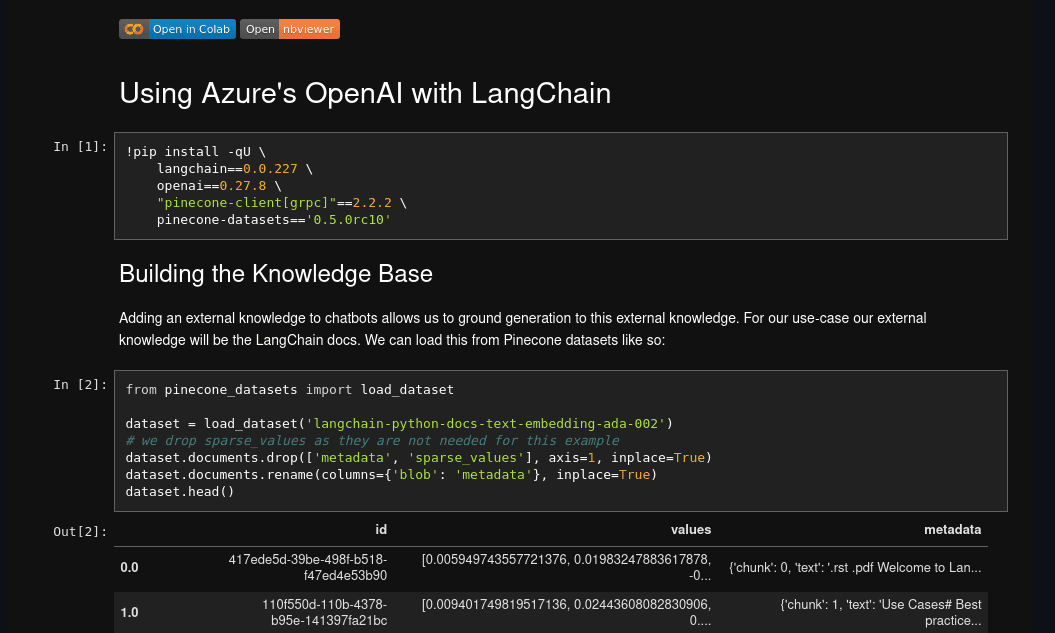
Azure OpenAI with LangChain example Jupyter Notebook
On all of the Pinecone example Jupyter Notebooks, you’ll find the blue Open in Colab button at the top of the preview in GitHub:

Click this button on any Jupyter Notebook you find in GitHub to load it in Google Colab and begin working
Click this button to load the Notebook in Google Colab. This service helps you run and share Jupyter Notebooks. You’ll need to log in with your Google account.
If you’d like to follow an in-depth video that walks you through this process, check out our “How to use Jupyter Notebooks for Machine Learning and AI tasks” YouTube video.
If this is the first time you’ve used Google Colab to load a Notebook from GitHub, you will encounter this popup, which asks you to grant Google Colab permission to open Notebooks from GitHub on your behalf:
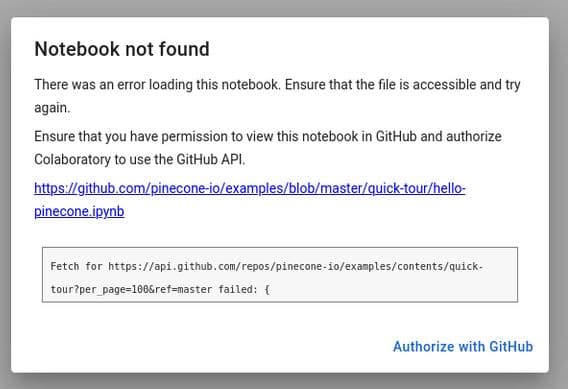
Authorize Google Colab to load Jupyter Notebooks from GitHub
Click Authorize with GitHub. You may or may not encounter another similar warning stating that Google Colab is unable to open new browser windows on your behalf:
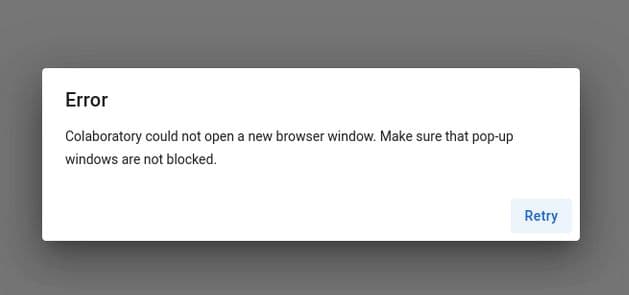
Enable Google Colab popup windows so that you can load Notebooks
If you do, look for a message from your browser and click the button to allow Google Colab to open popup windows.
Once you’ve got your Jupyter Notebook loaded in Google Colab, you can begin working with the text and code cells. There are two ways to run a Jupyter Notebook:
Option #1, running every cell from top to bottom, is an excellent choice if you’re in a hurry to get to the final results of the Notebook or if you’re using the Notebook to test some tool or service within the Notebook to ensure it’s working correctly.
Option #2, stepping through the text and code cells individually and reading and running them one by one, is the best way to learn the techniques the Notebook demonstrates.
Remember that code cells are modifiable - you could, for example, add a print statement anywhere you like to understand a given variable or data structure better, then press that cell’s play button again to execute your modified code and see the value printed to the output console below the cell:
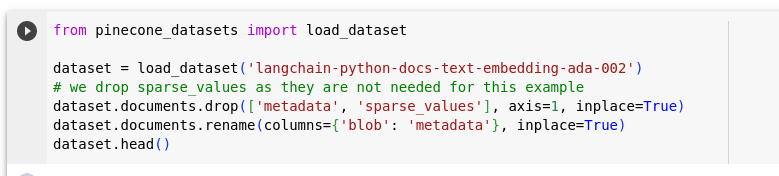
Press the play button on a Jupyter Notebook code cell to execute the code defined within it.
Google Colab is not the only service available for working with Notebooks, but it is one of the easiest to get started with and is free.
Kaggle is another excellent resource for running Notebooks, discovering and quickly loading datasets, and sharing your work with others. Kaggle also runs many data science competitions that can help you level up your skills.
There’s an important caveat that you should understand to use Notebooks safely. API keys, such as Pinecone or OpenAI API keys, for example, are secrets - they’re meant to identify you and your account uniquely.
There’s a risk of accidentally leaking your API key via a Notebook if you’re not careful, which could lead to nefarious actors performing actions in your account and costing you money. The output of Notebooks is saved in the file format itself, so if you hardcode your API key into a code cell like this:
os.environ["OPENAI_API_KEY"] = "sk-273weq98qwegfywfg34r78tywefuygefwqaefuyg"and then you save or share your Notebook with someone you don’t trust, or commit your Notebook to a public repository on GitHub, for example, others can see and abuse your API key.
Always ensure that you’re loading your API keys securely by using a password field such as the one exposed by the getpass utility, and store your API keys in environment variables that your subsequent code cells can reference, like so:
from getpass import getpass
import os
pinecone_api_key = getpass('Enter your Pinecone API Key: ')
os.environ["PINECONE_API_KEY"] = pinecone_api_key
See also the Securely set your Pinecone API key section of our Getting Started guide for more information, or watch our How to use Jupyter Notebooks for Machine Learning and AI Tasks YouTube video for a detailed explanation and demonstration if you’re unfamiliar with using API keys.
此内容由惯性聚合(RSS阅读器)自动聚合整理,仅供阅读参考。 原文来自 — 版权归原作者所有。