






By default every Ghost Theme contains post.hbs file which defines how your posts are rendered, but a great feature in Ghost Themes is the ability to create custom templates, which gives us the possibility to assign different layouts to different posts.
Ghost templates are not just for posts, you can apply these custom templates to your pages as well. So let's see how to create a custom template in a Ghost Theme.
Ghost template files
At this point you need the ghost theme, you would like to extend with the custom template. We'll be using Handlebars, the templating language used by Ghost CMS to provide content to Ghost Themes.
Open the theme folder in your editor (I am using vscode), inside the folder you have to see a couple of .hbs files as well as other folders such as assets, partials. The hbs files are responsible for rendering your content.
The most important thing to notice when creating custom templates for ghost is that we have to prefix the template name by custom-. If we want to create a new custom template which will contain a sidebar, we will name this: custom-with-sidebar.hbs. This file has to be created in the root folder of the theme.
Remember the naming convention:
custom-{{template-name}}.hbs
This naming convention serves as helper for Ghost to know that this is a custom template, and this can be assigned to your posts and pages later on. The template we create will appear in the Post/Page setting in the Ghost Admin Panel. In our case: With Sidebar.
Ghost template definition
Now that the file is created let's add some code to it. You can start from the layout defined in post.hbs or you can write the whole layout from scratch.
This is a general and simplified layout of a post template for a ghost theme:
{{!-- insert everything in this file into the {body} of the default.hbs template --}}
{{!< default}}

{{!-- Everything inside the #post tags pulls data from the post --}}
{{#post}}
<main class="site-main">
  <article class="{{post_class}}">
    <h1 class="post-full-title">{{title}}</h1>

    <div class="post-content">
        {{content}}
    </div>

    {{!-- comments --}}
    <section class="post-comments">
      {{> comments}}
    </section>

  </article>
</main>

{{/post}}
Let's explain some parts of the code. The <main> tag is wrapped around the {{#post}} block, which means the template is rendered in the post context and you can use post properties like {{title}} and {{content}}.
We also have a section for comments, and what happens here is we include a partial name comments for this to work, there needs to be a file called comments.hbs in the partials folder.
What we want to do next is to add another section to this template, a sidebar, which will contain a tag cloud. For this we have to add the following code between the ending </article> tag and the </main> tag:
<aside class='sidebar'>
  <div class='tag-cloud'>
    {{#get 'tags' limit='20' as |tag|}}
      {{#foreach tag}}<a href='{{url}}'>{{name}}</a>{{/foreach}}
    {{/get}}
  </div>
</aside>
This will fetch us 20 tags and create an anchor element for each of those. If you want you can look more into ghost filter expressions to learn how to use advanced filtering. For our needs this is enough for now.
Of course you will have to style the content to really appear as a sidebar, using CSS we will not go into that in this tutorial.
The next step would be to assign our new custom template to a post.
Using custom templates
Now that the template is created you have to upload the theme to your Ghost site, you can use the Ghost Admin to upload a zipped theme file.
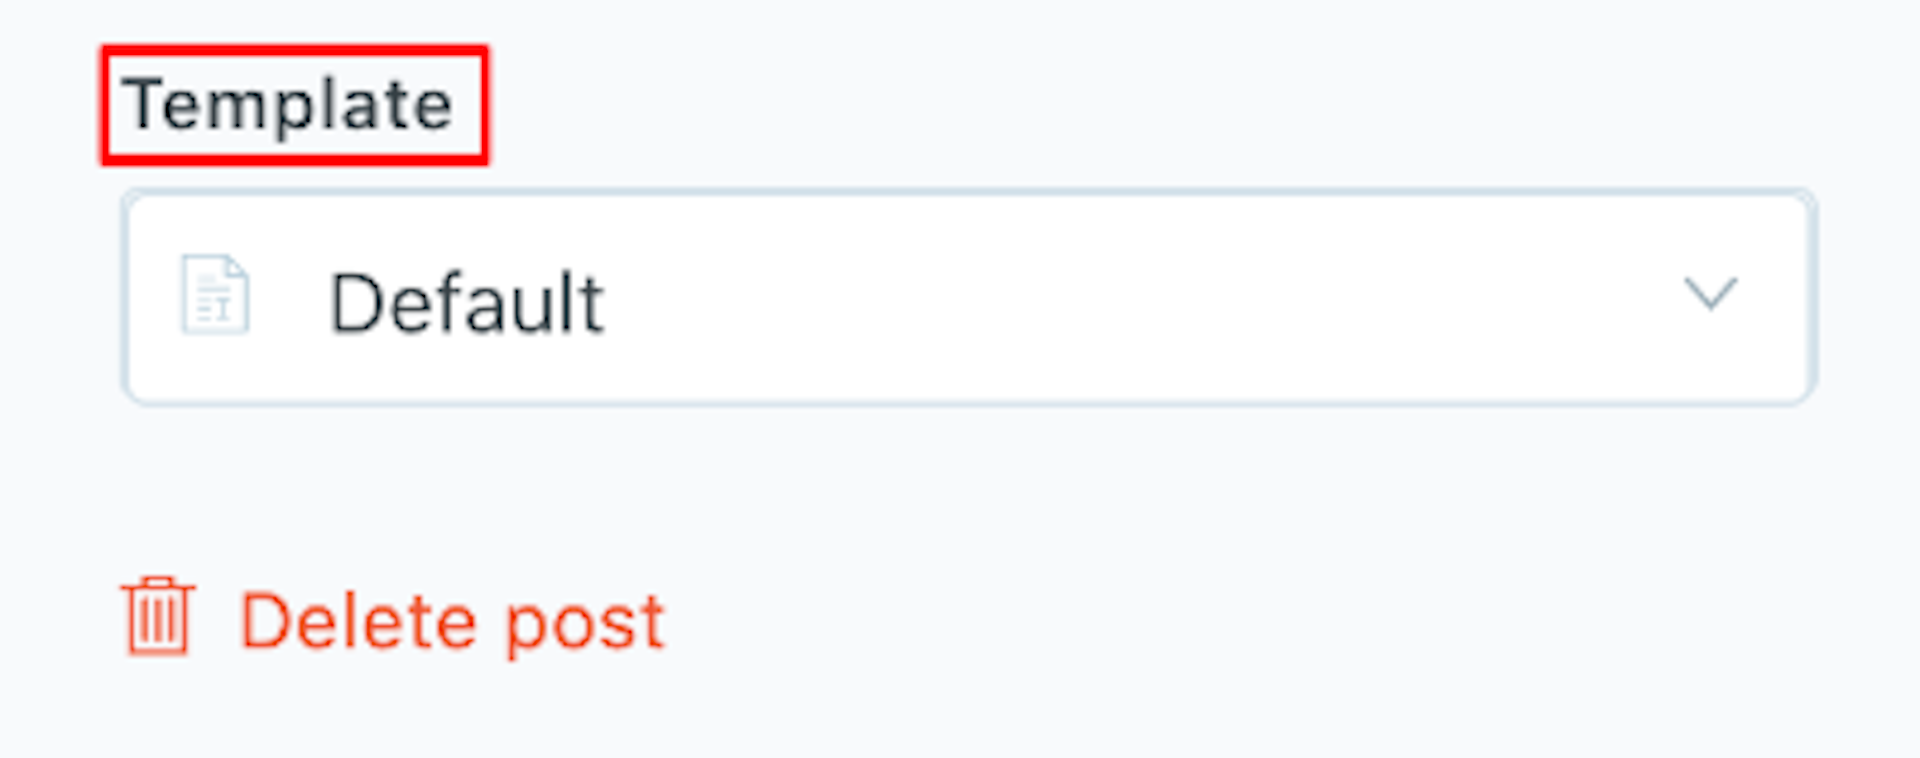
After the theme is uploaded, the final step is to select the custom template. For this open any post and then access the post settings by pressing the cog in the top right corner. At the bottom of the settings panel you should have a dropdown titled Template and besides the Default you should see the custom template created previously.
Select the template and update the post, when you access the post you should see the new layout.
I hope this was helpful.