惯性聚合 高效追踪和阅读你感兴趣的博客、新闻、科技资讯
阅读原文 在惯性聚合中打开

推荐订阅源

WordPress大学
WordPress大学
小众软件
小众软件
钛媒体:引领未来商业与生活新知
钛媒体:引领未来商业与生活新知
博客园 - Franky
Jina AI
Jina AI
freeCodeCamp Programming Tutorials: Python, JavaScript, Git & More
OSCHINA 社区最新新闻
OSCHINA 社区最新新闻
Y
Y Combinator Blog
V
Visual Studio Blog
C
Check Point Blog
阮一峰的网络日志
阮一峰的网络日志
U
Unit 42
量子位
人人都是产品经理
人人都是产品经理
博客园 - 聂微东
M
MIT News - Artificial intelligence
爱范儿
爱范儿
B
Blog RSS Feed
MyScale Blog
MyScale Blog
H
Help Net Security
Cyber Security Advisories - MS-ISAC
美团技术团队
L
LangChain Blog
D
Docker

Runpod Blog.

New Runpod datacenter now live: AP-IN-1 Track GPU spend across your team with Cost Centers The GPU supply supercycle is here. Here’s what AI builders need to know. Community Spotlight: One-click AI image and video generation on Runpod with SwarmUI | Runpod Blog Community Spotlight: LoRA Pilot Data Prep to Inference Introducing the Runpod Assistant: Manage Your Cloud GPU Resources with Natural Language OpenAI's Parameter Golf: Train the Best Language Model That Fits in 16MB on Runpod LLM inference optimization: techniques that actually reduce latency and cost Pruna P-Video and Vidu Q3 public endpoints now available on Runpod Runpod brand spelling guide Quickstart - Runpod Documentation The AI market looks nothing like the narrative Training StyleGAN3 with Vision-Aided GAN on Runpod KoboldAI – The Other Roleplay Front End, And Why You May Want to Use It How to Connect Cursor to LLM Pods on Runpod for Seamless AI Dev Community Spotlight: How AnonAI Scaled Its Private Chatbot Platform with Runpod Prompt Scheduling with Disco Diffusion on Runpod Runpod's Latest Innovation: Dockerless CLI for Streamlined AI Development Run Your Own AI from Your iPhone Using Runpod Introducing Flash: Run GPU workloads on Runpod Serverless: No Docker required Use Claude Code with your own model on Runpod: No Anthropic account required Avoid Errors by Selecting the Proper Resources for Your Pod What hackers built on Runpod at TreeHacks 2026 Easily Back Up and Restore Your Pod with Cloud Sync + Backblaze B2 The Complete Guide to GPU Requirements for LLM Fine-Tuning AI Guides, Tutorials & GPU Infrastructure Insights | Runpod Your first Claude Code project within Runpod: a complete setup guide 10 billion Serverless requests and counting Building for resilience: Runpod’s response to the AWS us-east-1 outage How to Connect Google Colab to Runpod
How to Run LTXVideo in ComfyUI on Runpod
Brendan McKeag · 2024-12-06 · via Runpod Blog.

With new packages like Mochi and Hunyuan Video now out, there have been some other video packages that have come out that have also slipped under the radar that definitely deserve some more love. LTXVideo by Lightricks appears to be slept on despite coming out with an out of the box, state of the art length of 251 frames for its video generation, along with text, image, and video prompting methods through some easy to install and use ComfyUI workflows. Let's look at how to get this set up in a pod.

Although an A100 or H100 is still recommended for maximum video length and quality, the package is optimized for speed and usability and can comfortably run on lower GPU specs, with a 48GB model like the A40 more than capable of utilizing the best the package has to offer. Let's go through setting up the package in your ComfyUI pod.
Startup and Updating ComfyUI

  1. Spin up a ComfyUI pod of any flavor you choose (in this example I'm using ComfyUI and Manager and Downloader by Camenduru.) An A100 or H100 is recommended but a 48GB GPU should be adequate for smaller tasks.
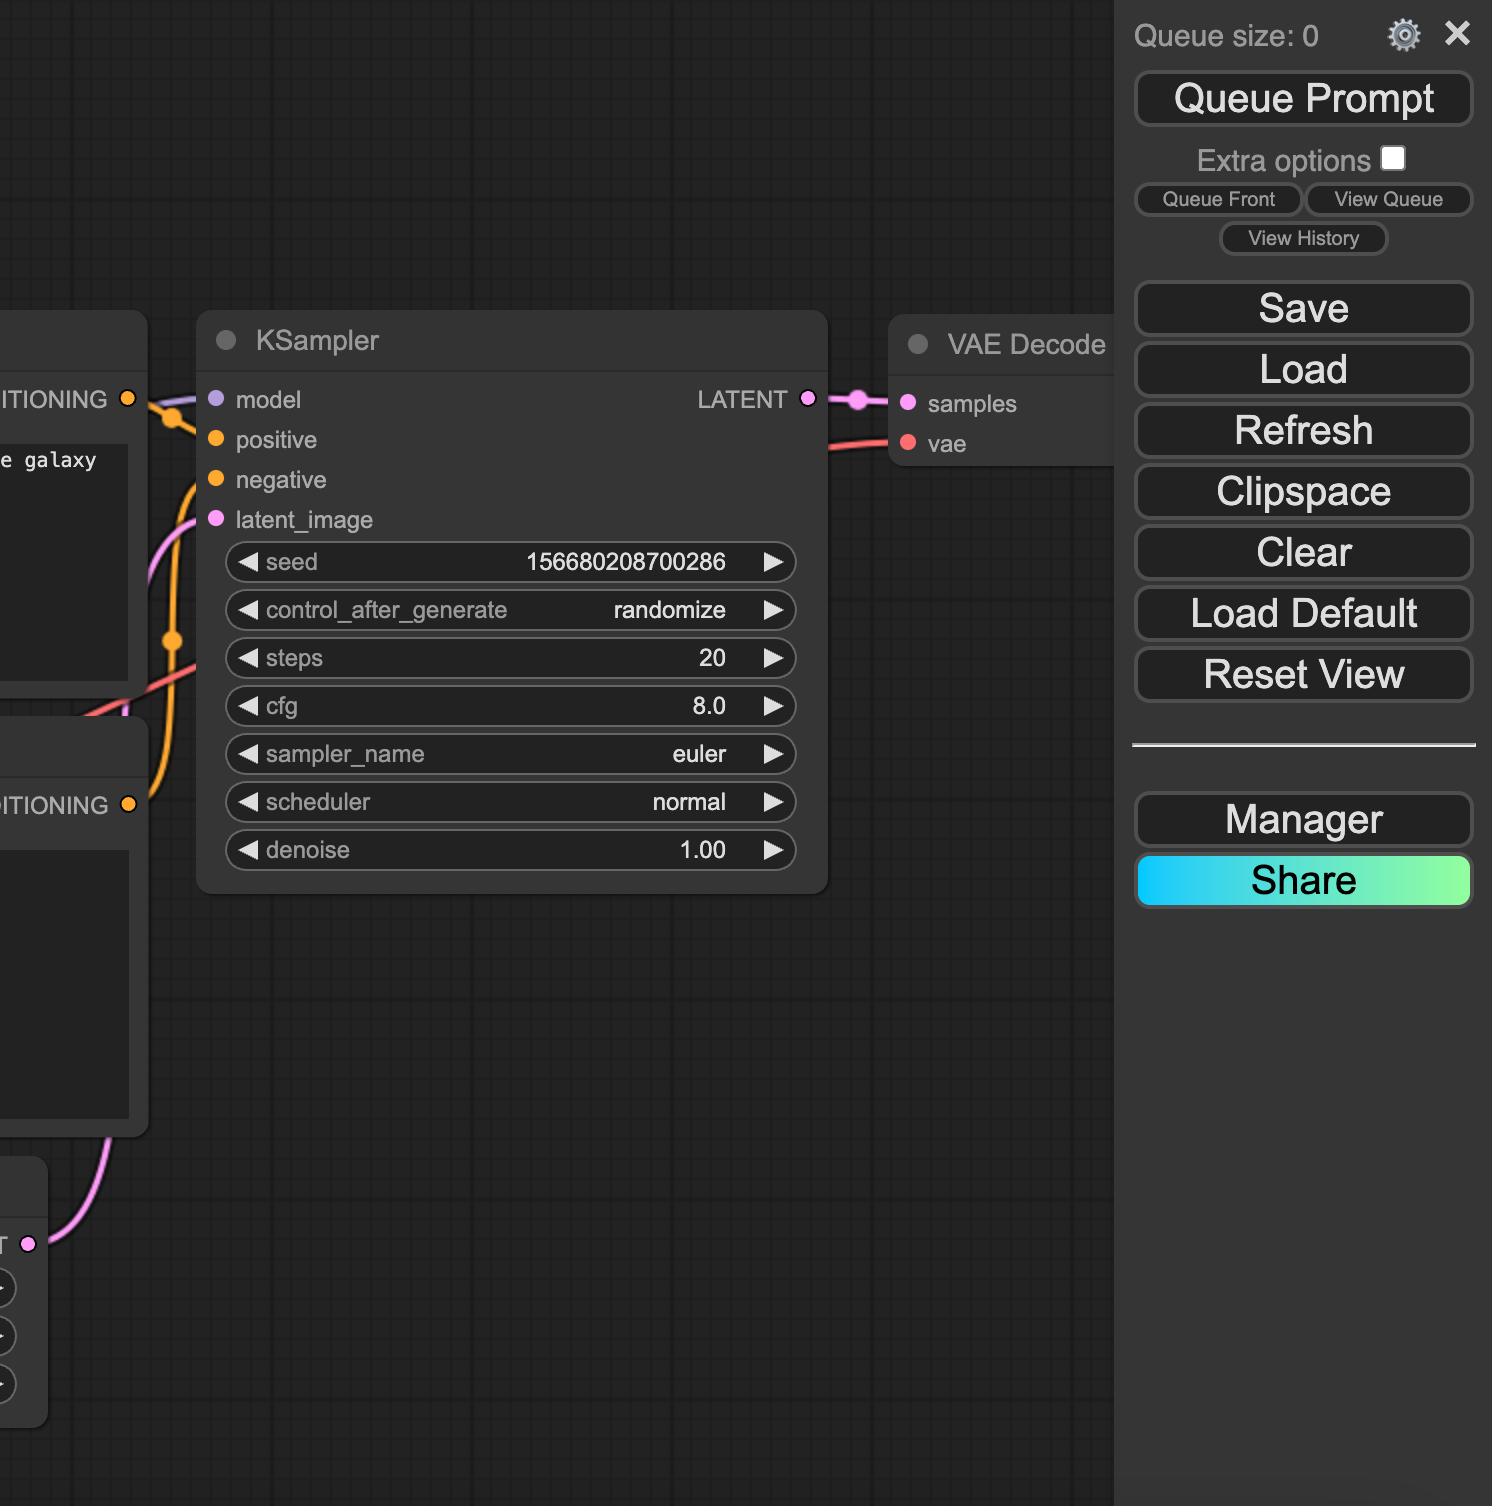
  2. Once the pod is up and running, update it to the latest version (if it looks like the screenshot with the menu on the right, you need to update)

ComfyUI workflow canvas with KSampler and VAE Decode nodes beside the Queue Prompt menu

You can update under the Update ComfyUI option on the menu and hit Restart, and then refresh your browser.
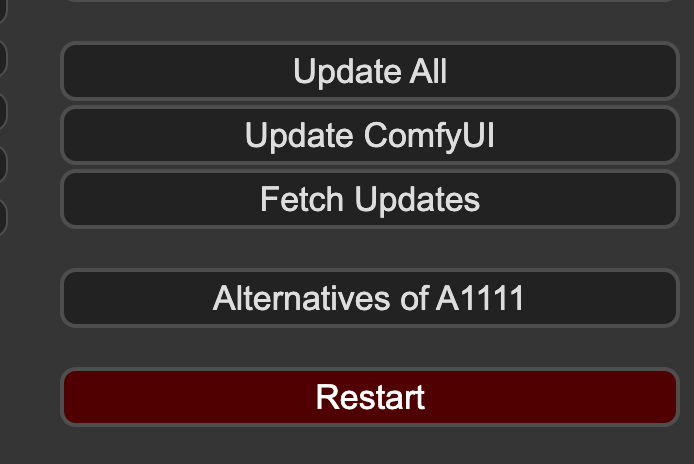
ComfyUI Manager menu with Update All, Update ComfyUI, Fetch Updates, and Restart buttons

This will get you onto the latest version.
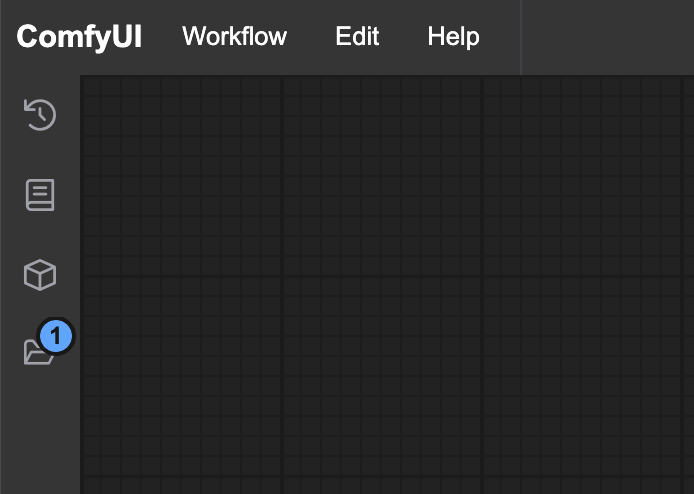
ComfyUI interface with an empty workflow canvas and sidebar icons

Installing LTXVideo Nodes in ComfyUI

Go to the ComfyUI Manager and install both LTX node groups, and restart again.
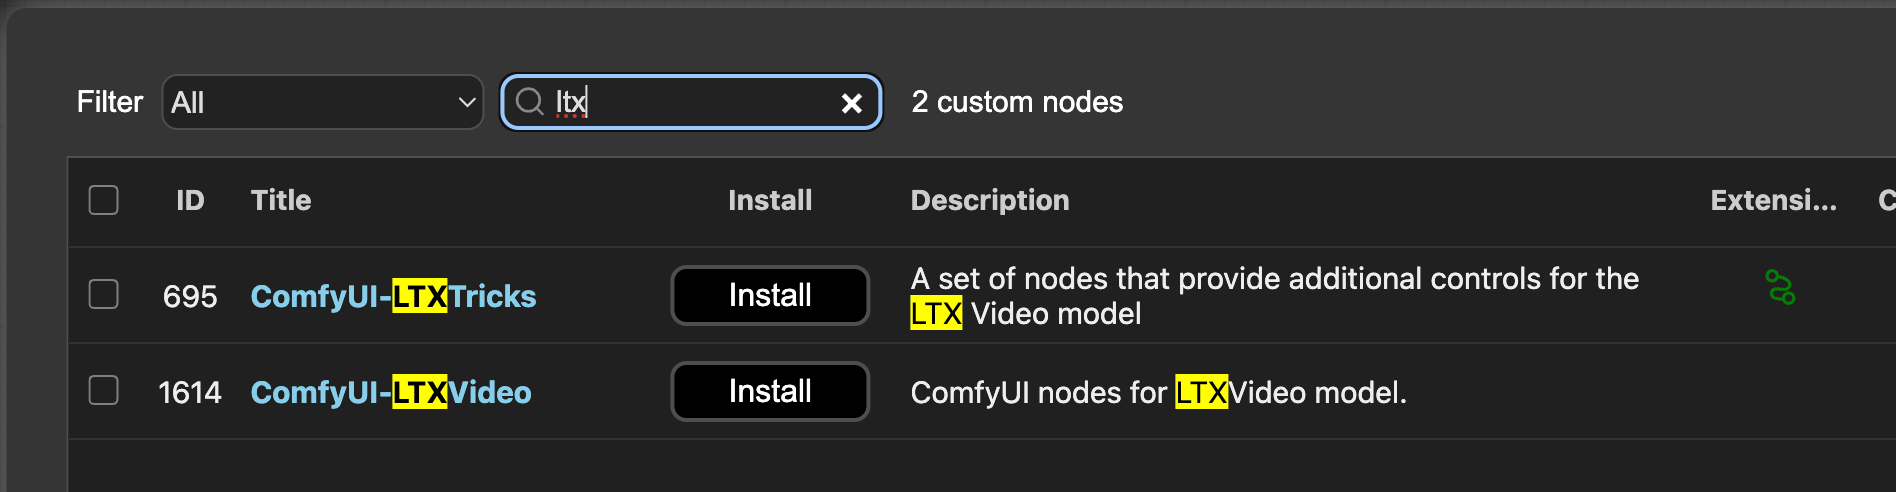
ComfyUI Manager search for ltx listing ComfyUI-LTXTricks and ComfyUI-LTXVideo custom nodes with Install buttons

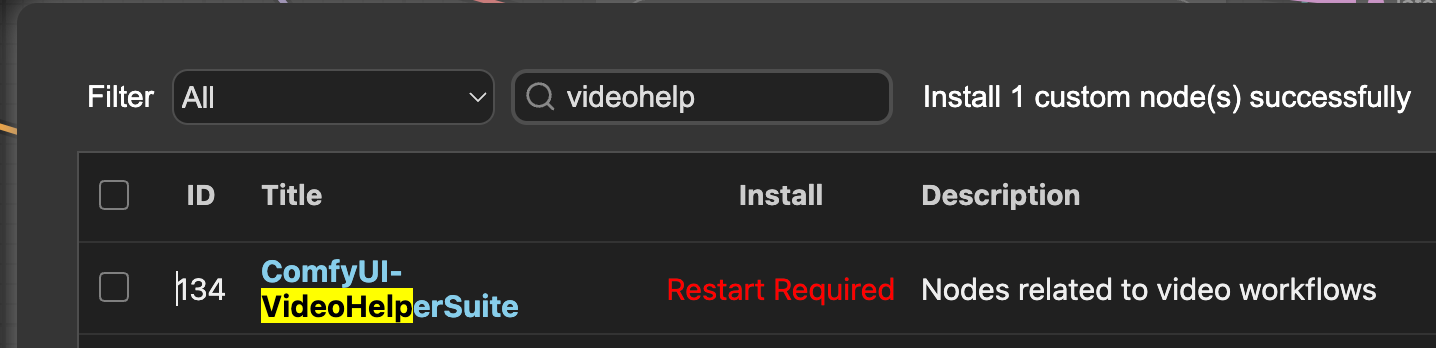
Do the same for VideoHelperSuite.

ComfyUI Manager showing ComfyUI-VideoHelperSuite installed with Restart Required status

Downloading the LTX Repo

Clone the repo per the instructions. On Runpod, this can be accomplished by:

  1. Connecting to the web terminal and downloading this .safetensors model into your checkpoints directory:

This will download the file through wget (just one file, so it's easier this way.)

  1. Install git-lfs if it's not already installed:
  1. Create a text_encoder folder in your models folder and clone the following repo there. It will appear to hang but it is downloading the repo which consists of about 20GB (git-lfs isn't great about showing a progress meter) You can ignore the comment it makes about Windows.

Creating your video

You're now ready to start creating videos. LTX has two big advantages over other open source video processes at the moment:

  1. It is very fast - it's able to generate videos in real time, though doing this does require some serious compromises in step count and resolution. Nevertheless, it is easily the fastest open source video package.
  2. It comes with text to video, image to video, and video to video right out of the box, which is a rarity with these packages.

You can download all three workflows off of the repo, and just drag them into your ComfyUI window.

Start Creating Video on Runpod

Conclusion

While all of the latest crop of open source video packages are able to create state of the art video from just text, LTX is the first capable of generating video in real time or close to it along with a multitude of prompting methods that come ready to use in ComfyUI. We're looking forward to what you create - feel free to show us your renditions on our Discord!

Author profile: Brendan McKeag