





In the last article we have successfully setup the app in our local environment, in this article we’ll move on and deploy it to Heroku.
Heroku Cli
We start by register an account on Heroku and install its cli using one of methods listed below:
# macOS
brew tap heroku/brew && brew install heroku

# Snap
sudo snap install --classic heroku

# Curl
curl https://cli-assets.heroku.com/install.sh | sh

# npm
npm install -g heroku
After that we login using the account credentials:
heroku --version
heroku login # a browser window should pop up
After our account is linked, we cd to our app directory and create a Heroku repo inside:
heroku create

Creating app... done, ⬢ hidden-stream-18515
https://hidden-stream-18515.herokuapp.com/ | https://git.heroku.com/hidden-stream-18515.git
Now the listed git repo is remotely connected to a heroku and any changes we’ve made locally could be updated to cloud. There are a few last modifications we need to do to make everything to live.
Setup Heroku
First we need to create a Procfile (no file extension) for the Heroku to successfully deploy our app. Then we need to change the HOST in our frontend to fetch api from the right address (in this case it would be https://hidden-stream-18515.herokuapp.com):
# Procfile

web: gunicorn app:app
Note that the left parameter of app:app defines the fine we intended to use, so if your app.py is located elsewhere, you would need to change it to something like web: gunicorn src.app:app
Youl should also check if you have all your required pip packges in your requirements.txt, espcially if gunicorn is included.
Then we will need to push all local files to the remote branch heroku had provided us, (remember to comment out build in your .gitignore so that this folder gets commited as well, it is also a good idea to include virtualenv folder in it):
git remote -v
	# here you can see heroku's remote git repo
	heroku	https://git.heroku.com/hidden-stream-18515.git (fetch)
	heroku	https://git.heroku.com/hidden-stream-18515.git (push)
git add .
git commit -m "initial commit"
git push --set-upstream heroku master

# set upstream is only required on the first push
# after that you should use:
# git push heroku master
# or
# git push heroku <branch_name>:master

# This line make sure there's at least one dyno running
# Without it you may sees a H14 error 'no web processes running'
heroku ps:scale web=1
After all the above is set, our app is finally ready to launch!
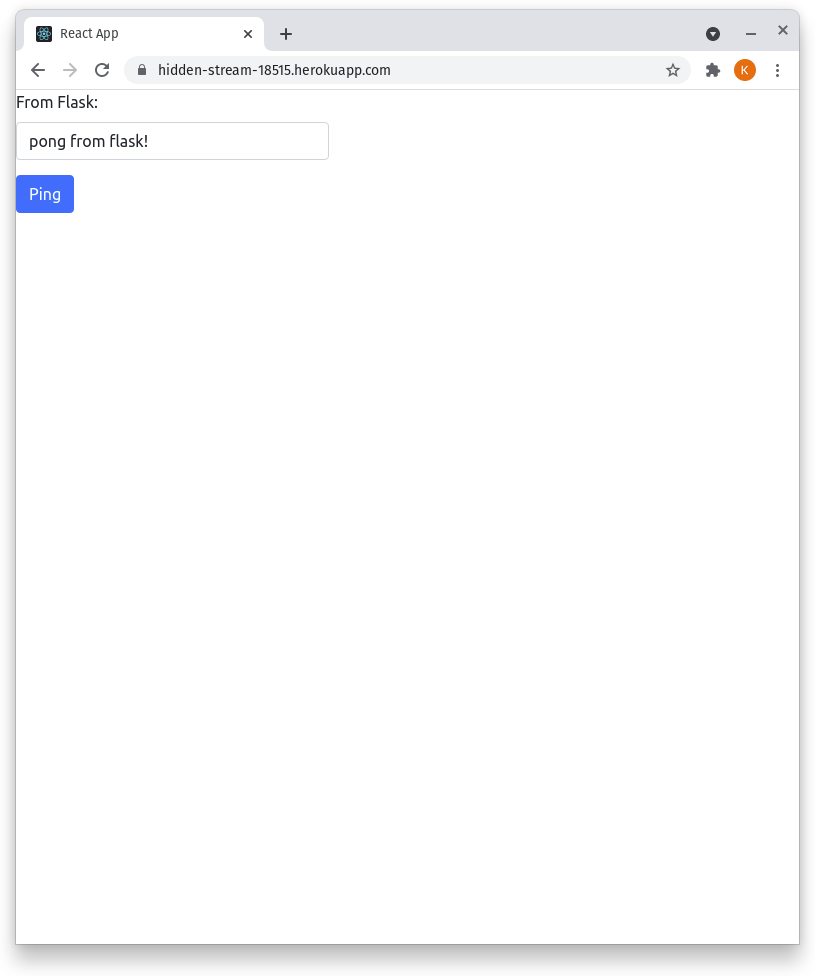
Visit https://hidden-stream-18515.herokuapp.com/ and see the result:
Link to Custom Domain (Google Domain)
Alright, now we have our app and everybody could access it through the internet. If this is a school project it’s probably ready for presentation, however if it’s for other use maybe it would be much better if we bind it to a custom domain. I’ve tried a few domain providers but to me google domain works the best, so I will use it as an example in this article.
The setup is honestly pretty straight forward, there’s also a stackoverflow reply that did a good job covering the steps.
(You’ll need to upgrade your dynos to ‘hobby’ so link it to a custom domain)
The domain you’ve purchased will be referred as domain
- In the Heroku app dashboard, go to settings - SSL Certificates.
- Configure SSL - Automatic
- Domains - Add domain - in domain name put www.domain.com (the
wwwpart is essential) - In the Google Domain dashboard, go to DNS
- Resource records - manage custom records
- Host name:
www.domain.com - Type:
CNAME - TTL:
600 - Data: URL generated by Heroku, ex:
behavior-apple-eh2cf372b.herokudns.com
- Host name:
- In the Google Domain dashboard, go to Website - Website services - edit forwarding
- Foward from:
domain.com - Forward to:
https://www.domain.com - Redirect Type:
Permanent redirect (301) - Path forwarding:
Forward path - Forwarding over SSL:
SSL on
- Foward from:
- (Optional) If your domain requires DNSSEC, enable it
After the above is set, it usually takes ~10 minutes for everything go to action, then you should be able you see your all on the domain you’ve bought.
What Now?
So far I’ve covered most steps for building a web app, on a final note, the development process is almost always implemented in this way, the deployment, however, could be done in many ways. In my previous setup, I’ve used nginx + k8s + GCP to bring my website to live. It is much more complex and usually costs more since Google Cloud provides much better computing engine. However it is harder to optimize and allows more modification as well. For a simple website like this blog it would certainly be an overkill and I believe Heroku should be sufficient for most persional applications. In the future when I’m more experience with GCP I will write a third part in the series and reproduce that setup, but for now I do believe everything is correctly explained.
I hope I’ve made at least one person’s life easier. Thanks for reading.