As in intern at Black Hills Information Security, William is tasked with researching and developing different tools, making them into a reality.

Have you ever struggled to find expired domains with the specific categorization you need? Are you frustrated by sites that list expired domains but provide no categorization data? And when you finally find a promising domain, you still have to research its categorization on your own, often discovering it’s not categorized at all — wasting your time (and likely your money).
While there were once tools that helped with this process, many have become outdated and fallen into disrepair. We decided this was unacceptable, so I created DomCat.
DomCat is a command-line tool written in Golang that helps the user find expired domains with desirable categorizations. This tool is currently in its infancy and very bare bones. It is written in such a way as to be upgraded with time.
Some readers may be wondering why you would want to find categorized expired domains. When developing DomCat, I primarily had penetration testers in mind. Pentesters can leverage domains with “safe” categorizations to sneak past certain web filters. Another valuable application I later realized is for SEO, where these domains can be acquired to attach to our existing domain in order to gather more traffic.
When starting this project, I received a list of tools that had fallen out of development, such as DomainHunter, DomainGain-Dep, and CatMyPhish. All useful… but very outdated. I was tasked with either hunting down a new tool that provided the same functionality, or making one. Finding no leads, I began development on DomCat.
Initially, I attempted to fix and combine these existing tools but soon discovered why they became broken: they were scraping websites for lists of expired domains. While this was a more acceptable practice five years ago, today many sites have instated policies that prohibit scraping or bots of any kind. This meant attempting to update existing tools would involve complete re-coding, so I instead redirected my efforts into building my own.
Enough of the boring stuff: let’s see DomCat in action.
DomCat has been tested on both Windows and Linux (Ubuntu), and should function on any system that supports Go (but that is not a guarantee). Before we can run the tool, our first step is setup, which shouldn’t take too long. An installation script is currently in development; in the future, I hope to have this process automized.
You’ll need Go installed to run DomCat. This varies depending on your operating system (OS) — I will only be demonstrating installation on Windows and Linux (Ubuntu). Regardless of OS, you will need to download the appropriate binary from here.
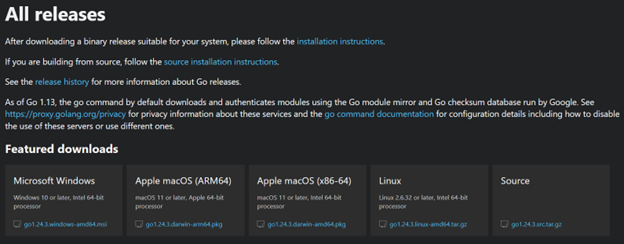
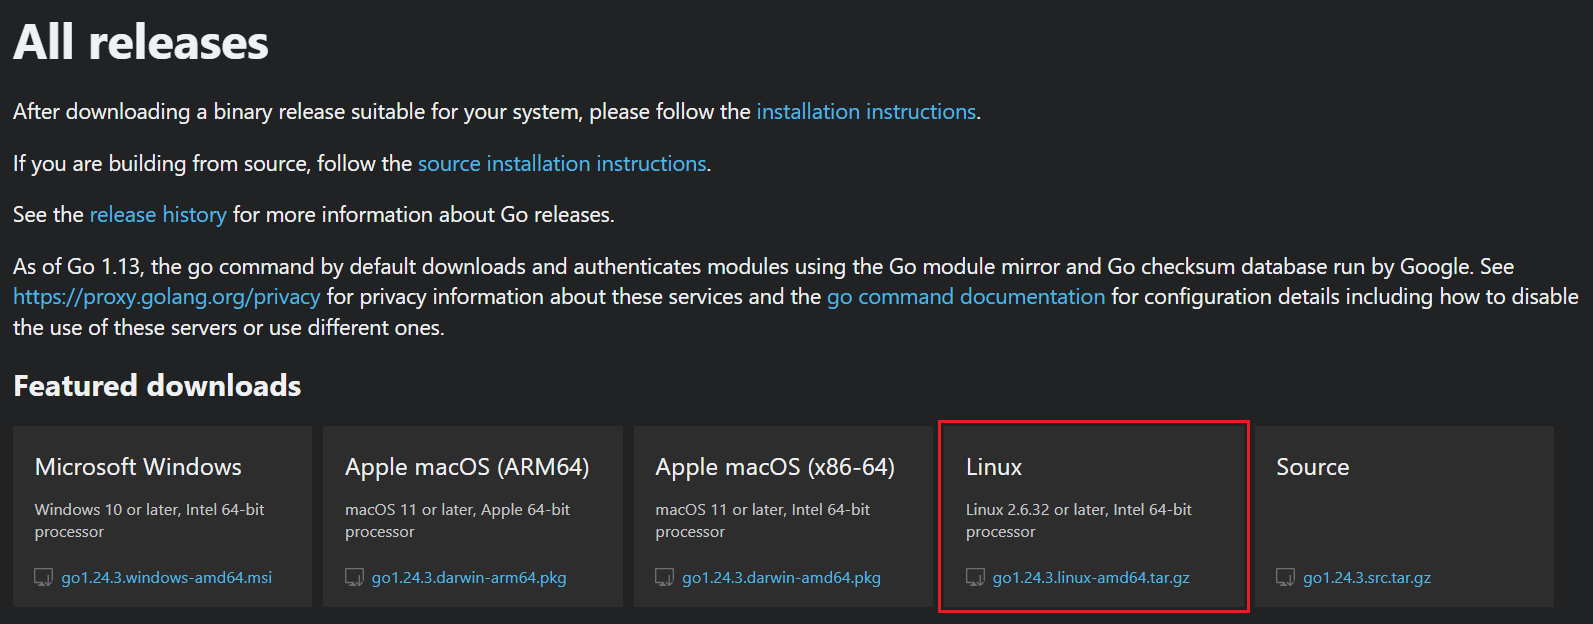
Download the file for Linux OS. Once finished, pop into a terminal and extract the files and install Go using the following command. This command will only work in the directory that holds the downloaded file. Modify download file path as needed.
sudo tar -C /usr/local -xzf go1.22.0.linux-amd64.tar.gzAfter installation, we will set up the Go environment variables. For Ubuntu, we need to edit .bashrc. Don’t mess with things in here unless you know what you are doing, as it can mess up your system.
nano ~/.bashrcIn the bottom of this file, we need to add a couple lines:
# Add ~/go/bin to path
[[ “:$PATH:” != *”:${HOME}/go/bin:”* ]] && export PATH=”${PATH}:${HOME}/go/bin”
# Set GOPATH
if [[ -z “${GOPATH}” ]; then export GOPATH=”${HOME}/go”; fi
Save the file and source it:
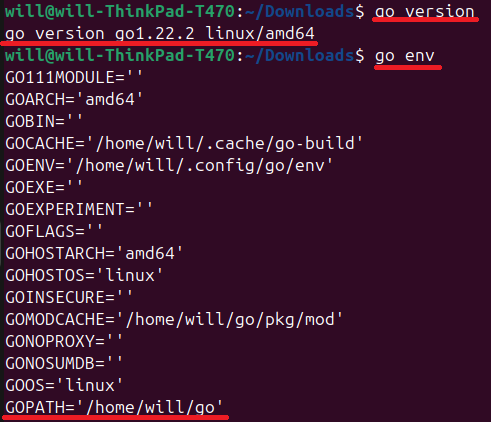
source ~/.bashrcTo make sure the installation worked right, run a couple commands:
go versionand
go envto see Go’s version information and environment variables. It should look like the following screenshot (version information may differ).
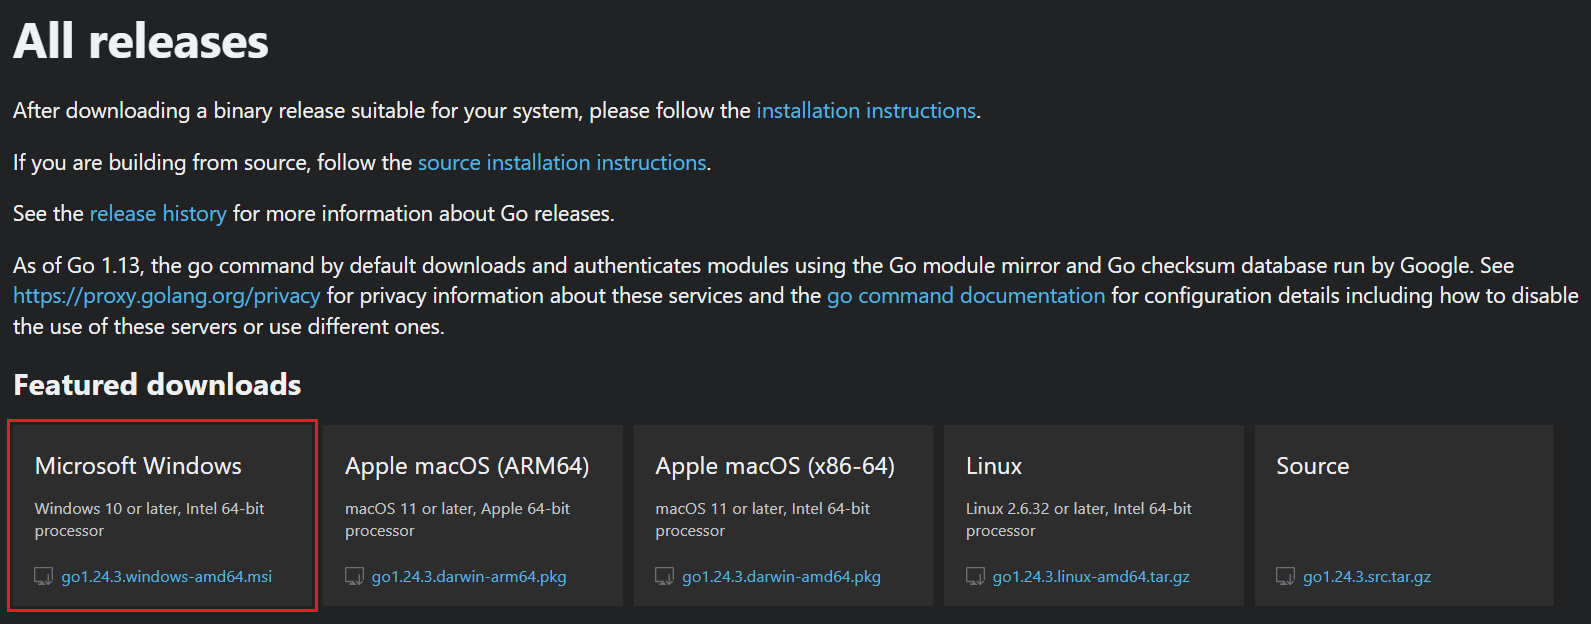
Download the file for Windows. Once finished, run the executable. Right-click on it and hit install. An install wizard will pop up.
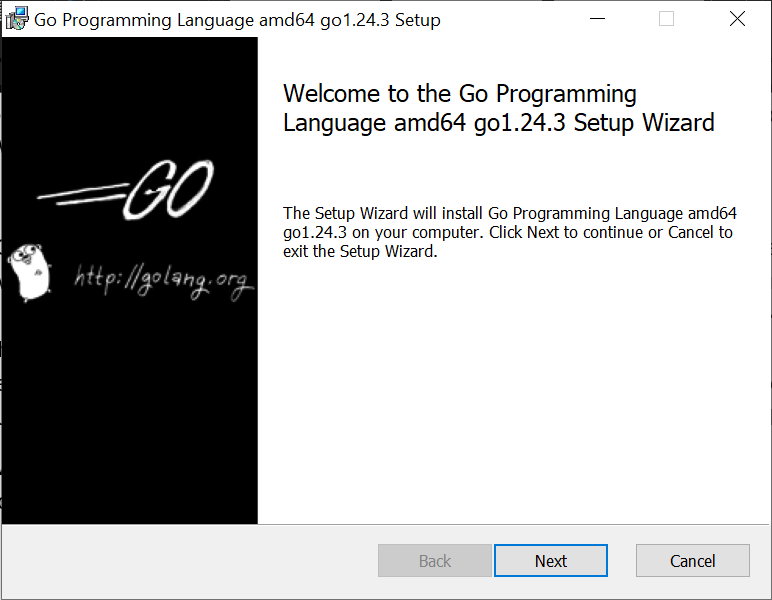
Click next and continue through the defaults — we don’t need to change anything. Soon you will be presented with this screen:
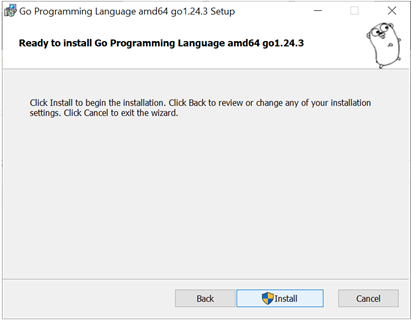
Click install and it will display a loading bar.
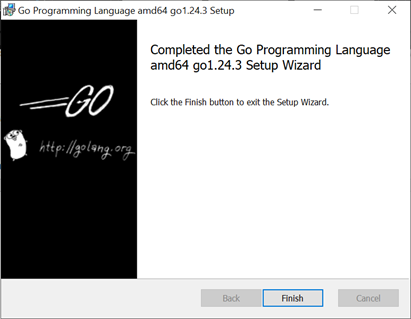
After it has finished installing, a new screen will be presented. Click finish.
Lastly, we will ensure that Go has installed properly. The commands here are the same as in Ubuntu.
go version
and
go env
Go is now successfully installed.
Now, we need to get the DomCat files from GitHub. We will clone the repo to accomplish this. It requires you to have set up SSH keys between your computer and GitHub. Check out Generating a new SSH key and adding it to the ssh-agent and Adding a new SSH key to your GitHub account.
If you are on Windows, you can instead clone through GitHub Desktop without having to deal with the SSH keys. Sadly, this isn’t an option for Ubuntu. Check out Installing Github Desktop. We will go through both ways of cloning the repo. (Spoiler: GitHub Desktop is easier). An alternative to cloning is downloading the zip file, but we will not be covering that process.
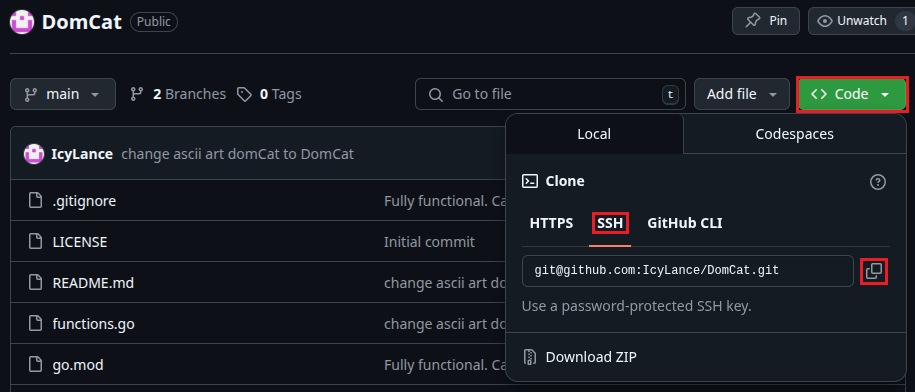
Once your SSH keys are set up, the cloning process is simple. Go to DomCat’s repo on GitHub. Find the green button that says Code. Click that. Select SSH and copy the text displayed (there is a handy button for that too).
Once you have that copied, pop on over to a terminal session and run:
git clone [email protected]:IcyLance/DomCat.git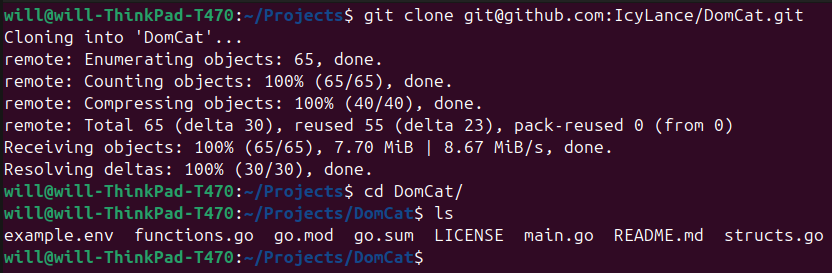
You now have the DomCat repo on your system.
This is the simpler method, as we don’t need SSH keys.
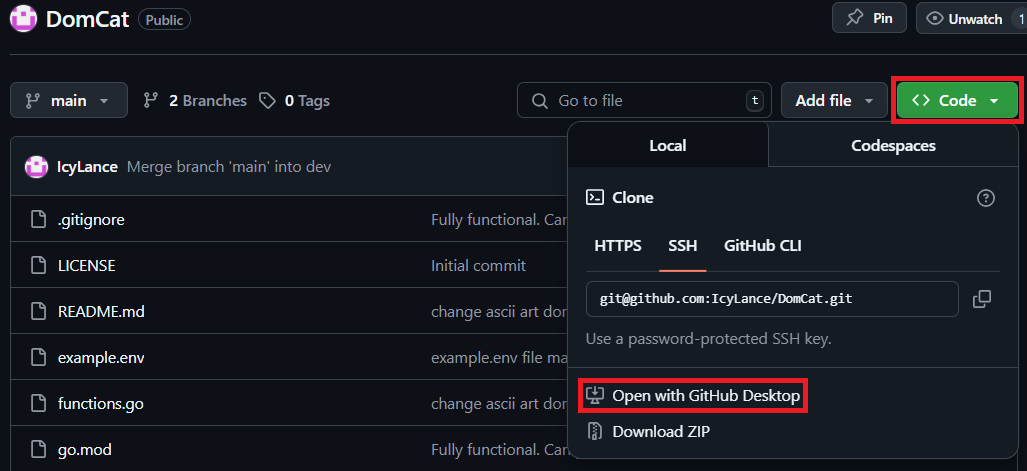
Head to the DomCat repo on GitHub. Find the green button that says Code. Click that. Instead of selecting SSH, click open with Github Desktop.
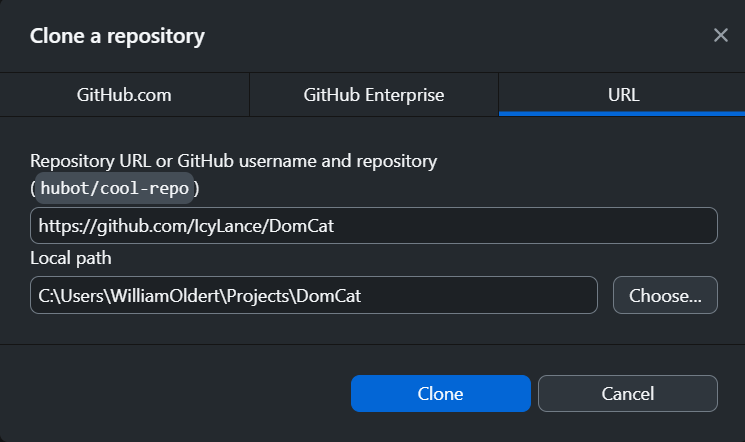
A session of GitHub Desktop will be started with a pop up asking to clone the repo. Instead of the default folder, I told it to clone into my projects folder, but you can leave it as the default. When ready, click Clone.
A new window will be presented to you of the repo in GitHub Desktop.
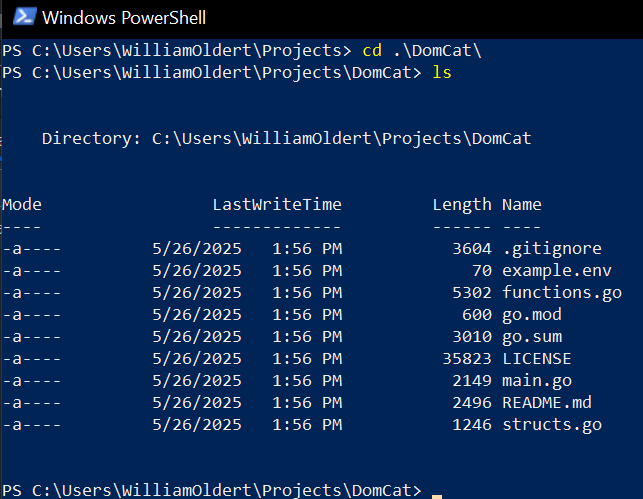
And to make sure we can access it from the command line, we can check out the file location from PowerShell.
Here we need to get our API keys squared away. DomCat uses two APIs currently: one from NameSilo (NS) to get expired domains and one from Cloudflare to check domain categorization. We will need a key from NameSilo and a token from Cloudflare. Before that, however, we need someplace to put them. We will put them into a .env file.
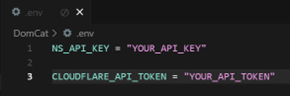
In the DomCat repo, there is a file called example.env. It looks like this:
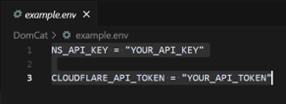
While it may look like this file is perfectly set up to shove our keys here, our program won’t work if we do that. We need to create a new file called “.env” — set it up exactly like this and replace the “your” sections with the corresponding keys.
Making files is simple, so I won’t walk you through that. Just make sure that you name the file “.env” or DomCat will not work. After creating the file, copy-and-paste the text over.
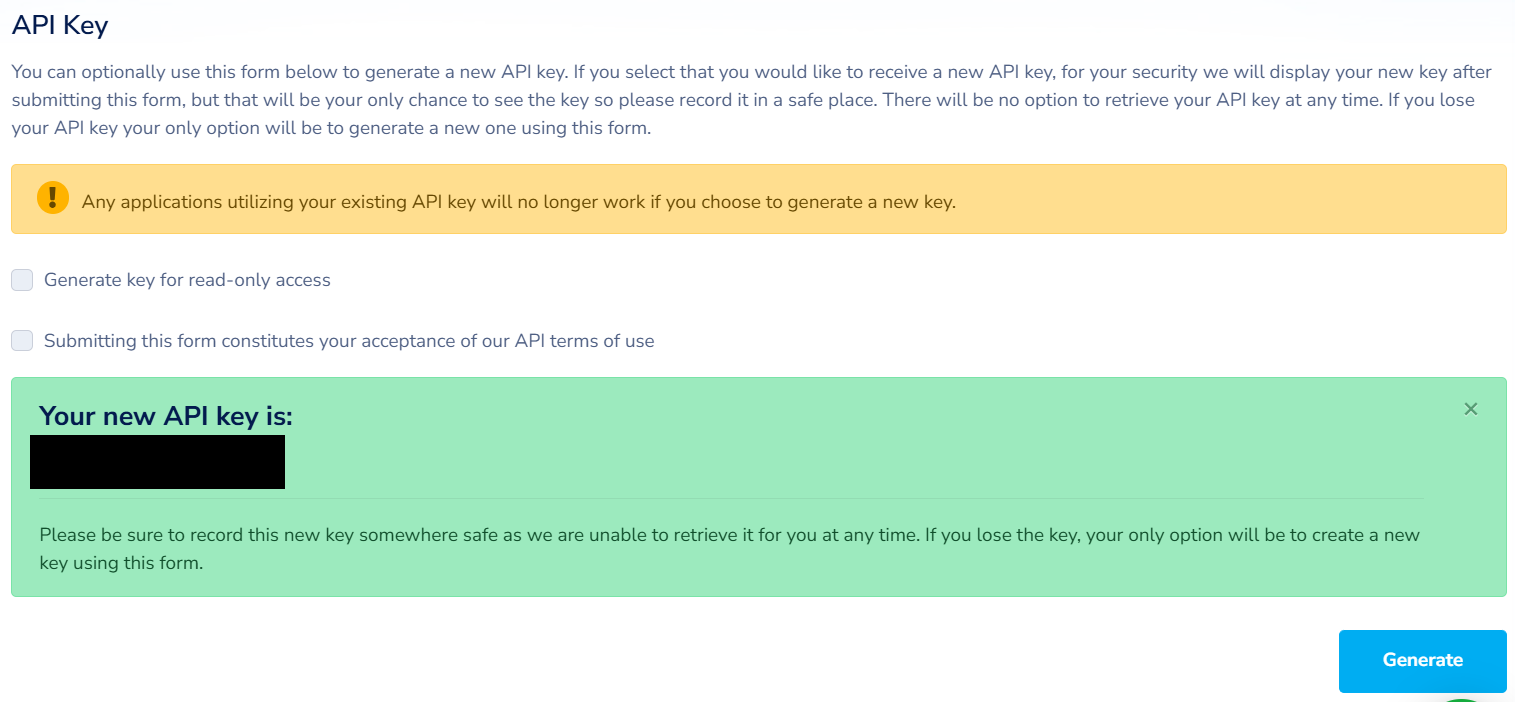
We will get our first key from NameSilo. You will need to set up an account first.
Once you get your account set up, navigate to the API manager in your account settings.
Once there, scroll down to the API Key section. Check the box to accept Terms of Use and generate a key. It will display your API to you. Copy it and place it in the .env file we created earlier.
This one is going to be more fun. Login or create an account for Cloudflare.
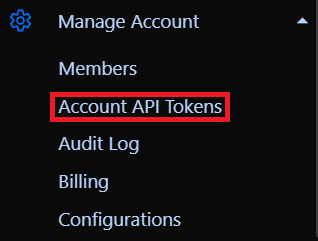
On the left side of the page is a list of different options; scroll to the bottom and find Manage Account.

Find Account API Tokens in the dropdown and click it.
On this page, click Create Token.

At the bottom of the new page, there is the option to create a custom key. Select the Get started button that corresponds to this option.

Now we can configure our token. You must give it a name and permissions (try to give it a good name that will help you remember what it is for). The only thing you need to make sure you get right are the permissions. Two permissions are needed for DomCat: read from Account.Intel and Account.Account Settings. If you want, you can specify IP addresses that can use this token and a Time to Live (TTL) value for a bit of extra security.

Once you get everything set up properly, click Continue to summary at the bottom. It will display an overview of the token you are trying to create. If something is wrong, click the Edit token and fix it, otherwise click Create Token. Copy the token that is displayed and paste it in the .env like we did earlier.
Now that we have our keys, let’s finally get to running DomCat!
To run DomCat, we’ll use two commands.
The first one will build our executable:
go buildThe second will run the executable:
./domCat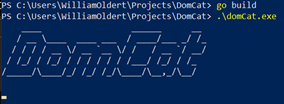
And we are off to the races! You should see the title graphic after running the program. It may take a good while for anything else to be displayed as it can take some time to get responses from the APIs, and we make several requests. I plan to have more verbosity here in the future so you can see the program working.
Eventually it will spit out a list of domains, like so:
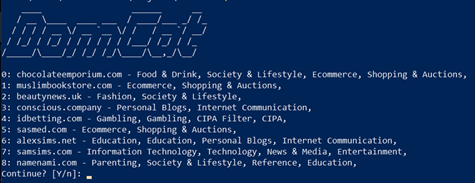
This list displays the expired domains found and their categorization. Only about twenty domains are gathered at a time, then filters are applied to remove domains without categorization, as well as those that are explicit. This is why only eight are displayed. At the bottom, it will ask if you want to continue or not. If yes, hit Enter and a new list will be displayed. It will ask to continue again:
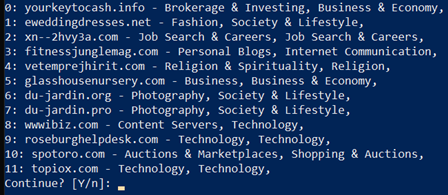
I think I like the look of domain 5 in this list: “glasshousenursery.com”
Since I found a domain I like, I will type “n” at the terminal to not continue.
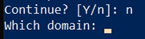
It will then prompt you to enter the number corresponding to the domain you like, which for me is 5.

Entering your number will output the URL to the auction where that domain is being sold on NameSilo. You can copy and paste this link to your browser and go to the auction. Sometimes the auctions have already expired; I have done my best to filter these out, but some still slip through. (One of the joys of free information: we get what we pay for.) You can, of course, search other domain registration platforms for the domain you found as well.
The Cloudflare Intel API has a limited number of requests for a free account. The Intel API is how DomCat gets its categorization information. For a free account, the limit is one hundred requests per month. Each time you choose Continue, it uses up one request, so do this sparingly. This is the best option for trustworthy domain categorization I have found at this point.
DomCat is currently a bare-bones tool that will see further development in the future. In the README on GitHub, you can take a look at some planned updates and get a glimpse of what I want DomCat to become. While it has limited functionality at this time, DomCat is still a useful tool in its current state.
I want this tool to be available to as many users as possible, hence the free-to-use APIs. There are, of course, premium products that would meet DomCat’s needs very well, but they are expensive and not as accessible. In the future, I plan to have options available to take advantage of these premium services while still keeping the accessibility for free-to-play users.
While DomCat was made with a penetration tester’s use case in mind, it is a great tool for anyone looking for a domain with good categorization.
If you run into any problems with DomCat, please open an issue on GitHub to let me know! If you have feedback on how to improve the tool or for features you would like to see in the future, email me at my work email [email protected], or again open an issue on GitHub.
Ready to learn more?
Level up your skills with affordable classes from Antisyphon!
Available live/virtual and on-demand

此内容由惯性聚合(RSS阅读器)自动聚合整理,仅供阅读参考。 原文来自 — 版权归原作者所有。