


In this short article, I will show you how to use the product search in Uncover by ProjectDiscovery with the connection of the Netlas integrated module and explain how to install and configure the utility.
Uncover is developed by ProjectDiscovery, and its source code is available in the official Uncover repository.
Uncover is a utility for finding exposed hosts. It can be used to build an attack perimeter at the foreign reconnaissance stage during a pen test. In addition, it supports automation and can be easily added to your pipeline. Netlas is built into it at the level of the tag system. These tags cover a wide range of hosts: IoT, security systems, business monitoring, and live webcams. This way, you will be able to reach all of this using Uncover. Next, I will show how this can be done.
Installing Uncover is divided into two stages: downloading go modules and directly downloading the utility.
If the go language is already installed on your device, you can skip this step and proceed directly to installing Uncover. I only recommend that you check the product version by entering the go version command in the terminal. The official Uncover GitHub repository says that the utility requires a version >= 1.17, but I was only able to install starting from 1.19. I recommend keeping this in mind.
I also recommend using Ubuntu OS due to the fairly easy installation process for it.
Follow these steps to install:
sudo apt update
sudo apt installwget https://dl.google.com/go/go1.20.linux-amd64.tar.gzsudo tar -xvf go1.20.linux-amd64.tar.gz
sudo mv go /usr/localexport GOROOT=/usr/local/go
export GOPATH=\$HOME/go
export PATH=\$GOPATH/bin:\$GOROOT/bin:\$PATHAfter all five points have been completed, enter go version in the console and make sure you have installed Go 1.20. If everything is fine, you can proceed with the installation of Uncover.
Installing the utility itself is much easier. To do this, you just need to download the repository from GitHub with the following command:
go install -v github.com/projectdiscovery/uncover/cmd/uncover@latestAfter that, you will be able to run Uncover.
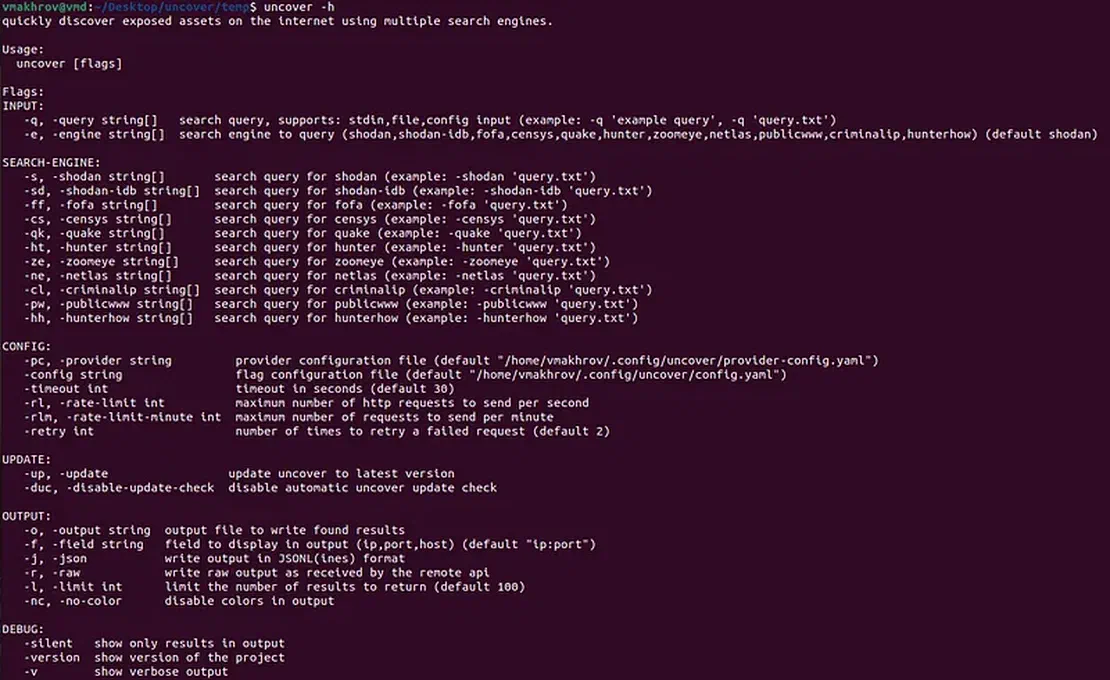
To check the utility’s performance, you can enter the uncover -h command.
First, you need to check your Netlas.io subscription plan. The use of tags is available starting from the business plan, this should be kept in mind.
Next, to get Netlas’ results in Uncover, you need to enter your Netlas API key. This can be done in two ways:
provider-config.yaml). The default path depends on your OS:~/.config/uncover/provider-config.yaml~/Library/Application Support/uncover/provider-config.yamlnetlas: [YOUR_NETLAS_API_KEY]export NETLAS_API_KEY=xxx command.If you do not know where to find your key, see the Netlas docs: How to find Netlas API key.
Once the key has been installed, you can start getting results from Netlas through Uncover. To do this, when starting the utility, use the -ne key before entering the request.
Let’s try to find the addresses of TP-Link routers. Uncover only supports working with Netlas tags, so you need to know how these devices are marked. However, in a particular situation, there is nothing complicated, TP-Link routers have the tplink tag.
To search for them, enter the following query:
The program will start its work and return Netlas results (default setting is 100 in Uncover).
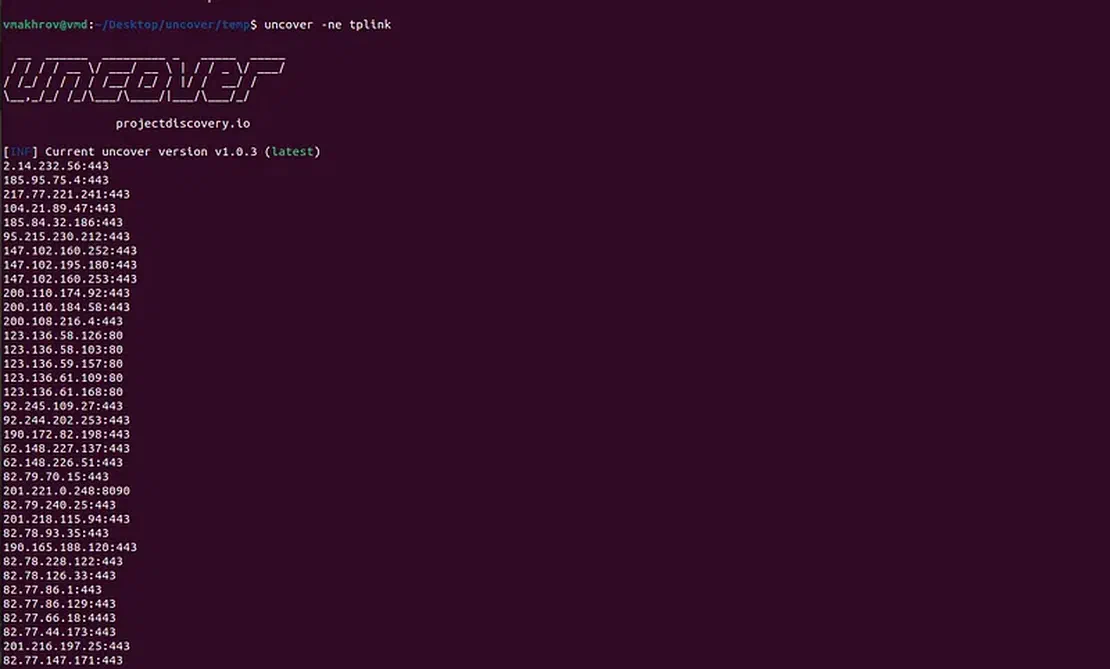
You can read more about the Uncover settings and the flags used in the official utility repository.
But how to get the list of tags? You can go to the site and see them there.

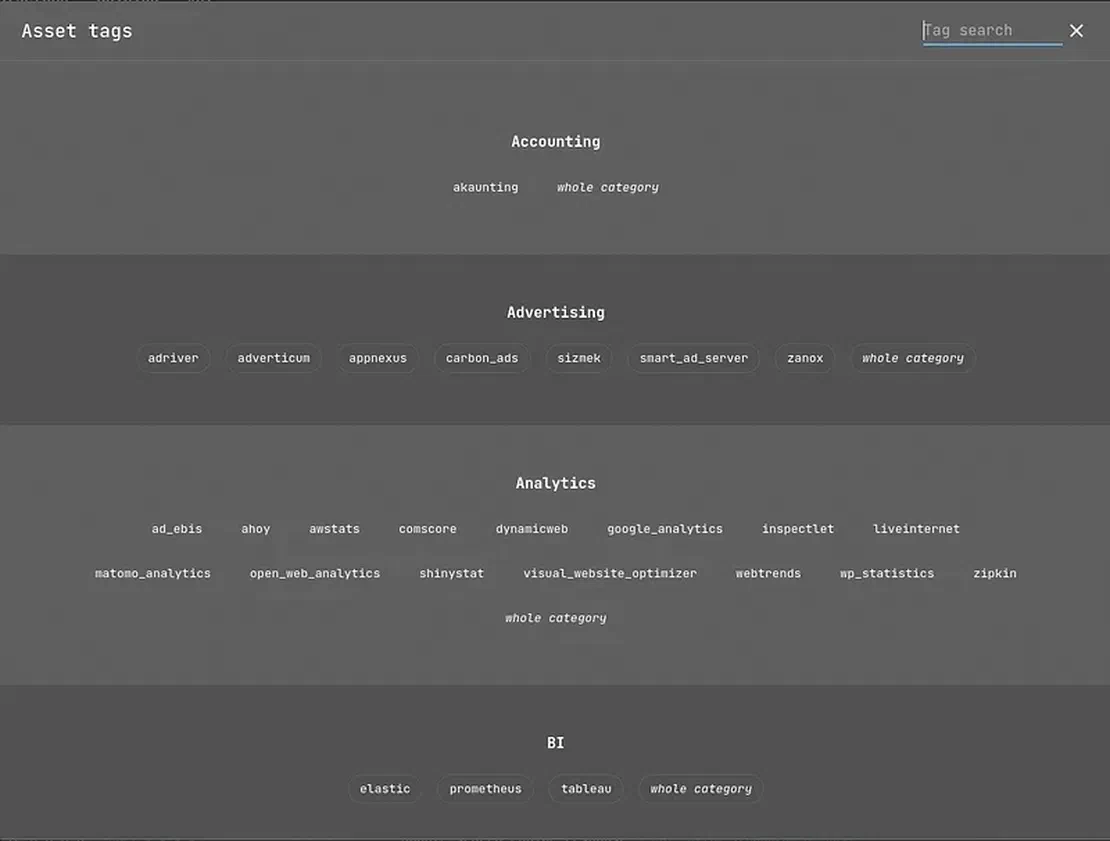
However, searching on the site isn’t the most rational solution. It will be much faster to get tags directly from the Netlas API.
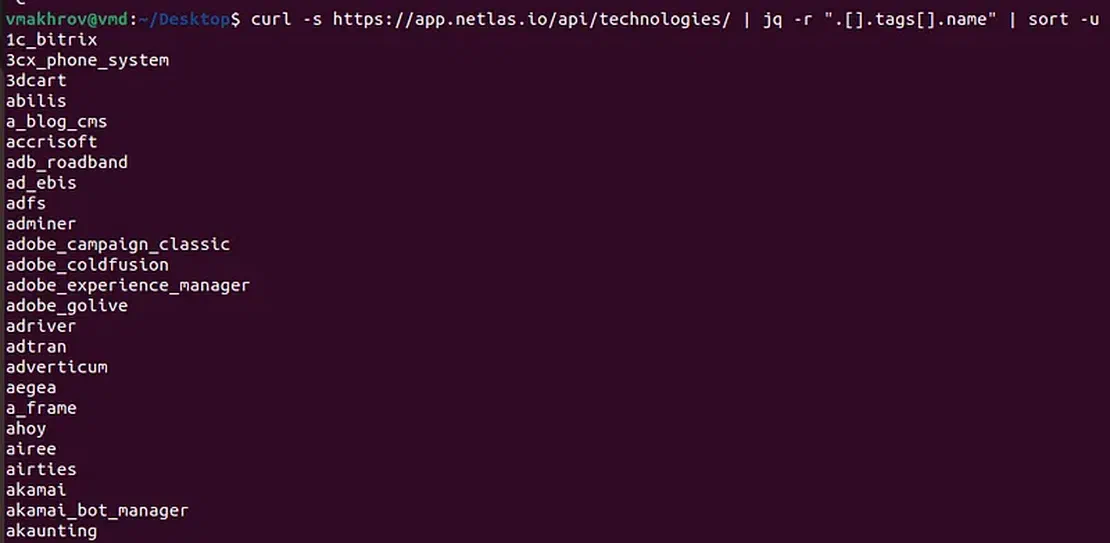
This can be done with the following command:
curl -s https://app.netlas.io/api/tags/ | jq -r '.[].tags[].name' | sort -uThe command will give you a list sorted alphabetically.
An equally important point is the number of results returned. You can set it up in Uncover, but who knows how many objects are stored in the Netlas databases? Of course, you can try to enter a very large number, but this is not the best option.
Through Uncover, it is impossible to find out the number of objects returned on request to Netlas. However, you can do this with our CLI. To do this, you need the command netlas count -d response tag.name:[tagName].
It will return you the number of objects that can be obtained by request.
If you run uncover -ne ... and get empty output, verify the key and plan first. In some cases, invalid credentials may fail quietly. A quick check is:
netlas count -d response 'tag.name:tplink' -a "$NETLAS_API_KEY" -f json
In conclusion, I would like to thank ProjectDiscovery for the integration. Perhaps one day the interaction will be deepened.
Good reconnaissances to you, readers!
此内容由惯性聚合(RSS阅读器)自动聚合整理,仅供阅读参考。 原文来自 — 版权归原作者所有。