









Subfinder is a utility from ProjectDiscovery designed for passively list subdomains. It is distinguished by its speed, abundance of available sources, ease of setup, and its popularity. Moreover, relatively recently, the ProjectDiscovery team integrated Netlas into their tool, adding a new search module.
This article will tell you exactly how to connect Netlas when using Subfinder, what settings you need to make in the configuration file, and what restrictions you may encounter.
Installing the utility is quite simple. There are three options in total:
Build from sources using the go command. This method will be described in more detail.
Download the archive of the required release and unpack it.
Clone the repository from GitHub and use the build command.
Let’s focus on the first method. First, you need to check if the Go language is installed on your device and if its version meets the requirements of the tool. To do this, enter the following command in the terminal:
The result should be something like this:
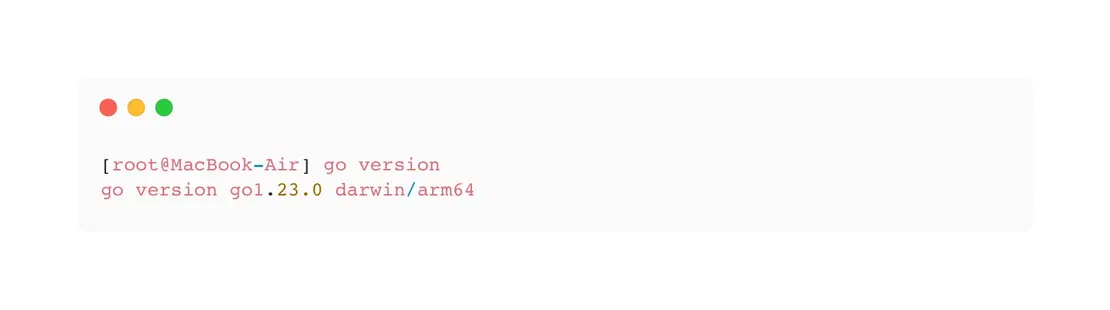
If you do not have the language or the required version (min. 1.21), you can install it via snap using the following command:
Once you download the language pack, you can proceed directly to installing Subfinder. To do this, ProjectDiscovery recommends the command:
go install -v github.com/projectdiscovery/subfinder/v2/cmd/subfinder@latestInstalling complete!
In general, you can already use Subfinder. However, the purpose of this article is to connect the Netlas module to it. Therefore, the next step will be setting up the configuration file.
Here we need to make changes to two files at once: config.yaml and provider-config.yaml. Go to the subfinder directory and check for their presence.
/Users/user/Library/Application Support/subfinderIf the directory is empty or missing, run Subfinder using the command:
This will give you a short list of settings and options for the utility. It should look like the following image:
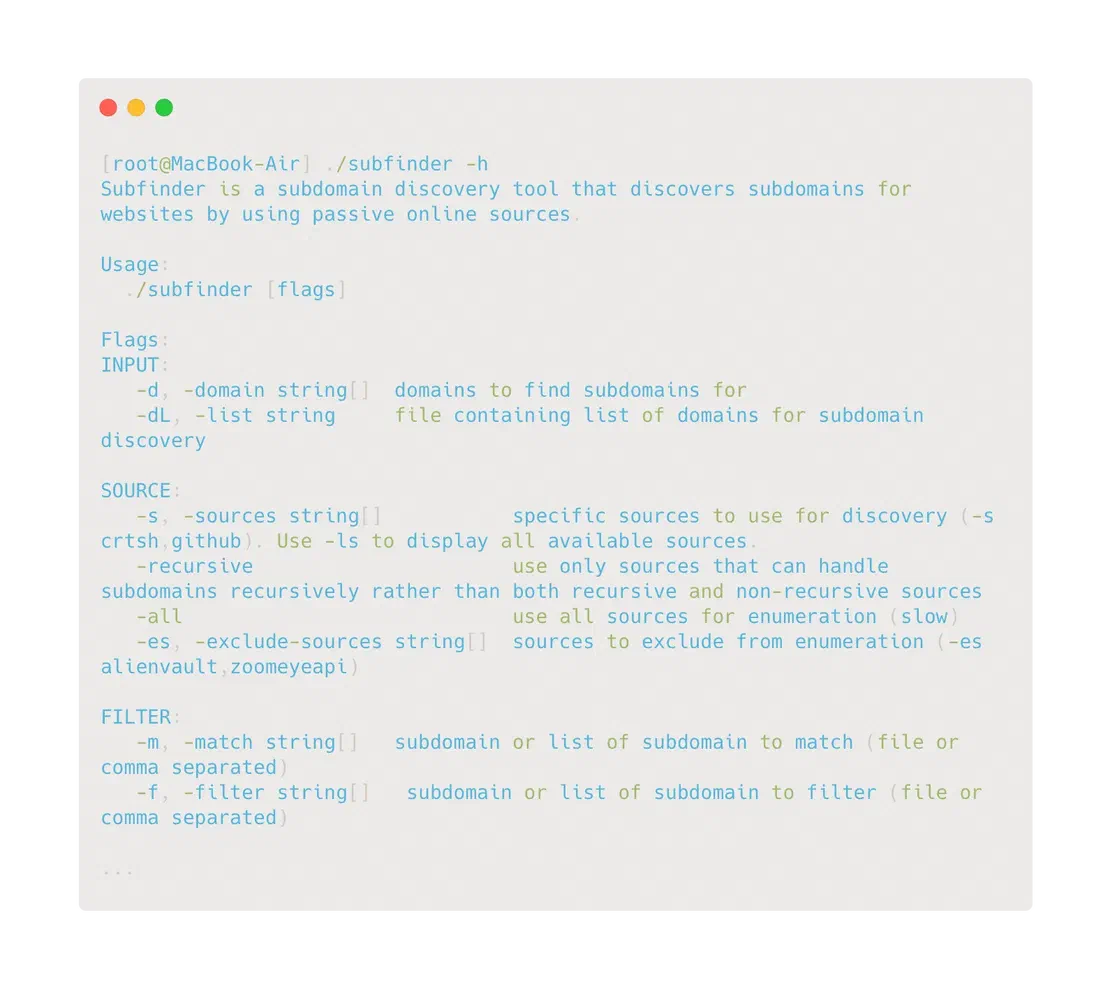
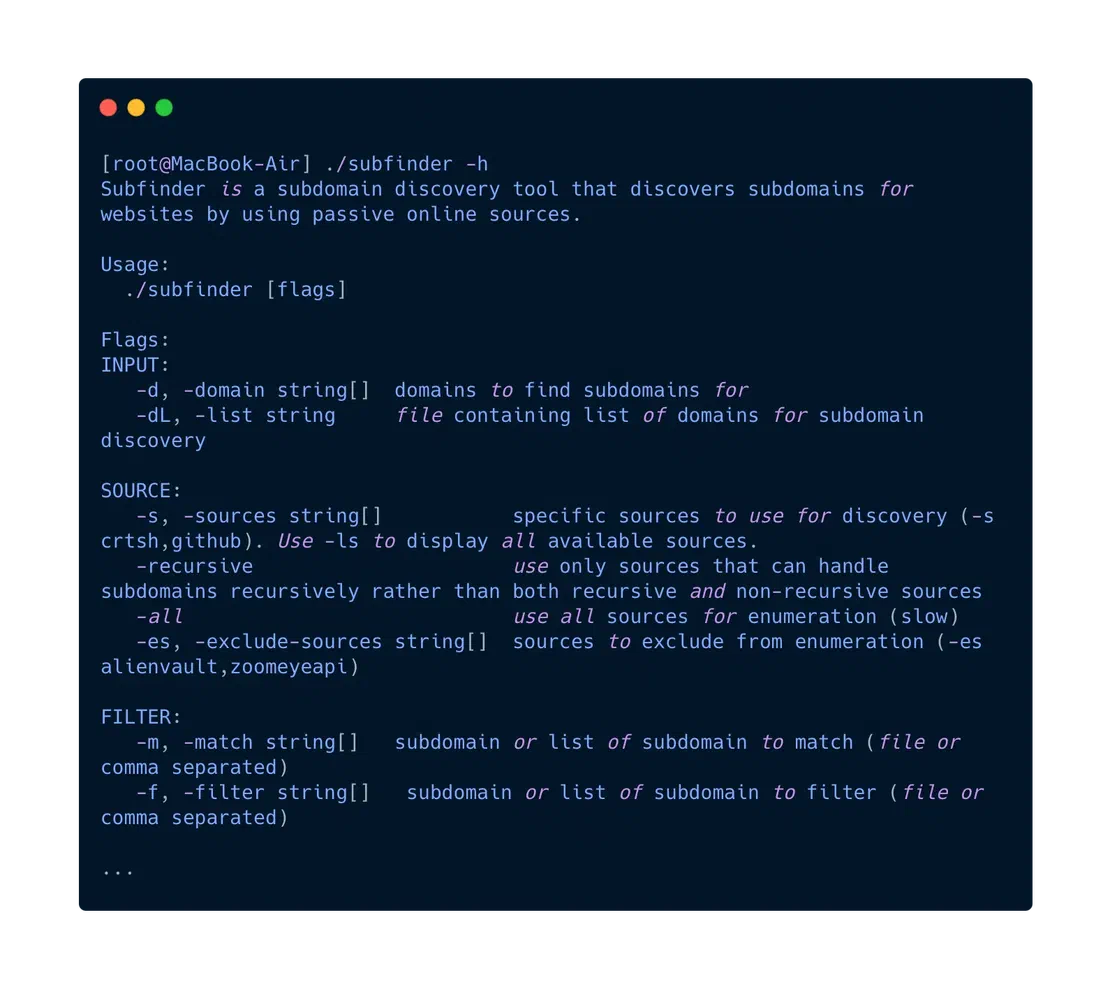
After this, return to the $HOME/.config/subfinder directory.
So what do we need to configure? Let’s start by entering the API key. Open provider-config.yaml, find the line dedicated to Netlas, and add your API key in square brackets. It is simple.
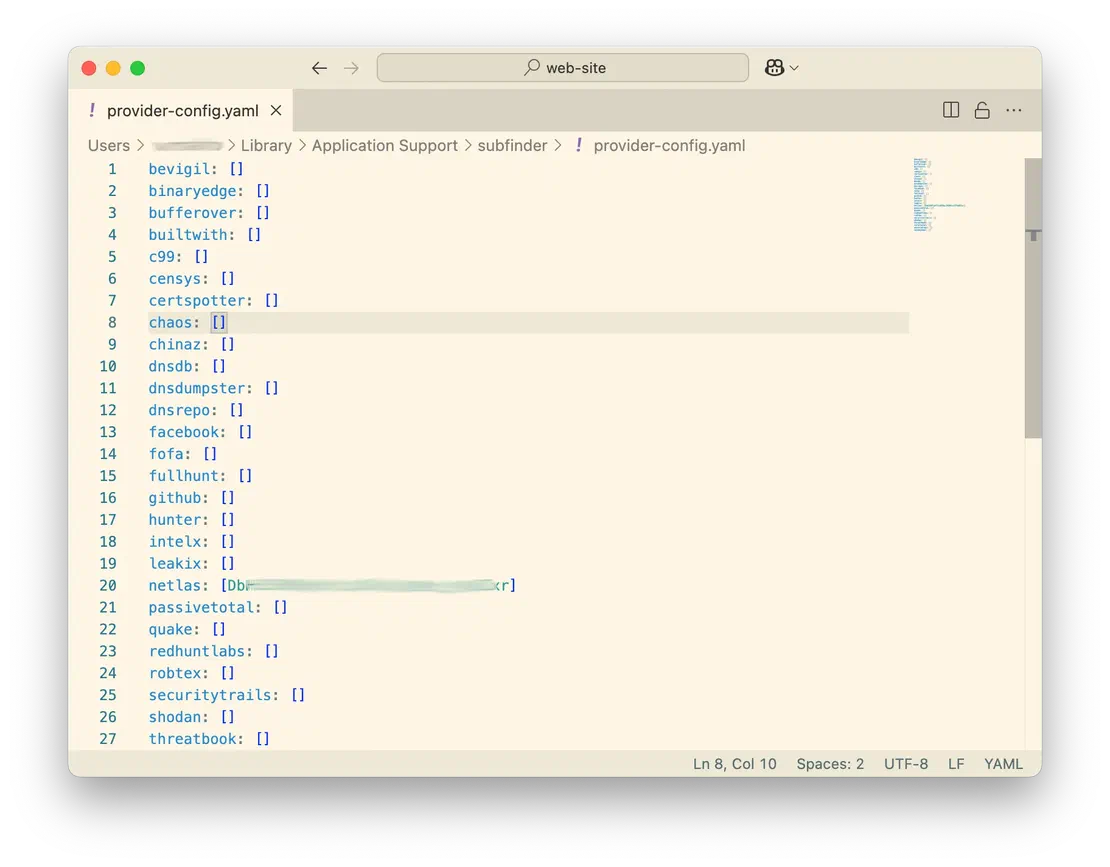
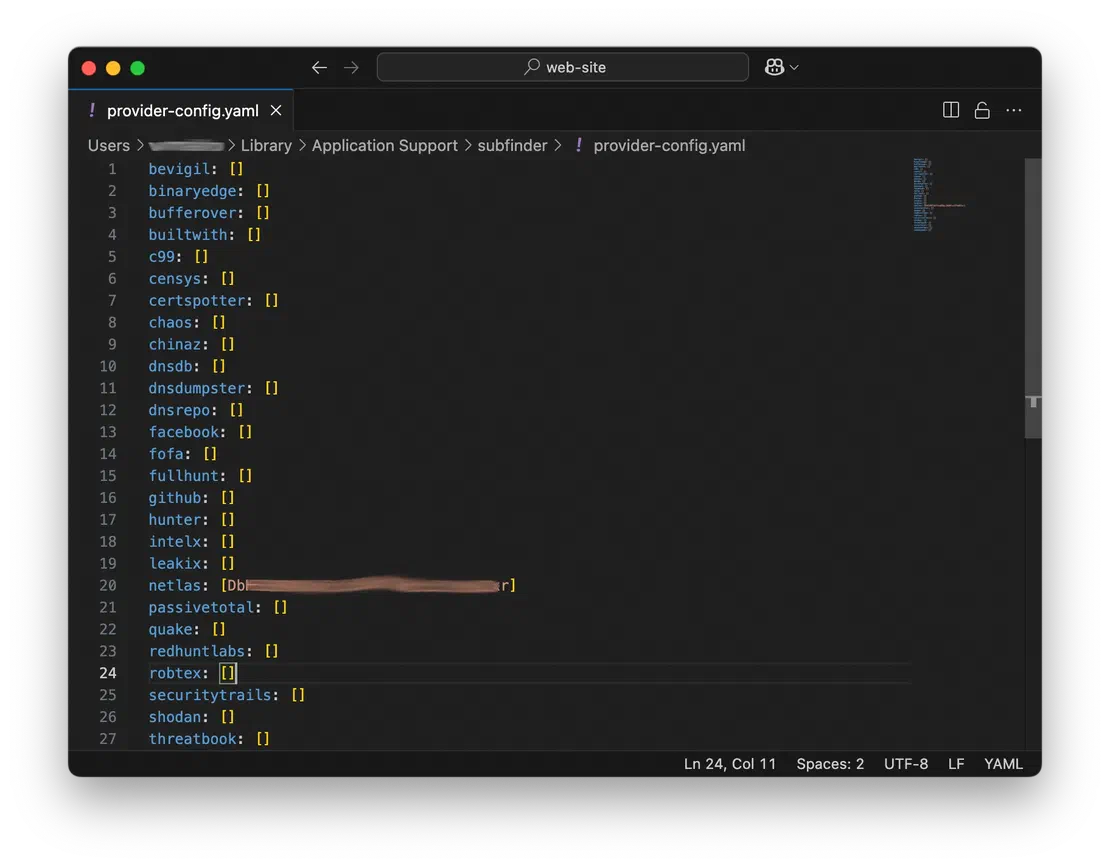
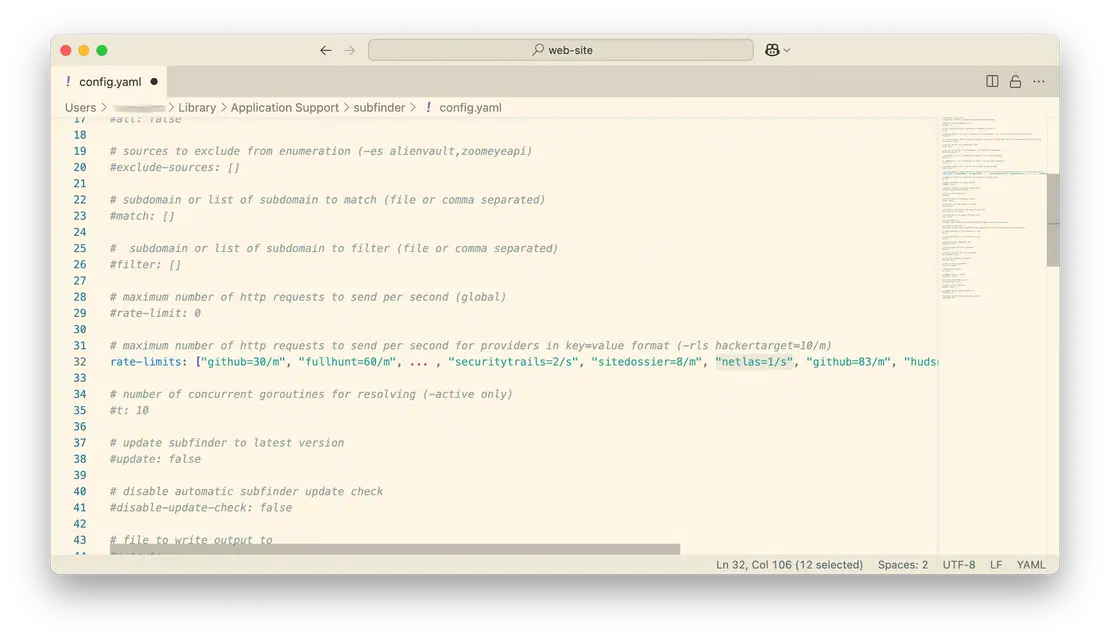
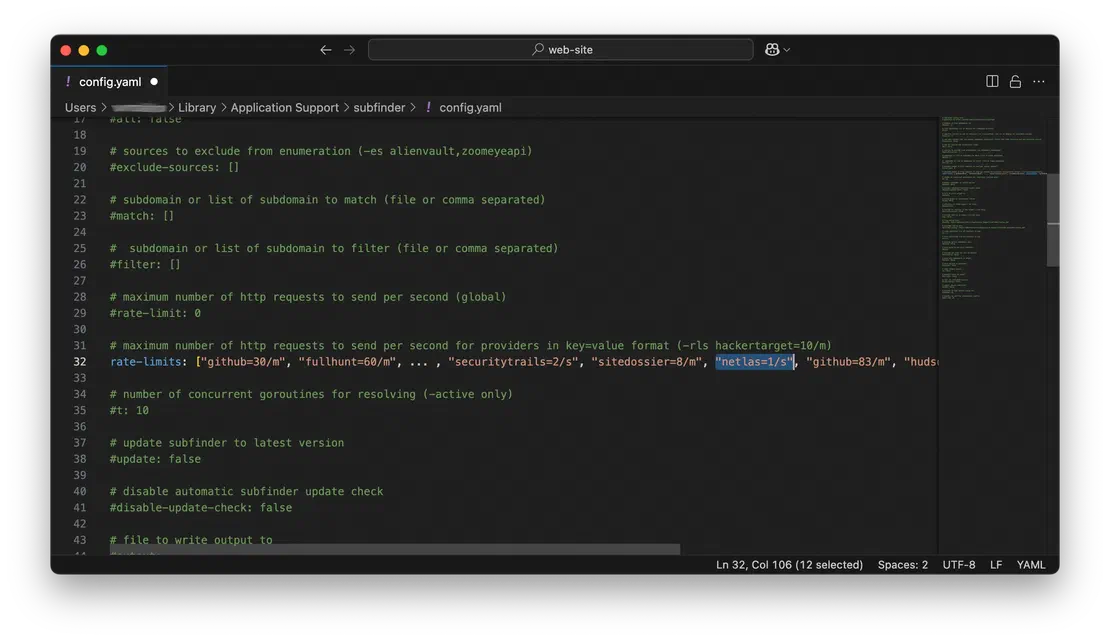
The next step is to configure the frequency of calls to the API. The fact is that Netlas does not return results more than once per second. The developers at ProjectDiscovery considered this by setting a wait in the code, but in my testing, it turned out that this limitation does not always work. Therefore, it is better to configure the delay separately in the configuration file.
To do this, open config.yaml. There you need to find the rate-limits line, uncomment it, and add the line “netlas=1/s” in square brackets. It will look like this:
This completes the basic setup required to use the Netlas module inside Subfinder. You can also read the configuration files yourself in case you need to connect other tools, such as Shodan or Censys. I will move on to examples of use.
Let’s start with Subfinder flags.
The -d or -dL flags are used to specify the target domain. The first implies that you are looking for subdomains for only one domain name (I will use this one in the examples), and the second is for a number of names.
Next, you need to specify the data source. The flags used here are -s (one source, will be used in the examples), -recursive (only sources that support recursive search of subdomains are launched), -all (all sources, slowest mode), and -es (excluding some sources from the list).
Thus, to search for subdomains using the Netlas module, we can use the following command:
subfinder -d target.com -s netlasThis command should return all subdomains of the target.com site. Let’s launch it.
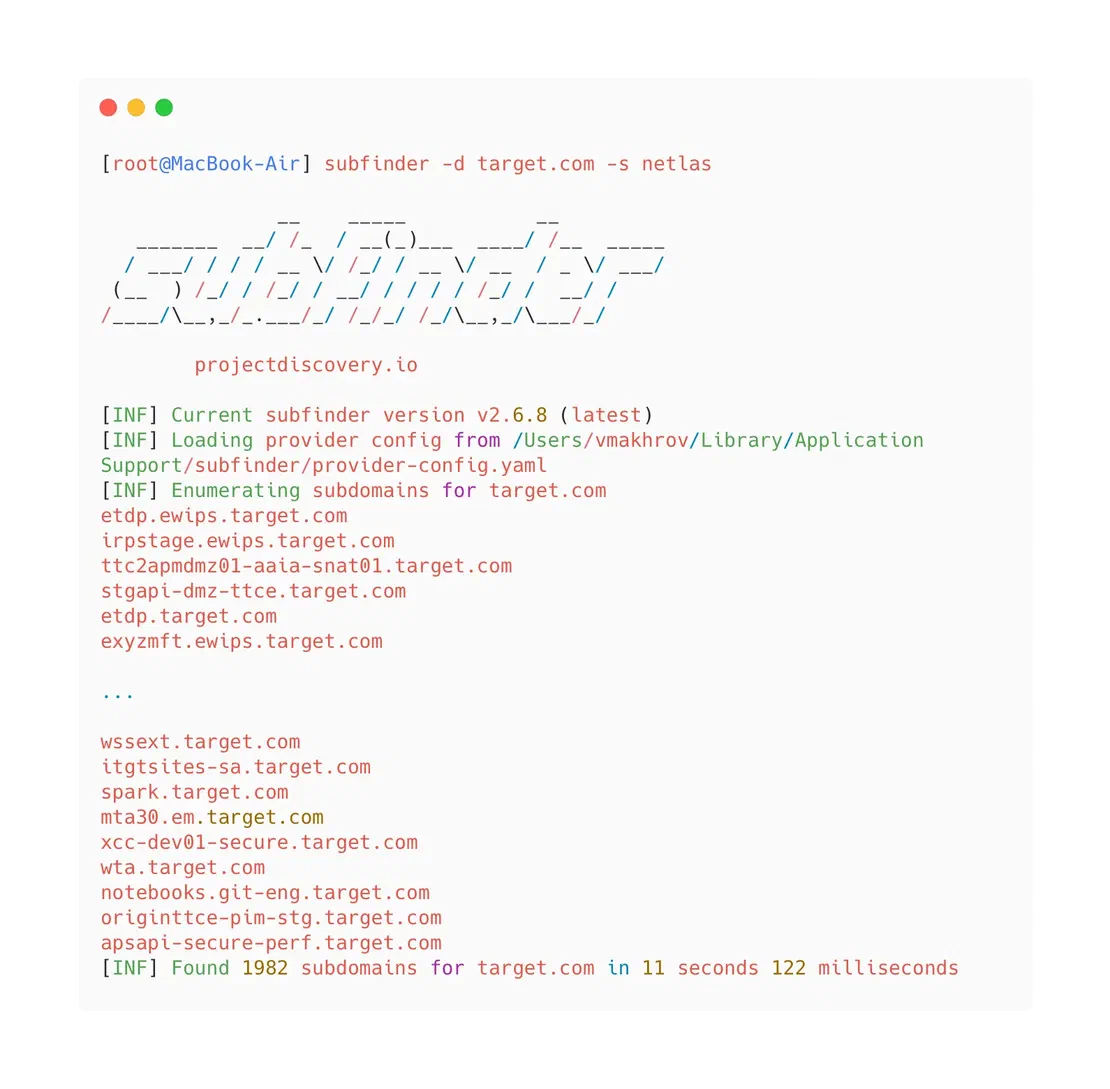
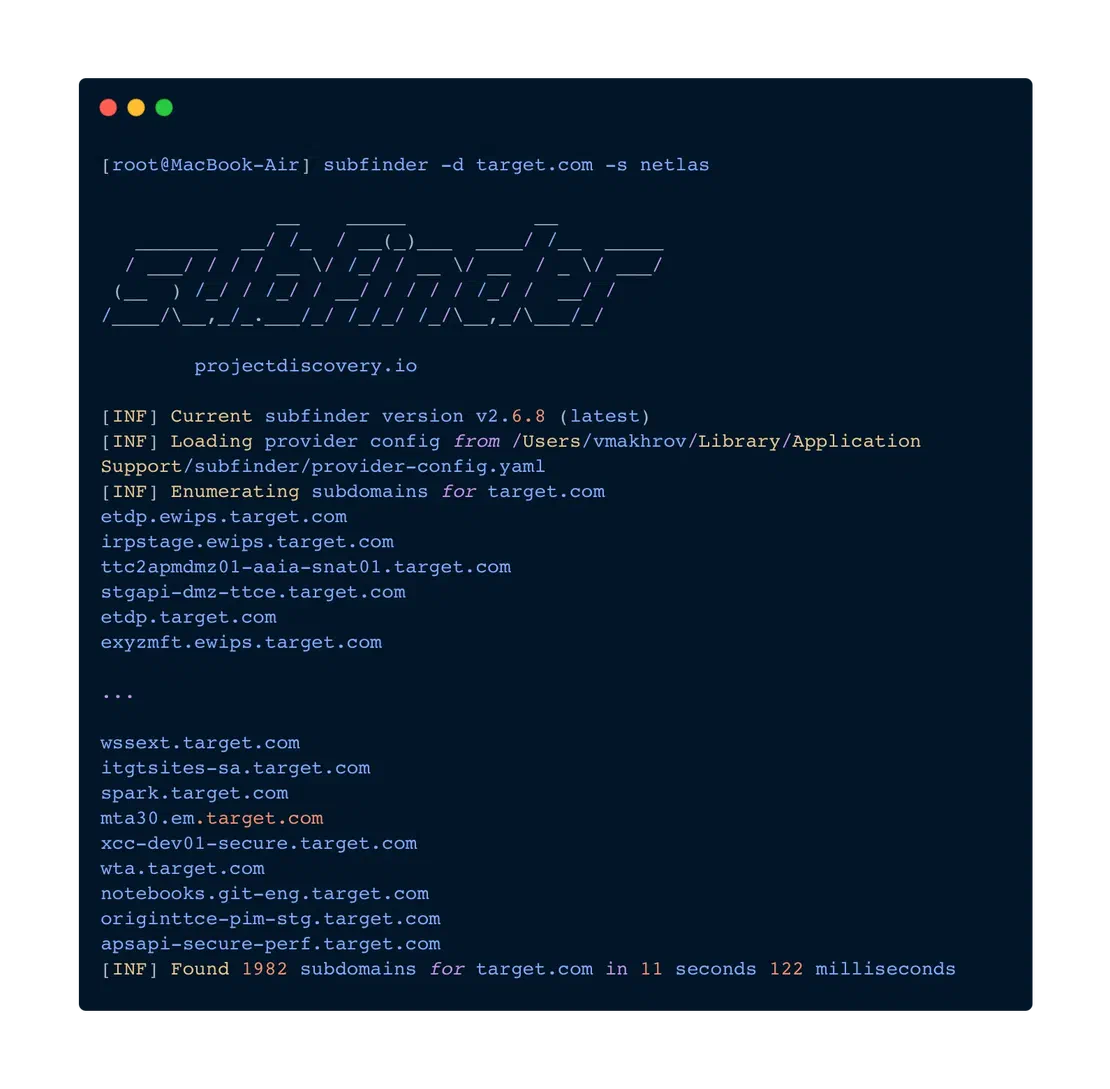
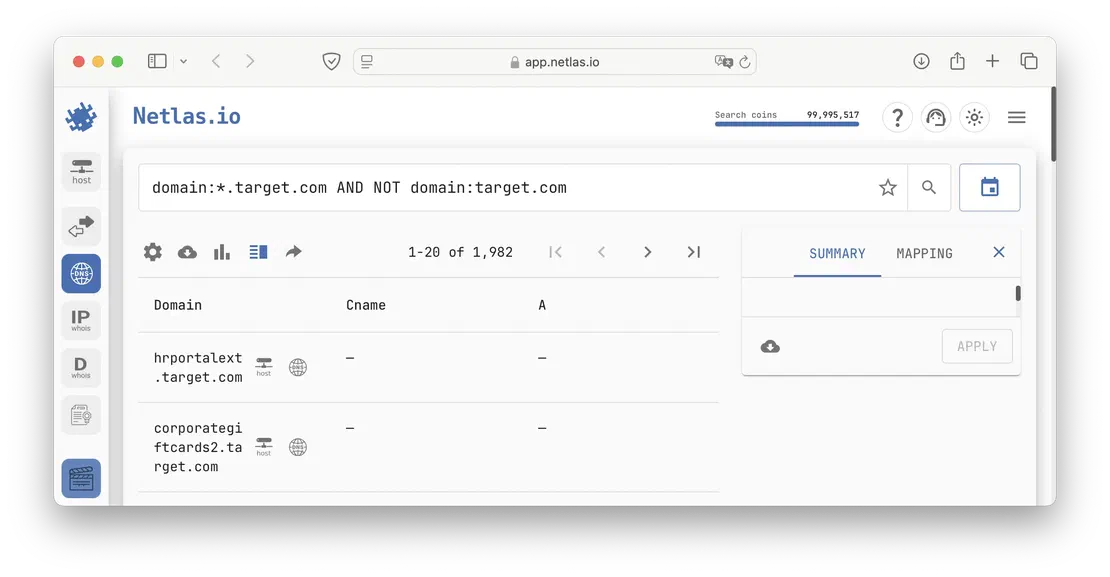
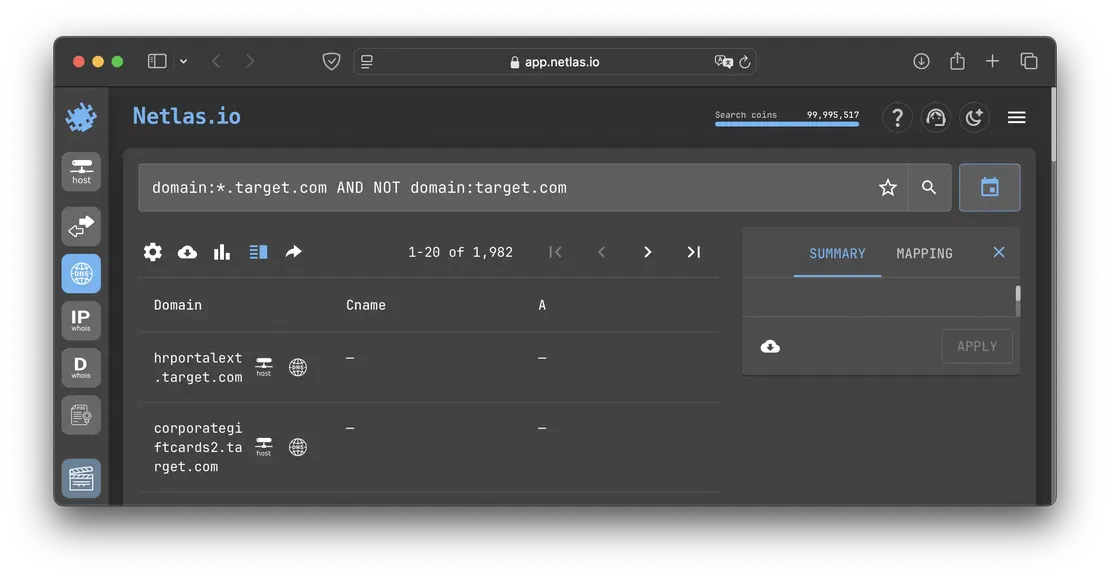
A total of 1982 subdomains were found. By opening netlas.io, you can verify that this is exactly how much is stored in the Netlas database.
Many information security professionals prefer a powerful tool such as Subfinder. In turn, Netlas is one of the best IoT search engines. Their combination can give you truly high-quality reconnaissance, and the connection of some other sources, such as Shodan and Censys, will leave no chance for the surface being explored to hide something.

I can show you how deep the Internet really goes
Discover exposed assets, infrastructure links, and threat surfaces across the global Internet.
此内容由惯性聚合(RSS阅读器)自动聚合整理,仅供阅读参考。 原文来自 — 版权归原作者所有。