










In the fast-paced digital world, user engagement is crucial for any website or blog to thrive. Engaging your readers and making them feel connected to your content can significantly impact their overall experience. One way to achieve this is by incorporating interactive elements that encourage user participation.
In this blog post, we'll explore the benefits of integrating the Applause Button into your Ghost theme and guide you through the process.
What is the Applause Button?
The Applause Button is a simple yet powerful tool that allows readers to express their appreciation for your content. It presents a visual and interactive way for users to show their support, similar to the popular "clap" feature on Medium.
By integrating the Applause Button into your Ghost theme, you create an opportunity for your readers to actively engage with your posts and enhance the sense of community surrounding your site.
You can see the plugin in action on Scott Logic blog.
Integrate the applause button
To add this functionality to your articles, you have to include the Applause button
JavaScript and stylesheet in your theme, then add the applause-button element,
and you're good to go!
- Add the script and stylesheet.
The easiest way to add these is from your Ghost Admin Settings → Code Injection, by adding the following:
<!-- add the button style & script -->
<link rel="stylesheet" href="https://unpkg.com/applause-button/dist/applause-button.css" />
<script src="https://unpkg.com/applause-button/dist/applause-button.js"></script>
- Add the
<applause-button>to your post
In this step you need to edit your post.hbs file and place the button in the place
where you want it to appear. This can be next to the title, right before the content or
after your content, or maybe even in multiple places.
Here's the code:
<applause-button style="width: 58px; height: 58px;">
</applause-button>
The above code will render the applause button for your post, with a height and width of 58px.
There is more configuration available so let's explore what you can do with it.
Styling and configuration
First of all, the button is responsive so it's size should adapt to your container. Other properties you can change:
- color - you can change the color of the button via its color attribute, e.g.
<applause-button color="red" />, or you can apply CSS to set custom colors. - multiclap - by default, users can only clap once. If you'd like them to be able to add multiple 'claps', set the multiclap attribute to true.
- url - you can specify the URL explicitly via the url attribute, e.g.
<applause-button url="{{url}}" />
Example with the above configuration:
<applause-button
  url="{{url}}"
  multiclap="true"
  style="width: 58px; height: 58px;">
</applause-button>
More than that:
- you can programmatically access the clap count, the button exposes a initialClapCount property, which returns a Promise which resolves to the initial count.
- you can programmatically determine when claps occur, the button fires a clapped event
- you can host your own back-end, you can use the api property to point to your end-point.
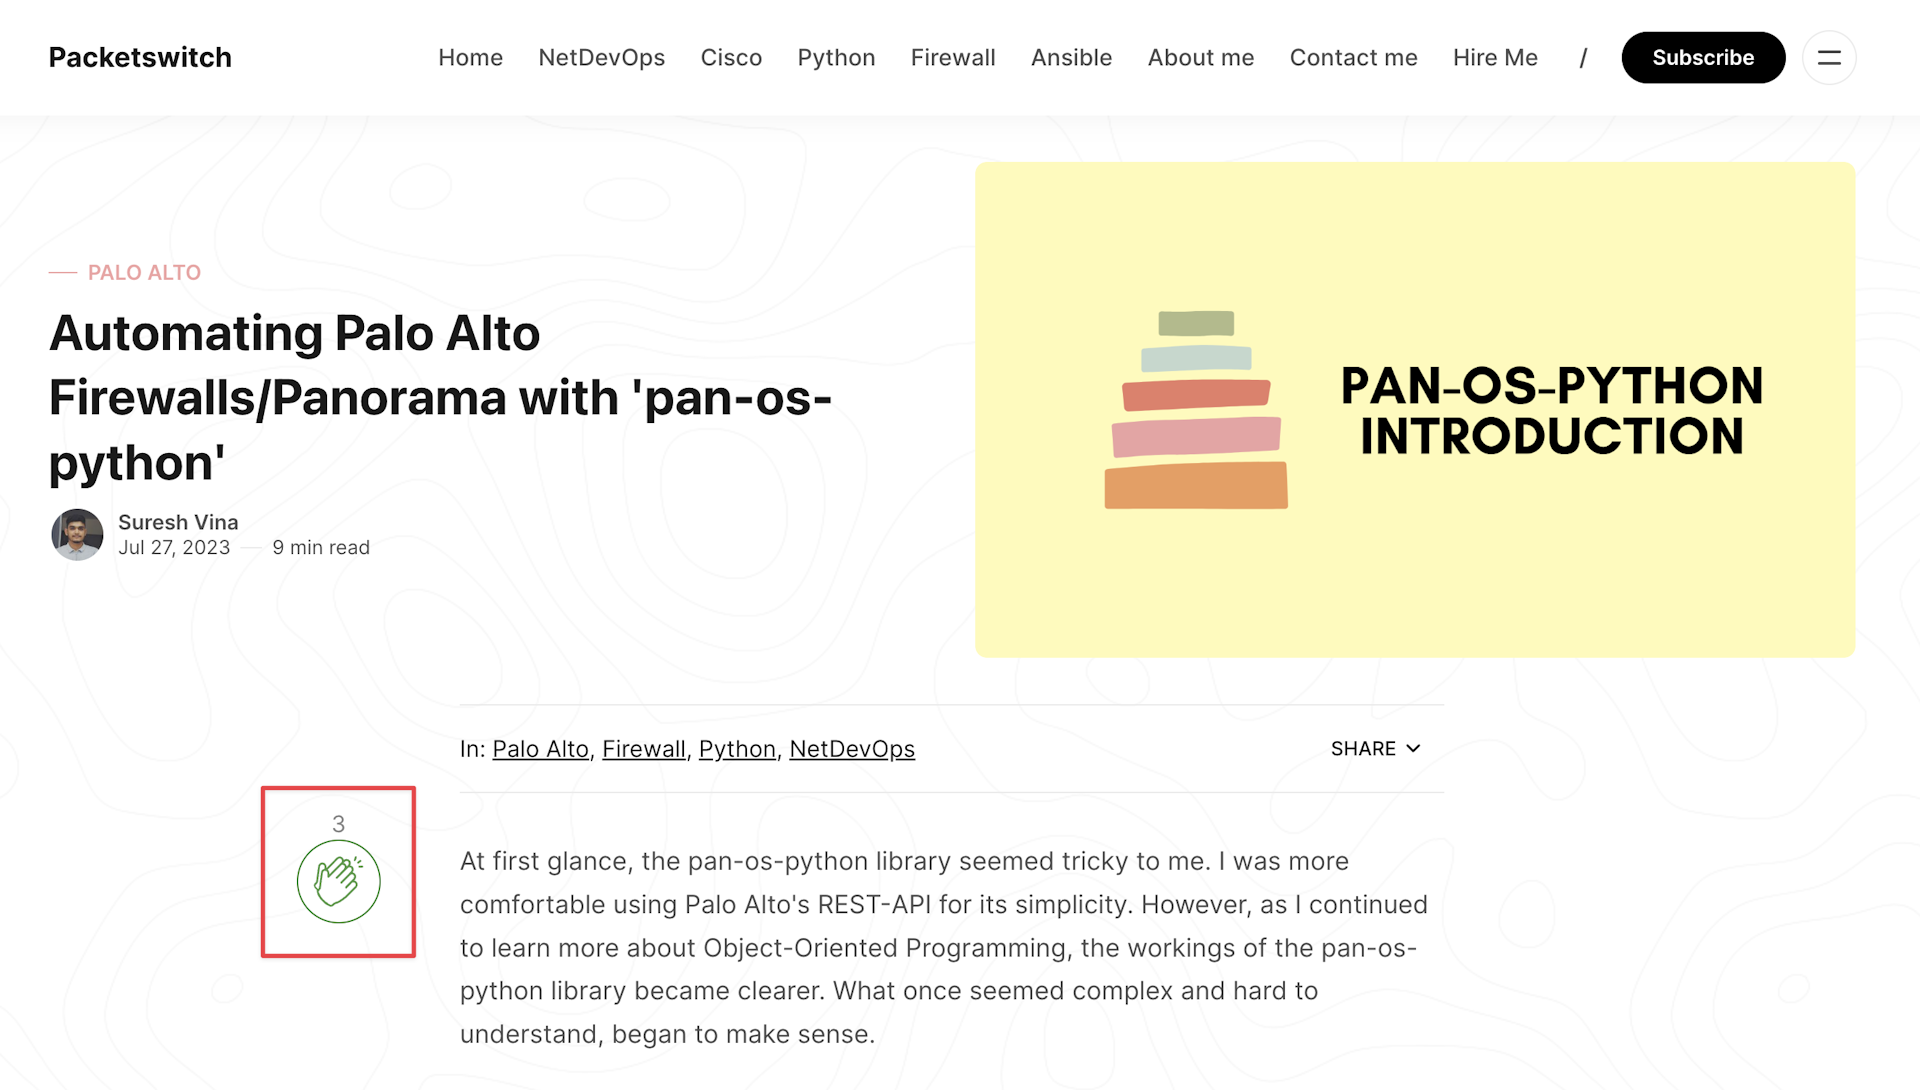
Here's an example of how the applause button works and looks like in a Ghost theme, Fumio in this case. See it live on Packetswitch.
Add clap count to post cards
You can even display the clap count on the post cards on the homepage. For this we can use the initialClapCount, here's a short example of how this can be done:
const button = document.querySelector('.applause')
button.initialClapCount.then(function(count) {
  document.querySelector('[data-count]').innerText = count
})
The above code is:
- Looking for the applause button with the class
applause. - Using the
initialClapCountproperty to get the count value. - Setting the value on the element with the
data-countproperty.
Conclusion
By integrating the Applause Button into your Ghost theme, you can foster greater user engagement and encourage active participation from your readers. The visual and interactive nature of the button adds an extra layer of interactivity to your content, making it easier for readers to express their appreciation.