






Labels are useful for managing, segmenting, and keeping track of your members. Labels can be applied manually in Ghost Admin, going to a member profile and adding or removing specific labels or automatically via a form when users sign up.
You can change your subscription form in your theme or an HTML card, adding an input element with the data-members-label attribute. This input element can be hidden or visible, it can be a checkbox, providing the user the ability to select from different options.
<!-- Hidden Input for member label -->
<input data-members-label type="hidden" value="Your label" />

<!-- Visible Input checkbox for member label -->
<input data-members-label type="checkbox" value="Your label" />
Next, we will take a look at the different ways this can be implemented, especially the checkbox version because that needs javascript to make it interactive and to apply the label only when the user ticks the checkbox.
Before proceeding, check out the previous post where we build subscription forms in Ghost, the basic form functionality is explained there and what we do below is based on that.
Signup form with predefined label options
The most general use case, where you can define a specific list of labels and provide your users a way to select whichever they want when subscribing. Here is how the code would look like for such a form:
<div class="subscription-box">
  <h3>Subscribe now</h3>
  <form class="subscription-form" data-members-form="signup">
    <!-- Predefined Member labels -->
    <label
      ><input
        data-members-label
        type="checkbox"
        checked
        onChange="this.toggleAttribute('data-members-label')"
        value="Label 1"
      /><span>Label 1</span></label
    >
    <label
      ><input
        data-members-label
        type="checkbox"
        checked
        onChange="this.toggleAttribute('data-members-label')"
        value="Label 2"
      /><span>Label 2</span></label
    >
    <!-- Predefined Member labels -->

    <input data-members-email type="email" placeholder="email" required />
    <button class="btn" type="submit">Singup</button>
    <div class="success-message">
      Great! Check your inbox and click the link.
    </div>
    <div class="error-message">
      Sorry, something went wrong. Please try again.
    </div>
  </form>
</div>
The result:
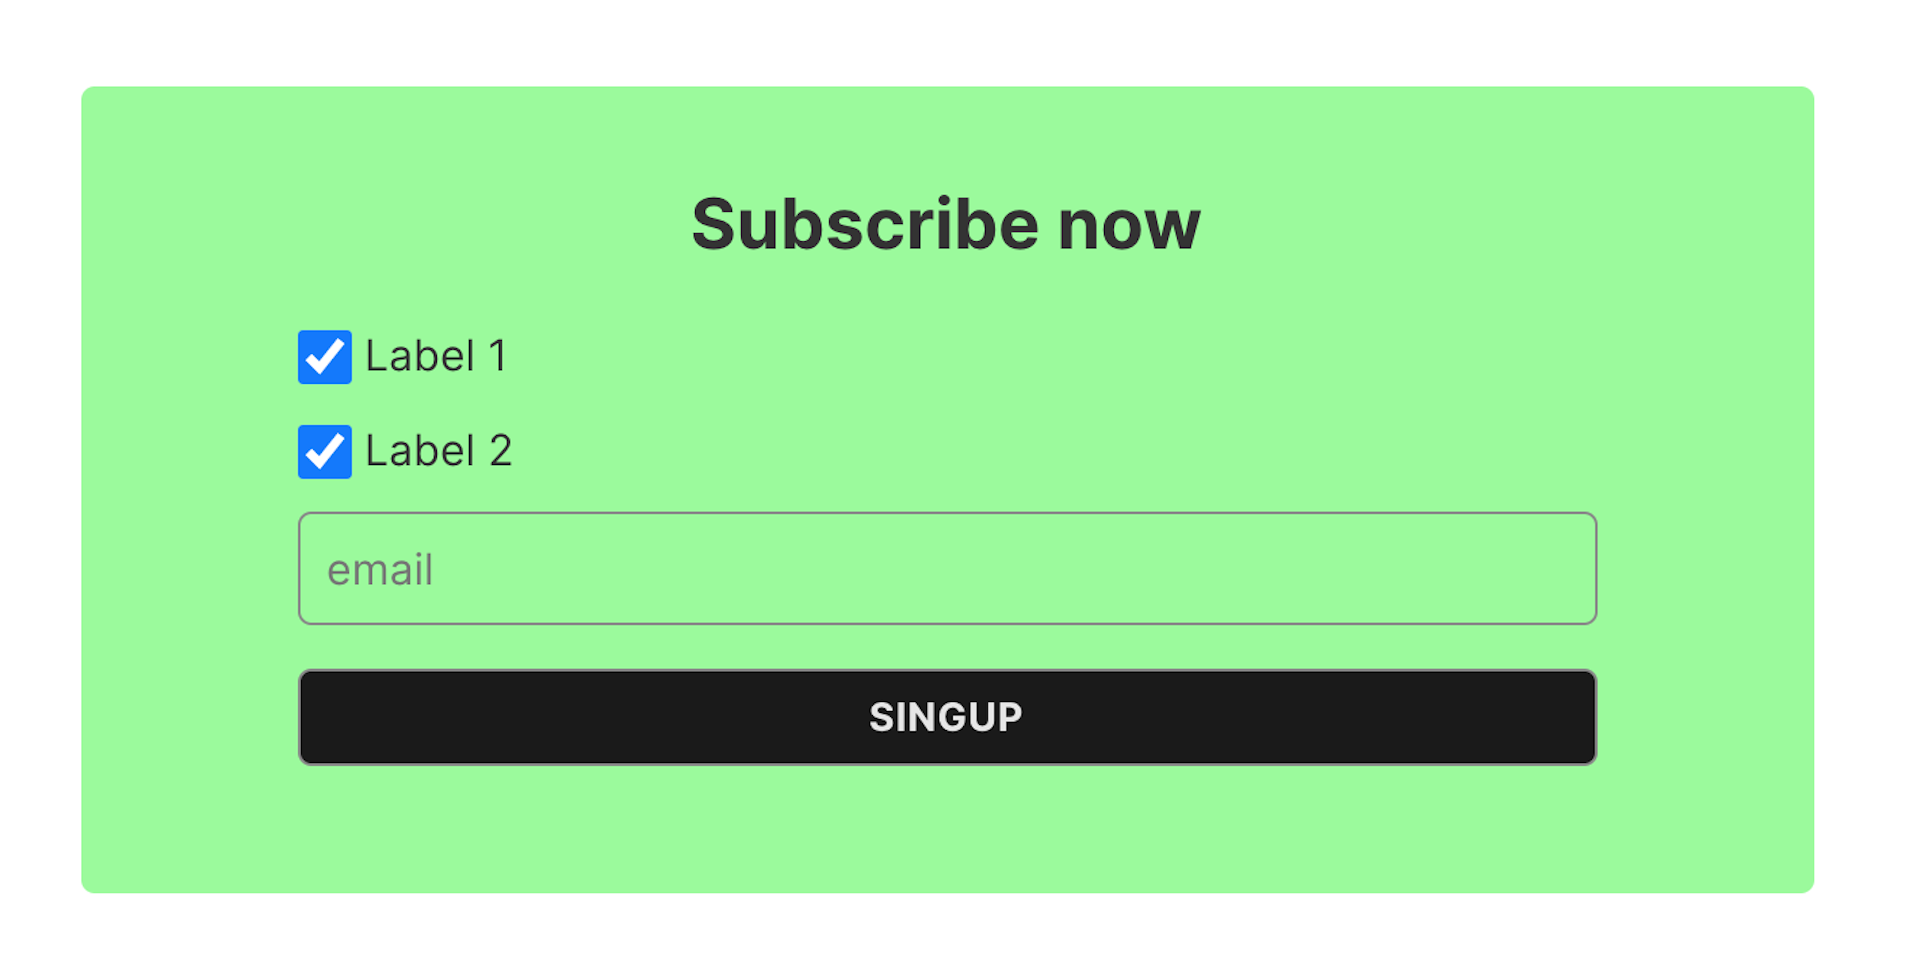
The important section here is the <input> with the data-members-label attribute, this is needed for the sign up process and the value of the element will be saved as the label for your member.
The checked attribute defines the checkbox status by default (delete it for an unchecked status) and to make the element interactive the onChange event is used and clicking the checkbox will toggle the data-members-label attribute. If the attribute is on the element the label is assigned on sign up.
You can define as many labels as you need this way.
Signup form with post tags as labels
Another use case would be using your post tags as the labels, to make this dynamic, you have to do it in your theme's post layout(post.hbs).
Caution
You need to be within the #post /post context.
Here is the code for generating labels from the tags (the form itself is the same, you only have to replace the labels section) :
<!-- Tags Member labels  -->
{{#foreach tags limit="3"}}
<label
  ><input
    data-members-label
    type="checkbox"
    checked
    onChange="this.toggleAttribute('data-members-label')"
    value="{{name}}"
  /><span>{{name}}</span></label
>
{{/foreach}}
<!-- Tags Member labels -->
The foreach will loop over the post's tags and generate an <input> for each iteration. The value will be the tag's name. You can adjust the limit to a higher or lower number, depending on your preference.
We can do the same thing for authors, and this makes sense in case there are multi-author posts. Again it's important that the code is within the {{#post}} {{/post}} context. The code is similar as well, the only difference is that the loop will be over the authors object:
<!-- Authors Member labels  -->
{{#foreach authors limit="3"}}
<label
  ><input
    data-members-label
    type="checkbox"
    checked
    onChange="this.toggleAttribute('data-members-label')"
    value="{{name}}"
  /><span>{{name}}</span></label
>
{{/foreach}}
<!-- Authors Member labels -->
You can change the limit to show more or fewer authors.
Conclusions
Labels provide a way to segment your subscribers in Ghost, this gives you even more options to manage your members effectively. You could apply a label to members who sign up from a specific landing page or let your users select certain topics of interest and much more.