We recently launched Deno Subhosting (built on the Deno Deploy infrastructure), the easiest and most secure way to run and host your users’ code. Companies can use Subhosting to extend their products’ functionalities via a developer platform or a third-party application marketplace. Deno Subhosting’s simple API make it easy to integrate into your platform, so you can programmatically manage deployments, projects, and more.
However, many developers prefer to manage business-critical infrastructure in the cloud with infrastructure-as-code patterns such as Terraform, since it’s a safe, reliable, and predictable way to provision and manage cloud services. Now, we’re excited to announce that you are able to use Deno Subhosting and Deno Deploy through Terraform with our official Deno Terraform Provider.
This provider will allow you to manage a large number of projects, custom domains, deployments, and more, using Terraform. We will maintain this provider and keep it in sync with the new Subhosting API.
Though we’re still working to complete the documentation, you can find the auto-generated provider docs here, as well as a number of working examples in the GitHub.
Keep on reading to learn more about:
To give you an example of how the Deno Terraform Provider works, let’s walk through an example that will publish a local directory of code to Deno Deploy.
Given the below project structure (simplified for this example):
.
├── deno.json
├── src
│   └── main.ts
├── static
│   └── cat.png
└── terraform
    └── main.tf
We’d like to deploy src/main.ts , which accesses static/cat.png and an
environment variable FOO:
Deno.serve(async (req) => {
  const url = new URL(req.url);


  switch (url.pathname) {
    case "/cat.png": {
      const file = await Deno.open("./static/cat.png");
      return new Response(file.readable, {
        headers: {
          "content-type": "image/png",
        },
      });
    }
    default: {
      return new Response(`FOO is ${Deno.env.get("FOO")}`);
    }
  }
});
Next, let’s define the .tf file. Note that there are two required parameters:
your organization ID, and an access token which you can generate on the deploy
dashboard. In the example below we hard code these in the terraform file;
alternatively you can pass them via environment variables,
DENO_DEPLOY_ORGANIZATION_ID and DENO_DEPLOY_TOKEN, respectively.
terraform {
  required_providers {
    deno = {
      source = "denoland/deno"
    }
  }
}

provider "deno" {


  organization_id = "e1ae3bcc-923e-4930-a6a7-5841e69849ed"


  token = "ddo_3JfdN41GxH0PufmzcoahcJtQXcbde144Z7l9"
}
Next, let’s create a project using the deno_project resource. Note that name
is optional (if it’s omitted, a random name is automatically generated) but it
must be globally unique.
resource "deno_project" "sample_project" {
  name = "awesome-deno-40"
}
Then, let’s define “assets” using the deno_assets data source. You can think
of this as a set of files to be uploaded. The first required parameter, path,
serves as a root directory path where Terraform looks for assets. The second
parameter, pattern, is a glob string whose matches determine which assets to
be included.
In this example, src/main.ts and static/cat.png will be included:
data "deno_assets" "sample_assets" {
  path    = "../"
  pattern = "{src,static}/**/*.{ts,png}"
}
We’re now ready to create the deployment using the deno_deployment resource.
This resource accepts parameters project_id and assets data that have been
created so far. Other parameters, such as env_vars can also be provided. (For
more details,
check out this example usage.)
resource "deno_deployment" "sample_deployment" {
  project_id      = deno_project.sample_project.id
  entry_point_url = "src/main.ts"
  assets          = data.deno_assets.sample_assets.output
  env_vars = {
    FOO = "42"
  }
}
And that’s it!
Let’s run terraform plan to see if we have configured things correctly:
$ cd terraform
$ terraform plan
data.deno_assets.sample_assets: Reading...
data.deno_assets.sample_assets: Read complete after 0s

Terraform used the selected providers to generate the following execution plan. Resource actions are indicated with the following symbols:
  + create

Terraform will perform the following actions:


  + resource "deno_deployment" "sample_deployment" {
      + assets          = {
          + "src/main.ts" = {
              + content_source_path = "../src/main.ts"
              + kind                = "file"
            },
          + "static/cat.png" = {
              + content_source_path = "../static/cat.png"
              + kind                = "file"
            },
        }
      + created_at      = (known after apply)
      + deployment_id   = (known after apply)
      + domains         = (known after apply)
      + entry_point_url = "src/main.ts"
      + env_vars        = {
          + "FOO" = "42"
        }
      + project_id      = (known after apply)
      + status          = (known after apply)
      + updated_at      = (known after apply)
      + uploaded_assets = (known after apply)
    }


  + resource "deno_project" "sample_project" {
      + created_at = (known after apply)
      + id         = (known after apply)
      + name       = "awesome-deno-40"
      + updated_at = (known after apply)
    }

Plan: 2 to add, 0 to change, 0 to destroy.

──────────────────────────────────────────────────────────────────────────────────────────────────────────────────────────────────────────────────────────────────────────────────────

Note: You didn't use the -out option to save this plan, so Terraform can't guarantee to take exactly these actions if you run "terraform apply" now.
Looks good! Now let’s run terraform apply.
$ terraform apply
data.deno_assets.sample_assets: Reading...
data.deno_assets.sample_assets: Read complete after 0s

Terraform used the selected providers to generate the following execution plan. Resource actions are indicated with the following symbols:
  + create

Terraform will perform the following actions:


  + resource "deno_deployment" "sample_deployment" {
      + assets          = {
          + "src/main.ts" = {
              + content_source_path = "../src/main.ts"
              + kind                = "file"
            },
          + "static/cat.png" = {
              + content_source_path = "../static/cat.png"
              + kind                = "file"
            },
        }
      + created_at      = (known after apply)
      + deployment_id   = (known after apply)
      + domains         = (known after apply)
      + entry_point_url = "src/main.ts"
      + env_vars        = {
          + "FOO" = "42"
        }
      + project_id      = (known after apply)
      + status          = (known after apply)
      + updated_at      = (known after apply)
      + uploaded_assets = (known after apply)
    }


  + resource "deno_project" "sample_project" {
      + created_at = (known after apply)
      + id         = (known after apply)
      + name       = "awesome-deno-40"
      + updated_at = (known after apply)
    }

Plan: 2 to add, 0 to change, 0 to destroy.

Do you want to perform these actions?
  Terraform will perform the actions described above.
  Only 'yes' will be accepted to approve.

  Enter a value: yes

deno_project.sample_project: Creating...
deno_project.sample_project: Creation complete after 0s [id=82672716-5aee-4279-a7da-3a3554ec9f74]
deno_deployment.sample_deployment: Creating...
deno_deployment.sample_deployment: Creation complete after 4s

Apply complete! Resources: 2 added, 0 changed, 0 destroyed.
Done! Let’s take a look at the Terraform state to get a URL to access the deployment:
$ terraform state show deno_deployment.sample_deployment

resource "deno_deployment" "sample_deployment" {
    // ...
    deployment_id   = "rpxayrskrhzt"
    domains         = [
        "awesome-deno-40-rpxayrskrhzt.deno.dev",
    ]
    entry_point_url = "src/main.ts"
    // ...
}
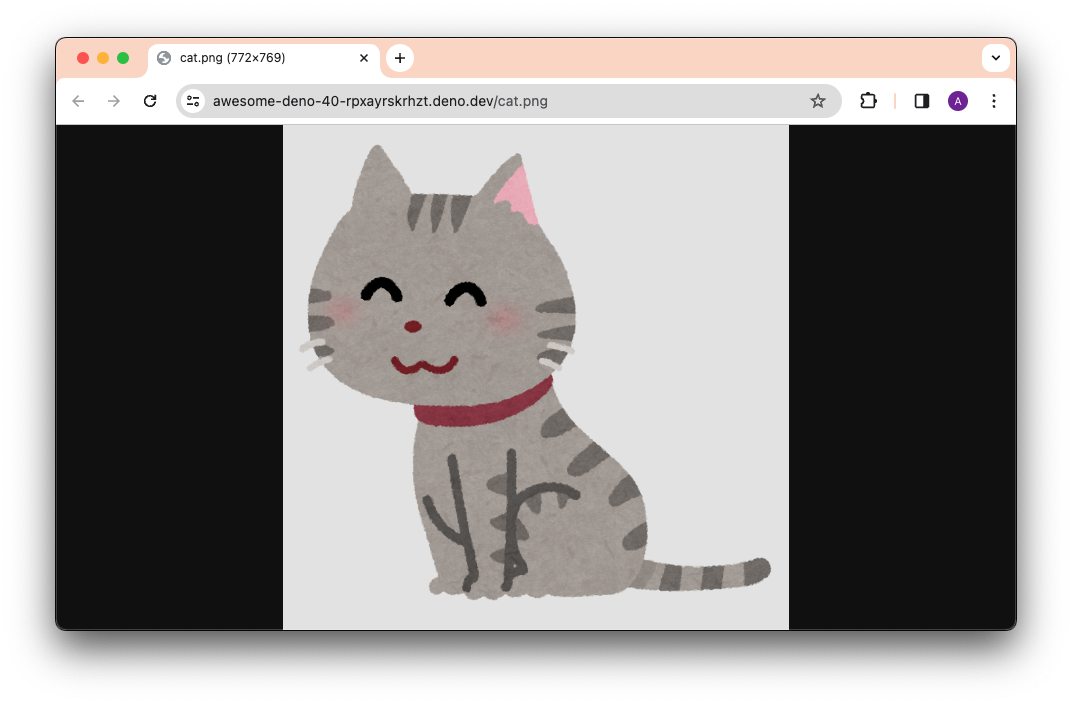
To check if our code is successfully deployed on Deno Deploy and works properly,
let’s visit
https://awesome-deno-40-rpxayrskrhzt.deno.dev/
, which should show the configured environment variable. Also, going to
https://awesome-deno-40-rpxayrskrhzt.deno.dev/cat.png
should show your cute cat picture.
Even though Deno Subhosting provides simple APIs to manage projects, deployments, and more on Deno Deploy, for those familiar with infrastructure-as-code patterns, using the Deno Terraform Provider can be simpler, especially when coordinating hundreds of projects.
We hope to add documentation and more examples, but if you would like technical help, please join us in our active Discord or create an issue here.
💡️ Learn how you can unlock the last 10% of your platform’s value with Deno Subhosting in our livestream where Kevin and Bert offer Subhosting examples from innovative companies and demo the Subhosting API.
此内容由惯性聚合(RSS阅读器)自动聚合整理,仅供阅读参考。 原文来自 — 版权归原作者所有。