







This is a guest blog written by Óscar Otero, creator of Lume.
Deno is a great choice to create dynamic web applications and APIs, especially when used with Deno Deploy to generate responses at the edge.
But for use cases that don’t require dynamic responses from the server, like blogs, documentation, and landing pages, a static site (a pre-built site with the exact HTML, CSS and JavaScript files to be delivered to the browser) is a better and more performant alternative.
In this tutorial we’ll learn how to create a static site using
Lume (pronounced /lume/), a fast and extremely flexible,
composable, and extensible static site generator written in Deno.
View source or live demo.
The recommended way to setup a Lume project is by running the command:
deno run -Ar --unstable https://deno.land/x/lume/init.ts
After a couple of questions, you will see 3 new files in your working directory:
_config.ts: The configuration file to customise Lume.deno.json: The Deno configuration file with some useful tasks to run Lume.import_map.json: The import map file used by Deno to resolve bare
specifiers.Additionally, it’s highly recommended to use the Deno extension if you’re on VSCode. (Learn about configuring Deno with VSCode.)
Blogs are the most common usage example for a static site generator and Lume, of
course, can build one for you. If you are not looking for something too
complicated, probably the
“Simple blog” theme is enough.
You only need to import it in the _config.ts file and use it.
import lume from "lume";
import blog from "https://deno.land/x/lume_theme_simple_blog@v0.2.1/mod.ts";

const site = lume().use(blog());

export default site;
Then save your posts using the markdown + front matter format in the /posts/
folder. For example:
---
title: Static sites with Lume + Deno Deploy
date: 2022-11-05
author: Óscar Otero
tags:
  - Deno
  - Static site generators
---

Deno is always a great choice to create dynamic web applications and APIs,
especially when it's combined with Deno Deploy to generate responses at the
edge. ...
Run deno task serve and you will see your new blog at localhost:3000!
Okay, understood! Instead of using an existing theme, let’s build something from scratch.
Lume doesn’t require any file structure to work, but for this demo, we will save
all posts files in a directory named /posts. So we have the following
structure:
|_ posts/
|  |_ my-first-post.md
|  |_ my-second-post.md
|_ config.ts
|_ deno.json
|_ import_map.json
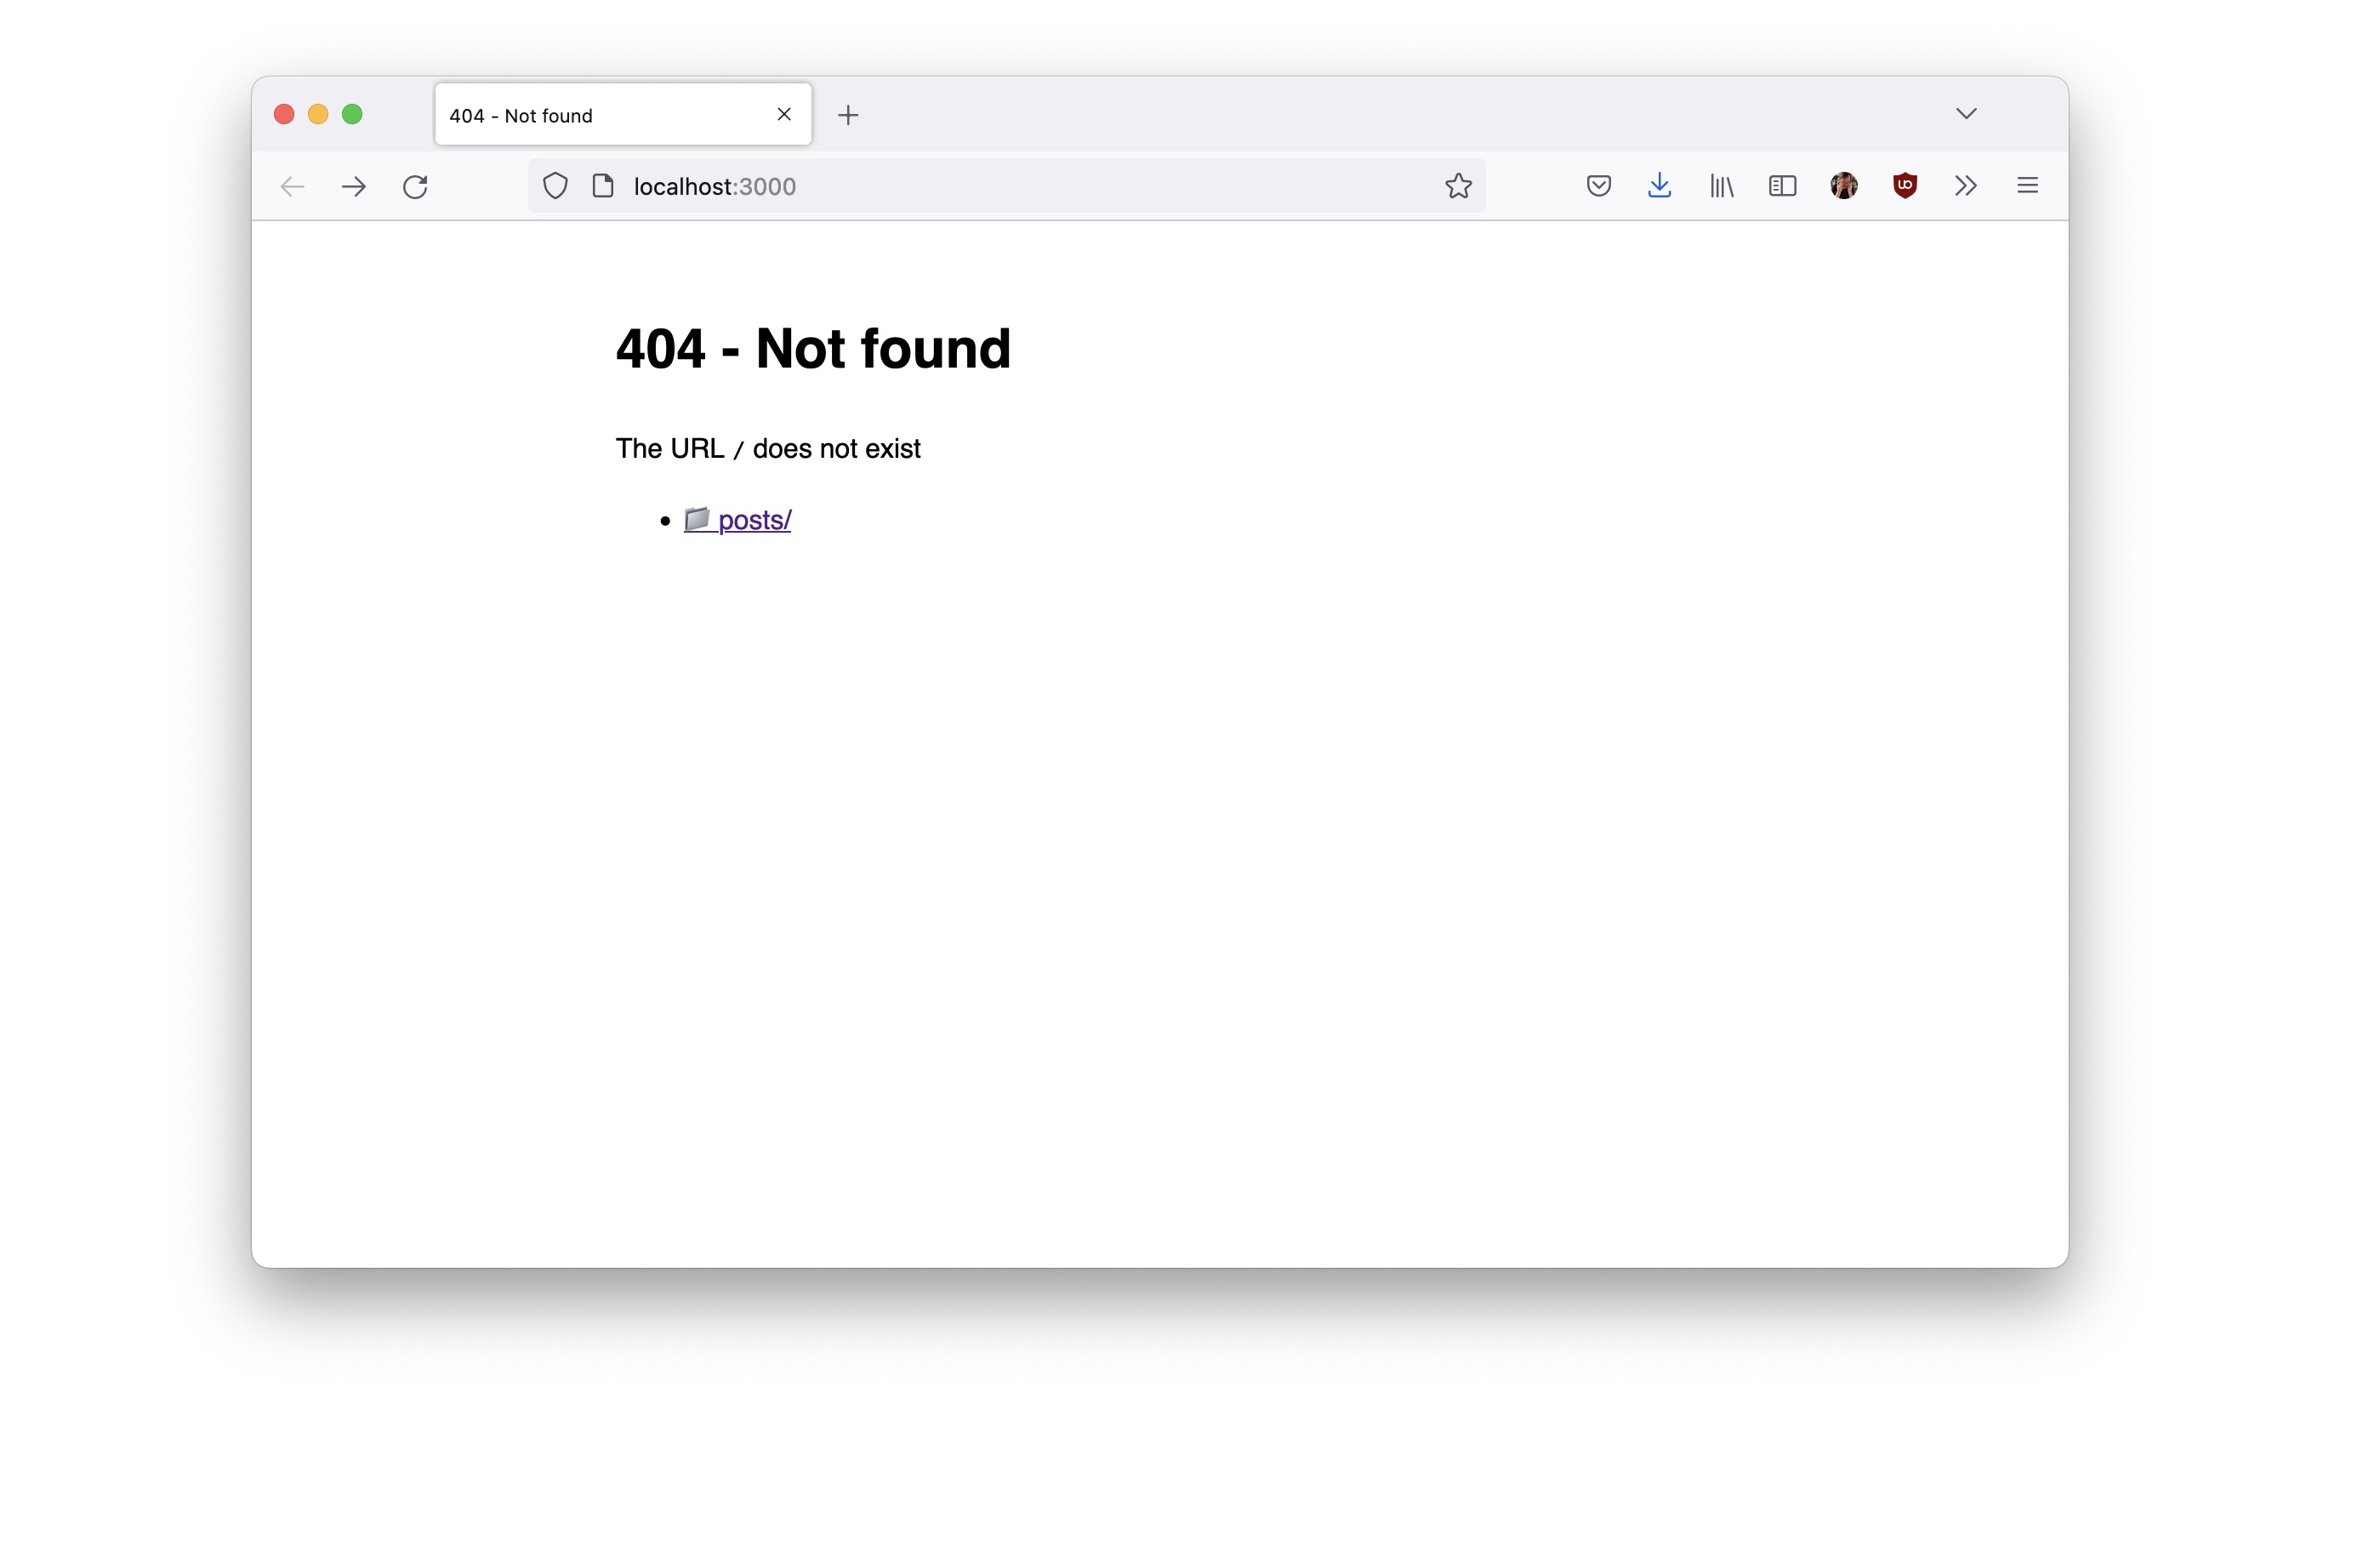
Run deno task serve to see the site at localhost:3000. You will see a 404
error page because the index file doesn’t exist yet.
But you can see the post. By default, the urls of the posts are calculated based
on the source path. For example the file /posts/my-first-post.md outputs the
URL http://localhost:3000/posts/my-first-post/.
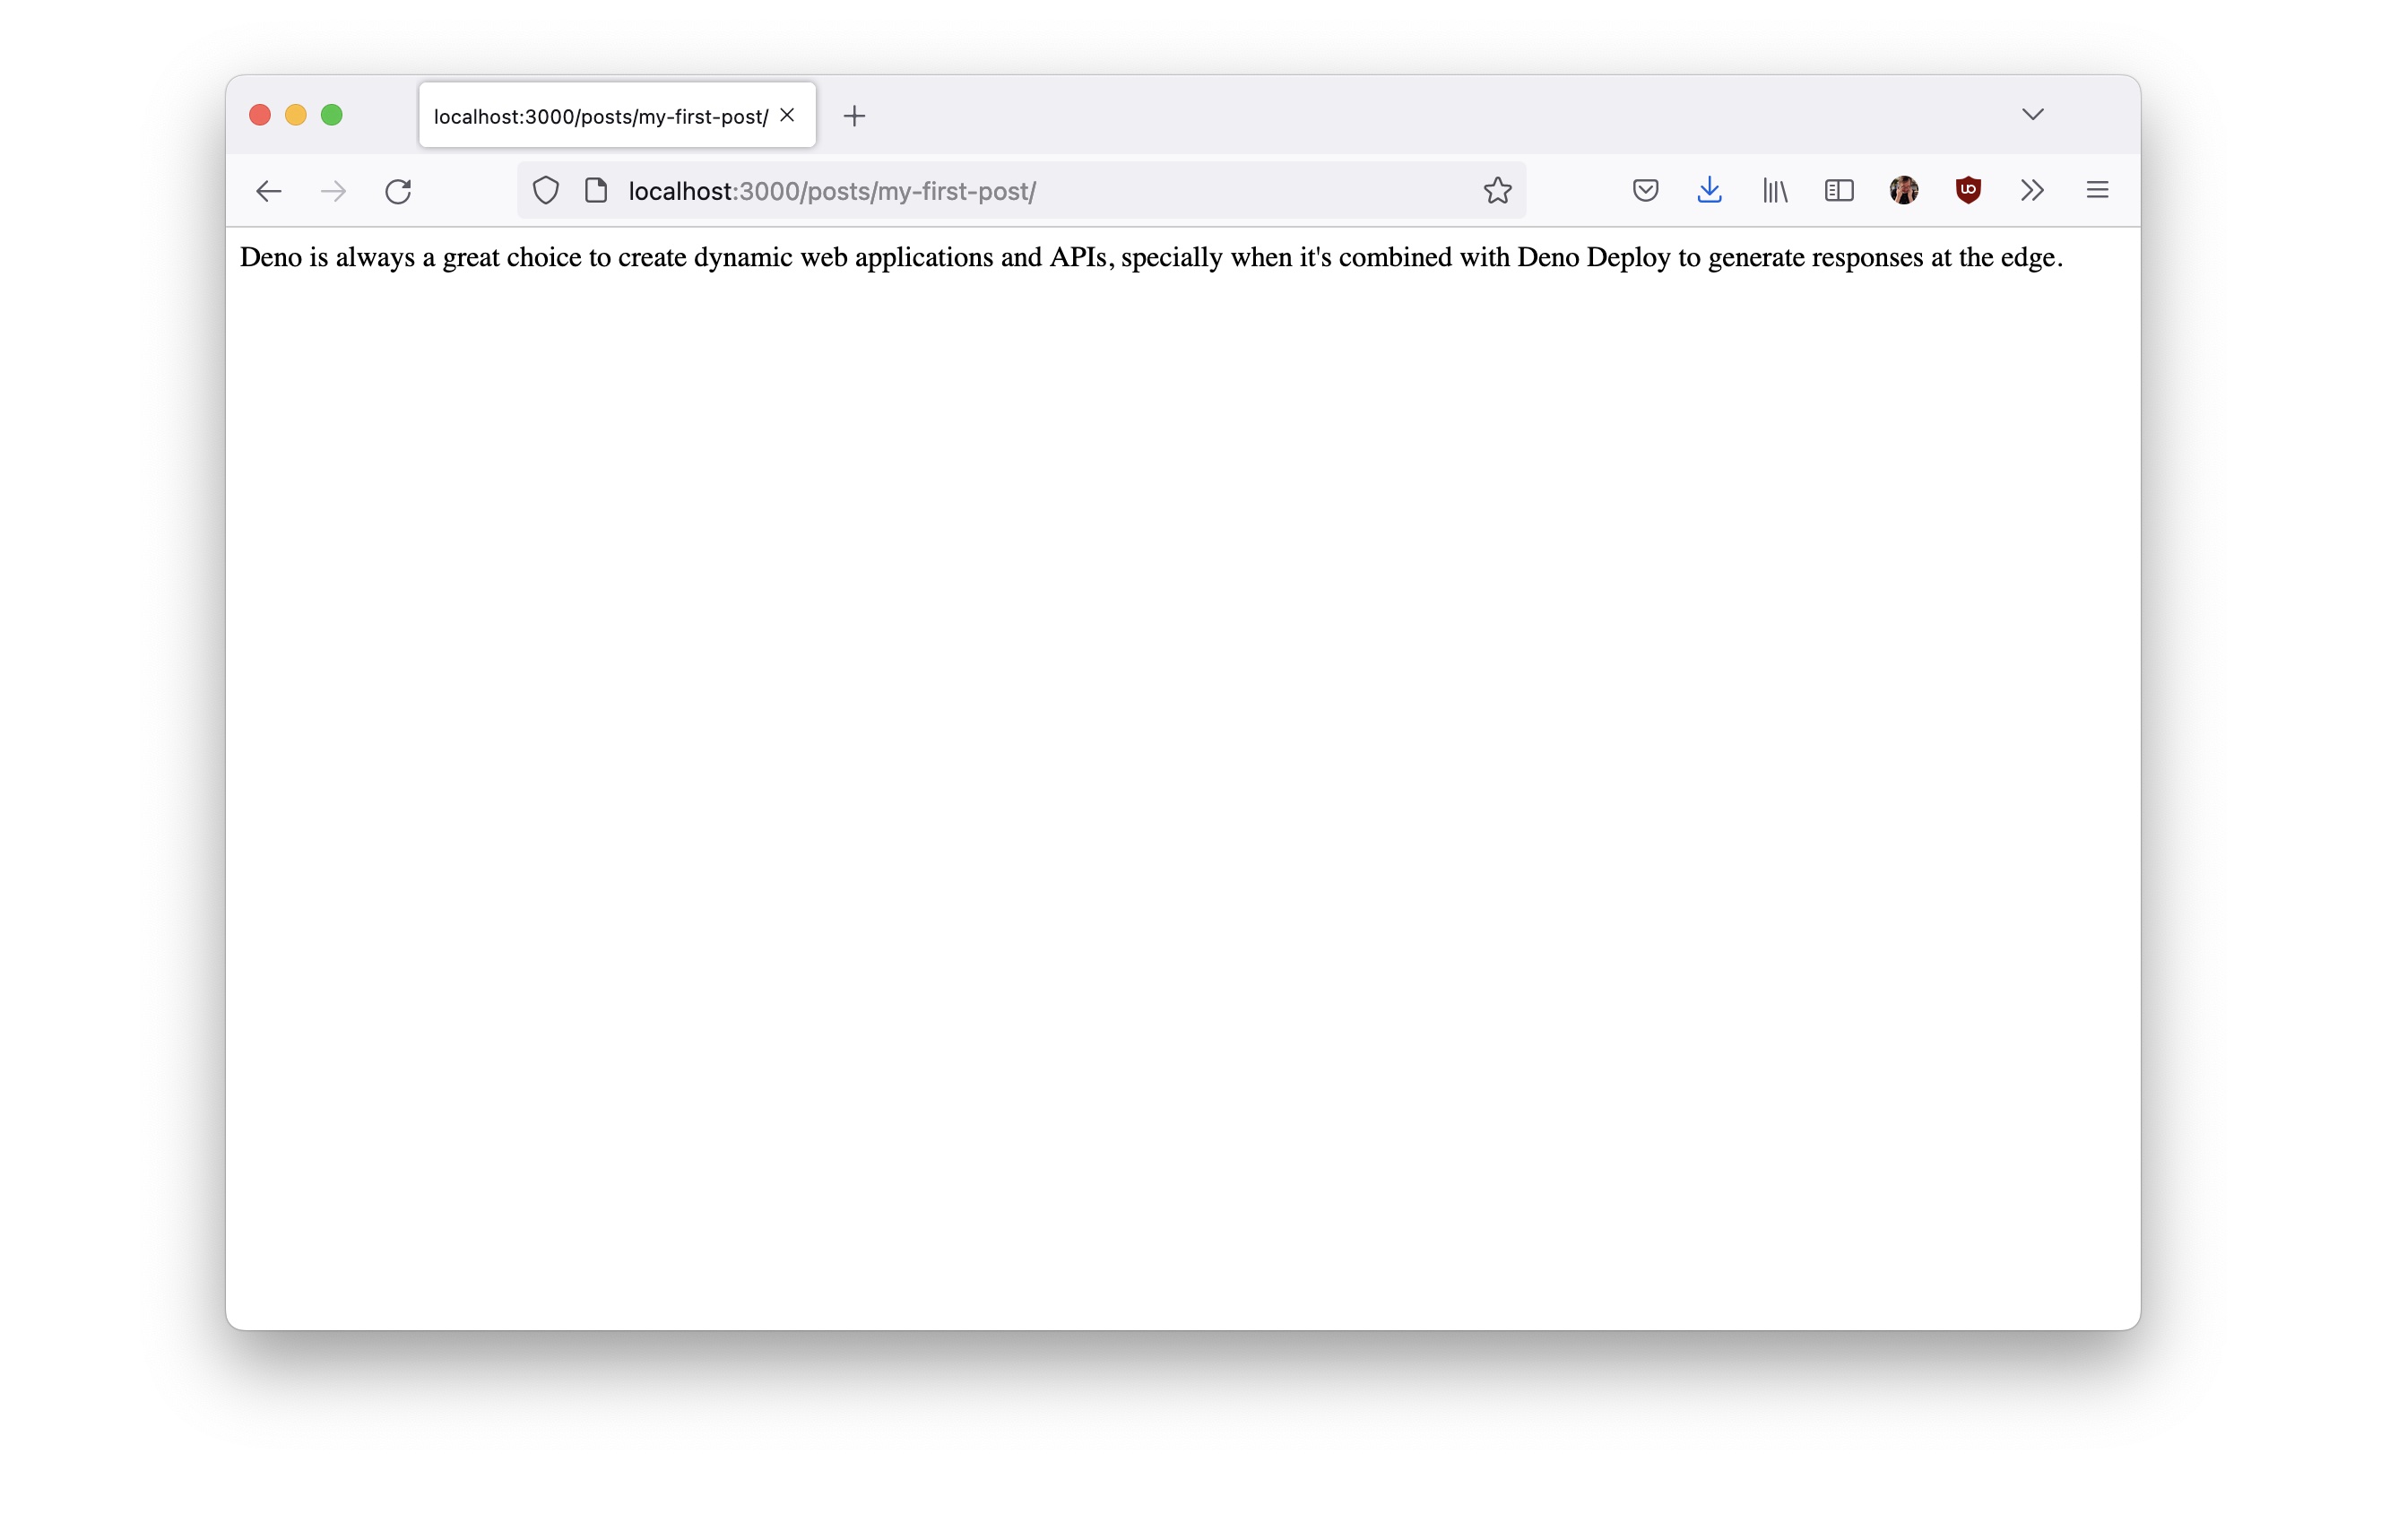
As you can see, the page only shows the markdown content rendered as HTML. Let’s
create a layout to wrap this content into a proper HTML structure. By default,
the layouts are stored in the special folder _includes, so we need to create
this folder and the file post.njk inside with the following content:
<!DOCTYPE html>
<html lang="en">
<head>
  <meta charset="UTF-8">
  <meta http-equiv="X-UA-Compatible" content="IE=edge">
  <meta name="viewport" content="width=device-width, initial-scale=1.0">
  <title>{{ title }}</title>
</head>
<body>
  <main>
    <article>
      <header>
        <h1>{{ title }}</h1>
        <p>By {{ author }}</p>
      </header>

      {{ content | safe }}
    </article>
  </main>
</body>
</html>
The .njk extension is for Nunjucks a
popular templating language created by Mozilla and supported by Lume by default.
Of course, you can use other formats like JavaScript, TypeScript or even JSX,
Pug, Eta, etc
(using plugins), but
let’s keep it simple for now.
We’ll create a _data.yml file inside the posts folder with the following
content:
layout: post.njk
type: post
This file assigns these two variables to all posts in this directory.
Let’s ignore the type variable for now.
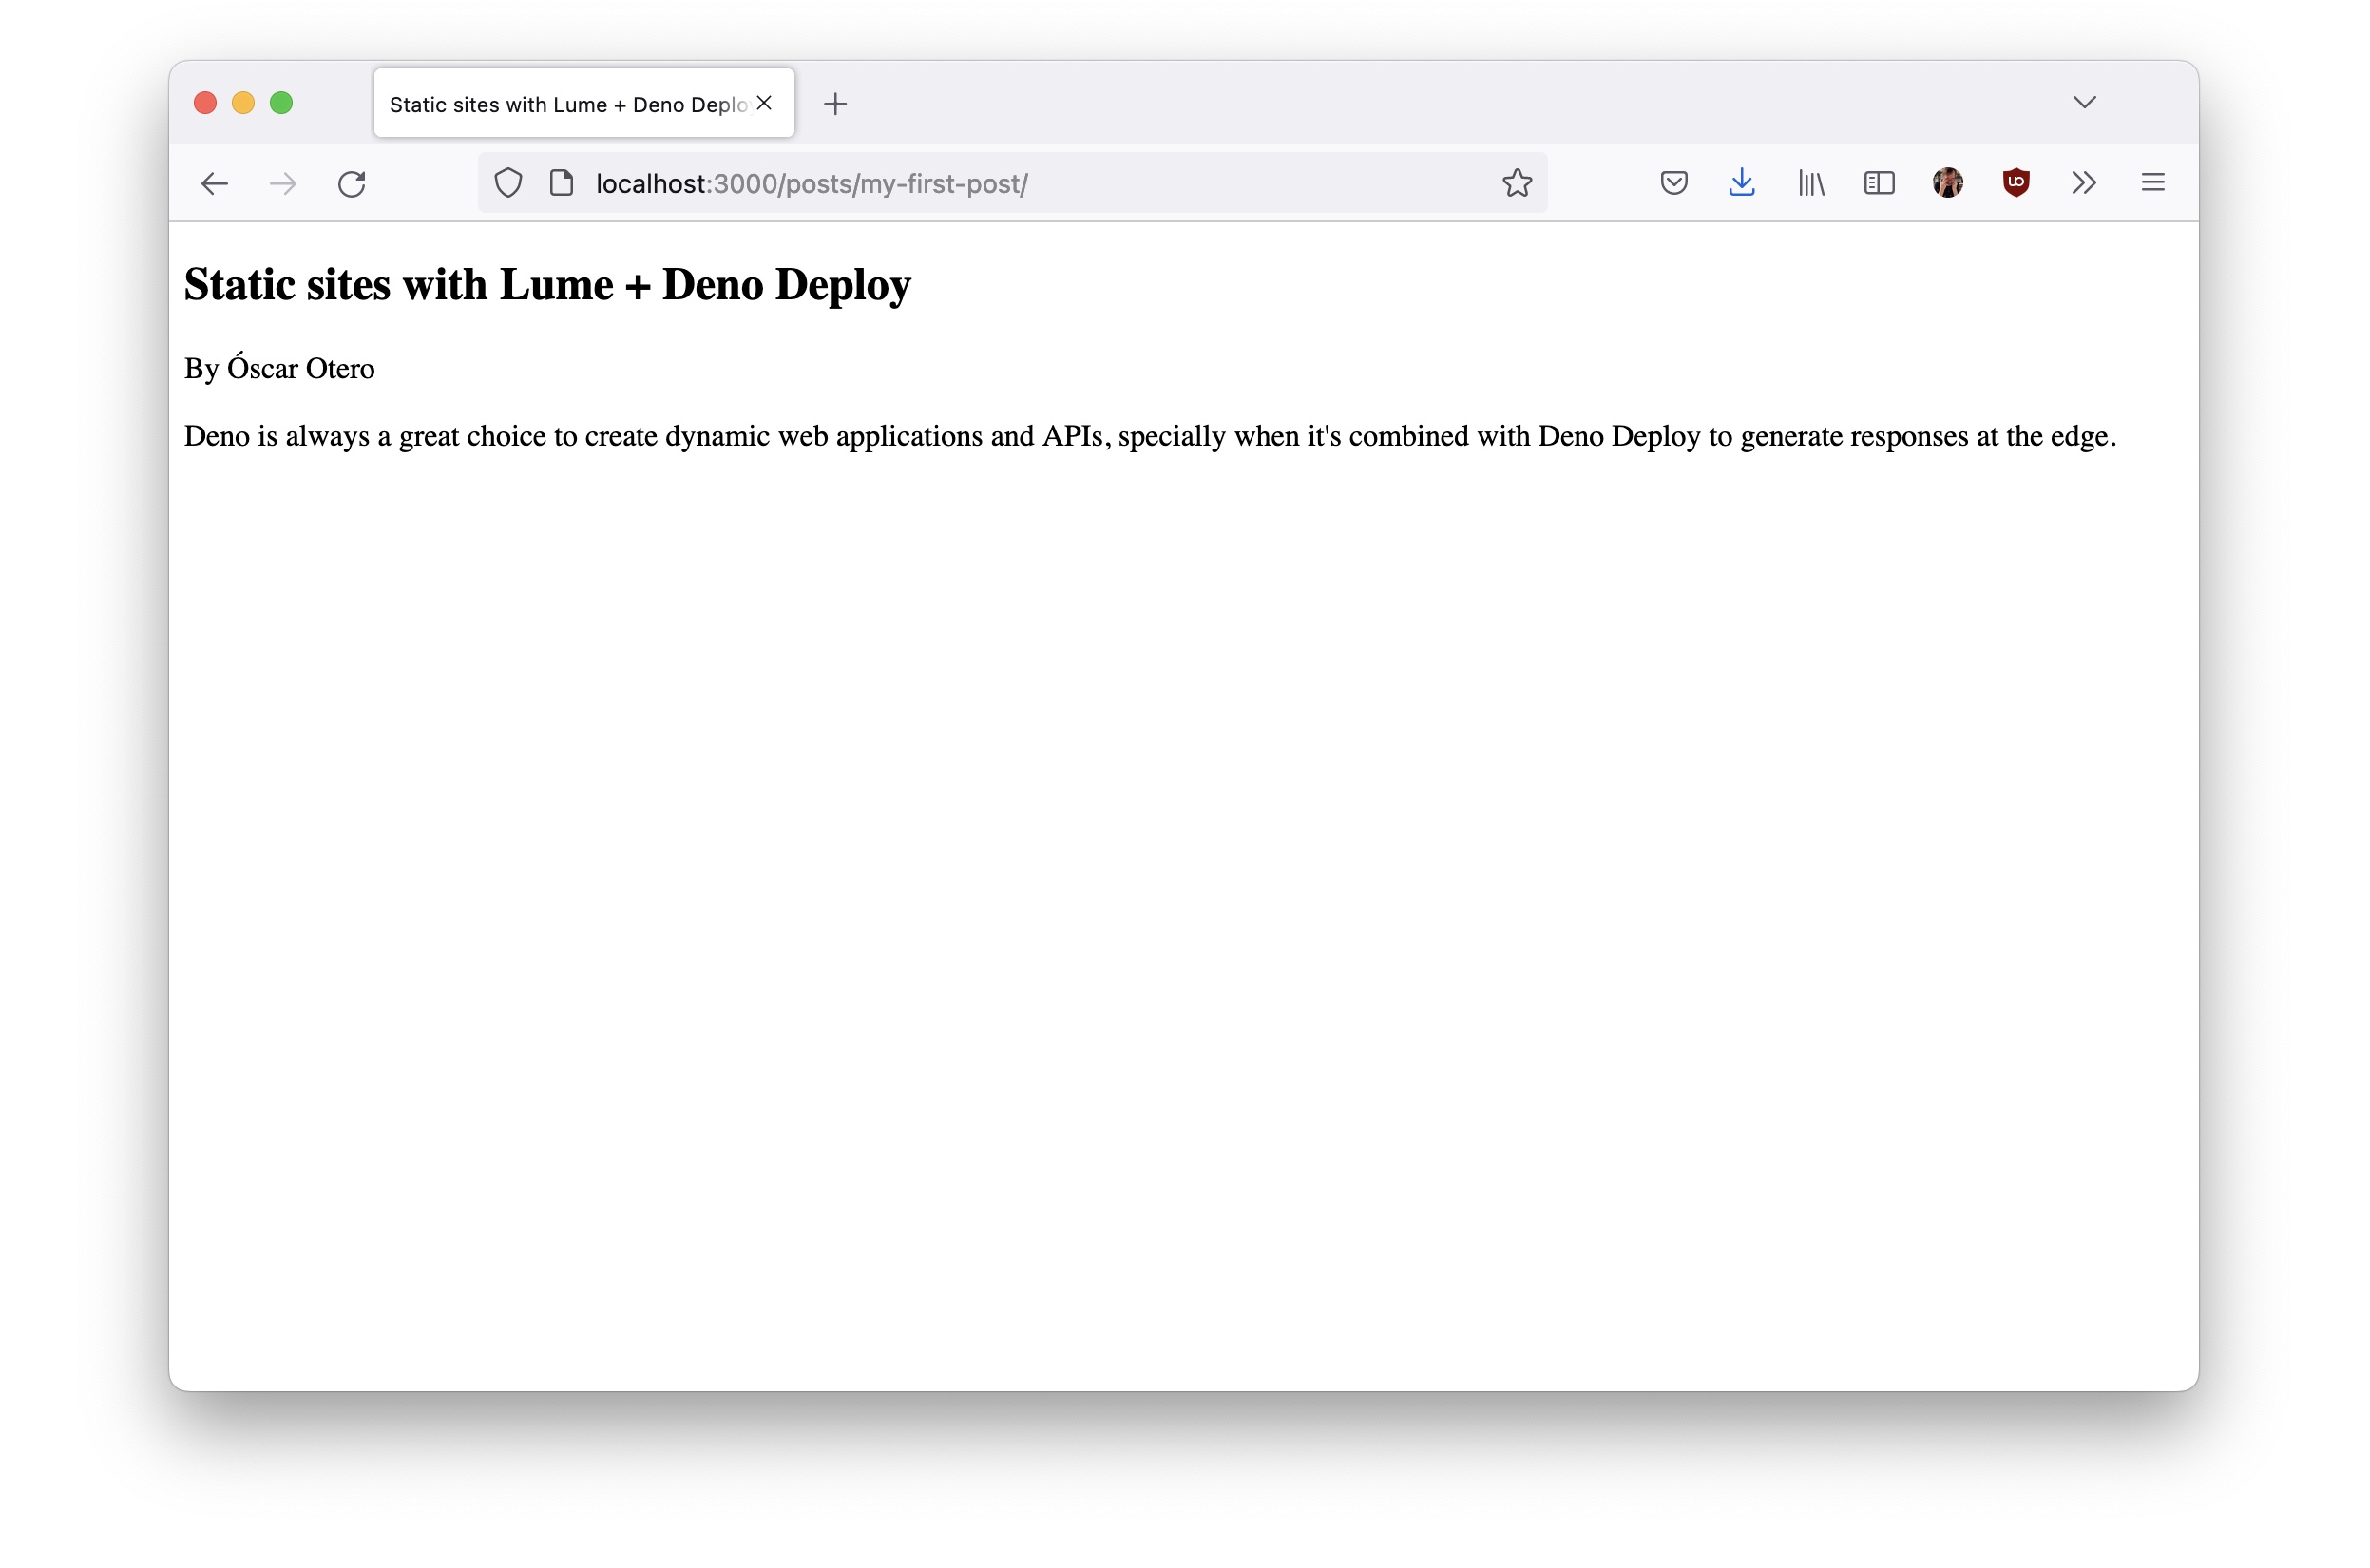
The layout variable is a special value containing the filename of the layout
used to render the page. This means that all pages in this directory will use
the _includes/post.njk file as the layout. Note that the layout can access to
the values of the front matter of the posts, like title or author.
Our post looks a bit better now!
Let’s say we want to show a list of all posts in the homepage. For this example
I’m going to create the homepage in TypeScript, so we need to create the
index.tmpl.ts file in the root with the following code:
import type { PageData } from "lume/core.ts";

export default function ({ search }: PageData) {
  const posts = search.pages("type=post");

  return `
    <h2>Posts</h2>
    <ul>
      ${
    posts.map((post) =>
      `<li><a href="${post.data.url}">${post.data.title}</a></li>`
    ).join("")
  }
    </ul>
  `;
}
Building pages with TypeScript in Lume is easy, we only need to export default
a function that returns the page content as string.
This function receives the page context data as the first parameter, including
some interesting helpers like search that we can use to query and return all
pages with the type=post variable. (Remember the type value that we inserted
in the posts/_data.yml file before? It was only a flag to easily select these
pages here.)
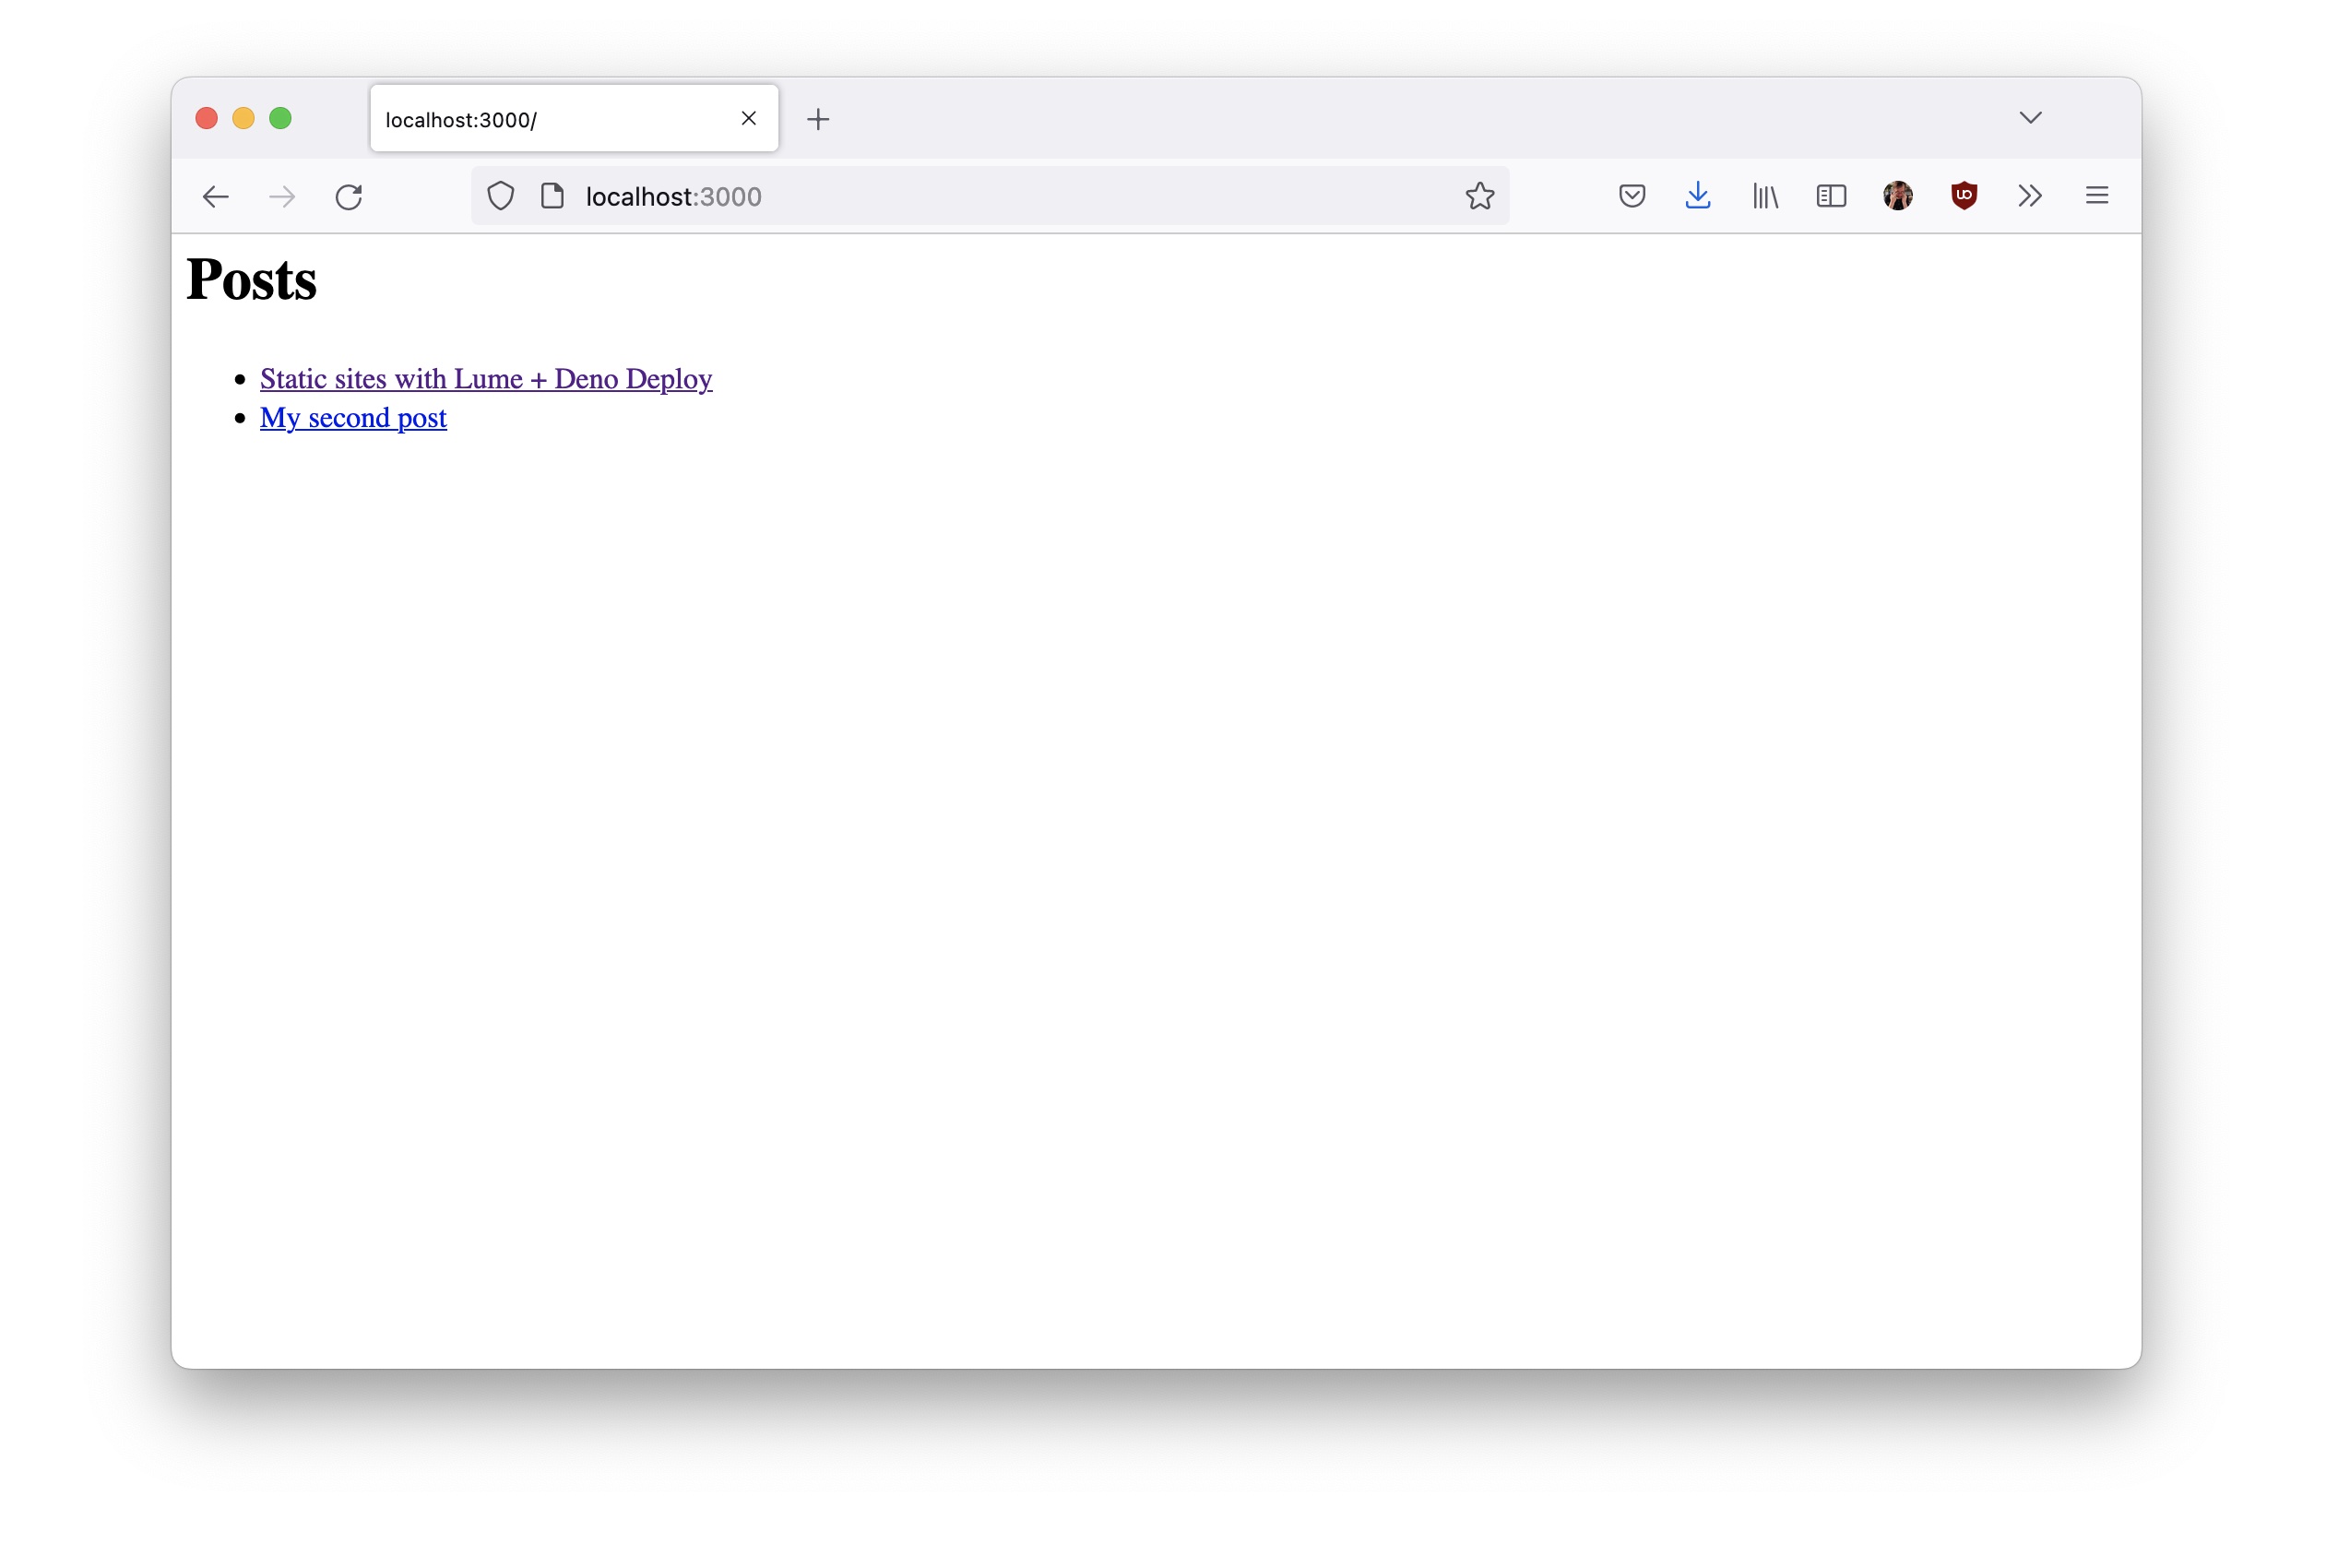
Our homepage looks something like this:
I could include the full HTML code in the page but I love layouts, so I’ve
created the following _includes/homepage.njk layout file:
---
title: The Óscar's blog
---

<!DOCTYPE html>
<html lang="en">
<head>
  <meta charset="UTF-8">
  <meta http-equiv="X-UA-Compatible" content="IE=edge">
  <meta name="viewport" content="width=device-width, initial-scale=1.0">
  <title>{{ title }}</title>
</head>
<body>
  <main>
    <header>
      <h1>{{ title }}</h1>
    </header>

    {{ content | safe }}
  </main>
</body>
</html>
Now we have to configure the index.tmpl.ts file to use this layout. TypeScript
files don’t have front matter to store data, they just expose the values as
named exports:
import type { PageData } from "lume/core.ts";

export const layout = "homepage.njk";

export default function ({ search }: PageData) {
  const posts = search.pages("type=post");

  return `
    <h2>Posts</h2>
    <ul>
      ${
    posts.map((post) =>
      `<li><a href="${post.data.url}">${post.data.title}</a></li>`
    ).join("")
  }
    </ul>
  `;
}
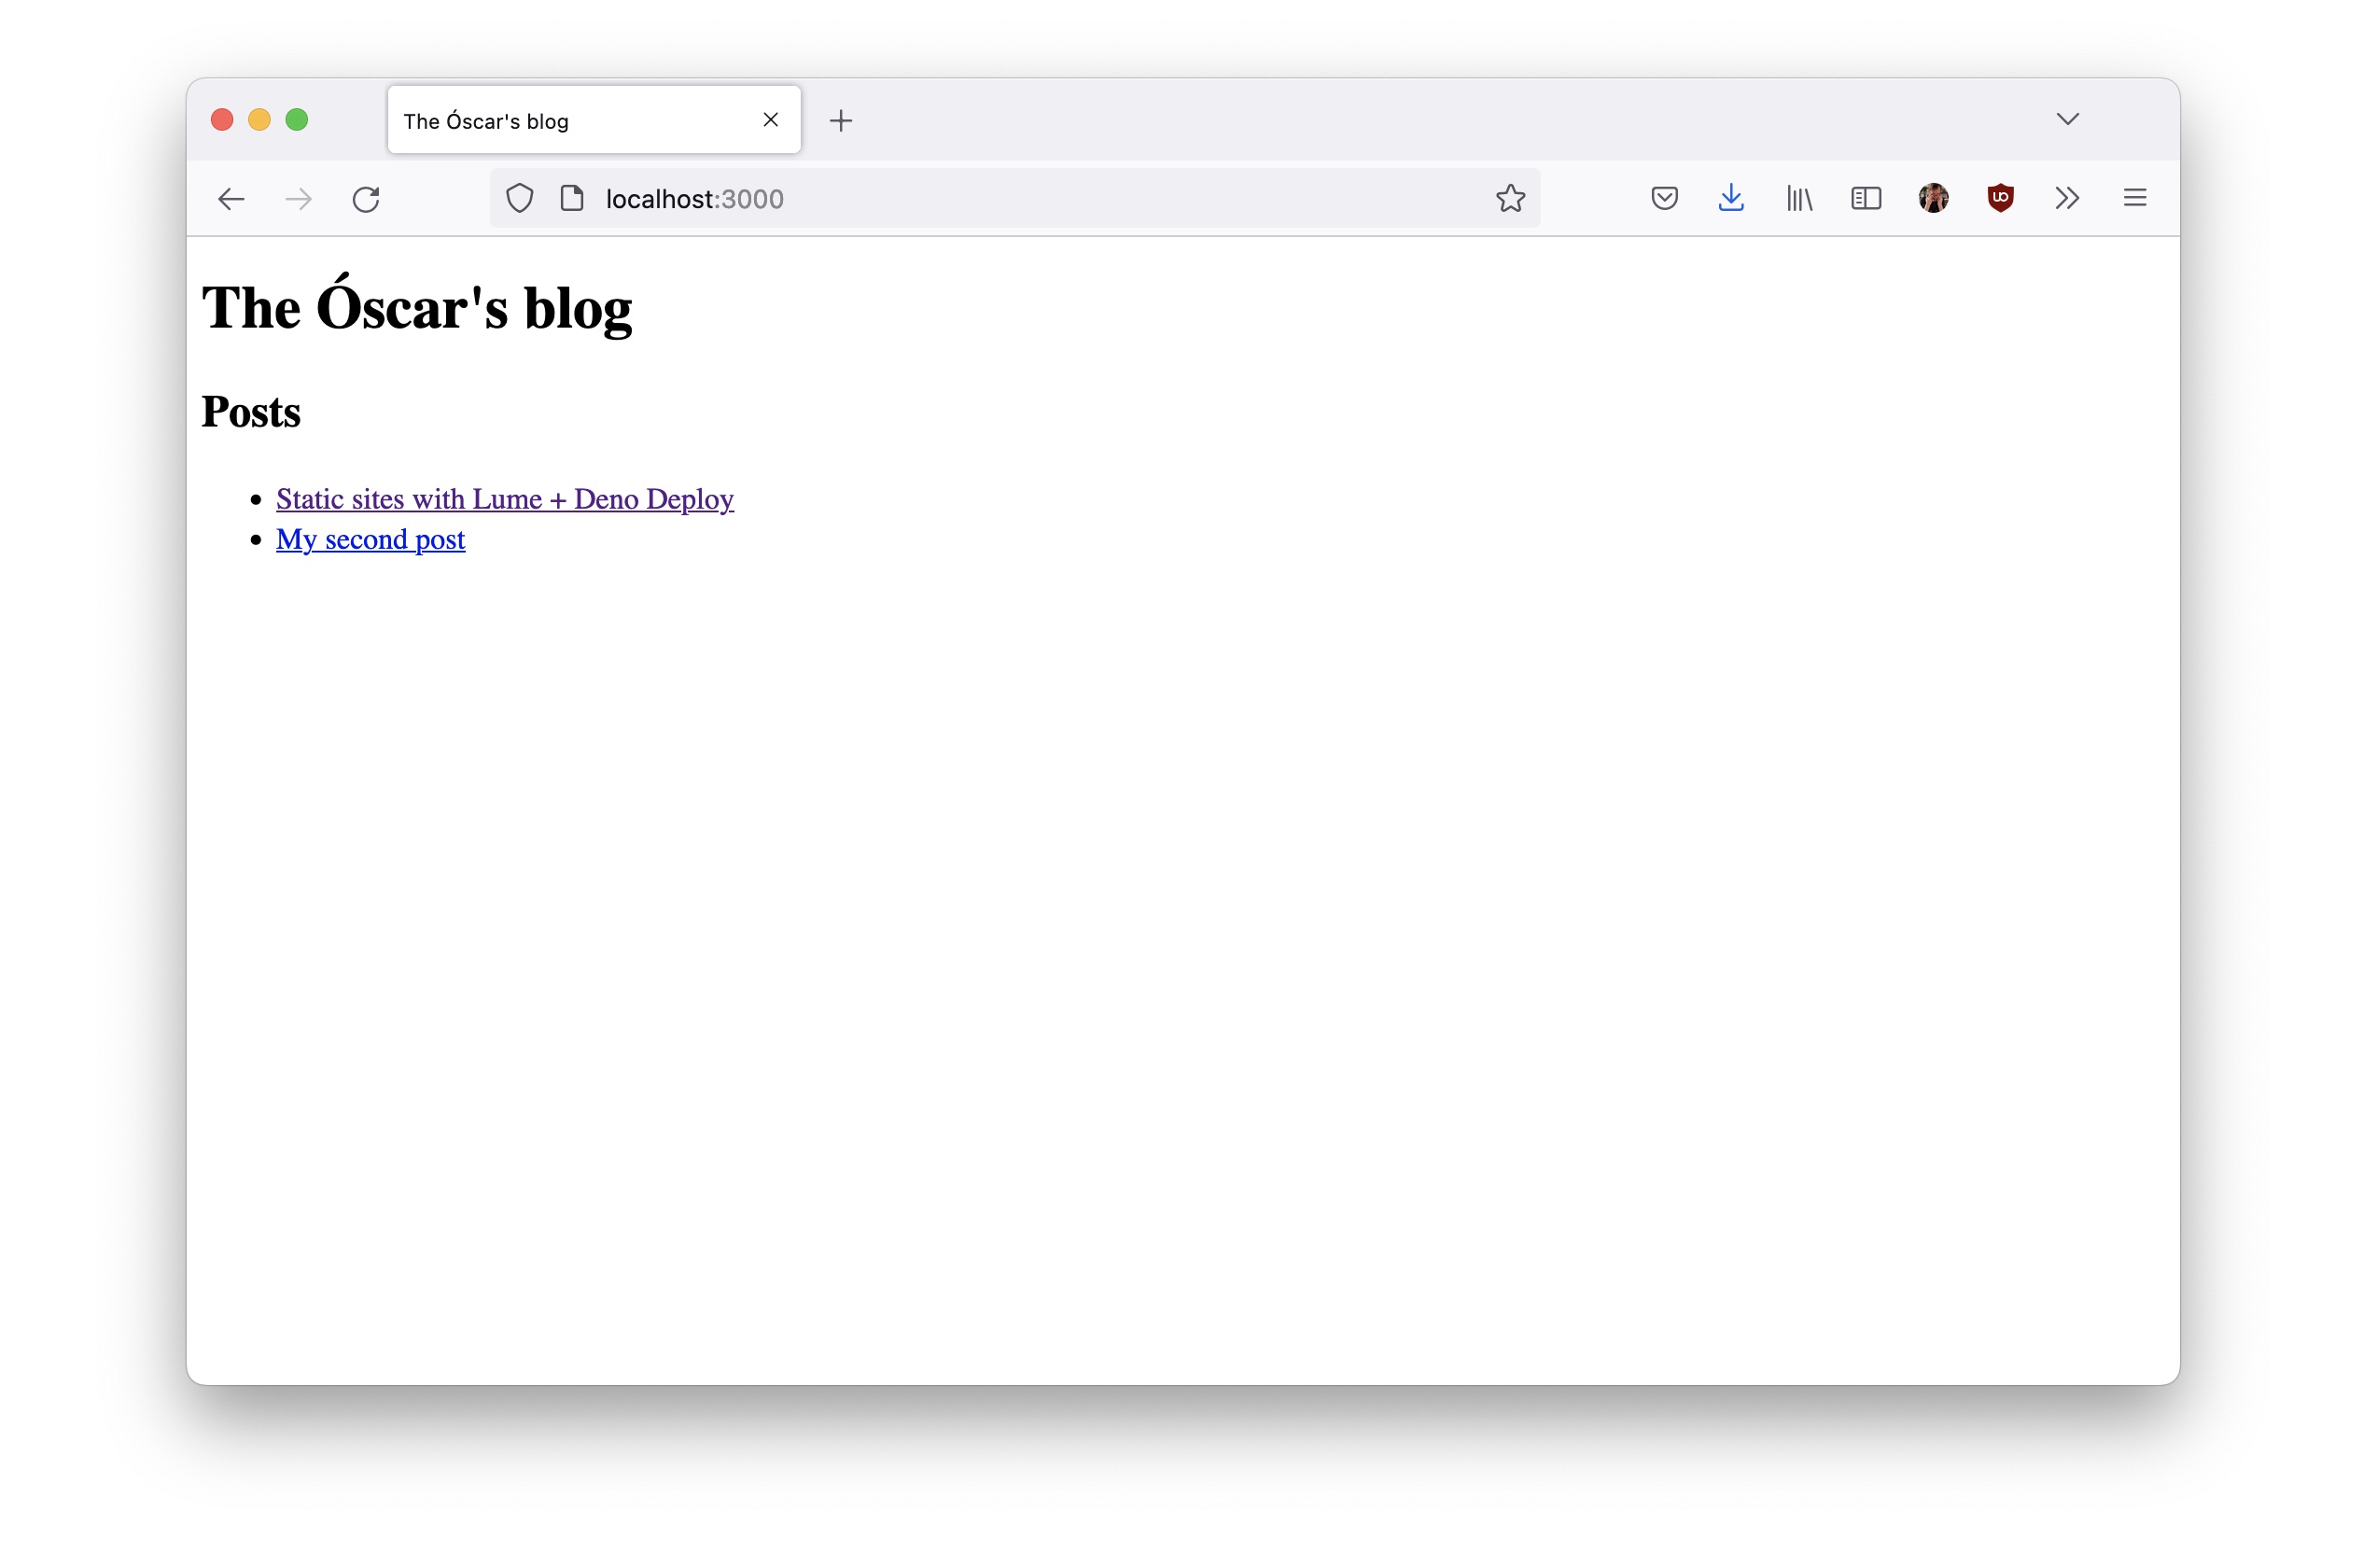
The homepage looks a bit better now:
Lume has a bunch of plugins to work with JavaScript, to support formats like JSX, MDX, etc. For styling purposes, there are some available plugins to work with SASS, PostCSS, WindiCSS or LighningCSS.
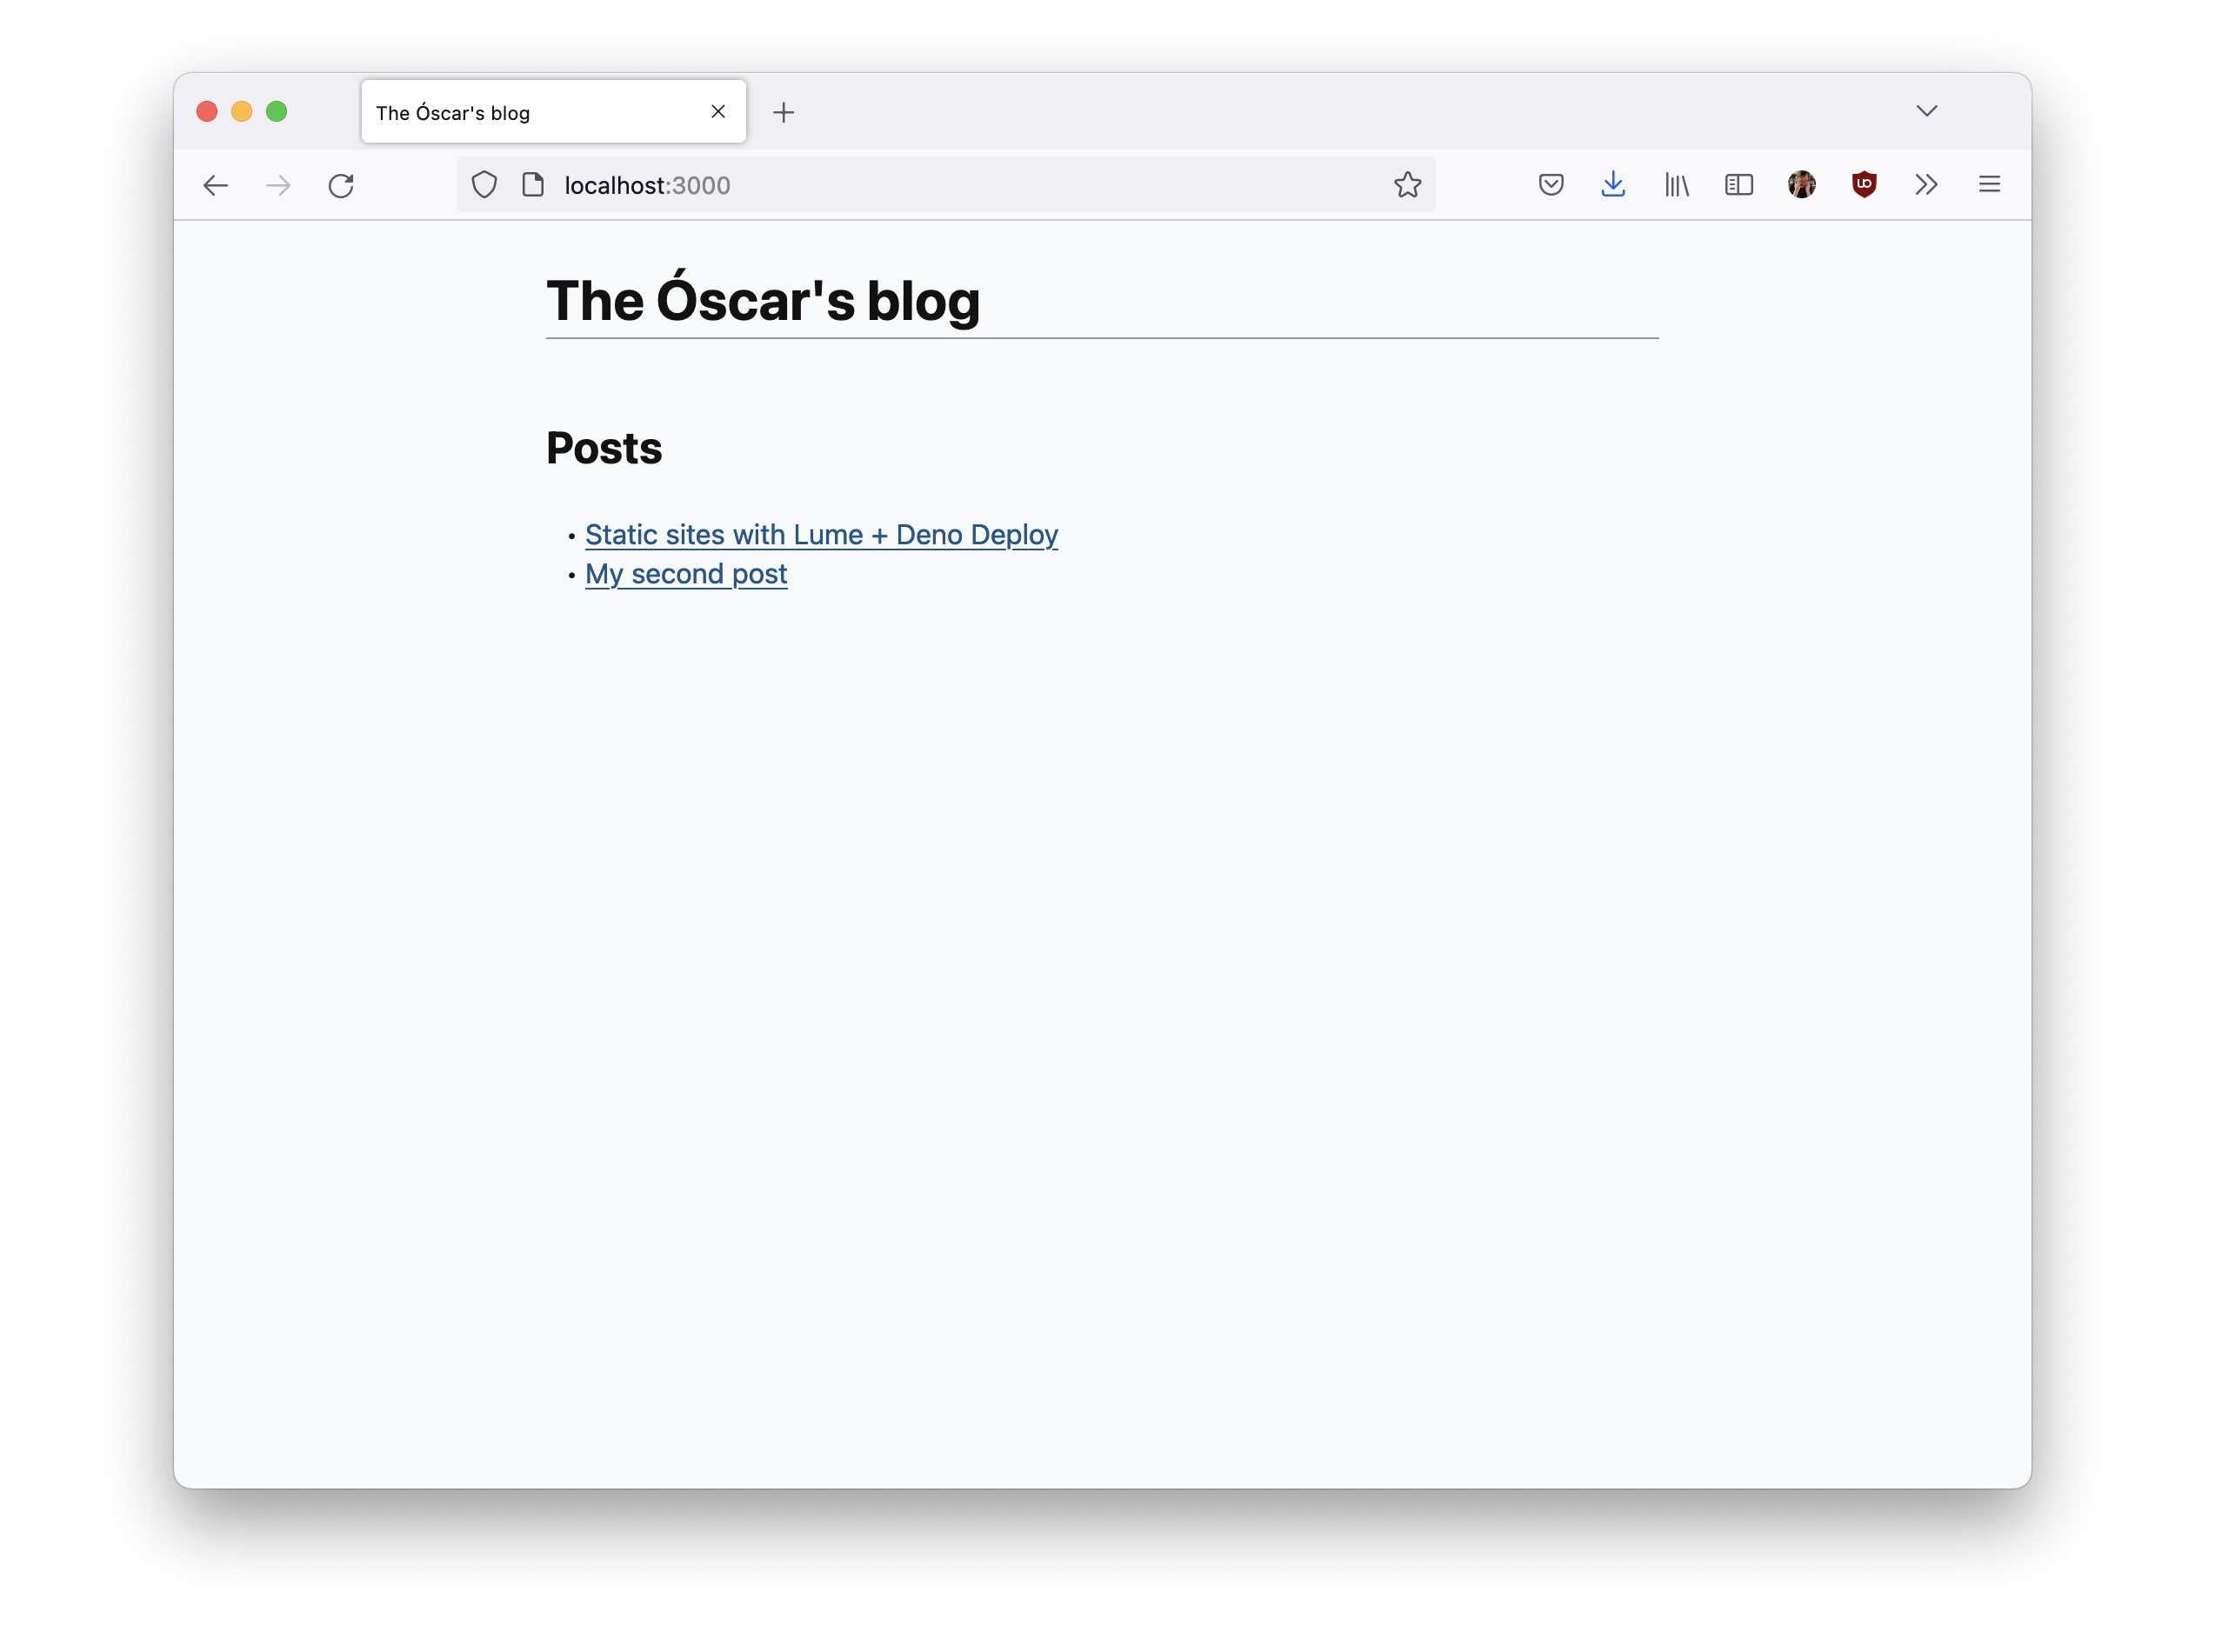
For simplicity, for this demo we’re going to use the awesome
missing.css (by the way, the
documentation site is also built
with Lume). This css file provides some nice styles out of the box, without need
to modify our HTML. To do that, just include the
<link rel="stylesheet" href="https://the.missing.style/"> line in the two
layouts we just created.
One of the many advantages of the static sites is the hosting. You can host your site anywhere, with almost no server requirements.
In this demo we are going to use Deno Deploy to serve the site. Thanks to its design, where all incoming requests are handled by a JavaScript file, we can customise how the files of your site will be delivered.
Go to Deno Deploy and create a new project. You will see a screen like this:
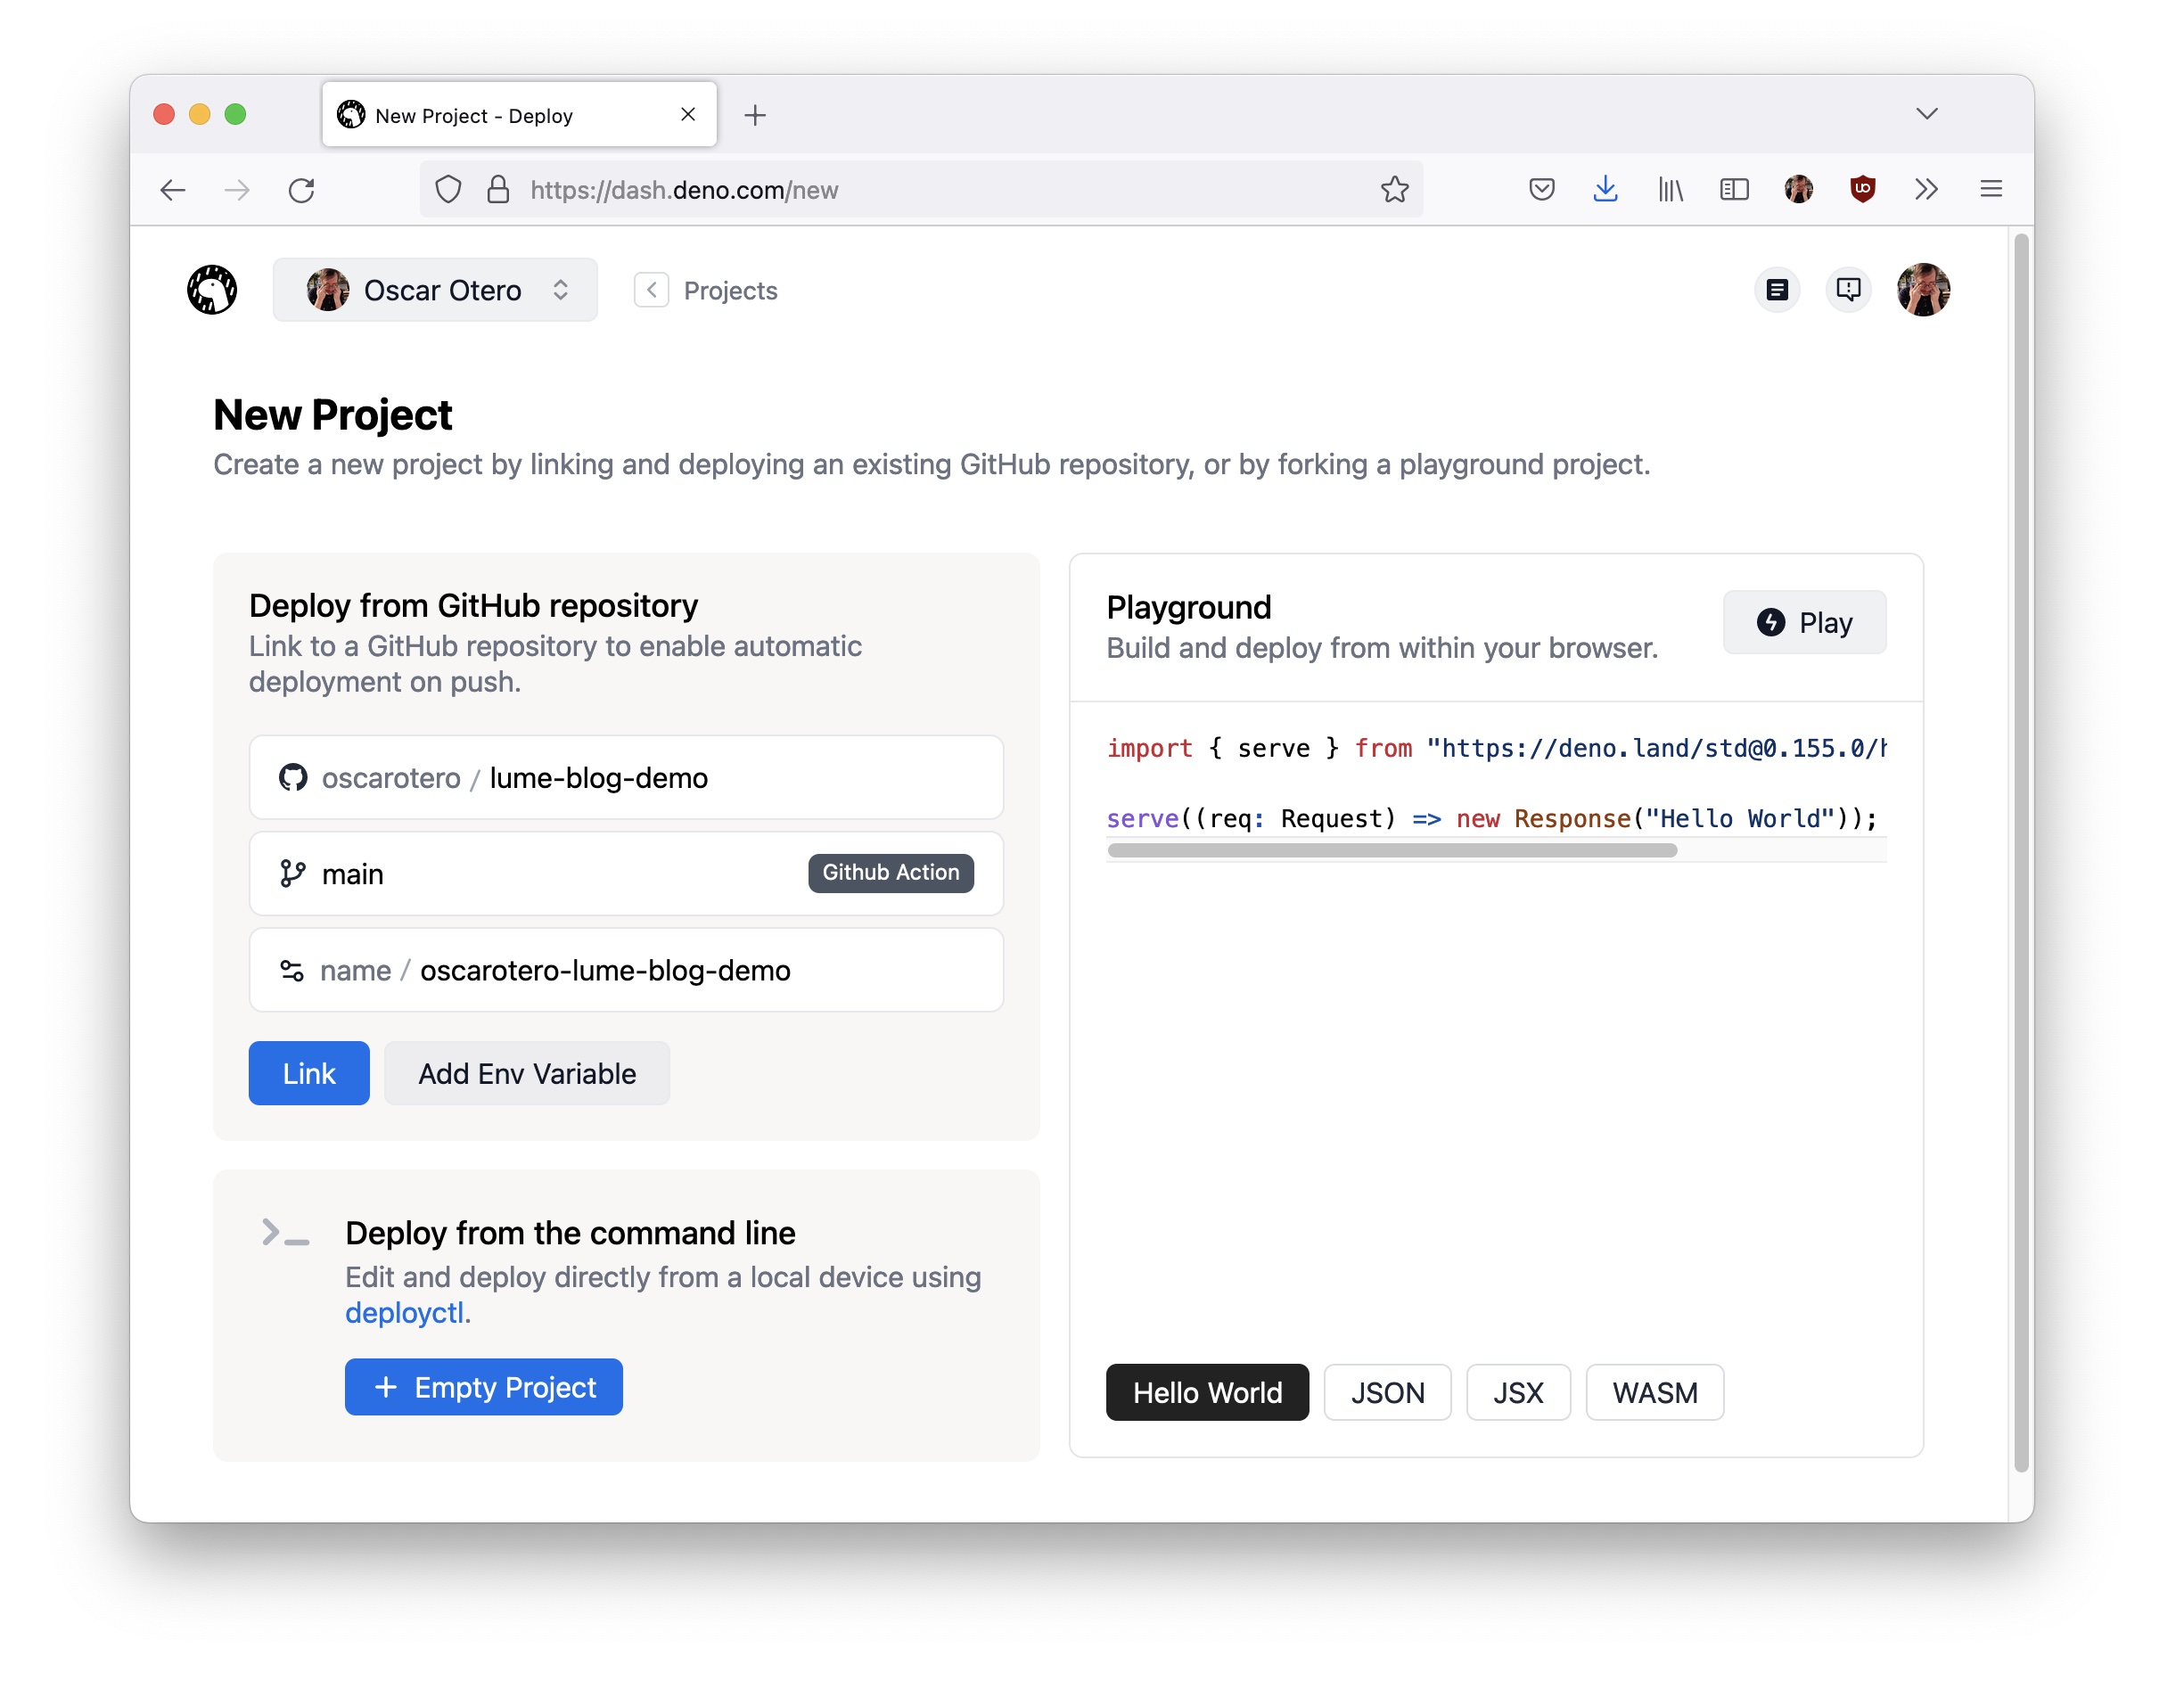
An important thing when selecting the branch, is to use the GitHub Action mode. This is because Deno Deploy doesn’t have a CI to build the site, so we need to use the GitHub Actions workflows to build and upload the static site to Deno Deploy.
Then click in the Link button and you will see the following screen:
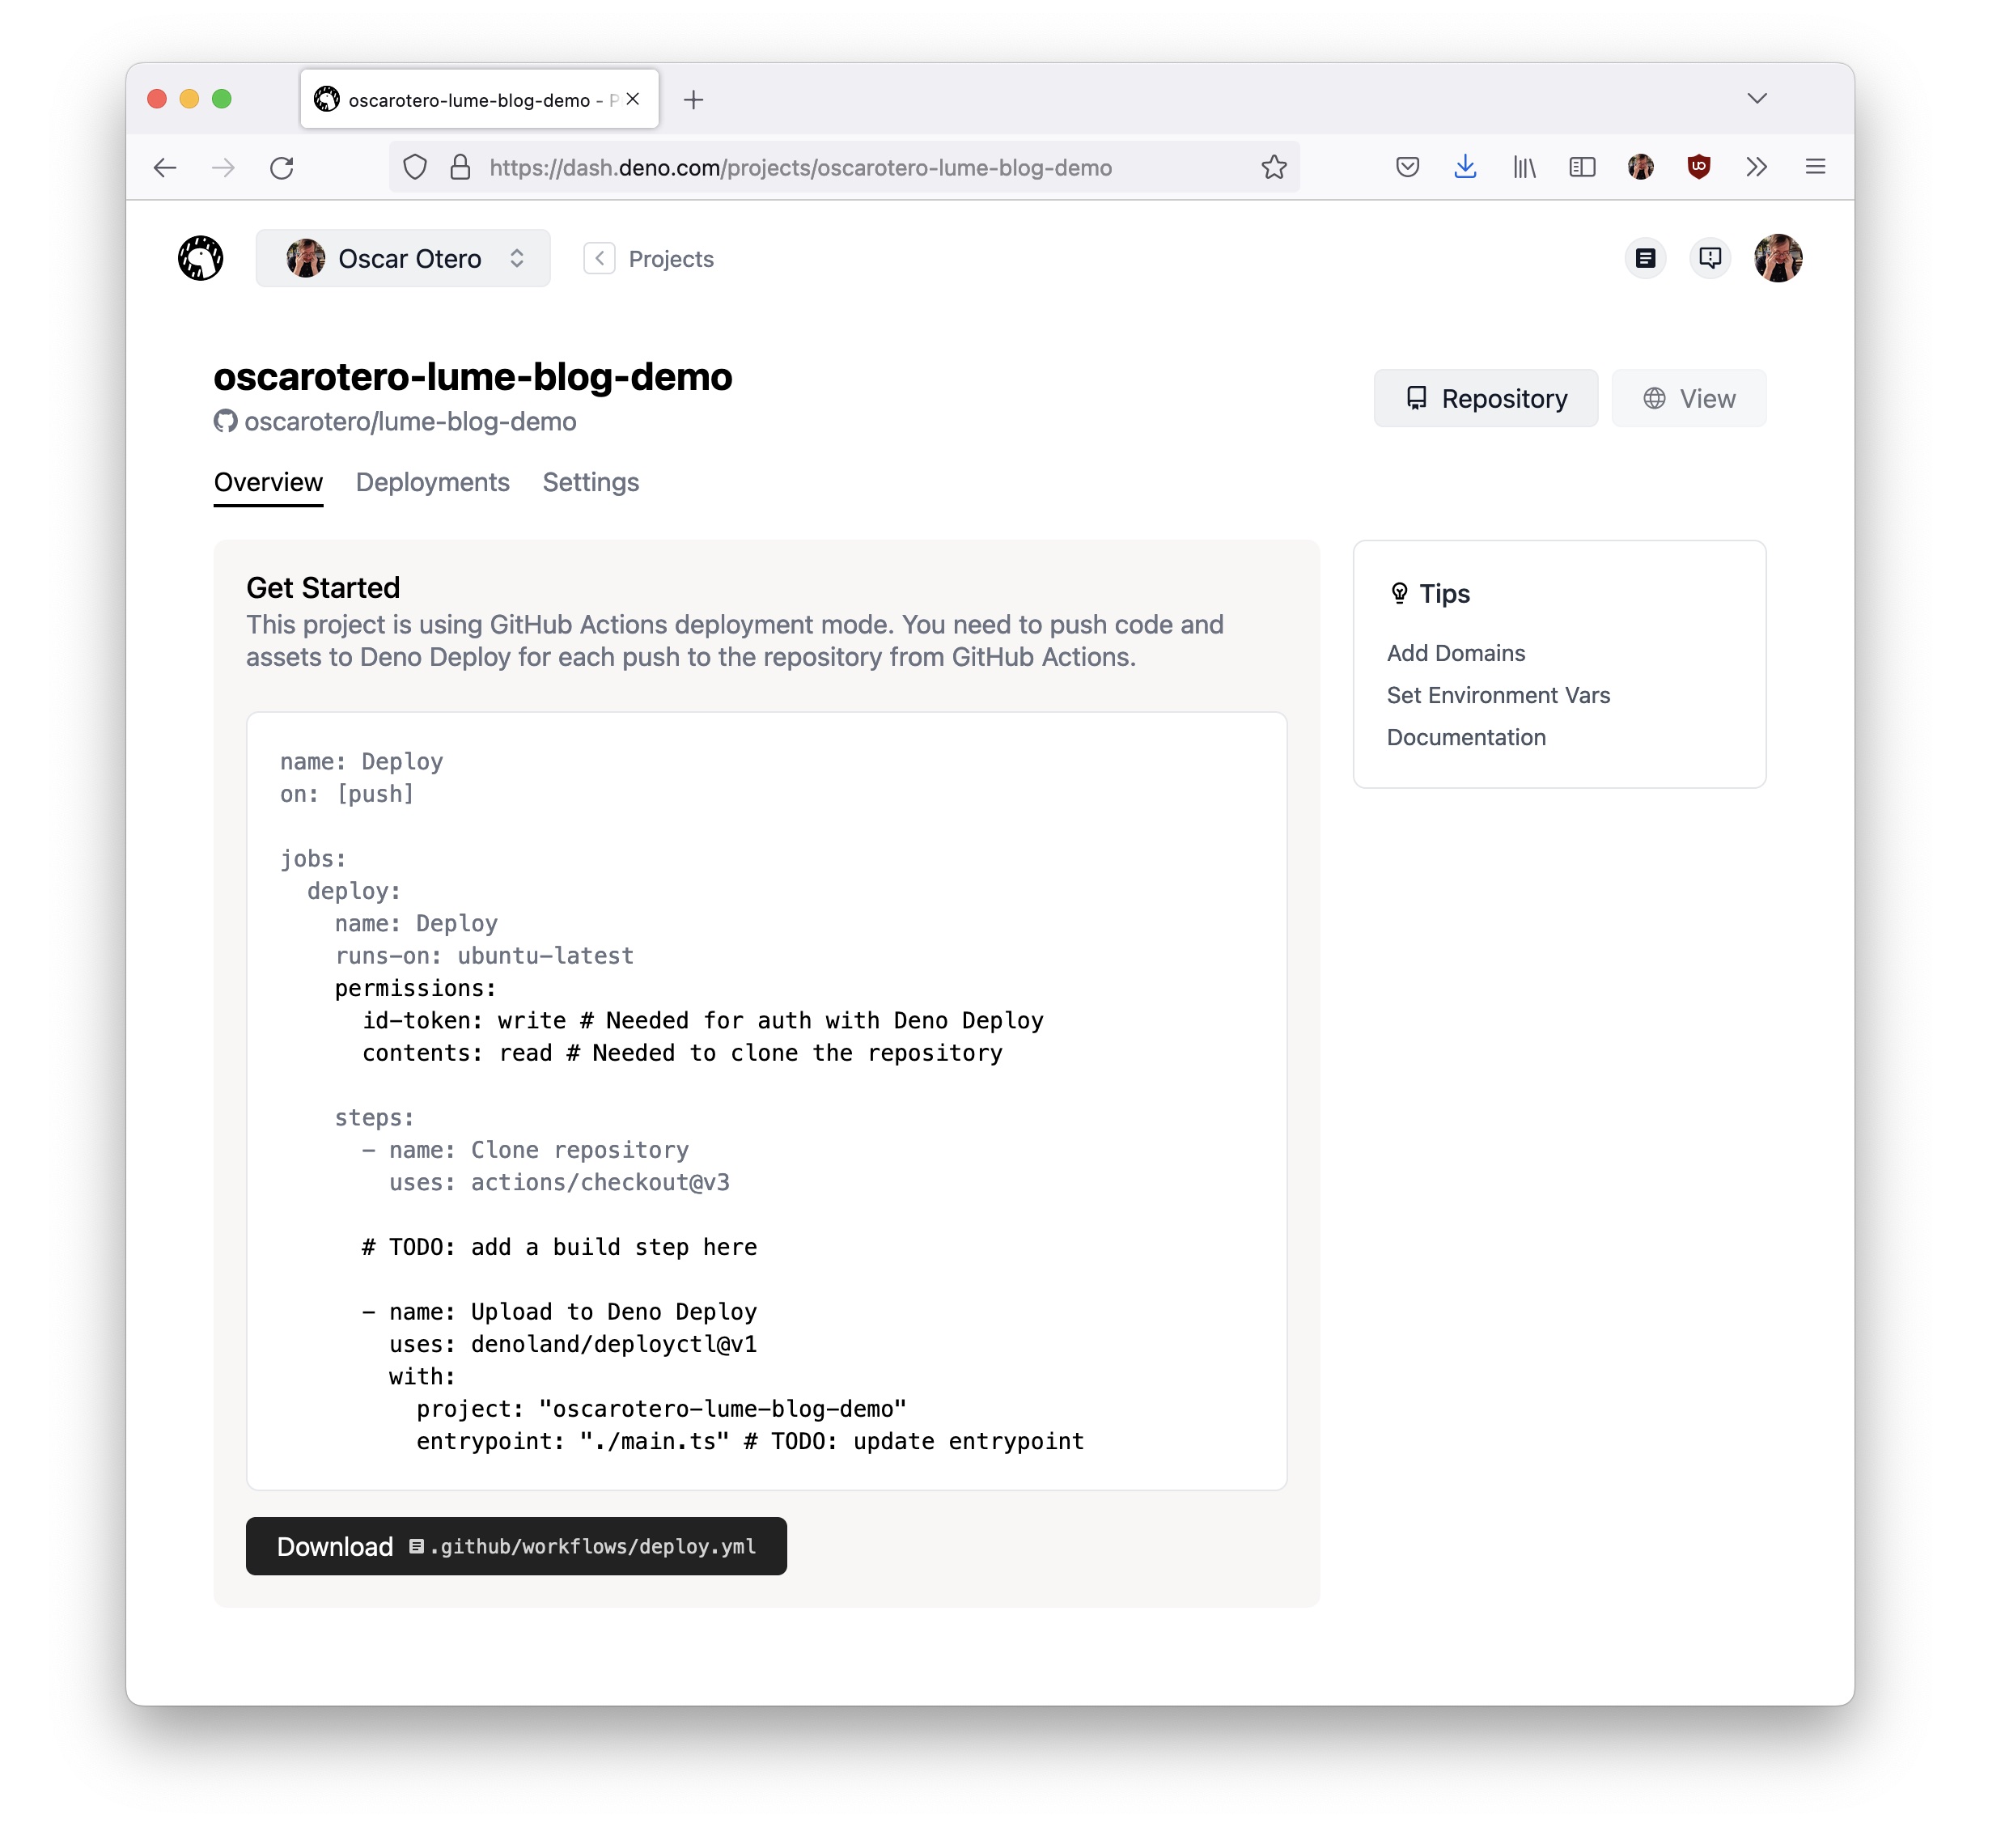
Deno Deploy has generated the code needed to configure the GitHub Actions
workflow. Copy this code and save it into .github/workflows/deploy.yml.
The GitHub Action workflow file that we have just created needs a couple of
tweaks marked as #TODO comments:
deno task build.file_server.ts, with the root set to ./_site.Note that if you want to use
Lume’s middleware, such as
expires for caching or
not_found to show a custom
404 page, you would need to create a new serve.ts, add your middleware, and
set that as the entrypoint for Deno Deploy.
After these modifications, this is the final version:
name: Deploy
on: [push]

jobs:
  deploy:
    name: Deploy
    runs-on: ubuntu-latest
    permissions:
      id-token: write
      contents: read

    steps:
      - name: Clone repository
        uses: actions/checkout@v3

      - name: Setup Deno environment
        uses: denoland/setup-deno@v1
        with:
          deno-version: v1.x

      - name: Build site
        run: deno task build

      - name: Upload to Deno Deploy
        uses: denoland/deployctl@v1
        with:
          project: oscarotero-lume-blog-demo
          entrypoint: https://deno.land/std@0.167.0/http/file_server.ts
          root: ./_site
Push the changes to GitHub and your site will be built and uploaded to Deno Deploy in a few seconds.
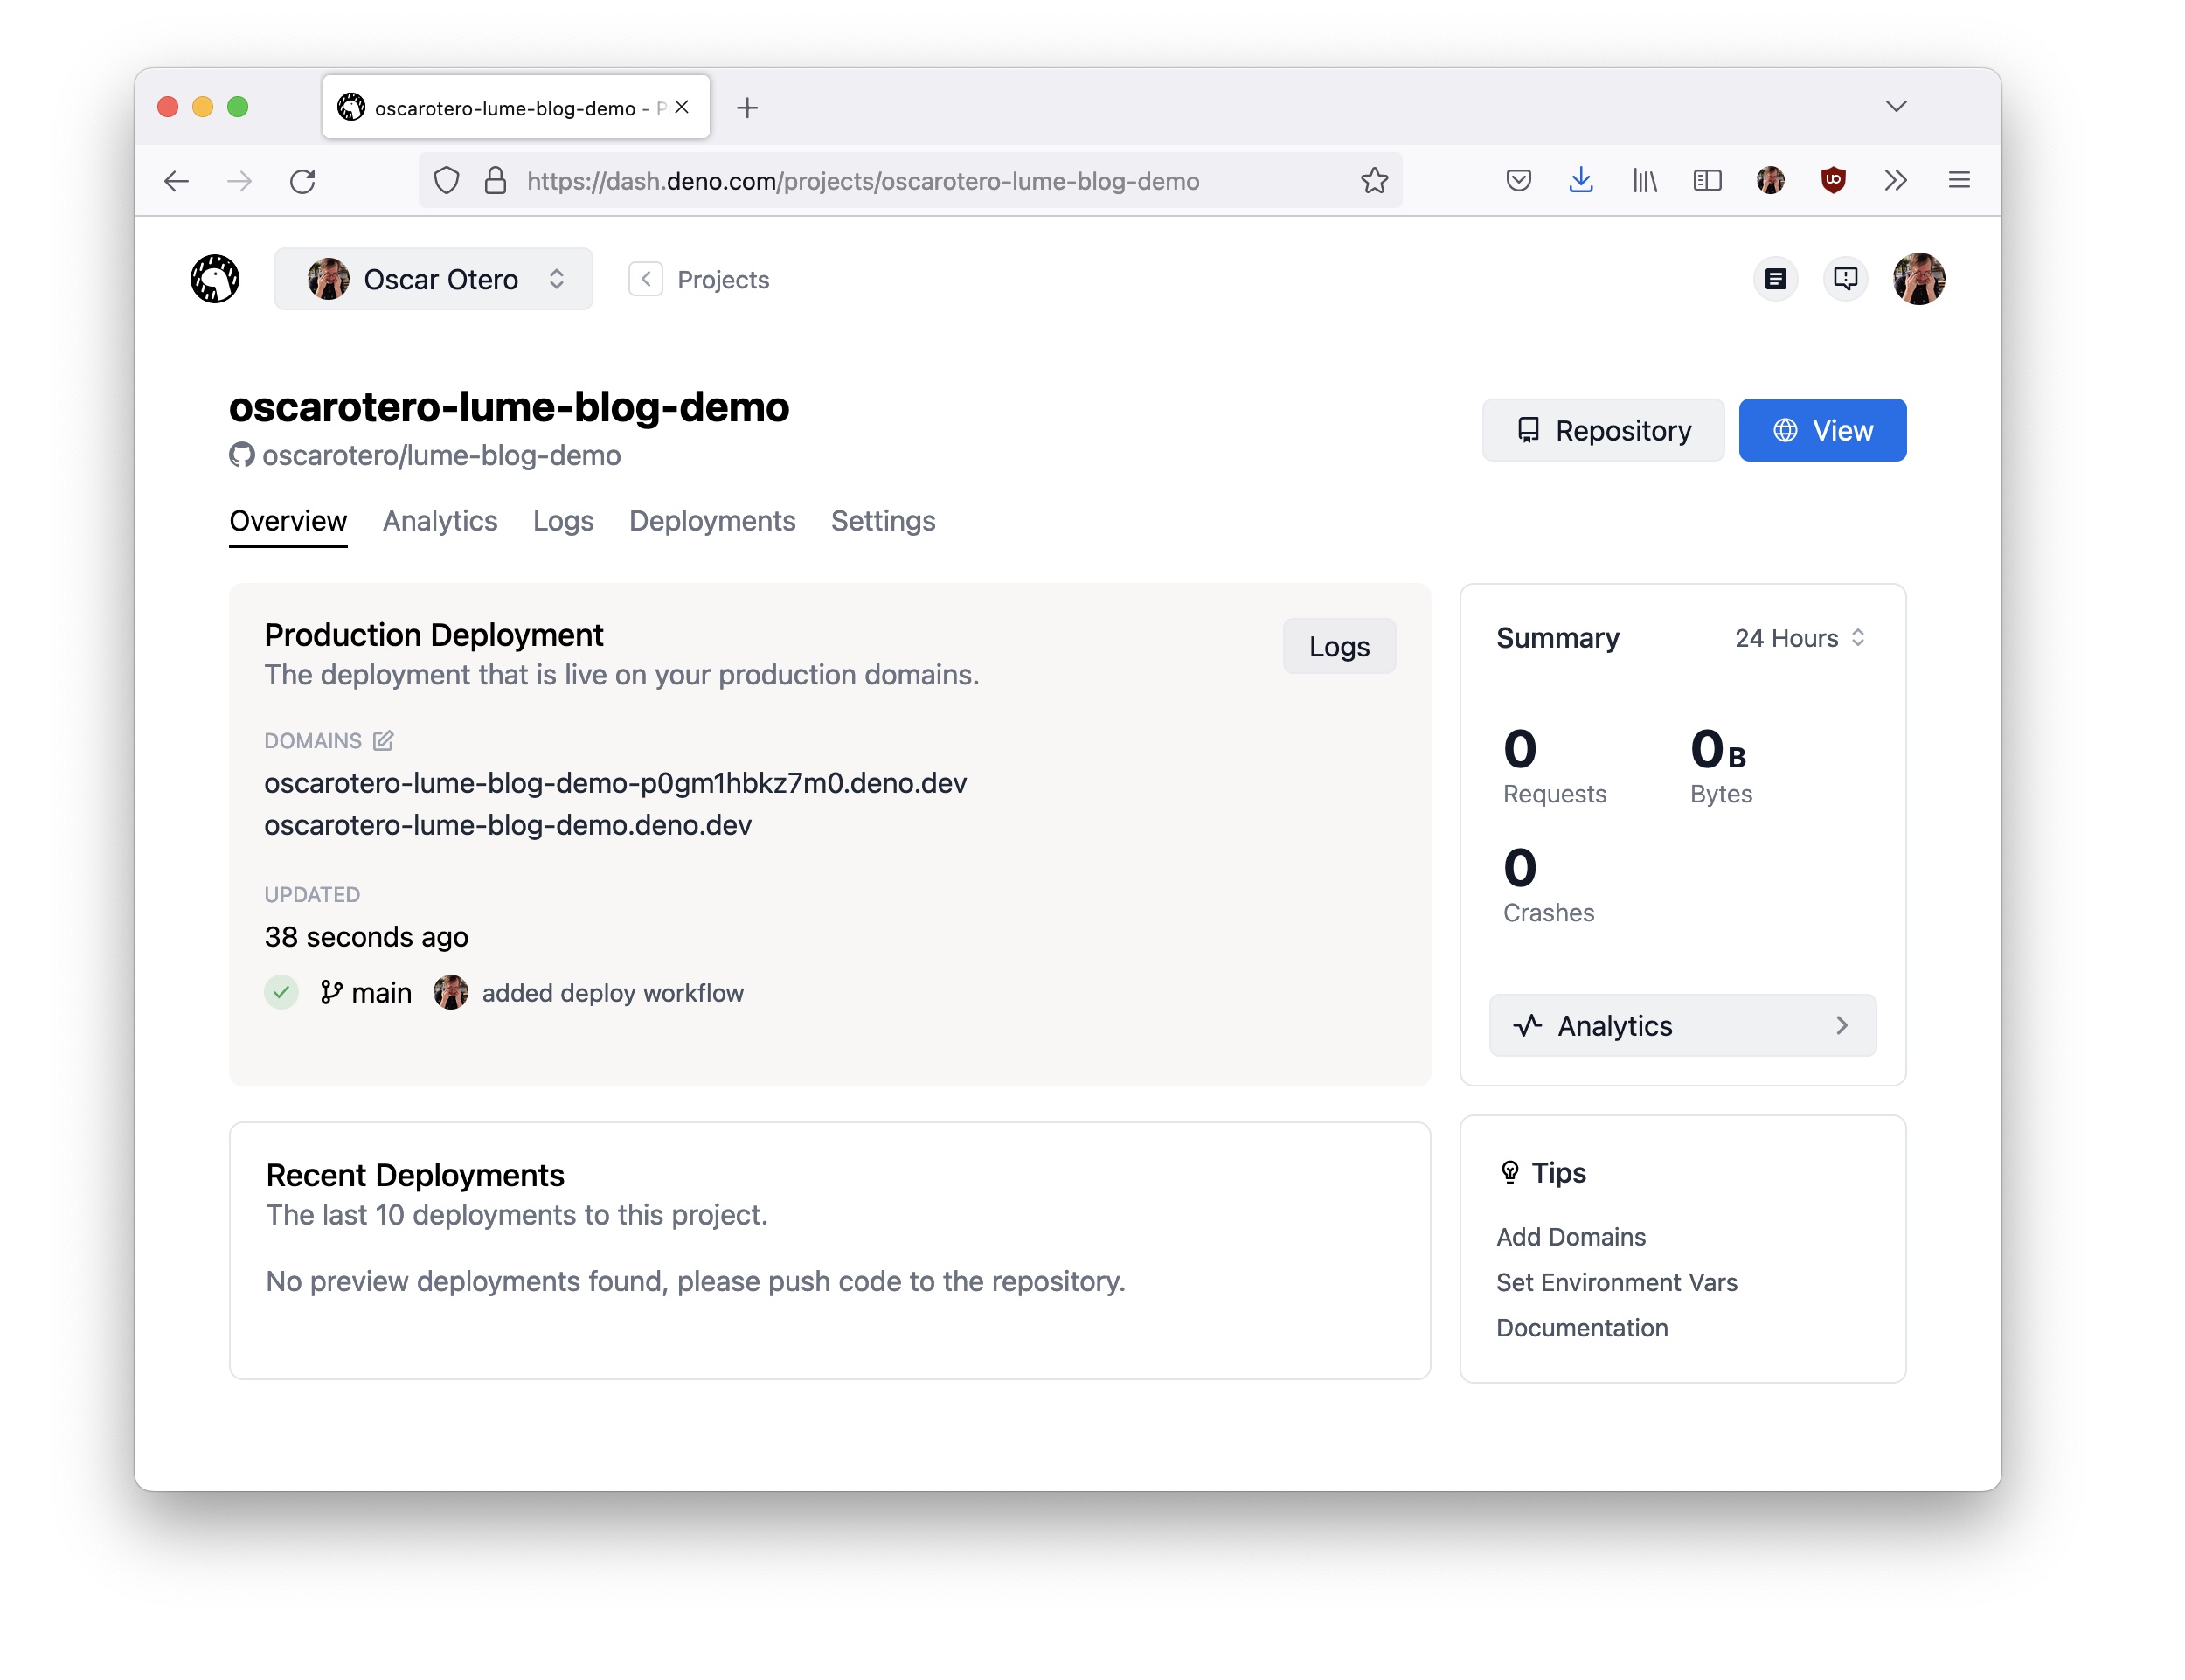
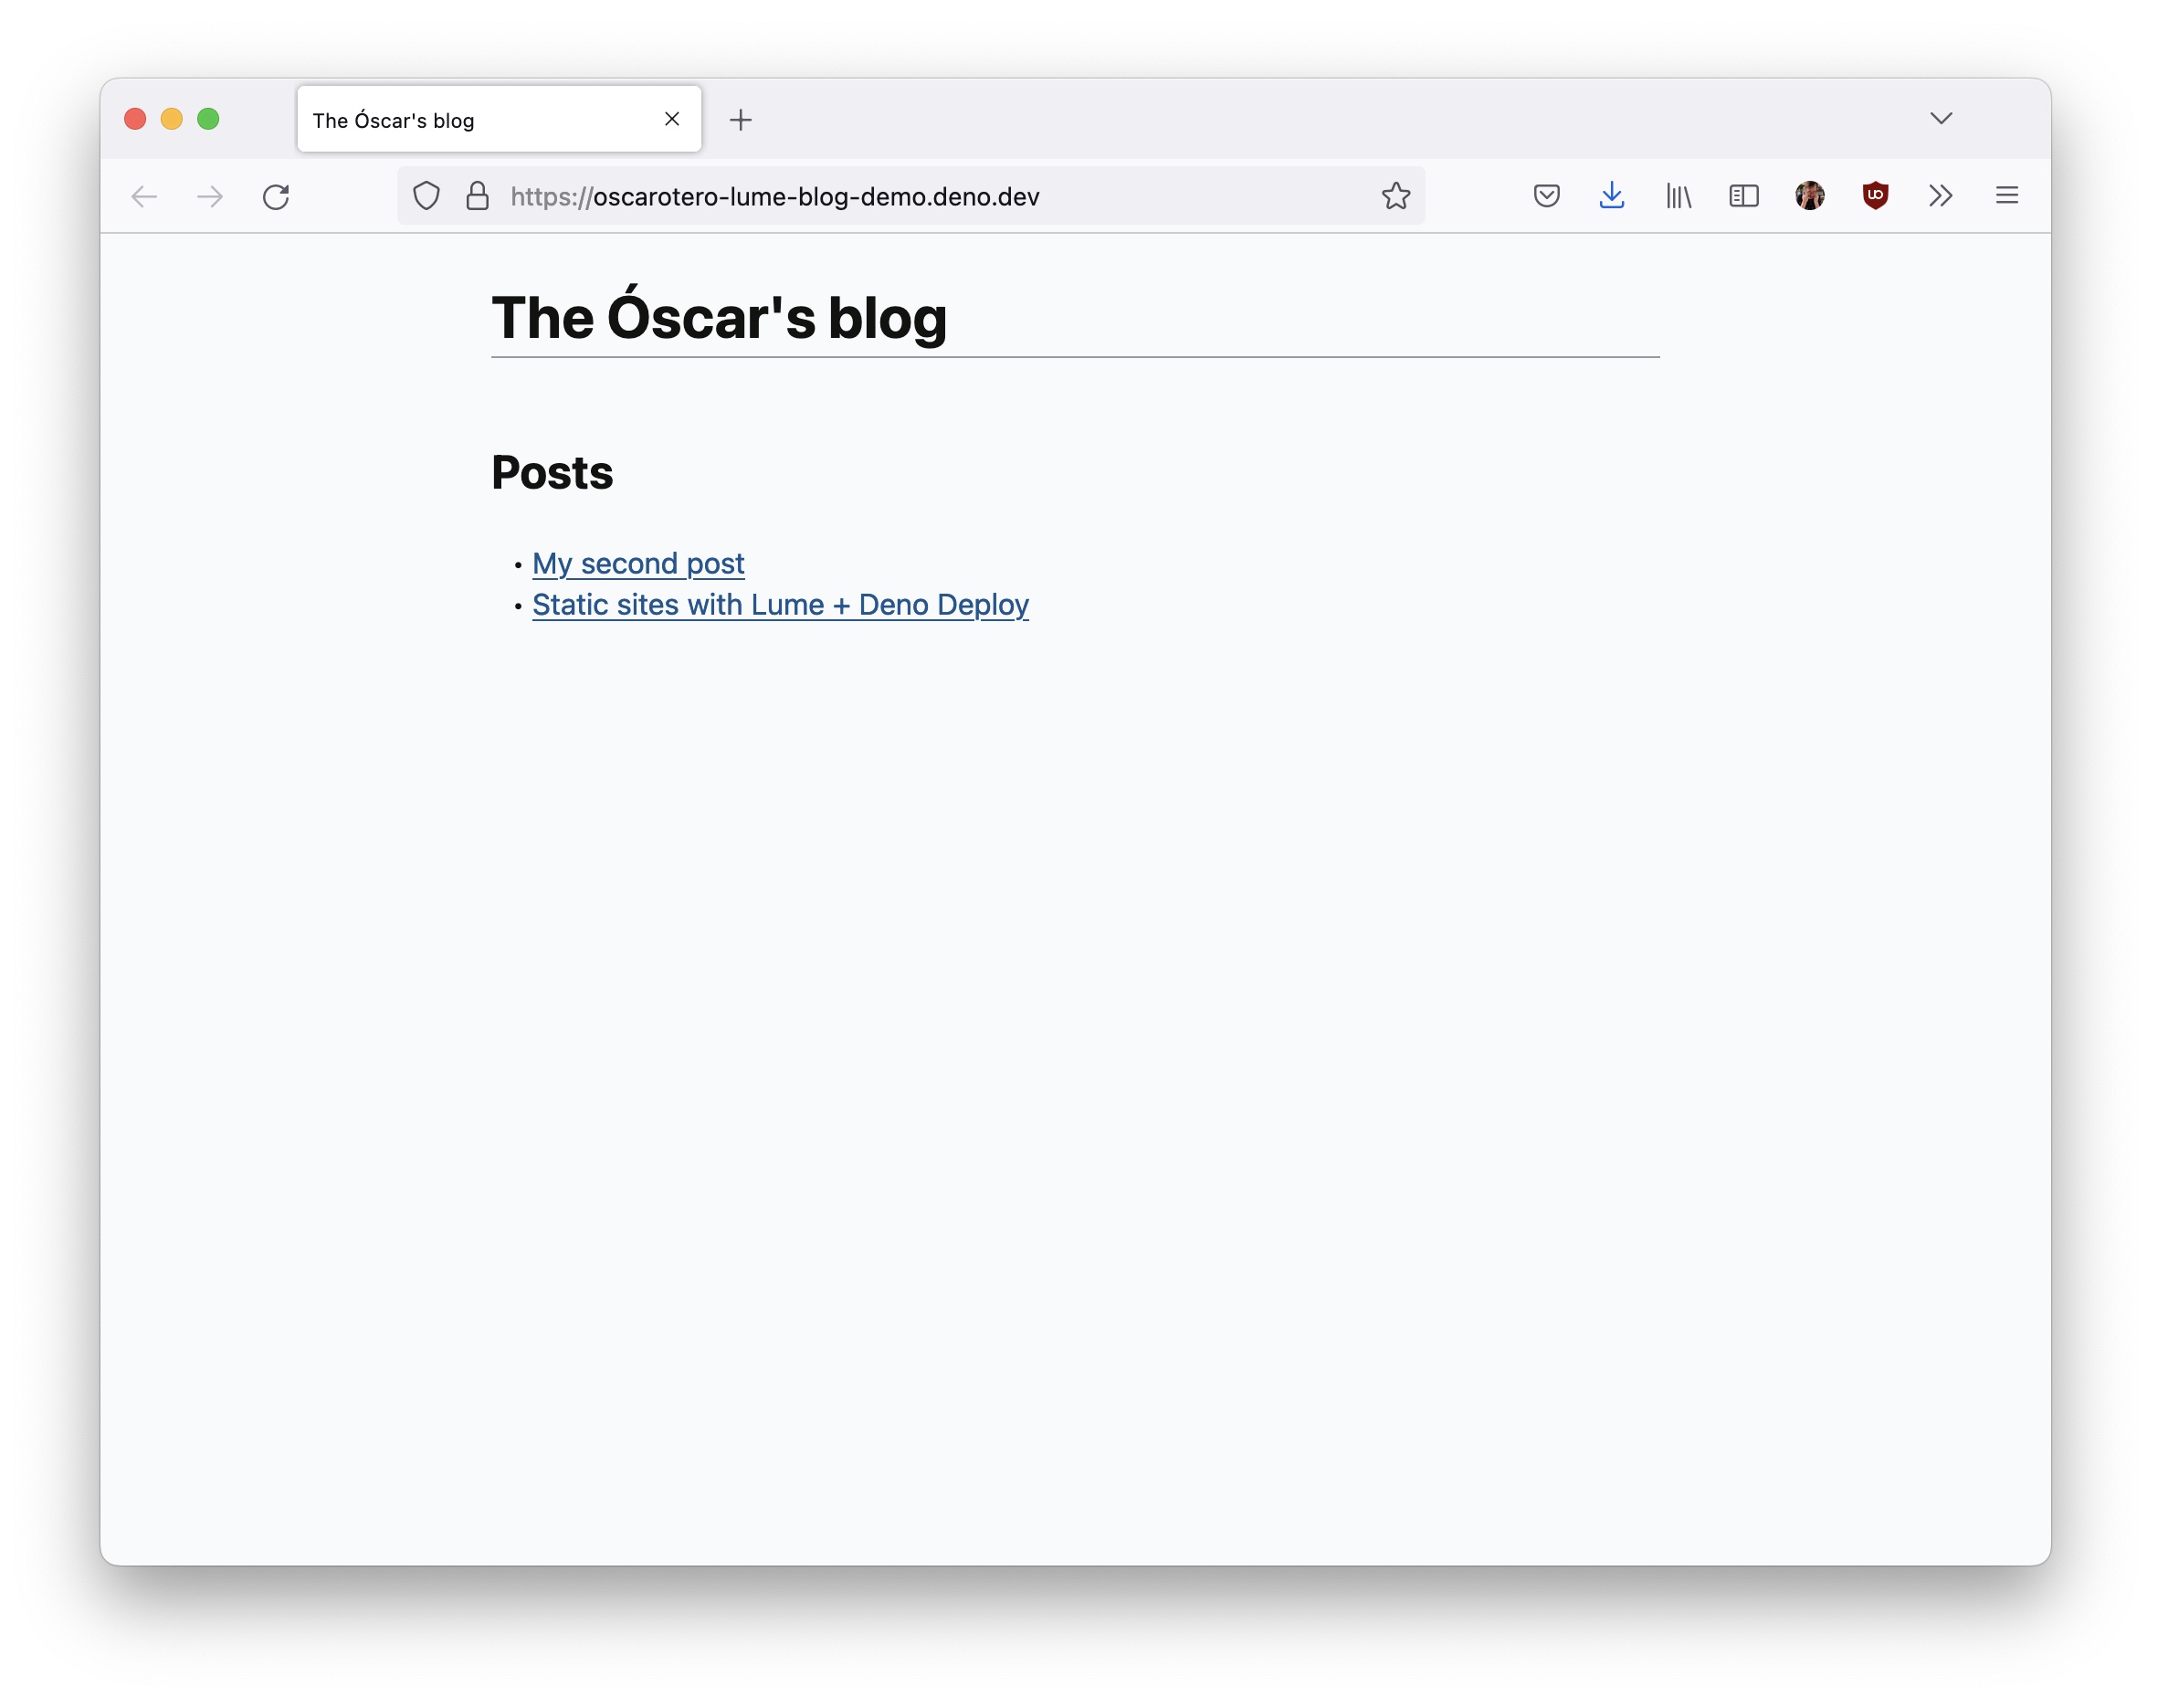
Click in the View blue button to see your new blog at *.deno.dev (or a
different domain if you add a custom domain).
And that’s all. It was easy, wasn’t it? Take a look at the Lume documentation site to learn more about this static site generator and see real examples in the Showcase section.
Stuck? Come say hi in Deno’s Discord!
此内容由惯性聚合(RSS阅读器)自动聚合整理,仅供阅读参考。 原文来自 — 版权归原作者所有。