







Fresh is an edge-first web framework that delivers zero JavaScript to the client by default with no build step. It’s optimized for speed and, when hosted on the edge with Deno Deploy, can be fairly trivial to get a perfect Lighthouse pagespeed score.
This post will show you how to build your own markdown blog with Fresh and deploy it to the edge with Deno Deploy.
Fresh comes with its own install script. Simply run:
deno run -A -r https://fresh.deno.dev my-fresh-blog
We’ll select yes for Tailwind and VSCode.
Let’s run deno task start to see the default app:
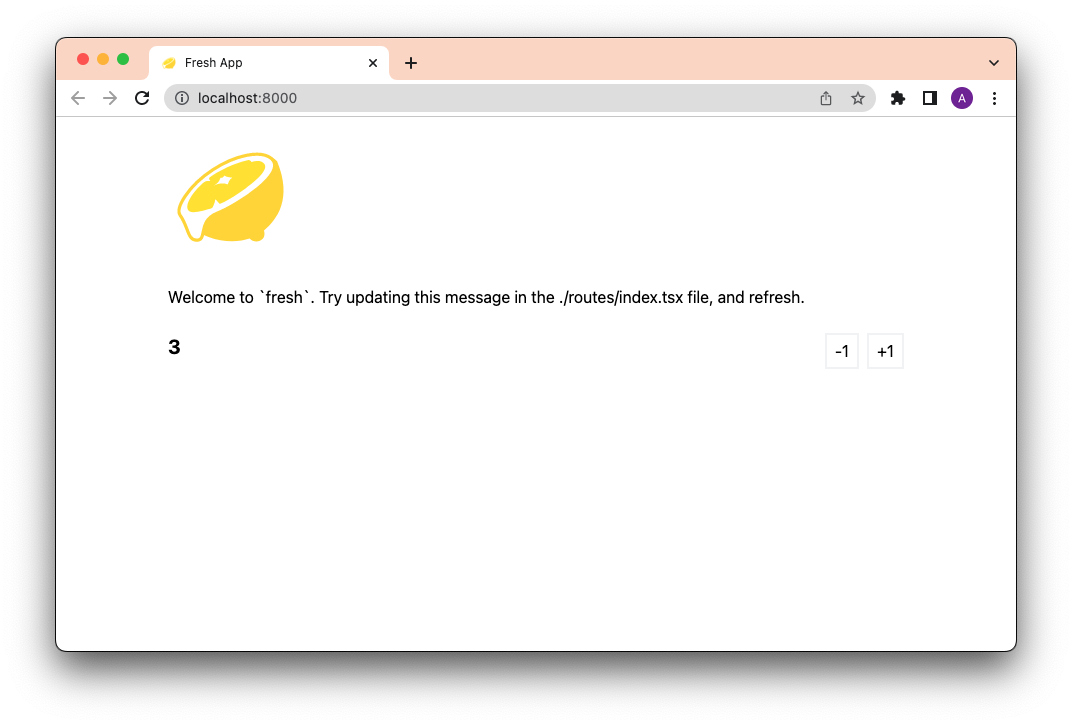
Voila!
The Fresh init script scaffolds a generic app directory. So let’s modify it to fit the purposes of a blog.
Let’s add a posts folder that will contain all markdown files:
And remove the unnecessary components, islands, and routes/api folders:
$ rm -rf components/ islands/ routes/api
The final top-level directory structure should look something like this:
my-fresh-blog/
├── .vscode
├── posts
├── routes
├── static
├── deno.json
├── dev.ts
├── fresh.gen.ts
├── import_map.json
├── main.ts
├── README.md
└── twins.config.tsLet’s create a simple markdown file called first-blog-post.md in ./posts and
include the following frontmatter:
---
title: This is my first blog post!
published_at: 2022-11-04T15:00:00.000Z
snippet: This is an excerpt of my first blog post.
---

Hello, world!
Next, let’s update the routes to render the blog posts.
Let’s start with index.tsx, which will render the blog index page. Feel free
to delete everything in this file so we can start from scratch.
We’ll create an interface for a Post object, which includes all of the properties and their types. We’ll keep it simple for now:
interface Post {
  slug: string;
  title: string;
  publishedAt: Date;
  content: string;
  snippet: string;
}
Next, let’s create a
custom handler function
that will grab the data from the posts folder and transform them into data
that we can easily render with tsx.
import { Handlers } from "$fresh/server.ts";

export const handler: Handlers<Post[]> = {
  async GET(_req, ctx) {
    const posts = await getPosts();
    return ctx.render(posts);
  },
};
Let’s define a helper function called getPosts, which will read the files from
./posts directory and return them as a Post array. For now, we can stick it
in the same file.
async function getPosts(): Promise<Post[]> {
  const files = Deno.readDir("./posts");
  const promises = [];
  for await (const file of files) {
    const slug = file.name.replace(".md", "");
    promises.push(getPost(slug));
  }
  const posts = await Promise.all(promises) as Post[];
  posts.sort((a, b) => b.publishedAt.getTime() - a.publishedAt.getTime());
  return posts;
}
We’ll also define a helper function called getPost, a function that accepts
slug and returns a single Post. Again, let’s stick it in the same file for
now.
import { extract } from "$std/encoding/front_matter.ts";
import { join } from "$std/path/mod.ts";

async function getPost(slug: string): Promise<Post | null> {
  const text = await Deno.readTextFile(join("./posts", `${slug}.md`));
  const { attrs, body } = extract(text);
  return {
    slug,
    title: attrs.title,
    publishedAt: new Date(attrs.published_at),
    content: body,
    snippet: attrs.snippet,
  };
}
Now let’s put these functions to use and render the blog index page!
Each route file must export a default function that returns a component.
We’ll name our main export function BlogIndexPage and render the post data
through that:
import { PageProps } from "$fresh/server.ts";

export default function BlogIndexPage(props: PageProps<Post[]>) {
  const posts = props.data;
  return (
    <main class="max-w-screen-md px-4 pt-16 mx-auto">
      <h1 class="text-5xl font-bold">Blog</h1>
      <div class="mt-8">
        {posts.map((post) => <PostCard post={post} />)}
      </div>
    </main>
  );
}
We’ll also need to define <PostCard>:
function PostCard(props: { post: Post }) {
  const { post } = props;
  return (
    <div class="py-8 border(t gray-200)">
      <a class="sm:col-span-2" href={`/${post.slug}`}>
        <h3 class="text(3xl gray-900) font-bold">
          {post.title}
        </h3>
        <time class="text-gray-500">
          {new Date(post.publishedAt).toLocaleDateString("en-us", {
            year: "numeric",
            month: "long",
            day: "numeric",
          })}
        </time>
        <div class="mt-4 text-gray-900">
          {post.snippet}
        </div>
      </a>
    </div>
  );
}
Let’s run our server with deno task start and check localhost:
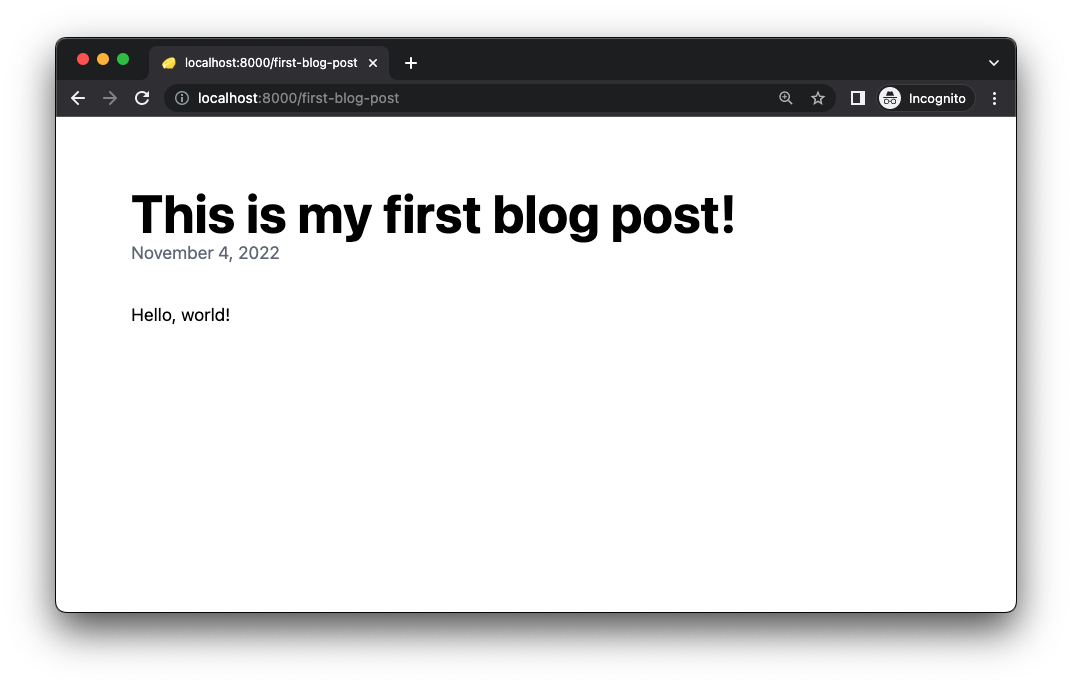
Awesome start!
But clicking on the post doesn’t work yet. Let’s fix that.
In /routes/, let’s rename [name].tsx to [slug].tsx.
Then, in [slug].tsx, we’ll do something similar to index.tsx: create a
custom handler to get a single post and export a default component that renders
the page.
Since we’ll be reusing the helper functions getPosts and getPost, as well as
the interface Post, let’s refactor them into a separate utility file called
posts.ts under a new folder called utils:
my-fresh-blog/
…
├── utils
│   └── posts.ts
…
Note:
you can add "/": "./", "@/": "./" to your import_map.json
so that you can import from posts.ts with a path relative to root:
import { getPost } from "@/utils/posts.ts";
In our /routes/[slug].tsx file, let’s create a custom handler to get the post
and render it through the component. Note that we can access ctx.params.slug
since we used square brackets in the filename [slug].tsx.
import { Handlers } from "$fresh/server.ts";
import { getPost, Post } from "@/utils/posts.ts";

export const handler: Handlers<Post> = {
  async GET(_req, ctx) {
    const post = await getPost(ctx.params.slug);
    if (post === null) return ctx.renderNotFound();
    return ctx.render(post);
  },
};
Then, let’s create the main component for rendering post:
import { PageProps }

export default function PostPage(props: PageProps<Post>) {
  const post = props.data;
  return (
    <main class="max-w-screen-md px-4 pt-16 mx-auto">
      <h1 class="text-5xl font-bold">{post.title}</h1>
      <time class="text-gray-500">
        {new Date(post.publishedAt).toLocaleDateString("en-us", {
          year: "numeric",
          month: "long",
          day: "numeric"
        })}
      </time>
      <div class="mt-8"
        dangerouslySetInnerHTML={{ __html: post.content }}
        />
    </main>
  )
}
Let’s check our localhost:8000 and click on the post:
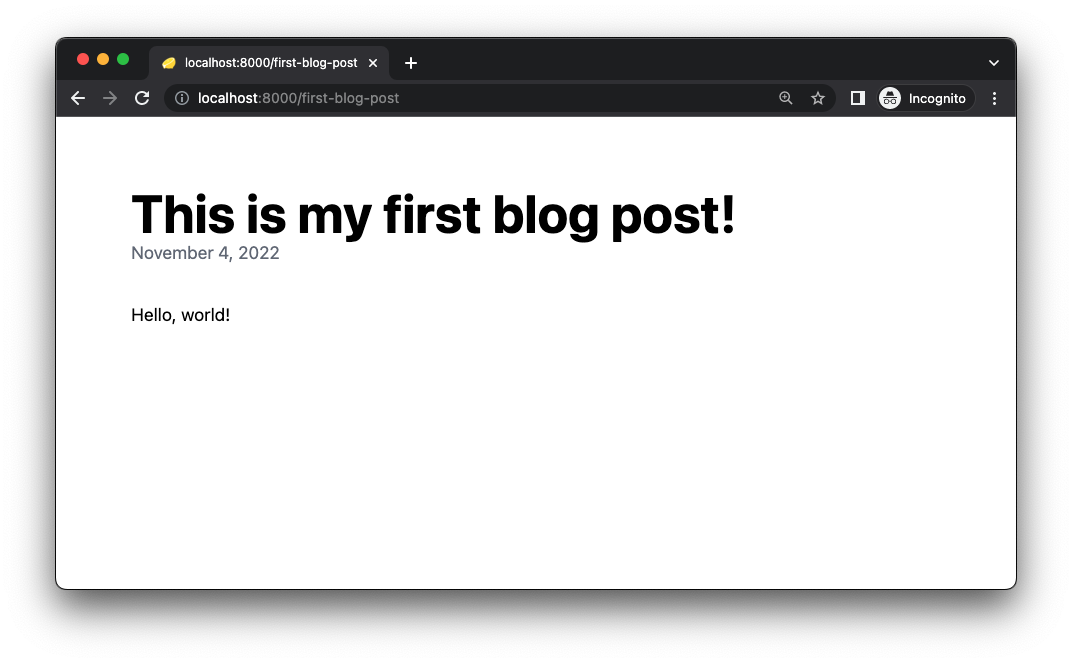
There it is!
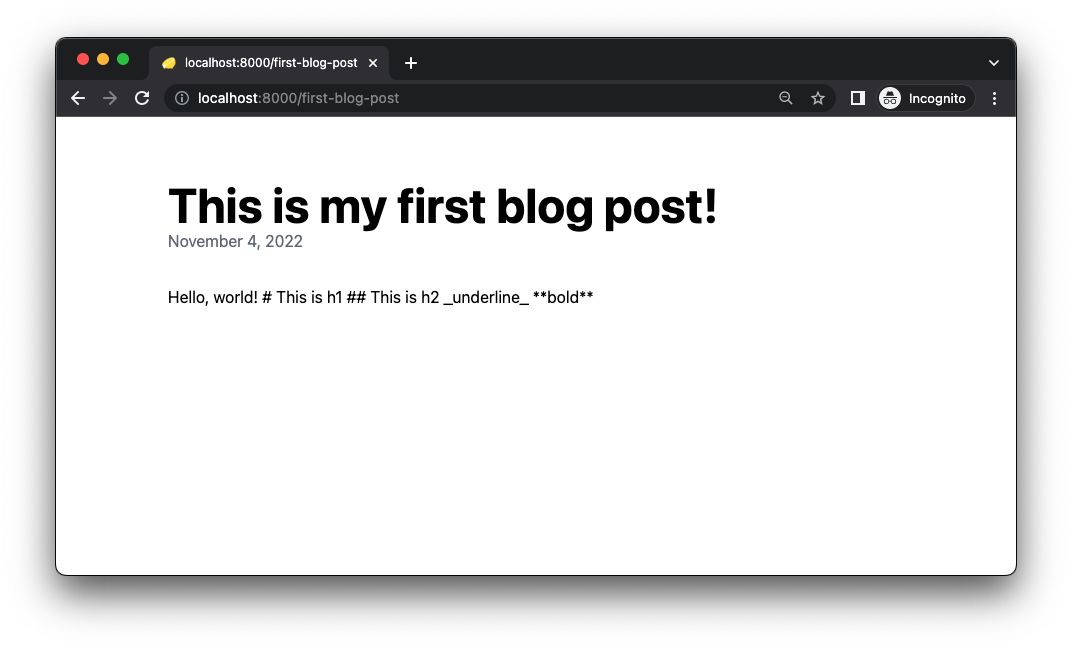
Currently, this does not parse markdown. If you write something like this:
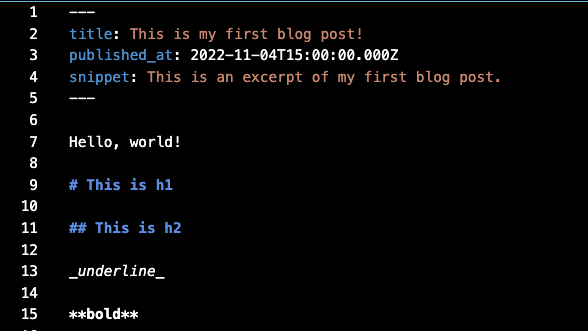
It’ll show up like this:
In order to parse markdown, we’ll need to import the module
gfm and pass post.content through the
function gfm.render().
Let’s add this line to import_map.json:
"$gfm": "https://deno.land/x/gfm@0.1.26/mod.ts"
Then, in /routes/[slug].tsx, we’ll need to import both CSS and render
functions from $gfm, as well as <Head> from Fresh:
import { CSS, render } from "$gfm";
import { Head } from "$fresh/runtime.ts";
And update our PostPage component to:
export default function PostPage(props: PageProps<Post>) {
  const post = props.data;
  return (
    <>
      <Head>
        <style dangerouslySetInnerHTML={{ __html: CSS }} />
      </Head>
      // ...
      <div
        class="mt-8 markdown-body"
        dangerouslySetInnerHTML={{ __html: render(post.content) }}
      />
    </>
  );
}
Note we’ll need to include the class markdown-body on the div for the gfm
stylesheet to work.
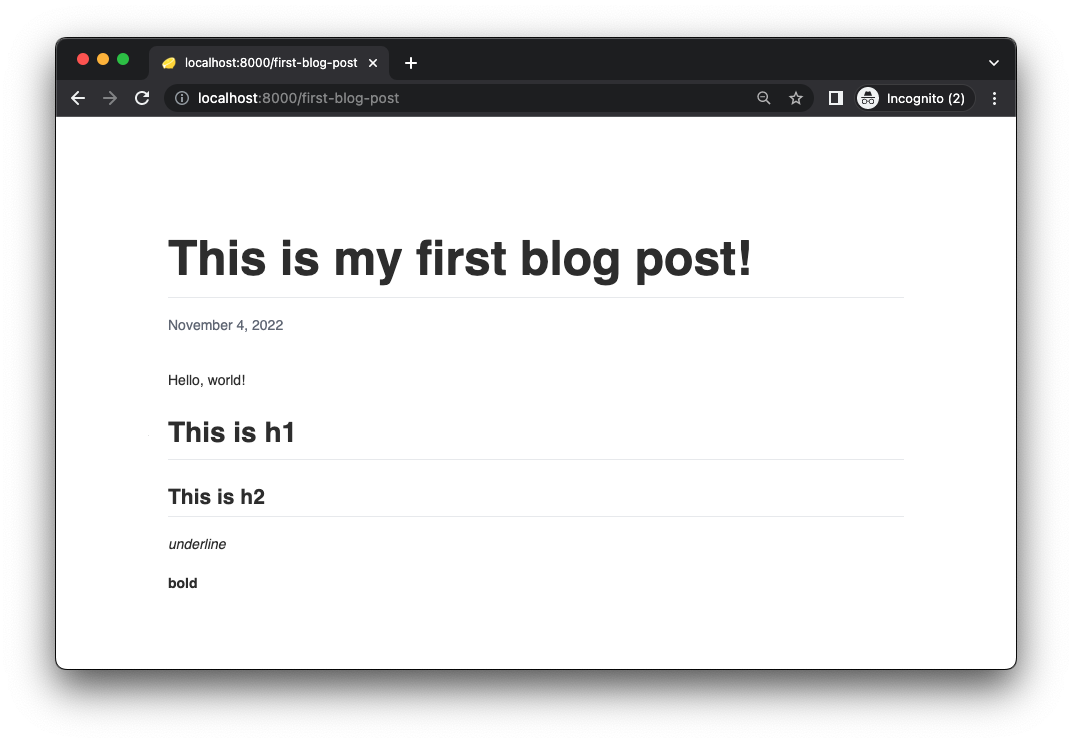
Now markdown looks much better:
Deno Deploy is our globally distributed v8 isolate cloud where you can host arbitrary JavaScript. It’s great for hosting serverless functions as well as entire websites and applications.
We can easily deploy our new blog to Deno Deploy with the following steps.
main.ts as an entry pointWhen the deployment is complete, you’ll receive a URL that you can visit. Here’s a live version.
This is a simple tutorial on building a blog with Fresh that demonstrates how Fresh retrieves data from a filesystem, which it renders into HTML, all on the server.
For a more in depth walkthrough, check out this video with Luca, who builds a blog and deploys it to Deno Deploy.
Stuck? Get help with Fresh and Deno on our Discord or Twitter!
此内容由惯性聚合(RSS阅读器)自动聚合整理,仅供阅读参考。 原文来自 — 版权归原作者所有。