


Deno KV is one of the first databases that is built right into the runtime. This means you don’t need to do any extra steps such as provisioning a database or copying and pasting API keys to build stateful applications. To open a connection to a data store, you can simply write:
const kv = await Deno.openKv();
In addition to being a key-value store with a simple, yet flexible API, it’s a production-ready database with atomic transactions, consistency control, and cutting edge performance.
Through this introductory tutorial, you’ll learn how to use Deno KV to build a simple stateful CRUD API written in Oak. We’ll cover:
Before we get started, Deno KV is currently available with the --unstable flag
in Deno 1.33 and up. If you’re interested in using Deno KV on
Deno Deploy, please join the waitlist as it’s still in closed beta.
Follow along below or check out the source code.
This API is fairly simple and use two models, where each user will have an
optional address.
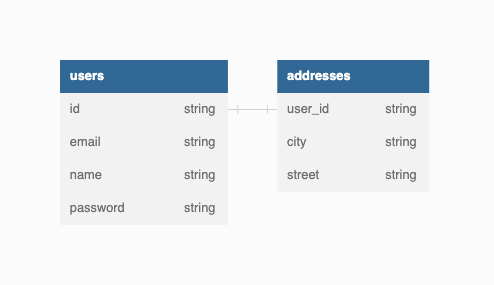
In a new repo, create a db.ts file, which will contain all the information and
logic for the database. Let’s start with type definitions:
export interface User {
  id: string;
  email: string;
  name: string;
  password: string;
}

export interface Address {
  city: string;
  street: string;
}
Next, let’s create API routes with the following functions:
We can do this easily with Oak (inspired by Koa) which comes with its own
Router.
Let’s create a new file main.ts and add the following routes. We’ll keep some
of the logic in the route handlers blank for now:
import {
  Application,
  Context,
  helpers,
  Router,
} from "https://deno.land/x/oak@v12.4.0/mod.ts";

const { getQuery } = helpers;
const router = new Router();

router
  .get("/users", async (ctx: Context) => {
  })
  .get("/users/:id", async (ctx: Context) => {
    const { id } = getQuery(ctx, { mergeParams: true });
  })
  .get("/users/email/:email", async (ctx: Context) => {
    const { email } = getQuery(ctx, { mergeParams: true });
  })
  .get("/users/:id/address", async (ctx: Context) => {
    const { id } = getQuery(ctx, { mergeParams: true });
  })
  .post("/users", async (ctx: Context) => {
    const body = ctx.request.body();
    const user = await body.value;
  })
  .post("/users/:id/address", async (ctx: Context) => {
    const { id } = getQuery(ctx, { mergeParams: true });
    const body = ctx.request.body();
    const address = await body.value;
  })
  .delete("/users/:id", async (ctx: Context) => {
    const { id } = getQuery(ctx, { mergeParams: true });
  });

const app = new Application();

app.use(router.routes());
app.use(router.allowedMethods());

await app.listen({ port: 8000 });
Next, let’s dive into Deno KV by writing database functions.
Back to our db.ts file, let’s start adding the database helper functions
beneath the type definitions.
const kv = await Deno.openKv();

export async function getAllUsers() {
}

export async function getUserById(id: string): Promise<User> {
}

export async function getUserByEmail(email: string) {
}

export async function getAddressByUserId(id: string) {
}

export async function upsertUser(user: User) {
}

export async function updateUserAndAddress(user: User, address: Address) {
}

export async function deleteUserById(id: string) {
}
Let’s start by filling out getUserById:
export async function getUserById(id: string): Promise<User> {
  const key = ["user", id];
  return (await kv.get<User>(key)).value!;
}
This is relatively simple and we use the key prefix "user" and an id with
kv.get().
But how do we add getUserByEmail?
A
secondary index
is an index that’s not a primary index and may contain duplicates. In this case,
our secondary index is email.
Since Deno KV is a simple key value store, we’ll create a second key prefix,
"user_by_email", which uses email to create the key and returns the
associated user id. Here’s an example:
const user = (await kv<User>.get(["user", "1"])).value!;


const id = (await kv.get(["user_by_email", "andy@deno.com"])).value;
Then, in order to grab the user, we’ll perform a separate kv.get() on the
first index.
With both these indexes, we can now write getUserByEmail:
export async function getUserByEmail(email: string) {
  const userByEmailKey = ["user_by_email", email];
  const id = (await kv.get(userByEmailKey)).value as string;
  const userKey = ["user", id];
  return (await kv<User>.get(userKey)).value!;
}
Now, when we upsertUser, we’ll have to update the user in the "user"
primary key prefix. If email is different, then we’ll also have to update the
secondary key prefix, "user_by_email".
But how do we ensure that our data doesn’t fall out of sync when both update transactions happen at the same time?
We’ll use
kv.atomic(),
which guarantee that either all operations within the transaction are
successfully completed, or the transaction is rolled back to its initial state
in the event of a failure, leaving the database unchanged.
Here’s how we define upsertUser:
export async function upsertUser(user: User) {
  const userKey = ["user", user.id];
  const userByEmailKey = ["user_by_email", user.email];

  const oldUser = await kv.get<User>(userKey);

  if (!oldUser.value) {
    const ok = await kv.atomic()
      .check(oldUser)
      .set(userByEmailKey, user.id)
      .set(userKey, user)
      .commit();
    if (!ok) throw new Error("Something went wrong.");
  } else {
    const ok = await kv.atomic()
      .check(oldUser)
      .delete(["user_by_email", oldUser.value.email])
      .set(userByEmailKey, user.id)
      .set(userKey, user)
      .commit();
    if (!ok) throw new Error("Something went wrong.");
  }
}
We first get oldUser to check whether it exists. If not, .set() the key
prefixes "user" and "user_by_email" with user and user.id. Otherwise,
since the user.email may have changed, we remove the value at the
"user_by_email" by deleting the value at key
["user_by_email", oldUser.value.email].
We do all of this with .check(oldUser) to ensure another client hasn’t changed
the values. Otherwise, we are susceptible to a race condition where the wrong
record could be updated. If the .check() passes and the values remain
unchanged, we can then complete the transaction with .set() and .delete().
kv.atomic()is a great way to ensure correctness when multiple clients are sending write transactions, such as in banking/finance and other data sensitive applications.
Next, let’s define getAllUsers. We can do this with
kv.list(),
which returns a key iterator that we can enumerate to get the values, which we
.push() into users array:
export async function getAllUsers() {
  const users = [];
  for await (const res of kv.list({ prefix: ["user"] })) {
    users.push(res.value);
  }
  return users;
}
Note that this simple function iterates through and returns the entirety of the
KV store. If this API were interacting with a frontend, we could pass a
{ limit: 50 } option to retrieve the first 50 items:
let iter = await kv.list({ prefix: ["user"] }, { limit: 50 });
And when the user wants more data, retrieve the next batch using iter.cursor:
iter = await kv.list({ prefix: ["user"] }, { limit: 50, cursor: iter.cursor });
AddressLet’s add the second model, Address, to our database. We’ll use a new key
prefix, "user_address" followed by the identifier user_id
(["user_address", user_id]) to serve as a “join” between these two KV
subspaces.
Now, let’s write our getAddressByUser function:
export async function getAddressByUserId(id: string) {
  const key = ["user_address", id];
  return (await kv<Address>.get(key)).value!;
}
And we can write our updateUserAndAddress function. Note that we’ll need to
use kv.atomic() since we want to update three KV entries with key prefixes of
"user", "user_by_email", and "user_address".
export async function updateUserAndAddress(user: User, address: Address) {
  const userKey = ["user", user.id];
  const userByEmailKey = ["user_by_email", user.email];
  const addressKey = ["user_address", user.id];

  const oldUser = await kv.get<User>(userKey);

  if (!oldUser.value) {
    const ok = await kv.atomic()
      .check(oldUser)
      .set(userByEmailKey, user.id)
      .set(userKey, user)
      .set(addressKey, address)
      .commit();
    if (!ok) throw new Error("Something went wrong.");
  } else {
    const ok = await kv.atomic()
      .check(oldUser)
      .delete(["user_by_email", oldUser.value.email])
      .set(userByEmailKey, user.id)
      .set(userKey, user)
      .set(addressKey, address)
      .commit();
    if (!ok) throw new Error("Something went wrong.");
  }
}
kv.delete()Finally, in order to round out the CRUD functionality of our app, let’s define
deleteByUserId.
Similar to the other mutation functions, we’ll retrieve userRes and use
.atomic().check(userRes) before .delete()-ing the three keys:
export async function deleteUserById(id: string) {
  const userKey = ["user", id];
  const userRes = await kv.get(userKey);
  if (!userRes.value) return;
  const userByEmailKey = ["user_by_email", userRes.value.email];
  const addressKey = ["user_address", id];

  await kv.atomic()
    .check(userRes)
    .delete(userKey)
    .delete(userByEmailKey)
    .delete(addressKey)
    .commit();
}
Now that we’ve defined the database functions, let’s import them in main.ts
and fill out the rest of the functionality in our route handlers. Here’s the
full main.ts file:
import {
  Application,
  Context,
  helpers,
  Router,
} from "https://deno.land/x/oak@v12.4.0/mod.ts";
import {
  deleteUserById,
  getAddressByUserId,
  getAllUsers,
  getUserByEmail,
  getUserById,
  updateUserAndAddress,
  upsertUser,
} from "./db.ts";

const { getQuery } = helpers;
const router = new Router();

router
  .get("/users", async (ctx: Context) => {
    ctx.response.body = await getAllUsers();
  })
  .get("/users/:id", async (ctx: Context) => {
    const { id } = getQuery(ctx, { mergeParams: true });
    ctx.response.body = await getUserById(id);
  })
  .get("/users/email/:email", async (ctx: Context) => {
    const { email } = getQuery(ctx, { mergeParams: true });
    ctx.response.body = await getUserByEmail(email);
  })
  .get("/users/:id/address", async (ctx: Context) => {
    const { id } = getQuery(ctx, { mergeParams: true });
    ctx.response.body = await getAddressByUserId(id);
  })
  .post("/users", async (ctx: Context) => {
    const body = ctx.request.body();
    const user = await body.value;
    await upsertUser(user);
  })
  .post("/users/:id/address", async (ctx: Context) => {
    const { id } = getQuery(ctx, { mergeParams: true });
    const body = ctx.request.body();
    const address = await body.value;
    const user = await getUserById(id);
    await updateUserAndAddress(user, address);
  })
  .delete("/users/:id", async (ctx: Context) => {
    const { id } = getQuery(ctx, { mergeParams: true });
    await deleteUserById(id);
  });

const app = new Application();

app.use(router.routes());
app.use(router.allowedMethods());

await app.listen({ port: 8000 });
Let’s run our application and test it. To run it:
deno run --allow-net --watch --unstable main.ts
We can test out our application with CURLs. Let’s add a new user:
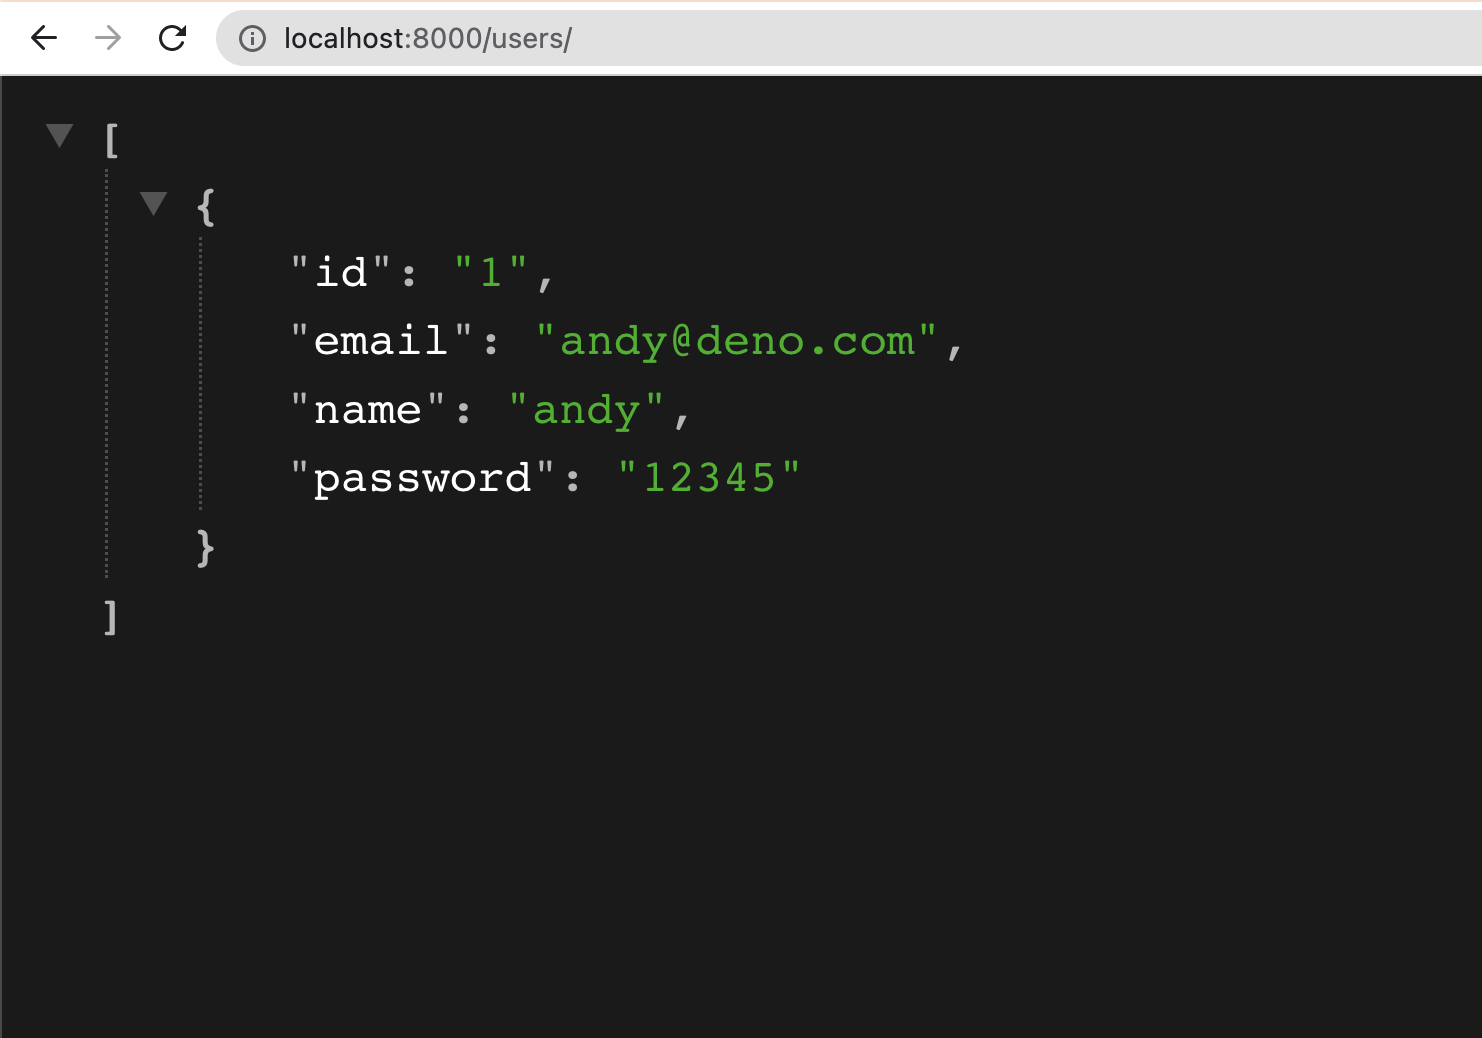
curl -X POST http://localhost:8000/users -H "Content-Type: application/json" -d '{ "id": "1", "email": "andy@deno.com", "name": "andy", "password": "12345" }'When we point our browser to localhost:8000/users, we should see:
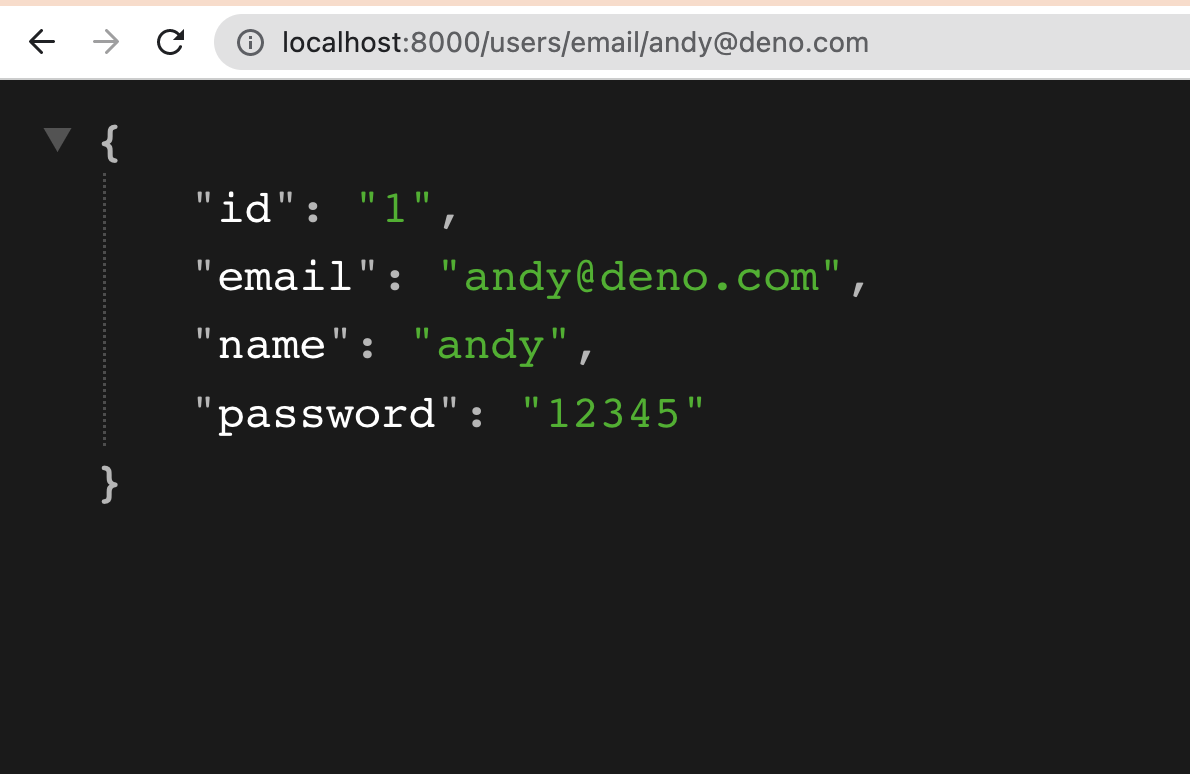
Let’s see if we can retrieve the user by email by pointing our browser to
localhost:8000/users/email/andy@deno.com:
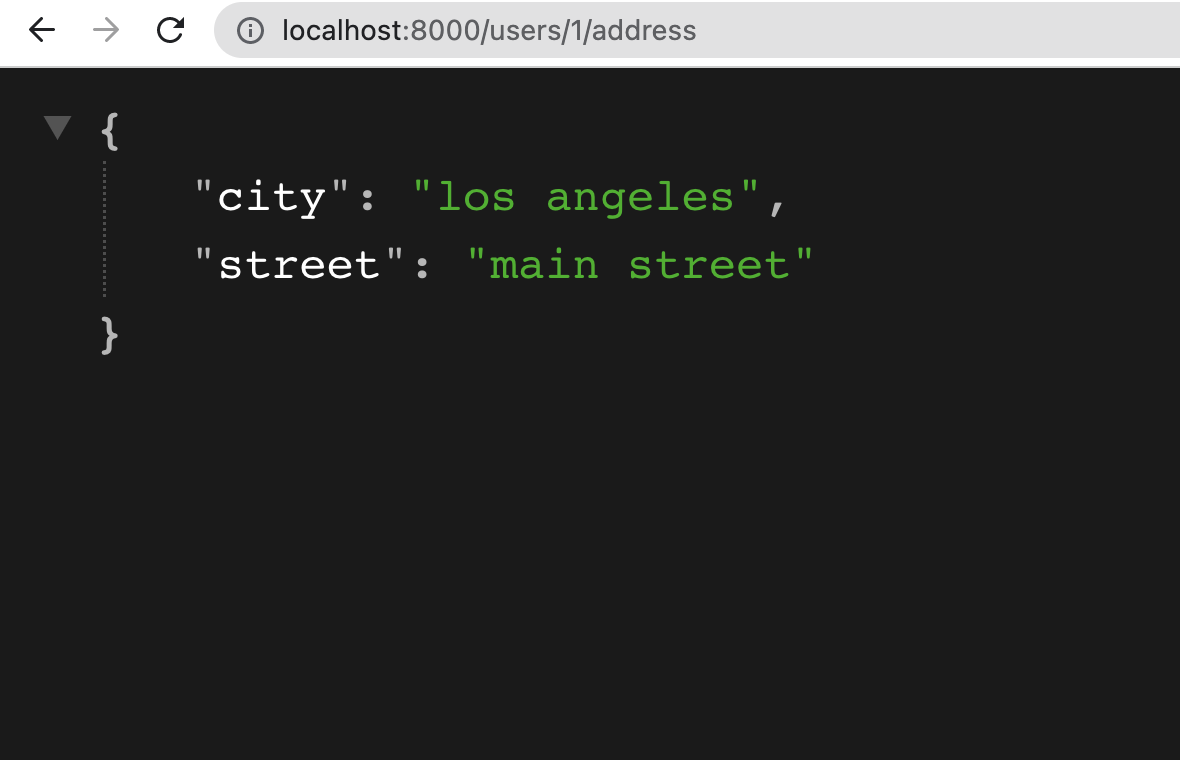
Let’s send a POST request to add an address to this user:
curl -X POST http://localhost:8000/users/1/address -H "Content-Type: application/json" -d '{ "city": "los angeles", "street": "main street" }'And let’s see if that worked by going to localhost:8000/users/1/address:
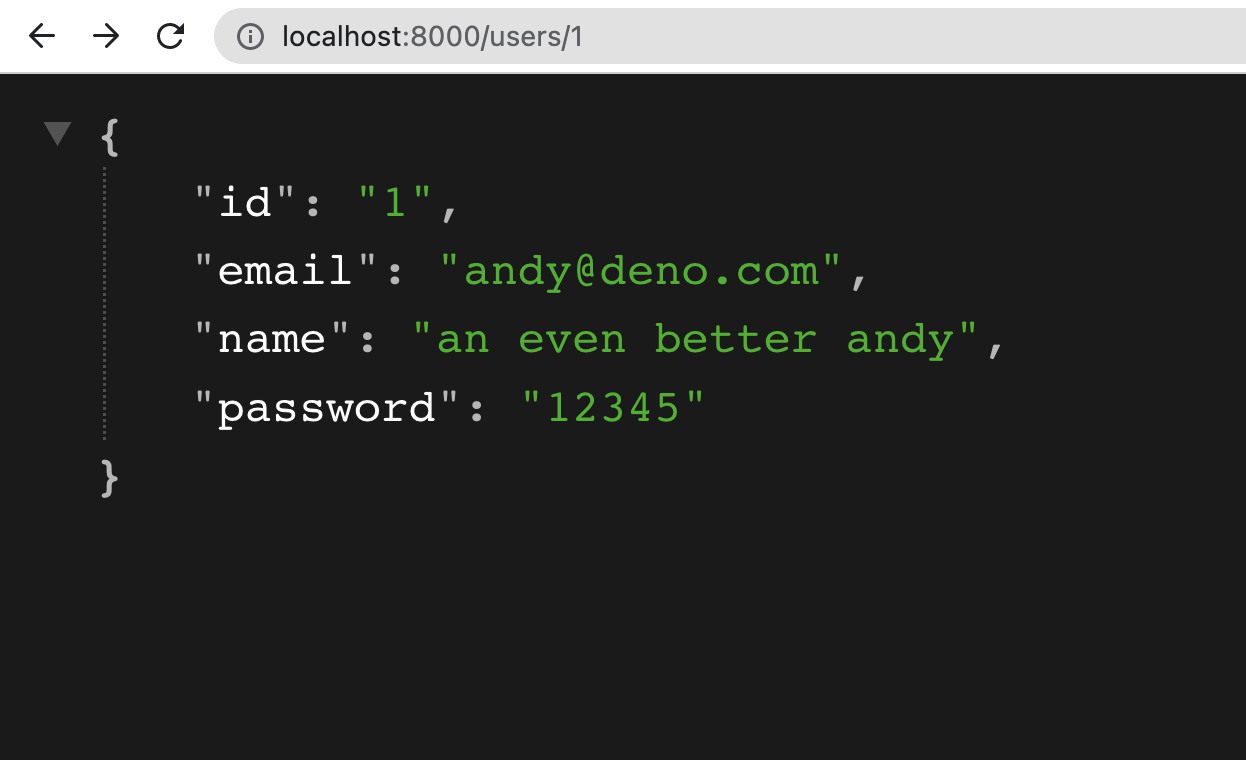
Let’s update the same user with id 1 with a new name:
curl -X POST http://localhost:8000/users -H "Content-Type: application/json" -d '{ "id": "1", "email": "andy@deno.com", "name": "an even better andy", "password": "12345" }'And we can see that change reflected in our browser at localhost:8000/users/1:
Finally, let’s delete the user:
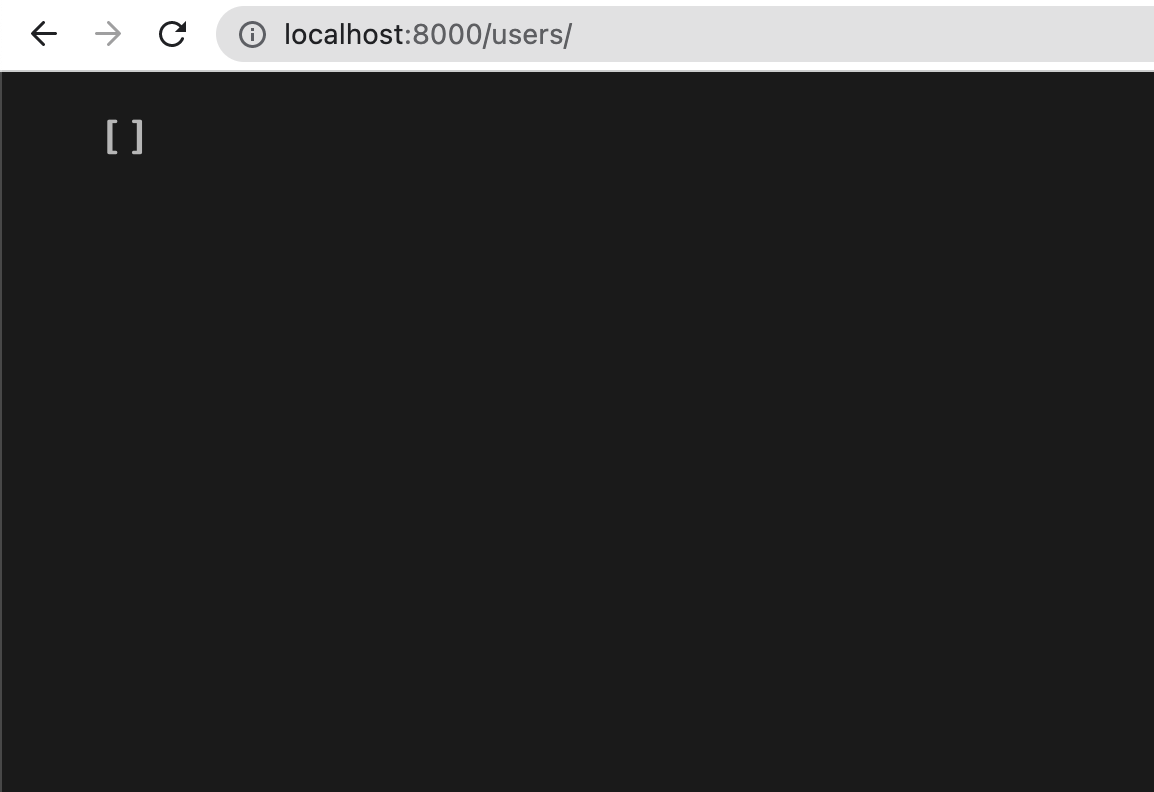
curl -X DELETE http://localhost:8000/users/1When we point our browser to localhost:8000/users, we should see nothing:
This is just an introduction to building stateful APIs with Deno KV, but hopefully you can see how quick and easy it is to get started.
With this CRUD API, you can create a simple frontend client to interact with the data.
Don’t miss any updates — follow us on Twitter.
此内容由惯性聚合(RSS阅读器)自动聚合整理,仅供阅读参考。 原文来自 — 版权归原作者所有。