


Astro is a modern web framework focused on content-centric websites, which leverages islands architecture and sends zero JavaScript to the client by default. And with the recent release of Deno 2, now backwards compatible with Node and npm, the experience of using Astro and Deno has improved.
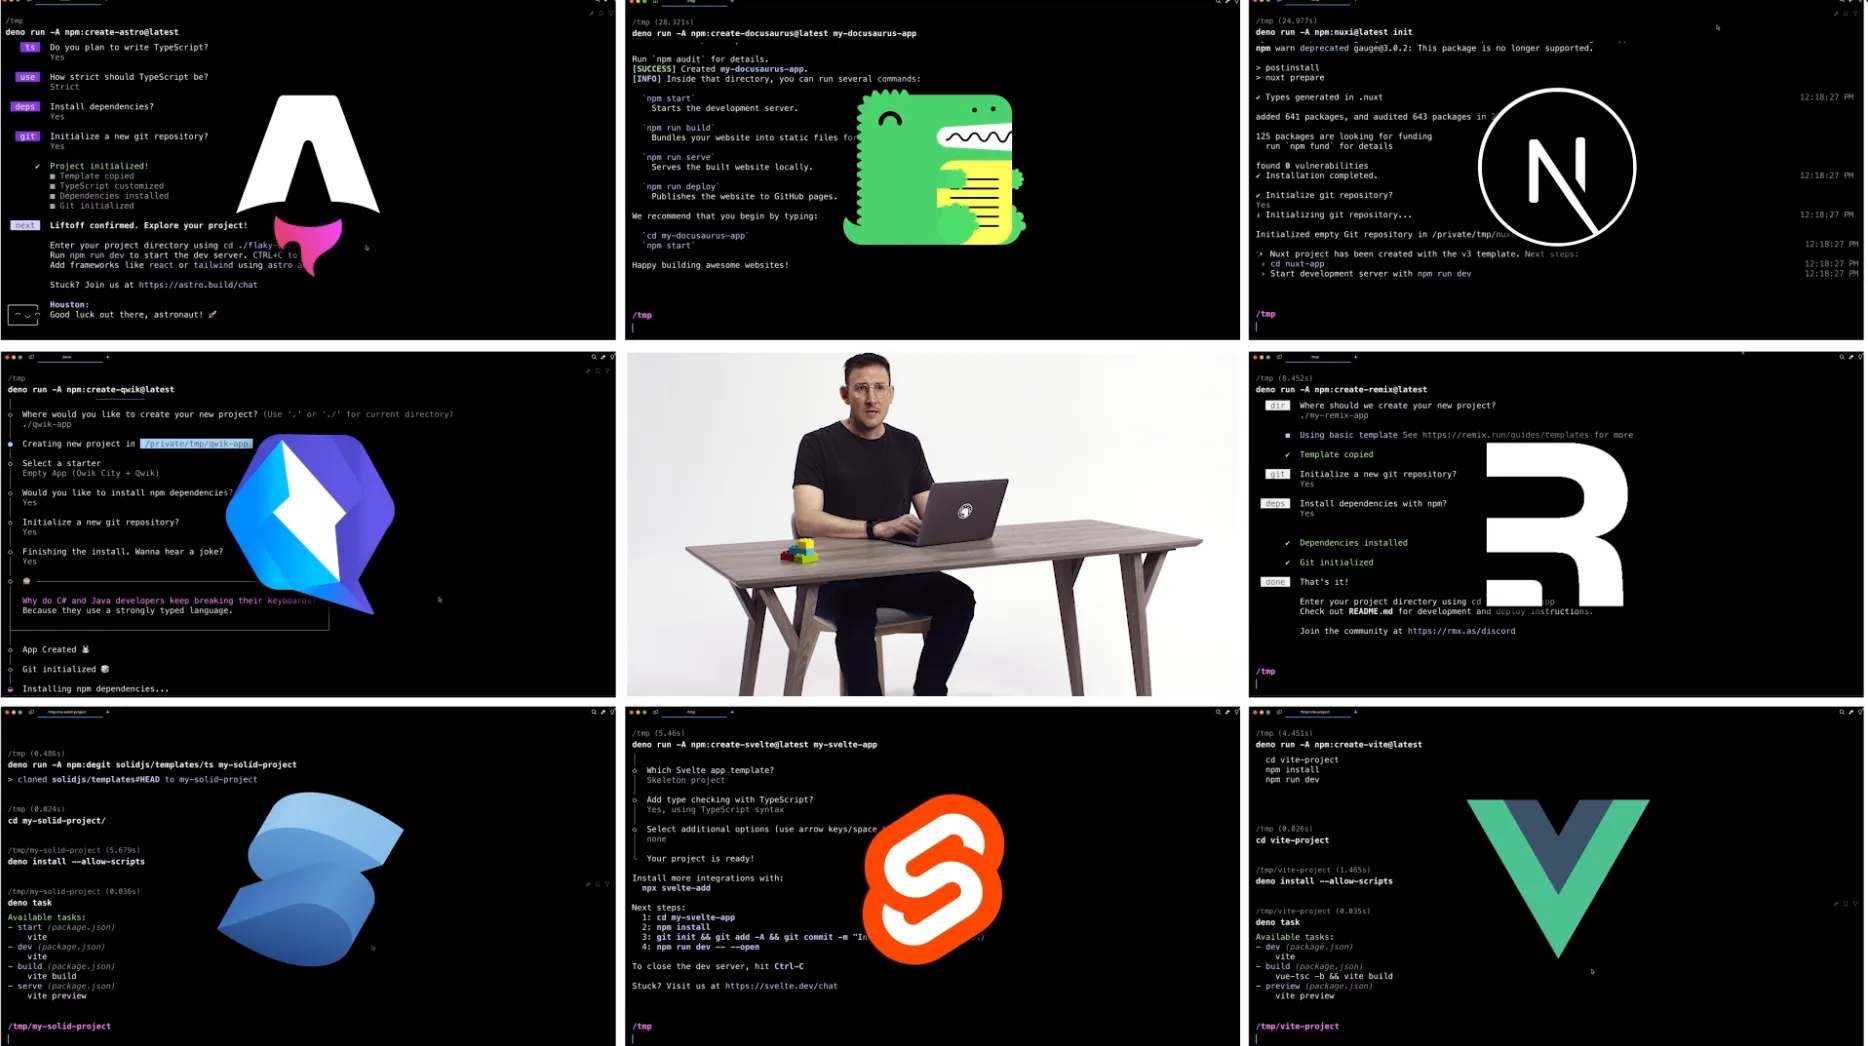
Deno 2 is backwards compatible with Node and npm, allowing you to use your preferred JavaScript framework. Watch the full Deno 2 announcement video.
We’ll go over how to build a simple Astro project using Deno:
Feel free to skip directly to the source code or follow along below!
🚨️ Try Deno 2 today. 🚨️
Deno offers backwards compatibilty with Node/npm, built-in package management, all-in-one zero-config toolchain, native TypeScript support, and more.
Astro provides a CLI tool to quickly scaffold a new Astro project. In your
terminal, run the command deno -A npm:create-astro@latest to create a new
Astro project with Deno. For this tutorial, we’ll select the “Empty” template so
we can start from scratch, and skip installing dependencies so we can install
them with Deno later:
deno -A npm:create-astro@latest

 astro   Launch sequence initiated.

   dir   Where should we create your new project?
         ./dino-app

  tmpl   How would you like to start your new project?
         Empty

    ts   Do you plan to write TypeScript?
         Yes

   use   How strict should TypeScript be?
         Strict

  deps   Install dependencies?
         No
      ◼  No problem!
         Remember to install dependencies after setup.

   git   Initialize a new git repository?
         Yes

      ✔  Project initialized!
         ■ Template copied
         ■ TypeScript customized
         ■ Git initialized

  next   Liftoff confirmed. Explore your project!

 Enter your project directory using cd ./dino-app
 Run npm run dev to start the dev server. CTRL+C to stop.
 Add frameworks like react or tailwind using astro add.

 Stuck? Join us at https://astro.build/chat

╭─────╮  Houston:
│ ◠ ◡ ◠  Good luck out there, astronaut! 🚀
╰──🍫─╯
As of Deno 2,
Deno can also install packages with the new deno install command.
So let’s run
deno install with the
flag --allow-scripts to execute any npm lifecycle scripts:
deno install --allow-scriptsTo see what commands we have, let’s run deno task:
deno task
Available tasks:
- dev (package.json)
    astro dev
- start (package.json)
    astro dev
- build (package.json)
    astro check && astro build
- preview (package.json)
    astro preview
- astro (package.json)
    astro
We can start the Astro server with deno task dev:
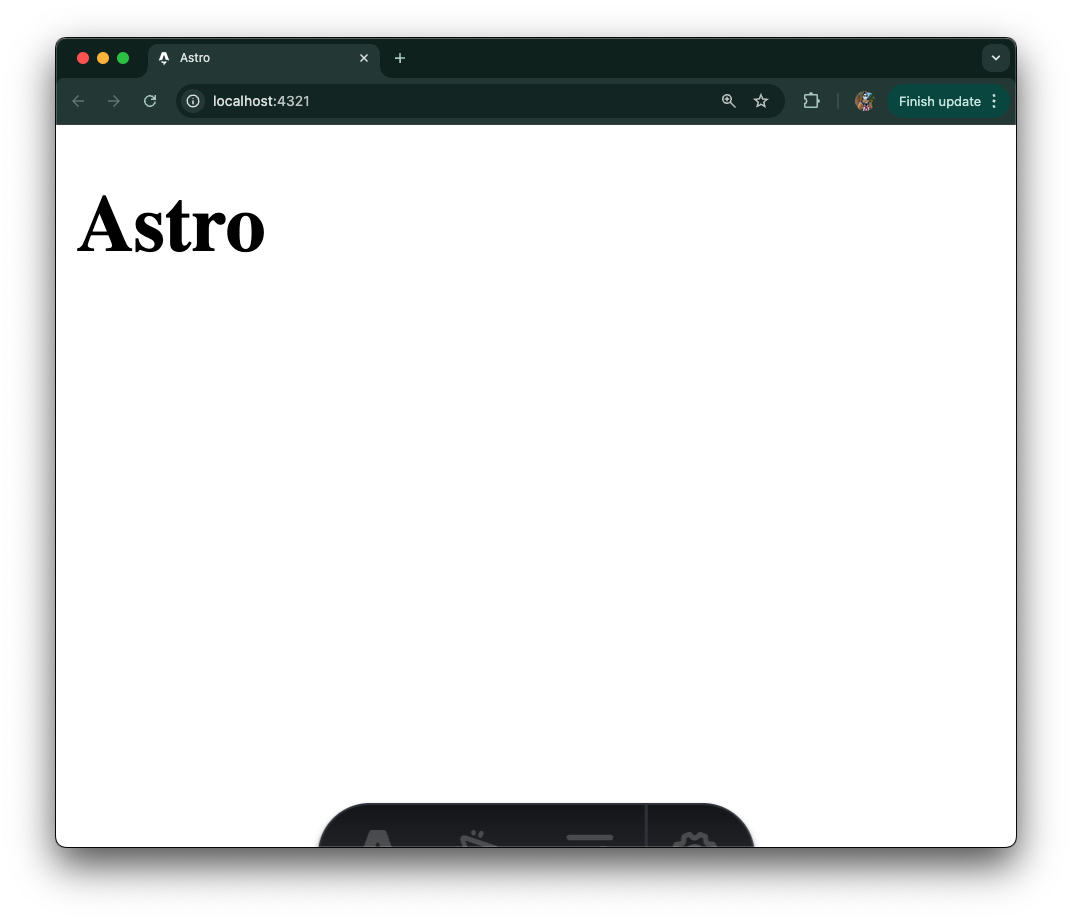
Our app will display facts about a variety of dinosaurs. The first page to create will be the index page that lists links to all dinosaurs in our “database”.
First, let’s create the data that will be used in the app. In this example,
we’ll hardcode the data in a json file, but you can use any data storage in
practice. We’ll create a data folder in the root of the project, then a
dinosaurs.json file with
this text
in it.
⚠️️ In this tutorial we hard code the data. But you can connect to a variety of databases and even use ORMs like Prisma with Deno.
Once we have the data, let’s create an index page that lists all of the
dinosaurs. In the ./src/pages/index.astro page, let’s write the following:
---
import data from "../../data/dinosaurs.json";
---

<html lang="en">
    <head>
        <meta charset="utf-8" />
        <link rel="icon" type="image/svg+xml" href="/favicon.svg" />
        <meta name="viewport" content="width=device-width" />
        <meta name="generator" content={Astro.generator} />
        <title>Dinosaurs</title>
    </head>
    <body>
        <h1>Dinosaurs</h1>
        <ul>
            {data.map((dinosaur) => (
                <li>
                    <a href={`/${dinosaur.name.toLowerCase()}`}>{ dinosaur.name }</a>
                </li>
            ))}
        </ul>
    </body>
</html>
Let’s start the server with deno task dev and point our browser to
localhost:4321:
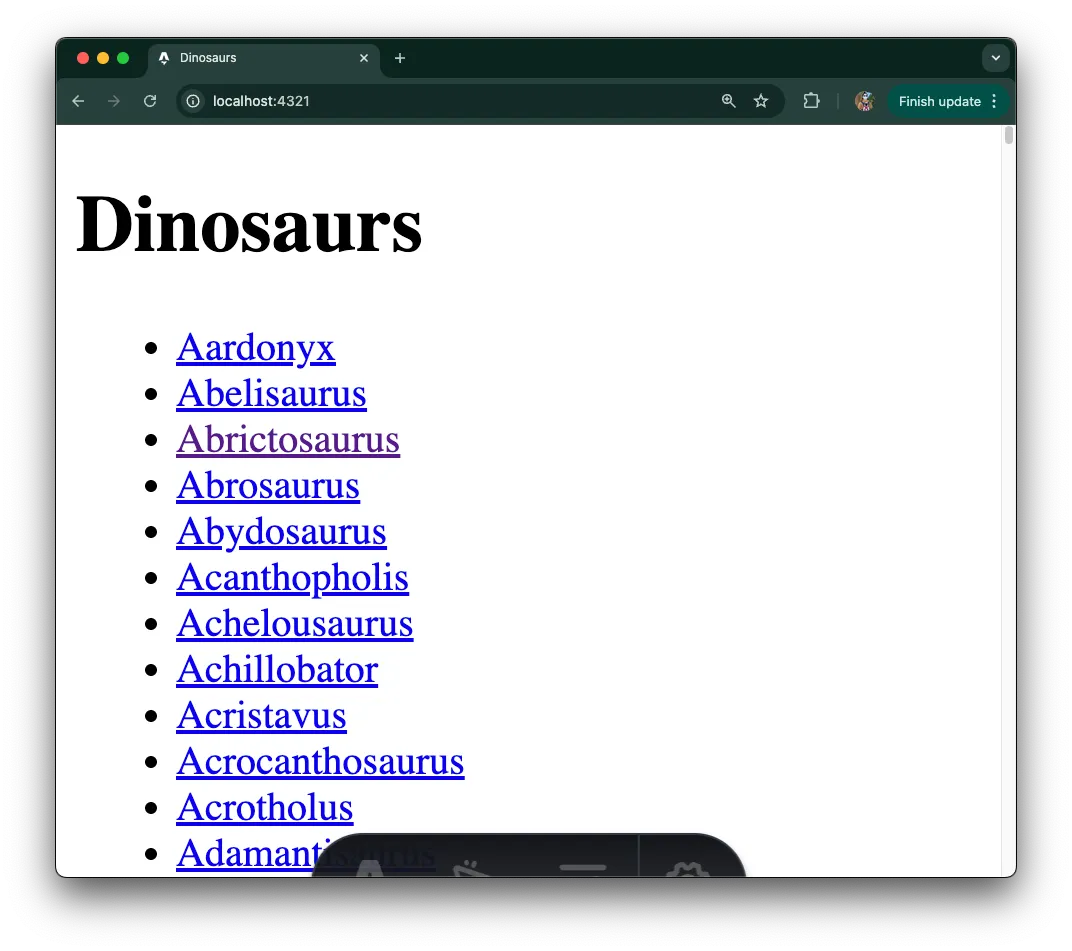
Awesome! But when you click on a dinosaur, it 404’s. Let’s fix that.
Our app will display facts about a variety of dinosaurs. In order to do that, we’ll create a dynamic server-side rendered (”SSR”), which offers better performance for end users while improving your pages SEO.
Next, let’s create a new file under /src/pages/ called [dinosaur].astro. At
the top of the file, we’ll add some logic to pull data from our hardcoded data
source and filter that against the dinosaur parameter set from the URL path.
At the bottom, we’ll render the data. Your file should look like this:
---
import data from "../../data/dinosaurs.json";
const { dinosaur } = Astro.params;
const dinosaurObj = data.find((item) => item.name.toLowerCase() === dinosaur);
if (!dinosaurObj) return Astro.redirect("/404");
const { name, description } = dinosaurObj;
---

<h1>{ name }</h1>

<p>
    { description }
</p>
⚠️️ The Deno language server does not currently support
.astrofiles, so you may experience false red squigglies. We’re working on improving this experience.
Let’s run it with deno task dev, and point our browser to
localhost:4321/abrictosaurus:
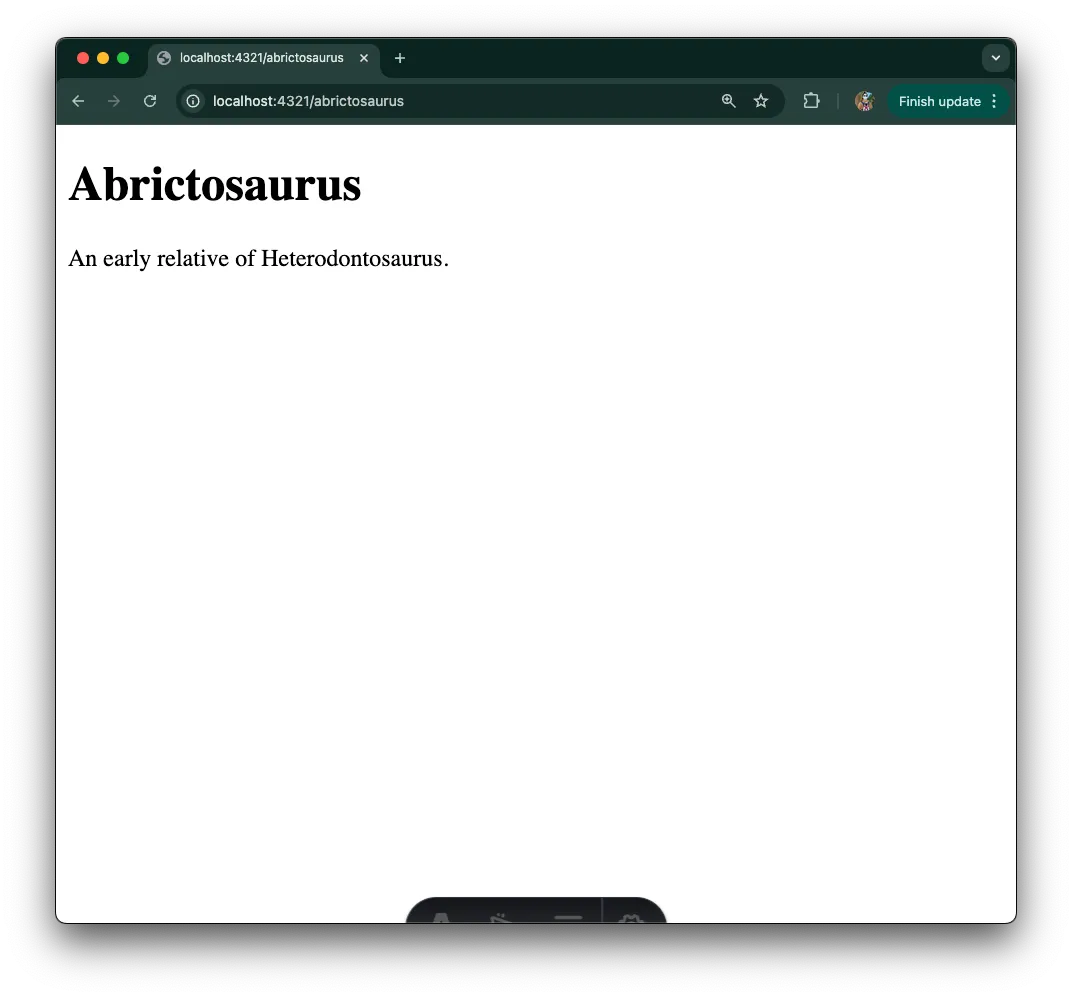
It works!
We hope this tutorial gives you a good idea of how to get started building with Astro and Deno. You can learn more about Astro and their progressive approach to building websites. If you’re interested in swapping out our hardcoded data store, here are some resources on connecting to databases with Deno, including Planetscale, Redis, and more. Or you can learn how to deploy your Astro project to Deno Deploy, or follow these guides on how to self-host Deno to AWS, Digital Ocean, and Google Cloud Run.
🚨️ Introducing Learn Deno. 🚨️
Check out our new tutorial series, Learn Deno, to learn how to use Deno’s all-in-one toolchain, web platform APIs, and Deno-namespace APIs, and more, in short bite-sized videos.
此内容由惯性聚合(RSS阅读器)自动聚合整理,仅供阅读参考。 原文来自 — 版权归原作者所有。