




There is no shortage of frameworks to build websites and apps in JavaScript. (In fact, as you are reading this, a new one just came out.) Since npm has become the main distribution platform for many things JavaScript, most require npm to use.
With Deno 1.28, you can now build with these JavaScript frameworks, such as Express, React, Vue, and more.
This blog post will show you how to get started with these JavaScript frameworks in Deno:
Check out our Manual for more How To guides on using JavaScript frameworks with npm.
Building with these frameworks will be faster, require less configuration, and use less boilerplate with Deno:
deno test, deno lint, deno fmt and more.package.json, .tsconfig, or node_modules subdirectory (by default),
which can distract you from the code that mattersnpm install step—modules are cached once in a special global
directoryIn the examples below, we’ll show how easy it is to get started using npm with Deno.
Express is a popular web framework known for being simple and unopinionated with a large ecosystem of middleware.
Let’s create a simple API using Express and Deno.
main.tsLet’s create main.ts:
touch main.tsIn main.ts, let’s create a simple server:
import express from "npm:express@4.18.2";

const app = express();

app.get("/", (req, res) => {
  res.send("Welcome to the Dinosaur API!");
});

app.listen(8000);
Let’s run this server:
deno run --allow-net main.tsAnd point our browser to localhost:8000. You should see:
Welcome to the Dinosaur API!The next step here is to add some data. We’ll use this Dinosaur data that we found from this article. Feel free to copy it from here.
Let’s create data.json:
touch data.jsonAnd paste in the dinosaur data.
Next, let’s import that data into main.ts. Let’s add this line at the top of
the file:
import data from "./data.json" with { type: "json" };
Then, we can create the routes to access that data. To keep it simple, let’s
just define GET handlers for /api/ and /api/:dinosaur. Add the below after
the const app = express(); line:
app.get("/", (req, res) => {
  res.send("Welcome to the Dinosaur API!");
});

app.get("/api", (req, res) => {
  res.send(data);
});

app.get("/api/:dinosaur", (req, res) => {
  if (req?.params?.dinosaur) {
    const filtered = data.filter((item) => {
      return item["name"].toLowerCase() === req.params.dinosaur.toLowerCase();
    });
    if (filtered.length === 0) {
      return res.send("No dinosaurs found.");
    } else {
      return res.send(filtered[0]);
    }
  }
});

app.listen(8000);
Let’s run the server with deno run --allow-net main.ts and check out
localhost:8000/api. You should see a list of dinosaurs:
[
  {
    "name": "Aardonyx",
    "description": "An early stage in the evolution of sauropods."
  },
  {
    "name": "Abelisaurus",
    "description": "\"Abel's lizard\" has been reconstructed from a single skull."
  },
  {
    "name": "Abrictosaurus",
    "description": "An early relative of Heterodontosaurus."
  },
...
And when we go to localhost:8000/api/aardonyx:
{
  "name": "Aardonyx",
  "description": "An early stage in the evolution of sauropods."
}
Awesome!
While Express is great for APIs and services, React is meant for user interfaces. It popularized a declarative approach towards designing interfaces, with a reactive data model. And due to its popularity, it’s not surprising that it’s the most requested framework when it comes to building web apps with Deno.
Let’s create an app that’ll display a list of dinosaurs. When you click on one, it’ll take you to a dinosaur page with more details.
View the source or follow the video guide.
Let’s use Vite to quickly scaffold a Deno and React app:
deno run --allow-read --allow-write --allow-env npm:create-vite-extra@latest
We’ll name our project “dinosaur-react-app”. Then, cd into the newly created
project folder.
The next step is to add a backend API. We’ll create a very simple API that returns information about dinosaurs.
In the directory, let’s create an api folder. In that folder, we’ll create a
main.ts file, which will run the server, and a data.json, which is the hard
coded data.
mkdir api && touch api/data.json && touch api/main.tsCopy and paste
this json file
into your api/data.json.
Then, let’s update api/main.ts:
import { Application, Router } from "https://deno.land/x/oak@v11.1.0/mod.ts";
import { oakCors } from "https://deno.land/x/cors@v1.2.2/mod.ts";
import data from "./data.json" with { type: "json" };

const router = new Router();
router
  .get("/", (context) => {
    context.response.body = "Welcome to dinosaur API!";
  })
  .get("/api", (context) => {
    context.response.body = data;
  })
  .get("/api/:dinosaur", (context) => {
    if (context?.params?.dinosaur) {
      const filtered = data.filter((item) =>
        item["name"].toLowerCase() === context.params.dinosaur.toLowerCase()
      );
      if (filtered.length === 0) {
        context.response.body = "No dinosaurs found.";
      } else {
        context.response.body = filtered[0];
      }
    }
  });

const app = new Application();
app.use(oakCors());
app.use(router.routes());
app.use(router.allowedMethods());

await app.listen({ port: 8000 });
This is a very simple API server using oak that
will return dinosaur information based on the route. Let’s start the API server:
deno run --allow-env --allow-net api/main.tsIf we go to localhost:8000, we see:
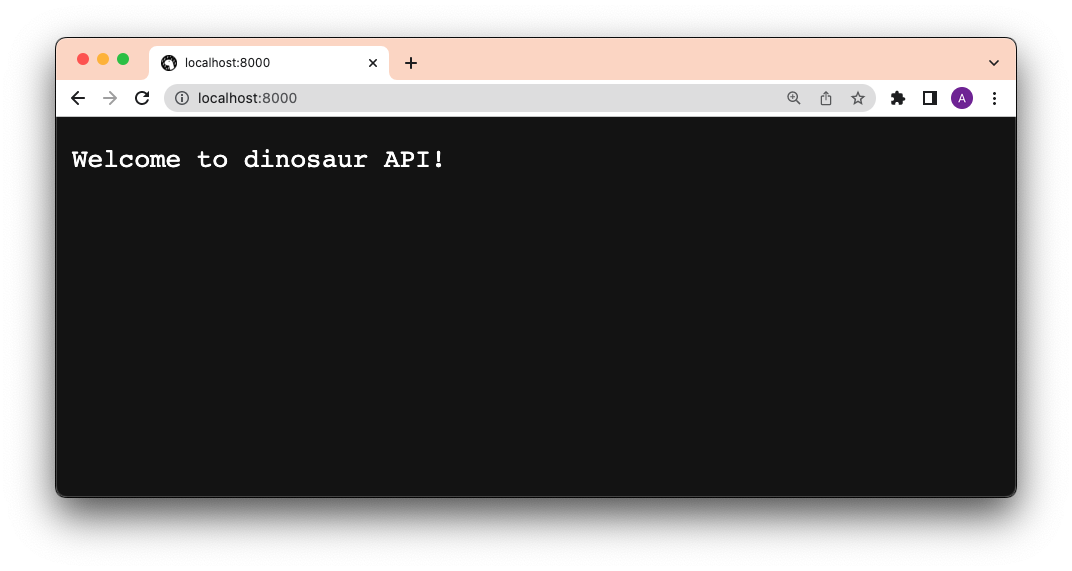
Lookin’ good so far.
Our app will have two routes: / and /:dinosaur.
We’ll use react-router-dom for our routing
logic. Let’s add that to our dependencies in vite.config.mjs:
import { defineConfig } from "npm:vite@^3.1.3";
import react from "npm:@vitejs/plugin-react@^2.1";

import "npm:react@^18.2";
import "npm:react-dom/client@^18.2";
import "npm:react-router-dom@^6.4";


export default defineConfig({
  plugins: [react()],
});
Once we add the dependencies there, we can import them without npm: specifier
throughout our React app.
Next, let’s go to src/App.jsx and add our routing logic:
import React from "react";
import {
  BrowserRouter as Router,
  Navigate,
  Route,
  Routes,
} from "react-router-dom";
import Index from "./pages/Index.jsx";
import Dinosaur from "./pages/Dinosaur.jsx";

export default function App(props) {
  return (
    <Router>
      <Routes>
        <Route exact path="/" element={<Index />} />
        <Route exact path="/:dinosaur" element={<Dinosaur />} />
        <Route path="*" element={<Navigate to="/" />} />
      </Routes>
    </Router>
  );
}
Next, let’s add the <Index> and <Dinosaur> pages.
There will be two pages in this app:
src/pages/Index.jsx: our index page, which lists all of the dinosaurssrc/pages/Dinosaur.jsx: our dinosaur page, which shows details of the
dinosaurWe’ll create a src/pages folder and create the .jsx files:
mkdir src/pages && touch src/pages/Index.jsx src/pages/Dinosaur.jsx
Let’s start with <Index>. This page will fetch at localhost:8000/api and
render that through JSX.
import React, { useEffect, useState } from "react";
import { Link, useParams } from "react-router-dom";

const Index = () => {
  const [dinos, setDinos] = useState([]);
  useEffect(() => {
    fetch(`http://localhost:8000/api/`)
      .then(async (res) => await res.json())
      .then((json) => setDinos(json));
  }, []);

  return (
    <div>
      <h1>Welcome to the Dinosaur app</h1>
      <p>
        Click on a dinosaur below to learn more.
      </p>
      <div>
        {dinos.map((dino) => {
          return (
            <div>
              <Link to={`/${dino.name.toLowerCase()}`}>{dino.name}</Link>
            </div>
          );
        })}
      </div>
    </div>
  );
};

export default Index;
Next, in <Dinosaur>, we’ll do the same except for
localhost:8000/api/${dinosaur}:
import React, { useEffect, useState } from "react";
import { Link, useParams } from "react-router-dom";

const Dinosaur = () => {
  const { dinosaur } = useParams();
  const [dino, setDino] = useState({});
  useEffect(() => {
    fetch(`http://localhost:8000/api/${dinosaur}`)
      .then(async (res) => await res.json())
      .then((json) => setDino(json));
  }, []);

  return (
    <div>
      <h1>{dino.name}</h1>
      <p>
        {dino.description}
      </p>
      <Link to="/">See all</Link>
    </div>
  );
};

export default Dinosaur;
Let’s start the React app:
deno task startAnd click through the app:
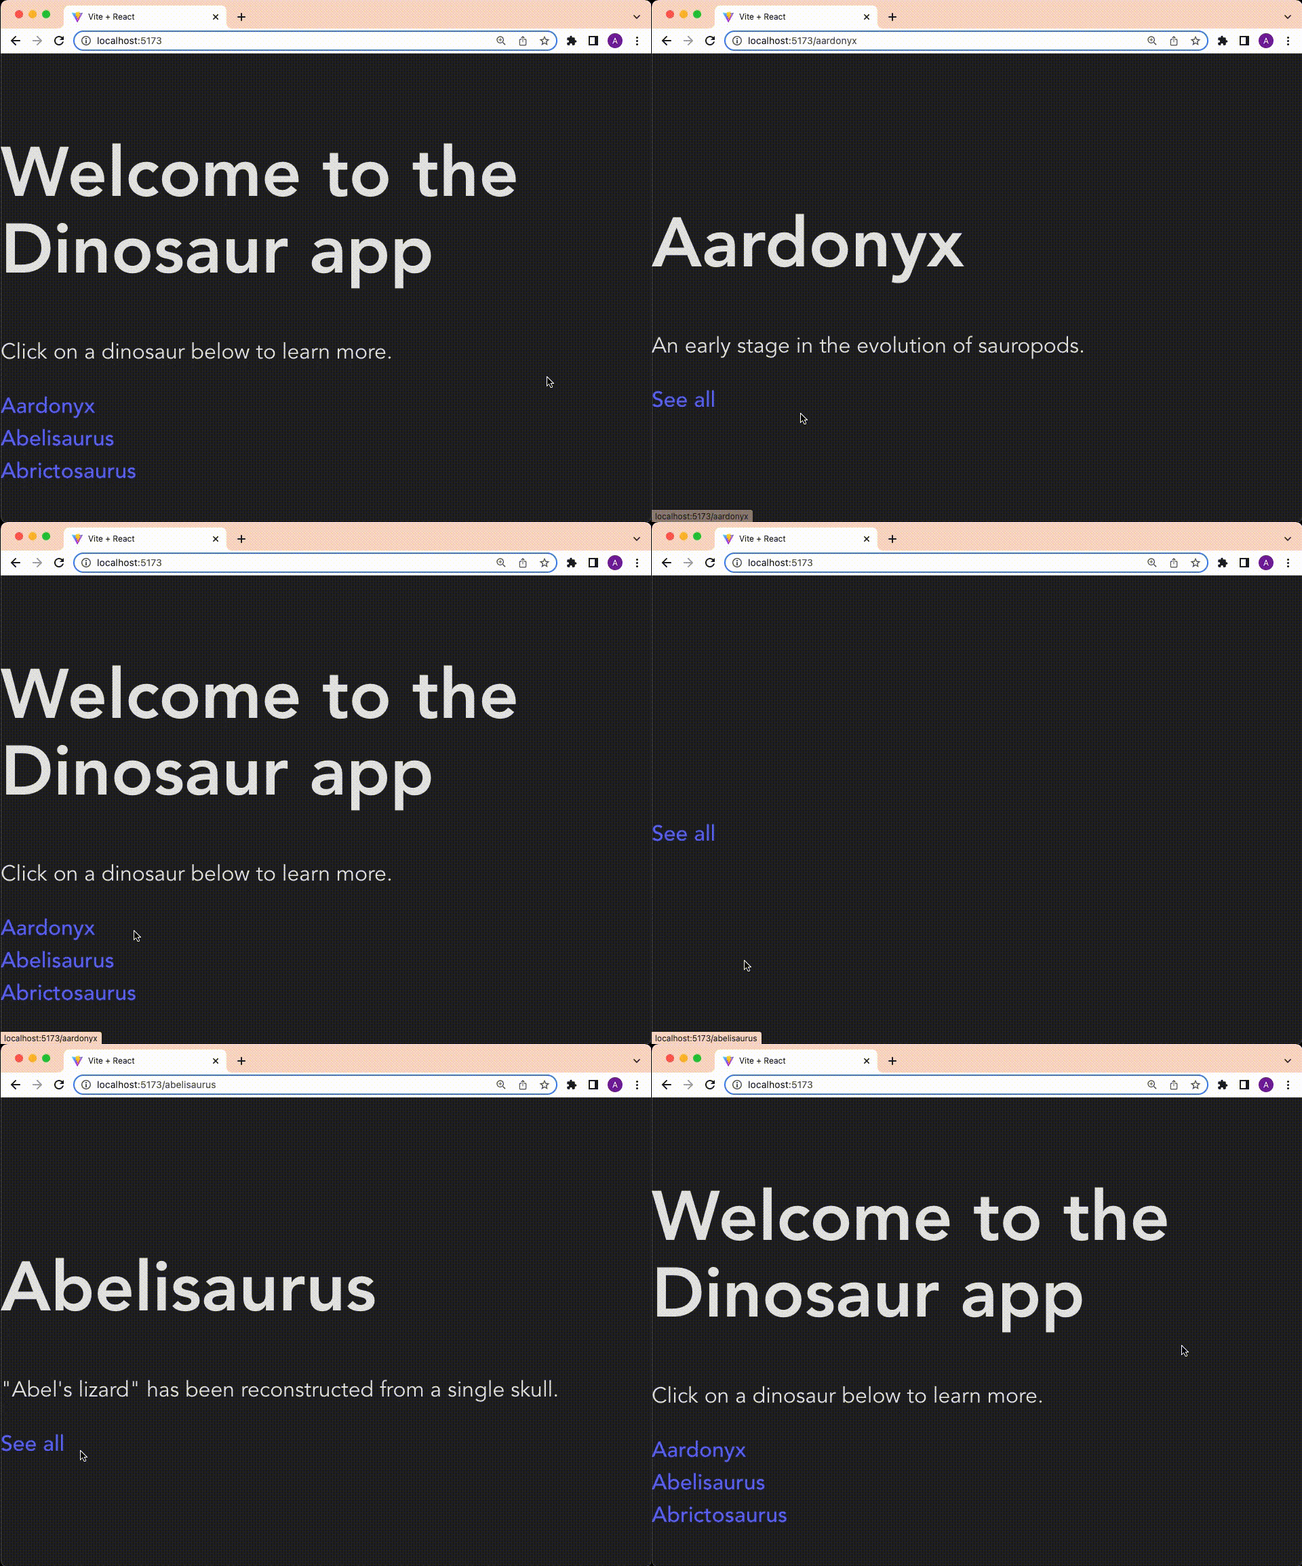
Success!
For more information using React, please refer to their documentation.
Vue is a progressive front-end JavaScript framework, built for performance and versatility.
Let’s create the exact same app we did with React, but now in Vue.
View the source or follow the video guide.
We’ll use Vite to scaffold our Vue app:
deno run --allow-read --allow-write --allow-env npm:create-vite-extra@latestName your project, then select “deno-vue”.
Then, cd into your new project and run:
deno task devYou should now be able to view your default Deno and Vue app in your browser:
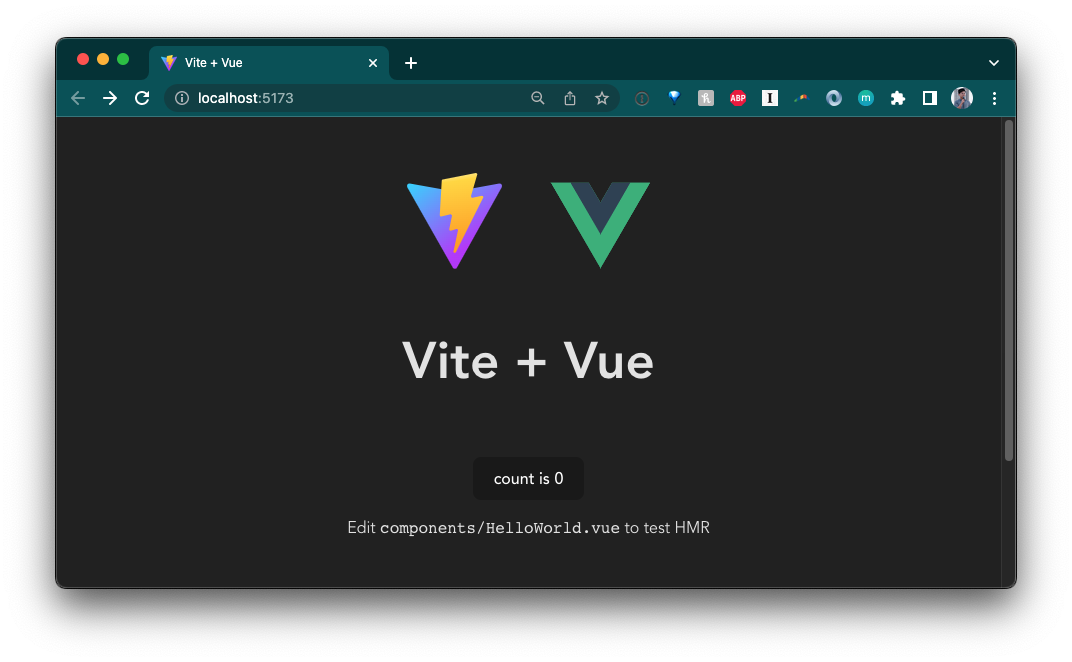
The next step is to add a backend API. We’ll create a very simple API that returns information about dinosaurs.
In the directory, let’s create an api folder. In that folder, we’ll create a
main.ts file, which will run the server, and a data.json, which is the hard
coded data.
mkdir api && touch api/data.json && touch api/main.tsCopy and paste
this json file
into your api/data.json.
Then, let’s update api/main.ts:
import { Application, Router } from "https://deno.land/x/oak@v11.1.0/mod.ts";
import { oakCors } from "https://deno.land/x/cors@v1.2.2/mod.ts";
import data from "./data.json" with { type: "json" };

const router = new Router();
router
  .get("/", (context) => {
    context.response.body = "Welcome to dinosaur API!";
  })
  .get("/api", (context) => {
    context.response.body = data;
  })
  .get("/api/:dinosaur", (context) => {
    if (context?.params?.dinosaur) {
      const found = data.find((item) =>
        item.name.toLowerCase() === context.params.dinosaur.toLowerCase()
      );
      if (found) {
        context.response.body = found;
      } else {
        context.response.body = "No dinosaurs found.";
      }
    }
  });

const app = new Application();
app.use(oakCors());
app.use(router.routes());
app.use(router.allowedMethods());

await app.listen({ port: 8000 });
This is a very simple API server using oak that
will return dinosaur information based on the route. Let’s start the API server:
deno run --allow-env --allow-net api/main.tsIf we go to localhost:8000/api, we see:
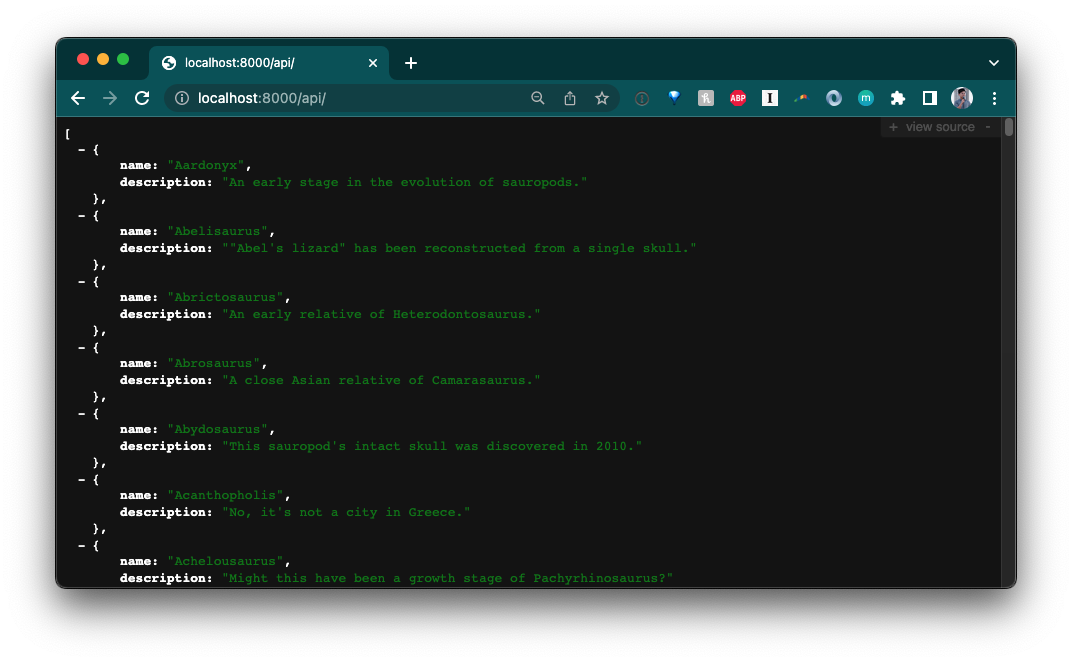
So far, so good.
Let’s update src/components. We’ll add the following files:
HomePage.vue, the component for the home pageDinosaurs.vue, the component that lists all dinosaur names as anchor links,
andDinosaur.vue, the component that shows an individual dinosaur’s name and
descriptiontouch src/components/HomePage.vue src/components/Dinosaurs.vue src/components/Dinosaur.vueBefore we create the components, let’s add some state management.
storeIn order to maintain state across our <Dinosaur> and <Dinosaurs> components,
we’ll use Vue store.
Note for more complex state management, check out the Vue-endorsed
Pinia library.
Create a src/store.js file:
touch src/store.jsAnd in it, let’s add:
import { reactive } from "vue";

export const store = reactive({
  dinosaur: {},
  setDinosaur(name, description) {
    this.dinosaur.name = name;
    this.dinosaur.description = description;
  },
});
We’ll import store into both Dinosaurs.vue and Dinosaur.vue to set and
retrieve dinosaur name and description.
In Dinosaurs.vue, we’ll do three things:
GET request to our API and return that as dinosaursdinosaurs and render each dinosaur in <router-link> that
points to the <Dinosaur> componentstore.setDinosaur() to @click on each dinosaur, which will set the
storeHere is the complete code below:
<script>
import { ref } from 'vue'
import { store } from '../store.js'
export default ({
  async setup() {
    const res = await fetch("http://localhost:8000/api")
    const dinosaurs = await res.json();
    return {
      dinosaurs
    }
  },
  data() {
    return {
      store
    }
  }
})
</script>

<template>
  <div class="container">
    <div v-for="dinosaur in dinosaurs" class="dinosaur-wrapper">
      <span class="dinosaur">
        <router-link :to="{ name: 'Dinosaur', params: { dinosaur: `${dinosaur.name.toLowerCase()}` }}">
          <span @click="store.setDinosaur(dinosaur.name, dinosaur.description)">
            {{dinosaur.name}}
          </span>
        </router-link>
      </span>
    </div>
  </div>
</template>

<style scoped>
.dinosaur {
}
.dinosaur-wrapper {
  display: inline-block;
  margin: 0.15rem 1rem;
  padding: 0.15rem 1rem;
}
.container {
  text-align: left;
}
</style>
In Dinosaur.vue, we’ll add:
storestore.dinosaur in the HTML<script> import { store } from '../store.js'; export default { data() { return { store } } } </script> <template> Name: {{ store.dinosaur.name }} <br /> Description: {{ store.dinosaur.description }} </template>
Next, we’ll update HomePage.vue. Since the Dinosaurs component needs to
fetch the data from the API, we’ll use
<Suspense>, which manages
async dependencies in a component tree.
<script>
import { ref } from 'vue'
import Dinosaurs from './Dinosaurs.vue'
export default {
  components: {
    Dinosaurs
  }
}
</script>

<template>
  <Suspense>
    <template #default>
      <Dinosaurs />
    </template>
    <template #fallback>
      <div>Loading...</div>
    </template>
  </Suspense>

  <p>
    Check out
    <a href="https://vuejs.org/guide/quick-start.html#local" target="_blank"
      >create-vue</a
    >, the official Vue + Vite starter
  </p>
  <p class="read-the-docs">Learn more about using Deno and Vite.</p>
</template>

<style scoped>
.read-the-docs {
  color: #888;
}
</style>
Tying it all together, let’s update src/App.vue:
<template>
  <router-view />
</template>;
You’ll notice that we have used <router-link> and <router-view>. These
components are part of the vue-router library,
which we’ll have to setup and configure in another file.
First, let’s import vue-router in our vite.config.mjs file:
import { defineConfig } from "npm:vite@^3.1.3";
import vue from "npm:@vitejs/plugin-vue@^3.2.39";

import "npm:vue@^3.2.39";
import "npm:vue-router@4";


export default defineConfig({
  plugins: [vue()],
});
Next, let’s create a folder named router. In it, let’s create index.ts:
mkdir router && touch router/index.tsIn router/index.ts, we’ll create router, which contains information about
each route and their component, and export it. For more information on using
vue-router, check out their guide.
import { createRouter, createWebHistory } from "vue-router";
import HomePage from "../components/HomePage.vue";
import Dinosaur from "../components/Dinosaur.vue";

const routes = [
  {
    path: "/",
    name: "Home",
    component: HomePage,
  },
  {
    path: "/:dinosaur",
    name: "Dinosaur",
    component: Dinosaur,
    props: true,
  },
];

const router = createRouter({
  history: createWebHistory("/"),
  routes,
});

export default router;
Next, in our src/main.ts file, which contains all of the logic for the
frontend app, we’ll have to import and use router:
import { createApp } from "vue";
import "./style.css";
import App from "./App.vue";
import router from "./router/index.ts";

const app = createApp(App);
app.use(router);
app.mount("#app");
Let’s run it and see what we get so far:
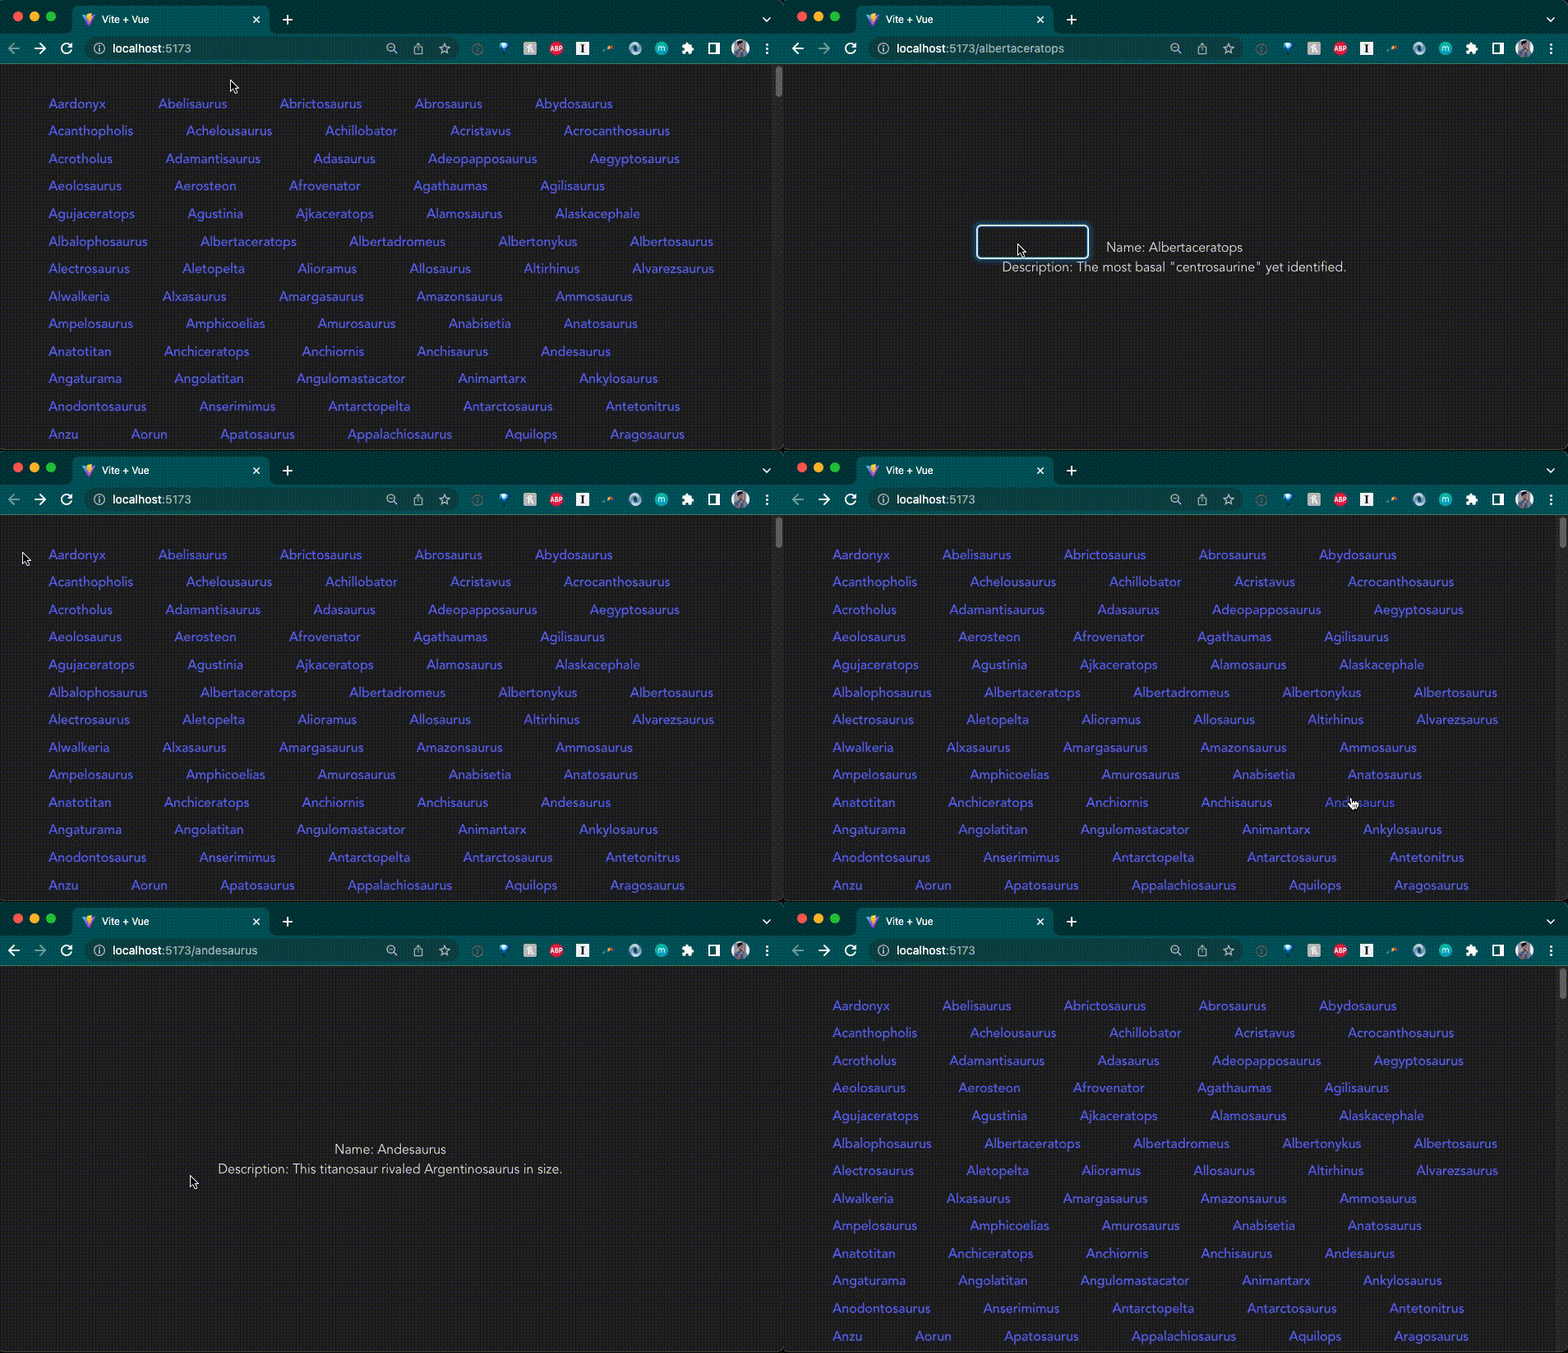
Awesome!
Hopefully, these examples showed how easy it is to get up and running with Deno and a JavaScript web framework. They are also starting points for building an app. From there, you could add proper data persistence, add additional routes, implement authentication, etc. Lastly, we plan to continue adding How To guides in our Manual.
We’re also excited to announce that we are hosting a livestream on our YouTube channel tomorrow, Thursday, November 17th, at 9am PT, where we’ll
We hope you can join us!
Stuck? Get help on our Discord.
此内容由惯性聚合(RSS阅读器)自动聚合整理,仅供阅读参考。 原文来自 — 版权归原作者所有。