







This series of blog posts will guide you through building a simple browser-based dinosaur runner game using Deno.
- Setup a basic project
- Game loop, canvas, and controls
- Obstacles and collision detection
- Databases and global leaderboards
- Player profiles, customization, and live tuning
- Observability, metrics, and alerting
The first thing we’ll need in order to build a browser-based game is a web server to serve our static files (HTML, CSS, JS). In Stage 1, we will set up a basic Deno project that serves these files locally and we’ll deploy it to the web with Deno Deploy.
Keep reading and build along or view the entire source here.
Setting up a basic Deno project is straightforward. We can use the
deno init command to
create a new project folder with a deno.json configuration file.
This will set you up with a new directory called dino-runner containing a
deno.json file where you can define tasks and configurations for your Deno
project.
We’re going to build out a basic server that serves static files from a
public/ directory and will serve API requests in later stages.
Set up the following structure in your new project, create empty files as needed, we’ll fill them in as we go:
Runner Game/
├── src/                    # Server-side source code
│   ├── main.ts             # Server entry point
│   └── routes/             # Route definitions
│       └── api.routes.ts   # API route definitions
├── public/                 # Client-side static files
│   ├── index.html          # Main landing page & game canvas
│   ├── js/
│   │   └── game.js         # Client-side game logic
│   └── css/
│       └── styles.css      # Styling
├── deno.json               # Deno configuration
└── .env                    # Environment variables
First up, we’ll install the packages that we’ll need to use in this project. Firstly we’ll need the Oak framework to help us set up the server.
Then we’ll add some tasks to our deno.json file to help us run the server
easily. In your deno.json, overwrite the tasks section with the following:
deno.json
"tasks": {
  "dev": "deno run --allow-net --allow-read --allow-env --env-file --watch src/main.ts",
  "start": "deno run --allow-net --allow-read --allow-env --env-file src/main.ts"
},
deno task dev) and in production mode without watching
(deno task start).--allow-net and --allow-read flags are necessary to allow the server
to listen for network requests and read static files from the filesystem. Deno
keeps your project secure by default, so you need to explicitly grant these
permissions to allow the code access to these sensitive APIs.--env-file flag allows the server to access a .env file, which is
useful for configuring the host and port and other variables we’ll need later
on.Lets set up some environment variables in our newly created .env file at the
root the project folder:
.env
PORT=8000
HOST=localhost
Next we’ll set up a basic index.html file in the public/ folder with links
to the assets we’ll use later:
public/index.html
<!DOCTYPE html>
<html lang="en">
  <head>
    <meta charset="UTF-8" />
    <meta name="viewport" content="width=device-width, initial-scale=1.0" />
    <link
      rel="preload"
      href="https://demo-styles.deno.deno.net/fonts/Moranga-Regular.woff2"
      as="font"
      type="font/woff2"
      crossorigin
    />
    <link
      rel="preload"
      href="https://demo-styles.deno.deno.net/fonts/Moranga-Medium.woff2"
      as="font"
      type="font/woff2"
      crossorigin
    />
    <link
      rel="preload"
      href="https://demo-styles.deno.deno.net/fonts/Recursive_Variable.woff2"
      as="font"
      type="font/woff2"
      crossorigin
    />
    <link
      rel="stylesheet"
      href="https://demo-styles.deno.deno.net/styles.css"
    />
    <link rel="stylesheet" href="css/styles.css" />
    <link rel="icon" href="favicon.ico" type="image/x-icon" />
    <title>Dino Runner</title>
  </head>
  <body>
    <h1>Dino Runner Game - Stage 1</h1>
    <p>This is a placeholder for the Dino Runner game.</p>
    <script src="js/game.js" type="module"></script>
  </body>
</html>
src/main.ts)We’ll create a very simple server using the
Oak framework to serve static files from the
public/ directory.
src/main.ts
import { Application } from "@oak/oak/application";

const PORT = parseInt(Deno.env.get("PORT") || "8001");
const HOST = Deno.env.get("HOST") || "localhost";

const app = new Application();


app.use(async (context, next) => {
  try {
    await context.send({
      root: `${Deno.cwd()}/public`,
      index: "index.html",
    });
  } catch {
    await next();
  }
});

app.listen({
  port: PORT,
});

console.log(`Server is running on http://${HOST}:${PORT}`);
This code spins up a local HTTP server that maps incoming requests directly to
your /public folder. Deno.cwd()
gets the current working directory, ensuring that the server correctly locates
the public/ folder regardless of where the script is run from.
You should now be able to run the server locally with:
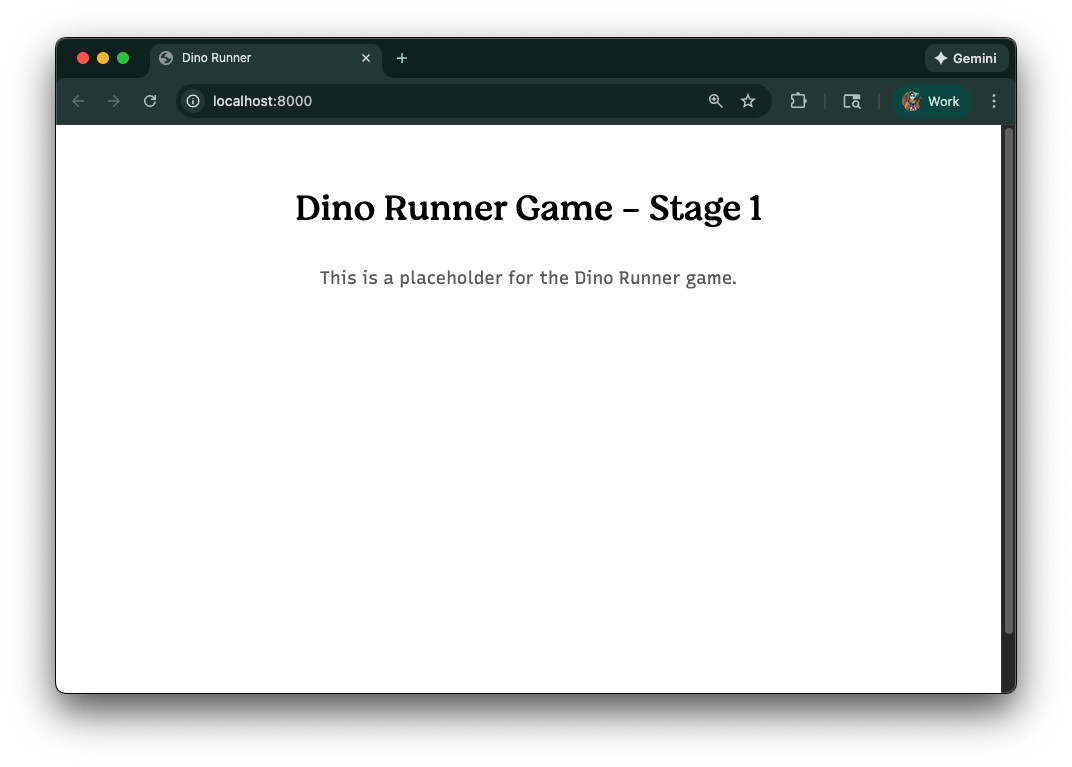
This should show you a very basic web page when you navigate to
http://localhost:8000 in your browser:
src/routes/api.routes.ts)Next, we’ll set up a basic routing structure for our API endpoints. For now, this file will be mostly empty, but it sets the stage for future development.
src/routes/api.routes.ts
import { Router } from "@oak/oak/router";

export const apiRouter = new Router({ prefix: "/api" });


apiRouter.get("/health", (ctx) => {
  ctx.response.body = {
    status: "ok",
    message: "🦕 Stage 1 - Dino server is healthy!",
  };
});
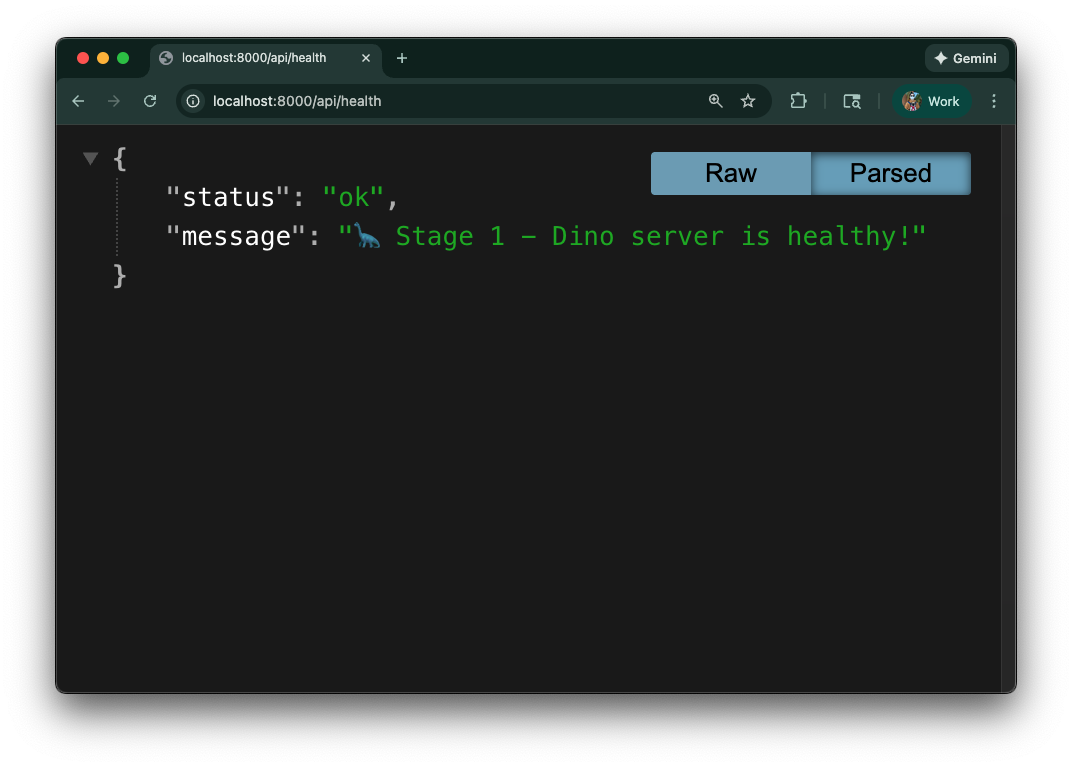
This sets up a simple health check endpoint at /api/health that we can use to
verify that our server is running correctly.
Then we’ll update the main server file to use this router. First, add an import
for the router at the top of src/main.ts:
src/main.ts
import { apiRouter } from "./routes/api.routes.ts";
Then, after the app.use for static files, add the following:
src/main.ts
app.use(apiRouter.routes());
app.use(apiRouter.allowedMethods());
This tells the Oak application to use the routes defined in apiRouter.
Now, when you run the server, you can check the health endpoint by navigating to
http://localhost:8000/api/health:
Let’s deploy your new project to Deno Deploy, so that you can share it with the world!
First, make sure you have a Deno Deploy account. If you don’t have one, you can sign up at https://console.deno.com/.
Then, you can use the
deno deploy command to
deploy your project:
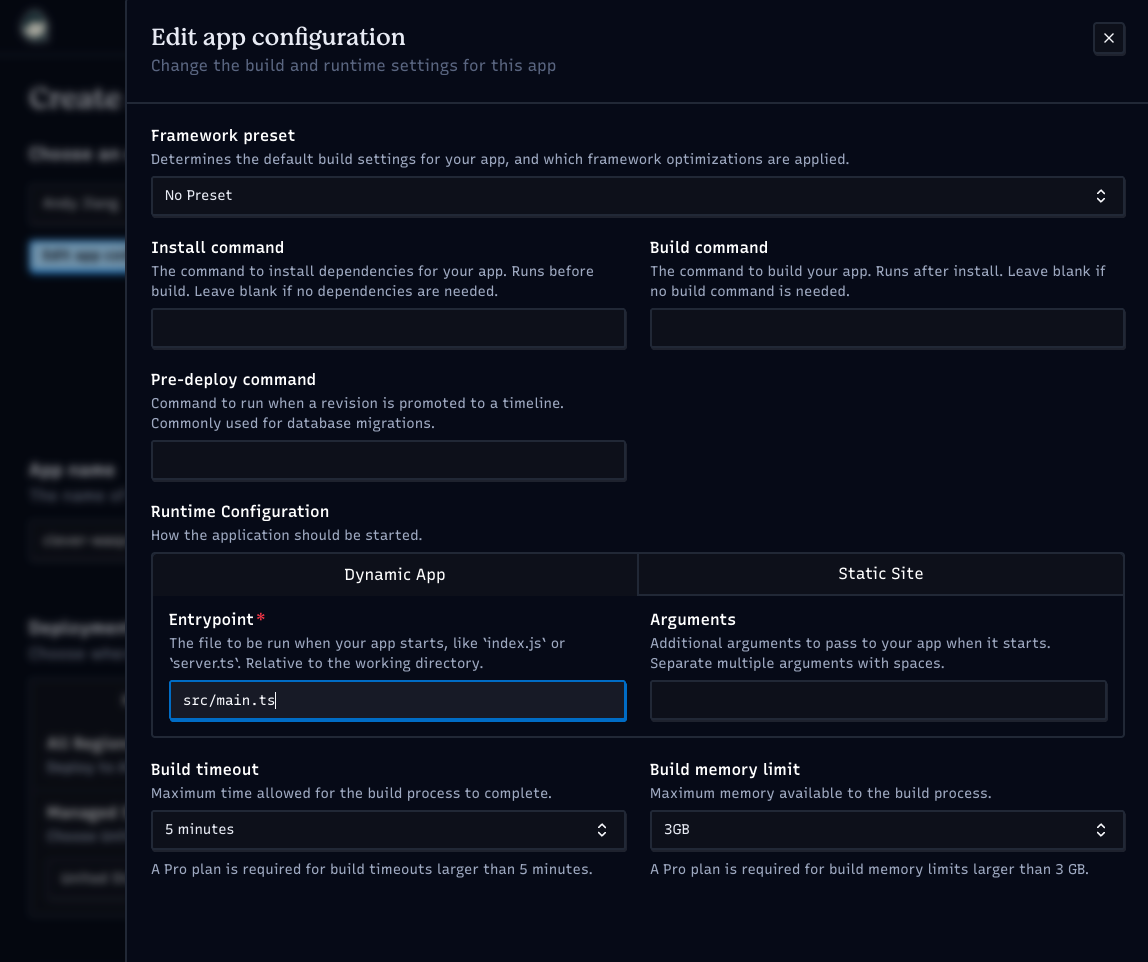
This command will guide you through the deployment process. It will ask you to
select a project name and will upload your code to Deno Deploy. Make sure to
select “Edit app config” and set the entry point for your application to
src/main.ts:
Once the deployment is complete, you’ll receive a URL where your application is live.
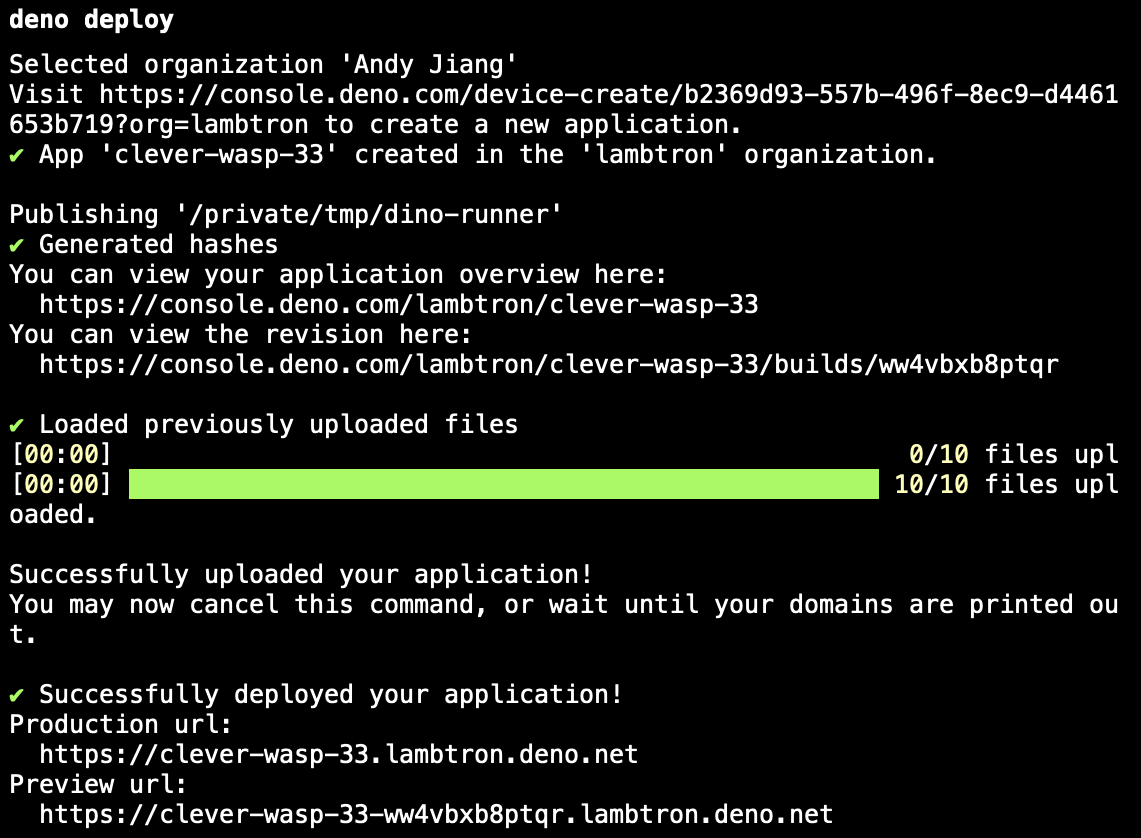
You can visit this URL in your browser to see your basic HTML page ready to be developed into a dinosaur runner game!
Stage 2 introduces enhanced features — more interactivity, more refined structure, and the beginnings of real game logic. We’ll publish it next week! Stay tuned.
What are you building with Deno? Let us know on Twitter, Bluesky, or Discord.
此内容由惯性聚合(RSS阅读器)自动聚合整理,仅供阅读参考。 原文来自 — 版权归原作者所有。