







You might be surprised that a static site generator written in Go can be published on Deno Deploy.
Since Deno embraces web standards, the runtime can fetch and execute external code. For example, Deno can run a simple HTTP file server through an import via URL with zero additional config or compile steps. And since this simply serves static files, it doesn’t matter how the static site is generated.
In this example, we’ll show you how to setup and deploy a static site with Hugo and Deno Deploy in minutes.
Note that we selected Hugo because it’s a popular static site generator written in Go with a fast build time (less than 1 ms per page). However, any static site generator can work with Deno Deploy.
Hugo already has some fantastic resources on getting started, but here is a short summary.
On MacOS, you can use homebrew or macports to install Hugo. For a more comprehensive list on installing Hugo, see their install guide.
You can use the hugo command to create a new site:
$ hugo new site hugo-on-deno-deploy
This creates a new directory “hugo-on-deno-deploy” that contains the project. Navigate into that folder to install a theme.
Hugo allows you to use
git submodules to install
a theme. Let’s install the
ananke theme and add it
to the config.toml file:
$ git init
$ git submodule add https://github.com/theNewDynamic/gohugo-theme-ananke.git themes/ananke
$ echo theme = \"ananke\" >> config.toml
To explore other themes, check out Hugo’s list of themes.
Again, we can use hugo to create a blog post. The following will create a
directory “posts” and, in it, create a new file named “my-first-post.md”, all
under the directory “content”.
$ hugo new posts/my-first-post.md
Your newly created markdown file will automatically contain some frontmatter with an empty body:
---
title: "My First Post"
date: 2022-03-21T17:55:41-07:00
draft: true
---
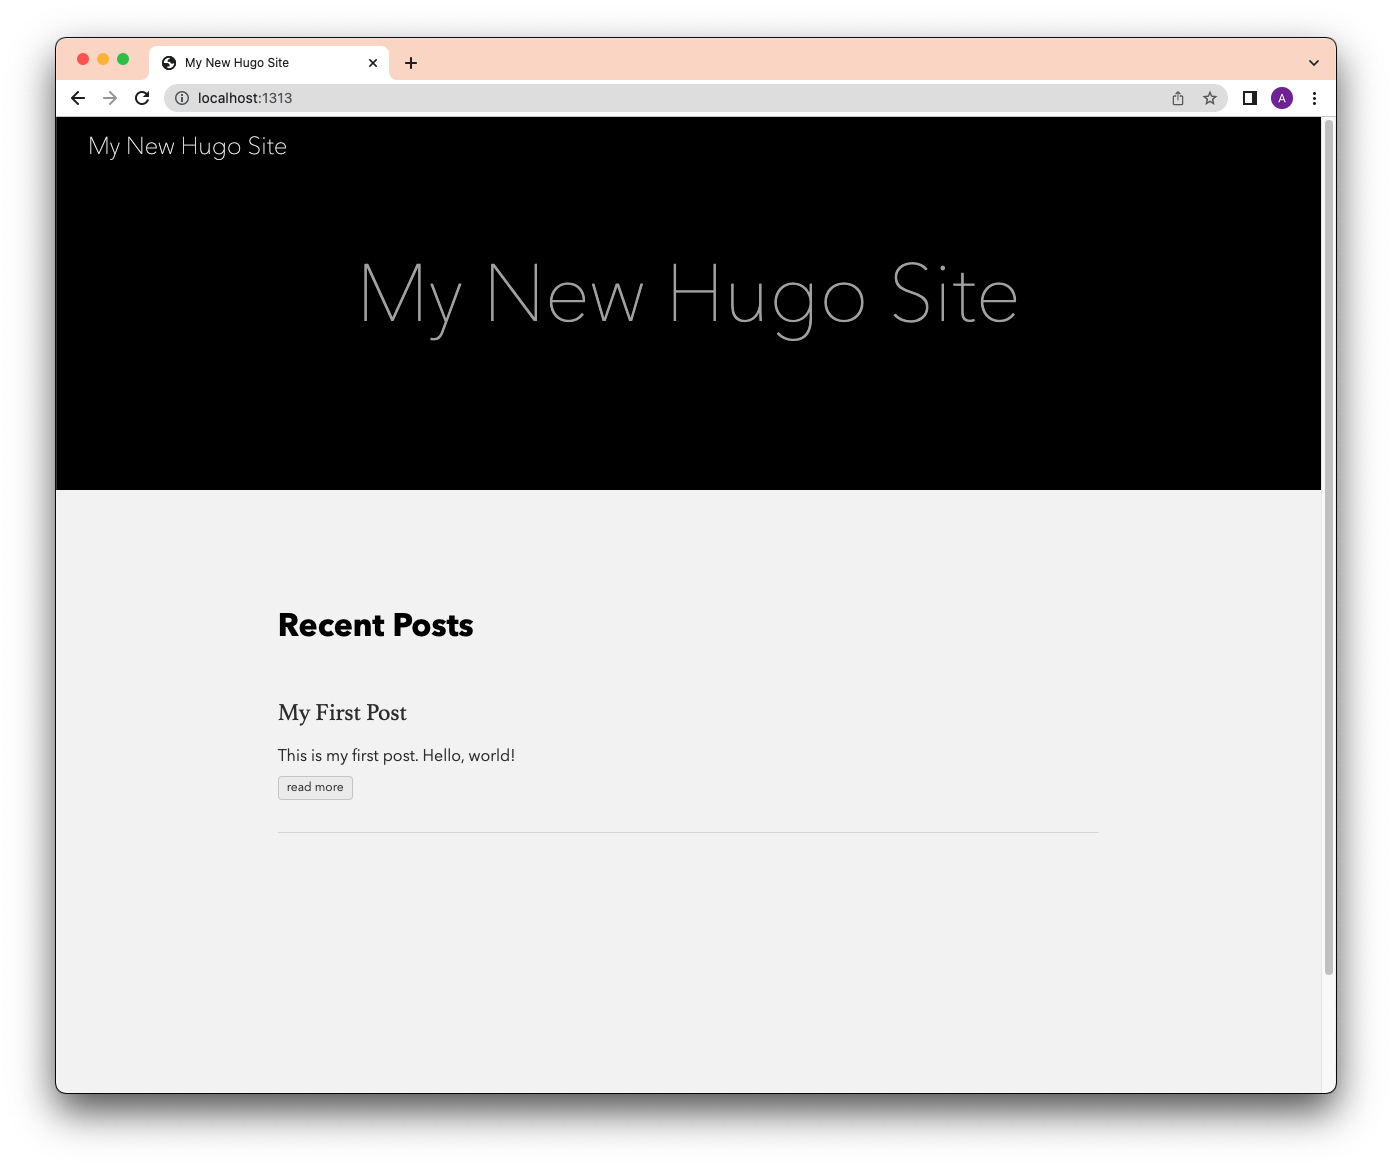
Start the local server and check it out!
Note the -D flag will show all posts where draft: true.
GitHub is a critical part of using CI/CD to deploy to Deno Deploy. To set it up, we simply create a GitHub repository and add the project directory.
First, create a repo in Github:
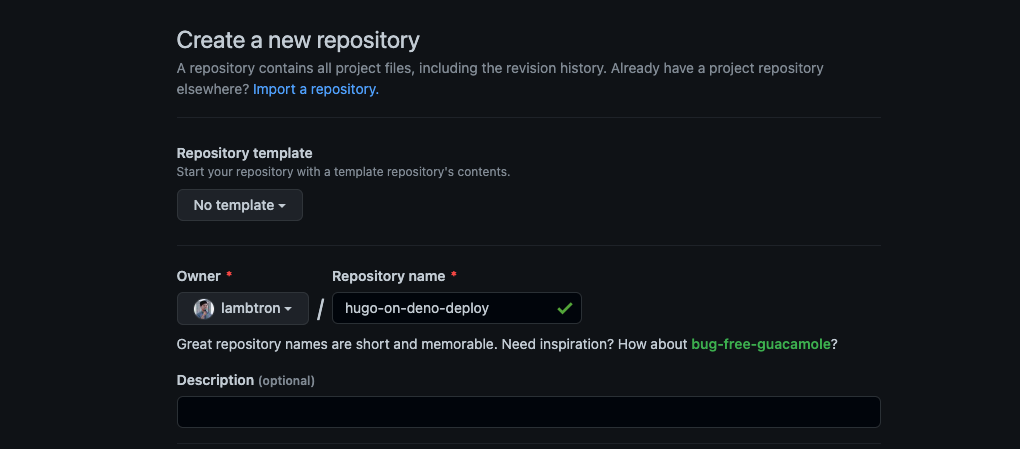
Grab the remote URL, add it to your local git remote, and push to GitHub.
$ git remote add origin git@github.com:lambtron/hugo-on-deno-deploy.git
$ git add .
$ git commit -am “first commit”
$ git push origin main
Your Hugo blog should now be a repository on GitHub.
Deno Deploy, our distributed TypeScript and JavaScript runtime on the edge, provides first class GitHub support, which means automatic deployments that fit into your workflow.
First, go to Deno Deploy and click “Sign Up”. This will ask you to connect your GitHub account.
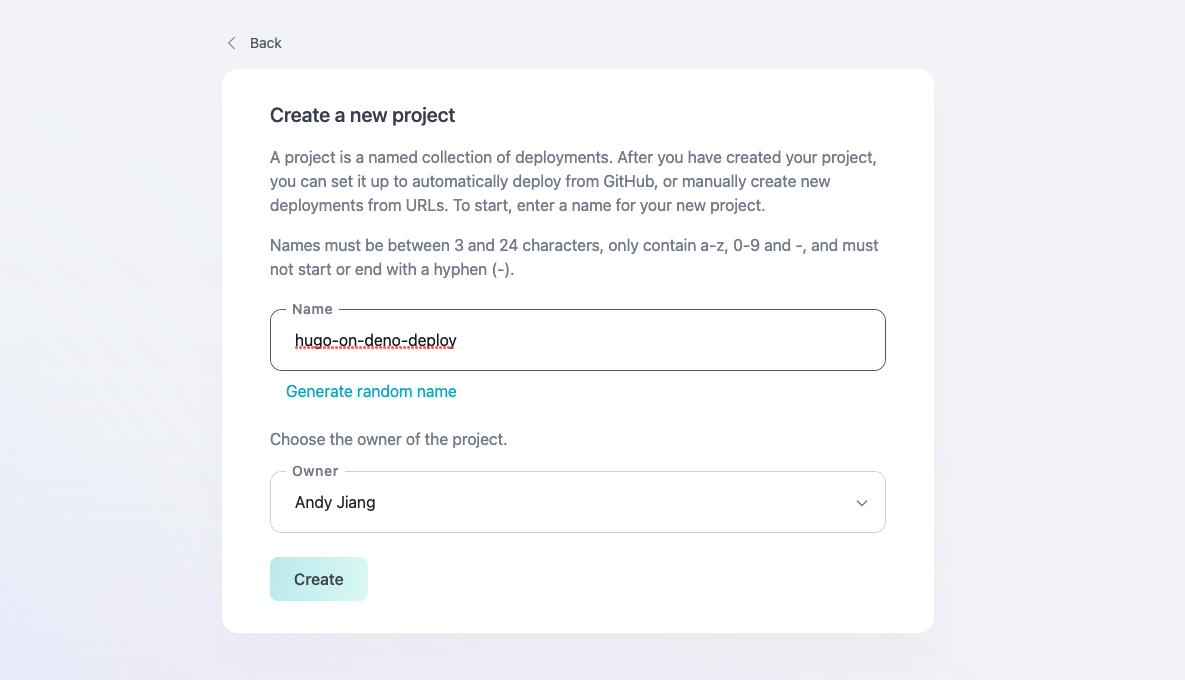
Then, create a new project:
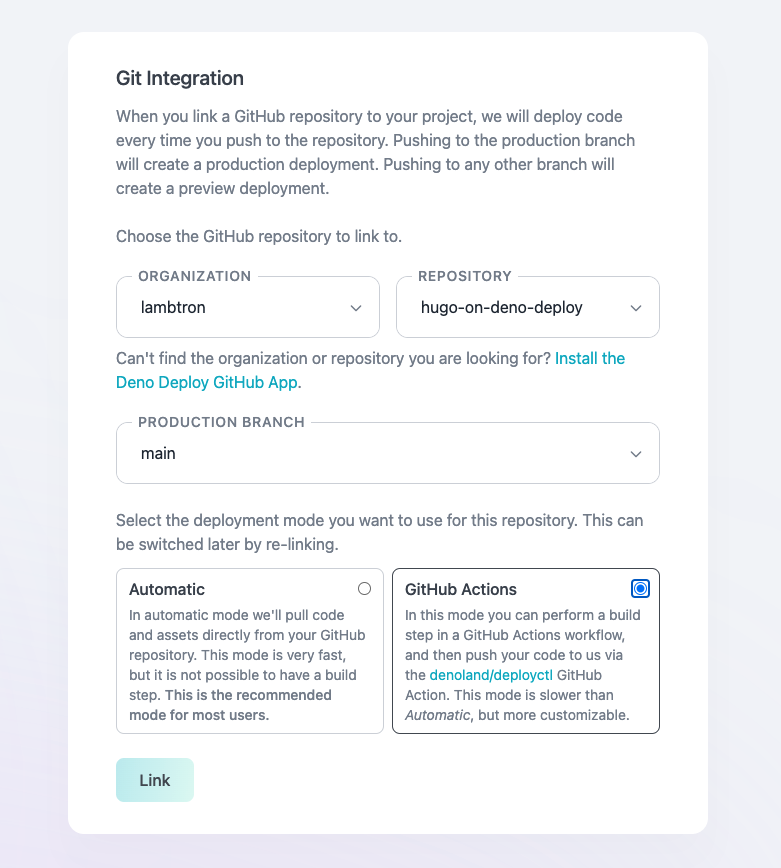
Select “Deploy from GitHub”, link the repository, and use the production branch. For deployment mode, select “GitHub Actions”, because we want to use GitHub Actions to first build the site using Hugo and then deploy it to Deno Deploy:
When you click “Link”, there will be a confirmation message, as well as sample yaml to add to your GitHub action:
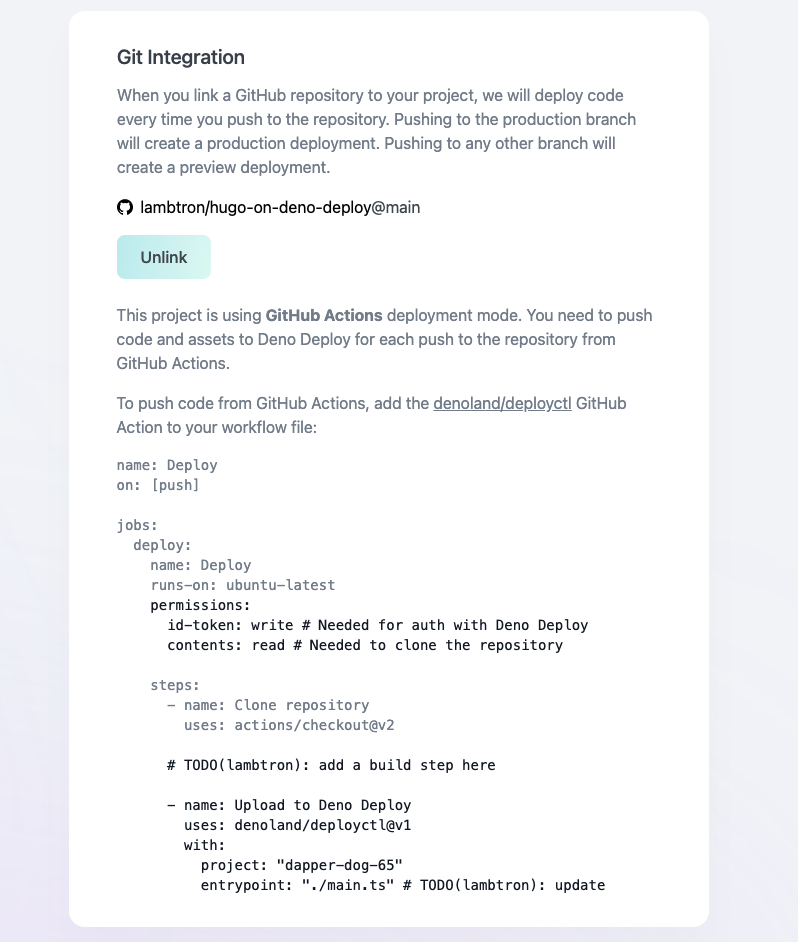
We’ll use the sample yaml as a starting point for creating our GitHub Action.
Github Actions are a simple way to automate your deployment workflows. In our
example, GitHub Actions will clone the repo onto an ubuntu image, install
hugo, build the site, then deploy it to Deno Deploy.
You can create a GitHub Action workflow from the UI, or you can simply add a
.github/workflows/main.yml file and commit it:
name: Deploy to Deno Deploy


on:

  push:
    branches: [main]
  pull_request:
    branches: [main]


  workflow_dispatch:


jobs:
  deploy:
    name: Deploy
    runs-on: ubuntu-latest
    permissions:
      id-token: write
      contents: read

    steps:
      - name: Clone repository
        uses: actions/checkout@v2
        with:
          submodules: true
          fetch-depth: 0

      - name: Setup Hugo
        uses: peaceiris/actions-hugo@v2
        with:
          hugo-version: "latest"

      - name: Build site
        run: hugo --minify

      - name: Deploy to Deno Deploy
        uses: denoland/deployctl@v1
        with:
          project: hugo-on-deno-deploy
          entrypoint: https://deno.land/std@0.140.0/http/file_server.ts
          root: public
The final action of the workflow uses deployctl, a command line tool for Deno Deploy. For the entry point, we’ll use Deno’s std lib fileserver. Note that we don’t need to “download” the file server–simply providing the URL address of the raw TypeScript file is enough for Deno Deploy to run the server.
Now, let’s try a sample deployment. Commit to main branch (or merge a pull
request onto main branch) to trigger the GitHub Action.
After the GitHub Action runs successfully, click “View” in your project on Deno Deploy:
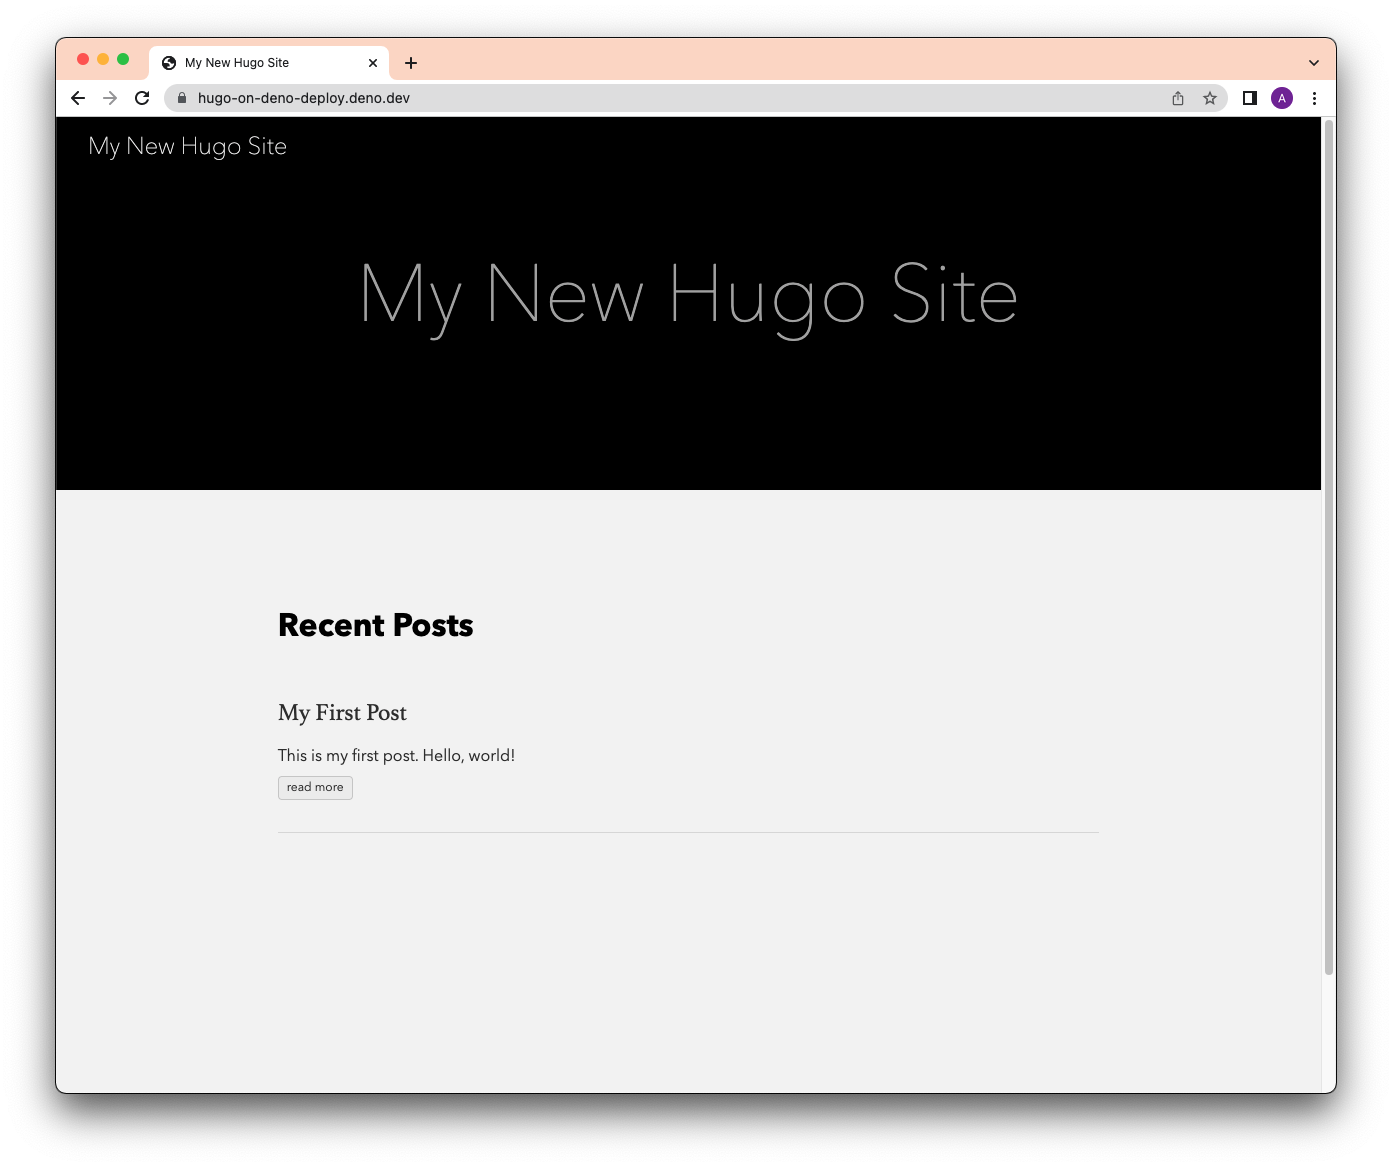
Now that we have continuous deployment setup with GitHub and Deno Deploy, let’s publish our first blog post.
First step is to use hugo to create a blog post.
$ hugo new posts/my-second-post.md
Add some content to the new markdown file and remove draft: true from the
frontmatter.
---
title: "My Second Post"
date: 2022-03-24T09:58:34-07:00
---

This is my second post!
Preview your site locally with hugo server. When you’re happy with the post,
commit the changes to your main branch. Finally, after the GitHub Actions
successfully deploys:
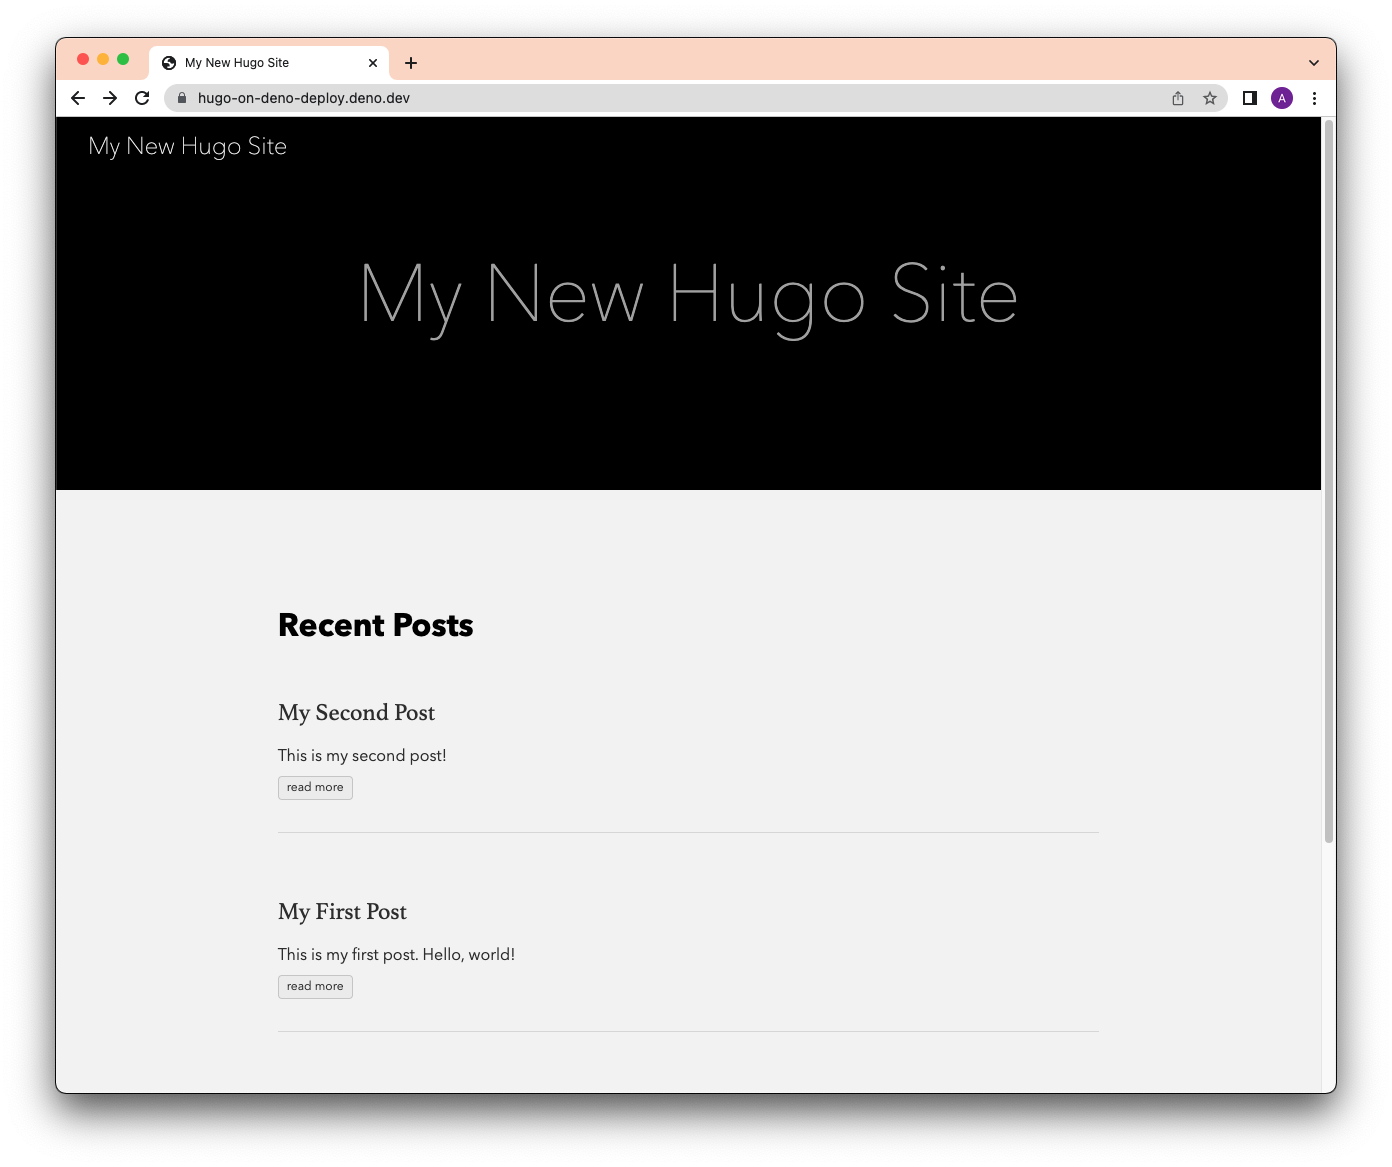
Using Hugo with Deno Deploy is one of the simplest ways to get a blog up and deployed globally on the edge. Additionally, the continuous deployment setup makes publishing blog posts easy, so you can focus on the content.
This example also shows that your static site generator doesn’t need to be written in JavaScript or TypeScript to run on Deno Deploy. Any static site generator can be used, so long as HTML files can be statically served.
View the source code or play with the demo.
Want to share what you’ve deployed on Deno Deploy or have questions? Come say hi on our Discord.
此内容由惯性聚合(RSS阅读器)自动聚合整理,仅供阅读参考。 原文来自 — 版权归原作者所有。