Ubuntu 搭建 php、mysql、nginx 开发环境 | Sanonz
Sanonz
·
2017-11-14
·
via Sanonz
进入 php 官方站点现在所需版本 http://php.net/downloads.php ,提取下载地址使用 wget 进行下载:
1
2
$ cd /usr/local / $ wget http://cn.php.net/distributions/php-7.1.11.tar.gz
解压文件
1
2
$ tar zxf php-7.1.11.tar.gz php-7.1.11-src $ cd ./php-7.1.11-src
安装依赖库
1 $ apt install make build-essential libxml2-dev
具体的配置选项列表使用 ./configure --help 或者查看官方文档 http://php.net/manual/zh/configure.about.php
1
2
3
4
5
6
7
8
9
10
11
12
13
14
15
16
17
18
$ ./configure \ --prefix=/usr/local /php-7.1.11 \ --with-curl \ --with-zlib \ --with-iconv \ --with-xmlrpc \ --with-openssl \ --with-pcre-jit \ --with-pdo-mysql=shared,mysqlnd \ --without-pear \ --enable -xml \ --enable -fpm \ --disable -dom \ --enable -shared \ --enable -sockets \ --enable -mbstring \ --disable -rpath \ --disable -fileinfo
如果提示 Cannot find OpenSSL's <evp.h> 执行以下命令
1 $ apt install libssl-dev
如果提示 Cannot find OpenSSL's libraries 执行以下命令
1
2
3
$ find / -name libssl.so /usr/lib/x86_64-linux-gnu/libssl.so $ ln -s /usr/lib/x86_64-linux-gnu/libssl.so /usr/lib
创建配置文件
1
2
$ cp ./lib/php.ini-development ./lib/php.ini $ cp ./etc/php-fpm.conf.default ./etc/php-fpm.conf
安装前可以使用以下命令查看当前的 mysql 版本:
1
2
3
4
5
6
7
$ apt show mysql-server Package: mysql-server Version: 5.7.20-0ubuntu0.16.04.1 Priority: optional Section: database Source: mysql-5.7 ...
执行以下命令安装 mysql:
1 $ sudo apt install mysql-server
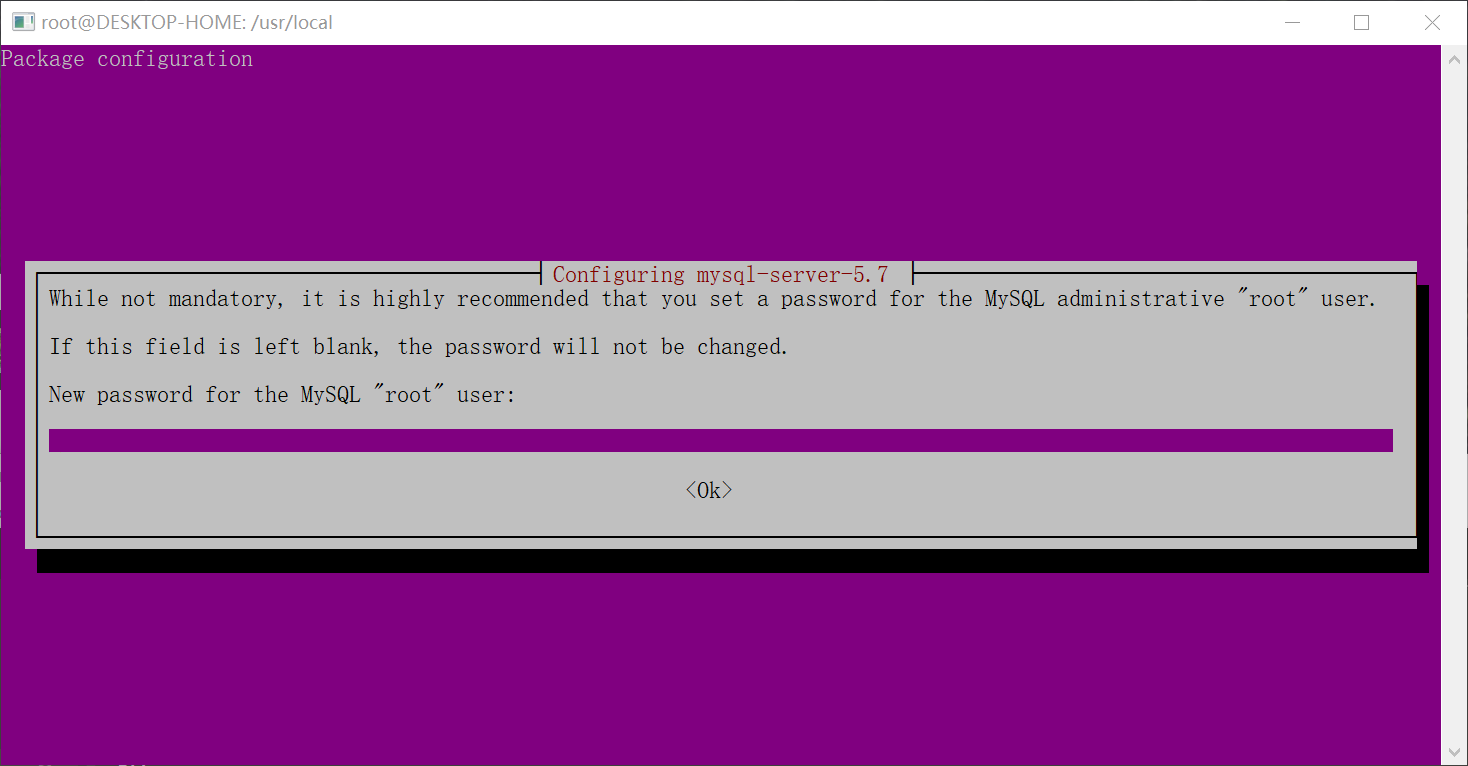
安装过程中需要输入密码:
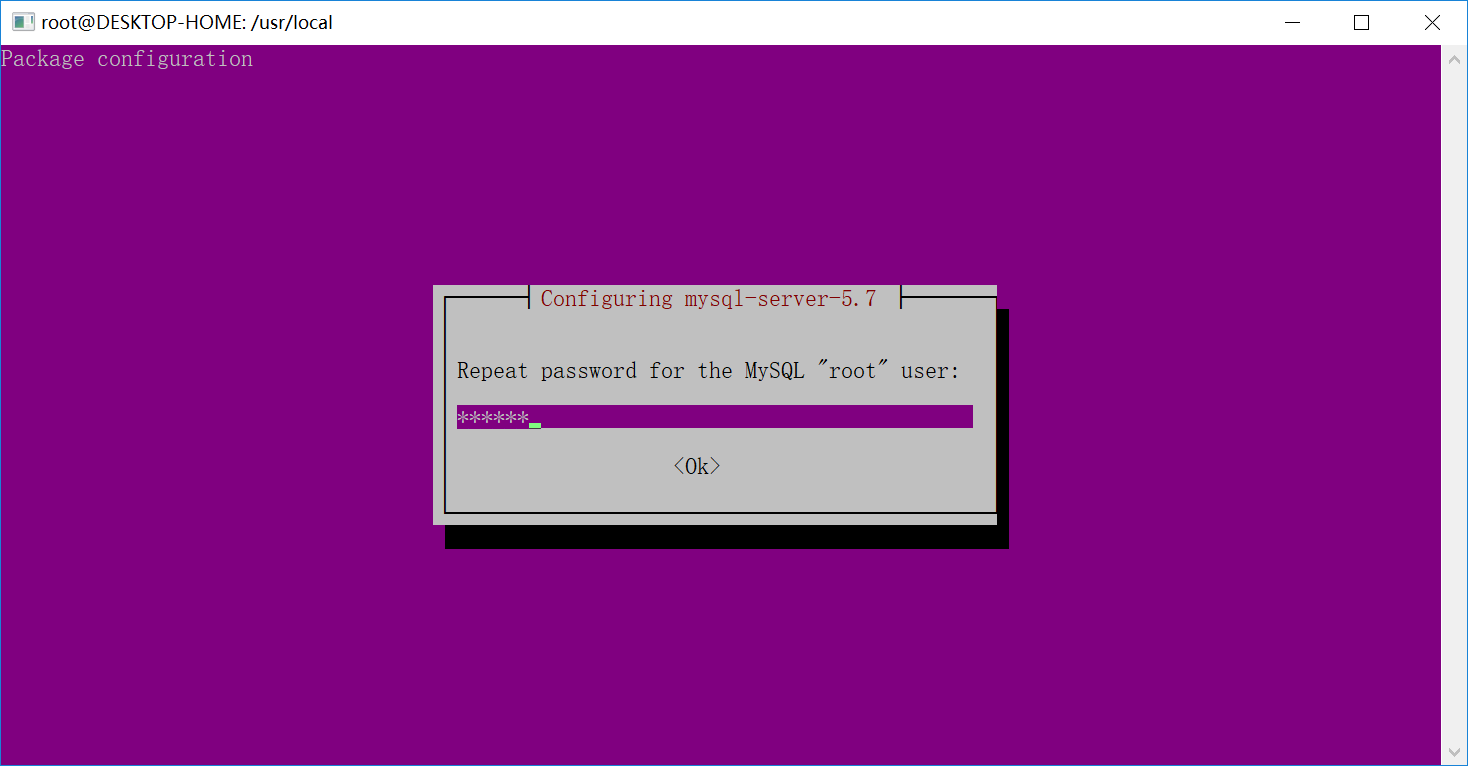
然后在重复输入密码:
设置完成后等待自动安装即可,安装完成 mysql 默认就启动了,可以执行以下命令查看,只要看到出来一坨代码就说明已经启动成功。
可以使用以下命令控制 mysql 服务:
1
2
3
$ service mysql stop $ service mysql start $ service mysql restart
使用以下命令进入 mysql shell 界面,按提示输入密码,可以使用 show databases 查看数据库列表,用 exit 命令退出 shell 界面:
1
2
3
4
5
6
7
8
9
10
11
12
13
14
15
16
17
18
19
20
21
22
23
24
25
26
27
$ mysql -uroot -p Enter password: Welcome to the MySQL monitor. Commands end with ; or \g. Your MySQL connection id is 7 Server version: 5.7.20-0ubuntu0.16.04.1 (Ubuntu) Copyright (c) 2000, 2017, Oracle and/or its affiliates. All rights reserved. Oracle is a registered trademark of Oracle Corporation and/or its affiliates. Other names may be trademarks of their respective owners. Type 'help;' or '\h' for help . Type '\c' to clear the current input statement. mysql> show databases; +--------------------+ | Database | +--------------------+ | information_schema | | mysql | | performance_schema | | sys | +--------------------+ 4 rows in set (0.02 sec) mysql> exit ; Bye
执行以下命令安装 nginx
1 $ sudo apt install nginx
先启动 nginx,然后访问 ip 查看是否安装成功。
编辑 nginx 配置文件,添加 php 解析
1
2
3
4
5
6
7
8
9
10
11
12
13
14
server { ... location ~ \.php$ { fastcgi_pass 127.0.0.1:9000 ; fastcgi_index index.php; fastcgi_param SCRIPT_FILENAME $document_root $fastcgi_script_name ; include fastcgi_params; } ... }
新建 php 文件并访问
完毕
此内容由惯性聚合(RSS阅读器)自动聚合整理,仅供阅读参考。 原文来自 — 版权归原作者所有。