惯性聚合 高效追踪和阅读你感兴趣的博客、新闻、科技资讯
阅读原文 在惯性聚合中打开

推荐订阅源

Last Week in AI
Last Week in AI
D
DataBreaches.Net
腾讯CDC
Recent Announcements
有赞技术团队
有赞技术团队
A
About on SuperTechFans
Cyber Security Advisories - MS-ISAC
Google DeepMind News
Microsoft Security Blog
云风的 BLOG
云风的 BLOG
罗磊的独立博客
月光博客
月光博客
MyScale Blog
MyScale Blog
U
Unit 42
Martin Fowler
Martin Fowler
Stack Overflow Blog
Stack Overflow Blog
T
Tailwind CSS Blog
Engineering at Meta
Engineering at Meta
N
Netflix TechBlog - Medium
G
Google Developers Blog
博客园 - 【当耐特】
D
Docker
I
InfoQ
雷峰网
雷峰网

StudyingLover's Blog

Diffusion Policy笔记 rwkv笔记 act笔记 nanovllm-block_manager opencode多智能体 nanobot-pre-train nanobot-rl nanobot-sft nanobot-checkpoint_manager nanobot-gpt nanobot-mid-train Vision Mamba (Vim)笔记 BPE演示 最后一遍学习Transformer YOLOv5 目标检测笔记 下载根服务器解析记录 Dynaseal A Backend-Controlled LLM API Key Distribution Scheme with Constrained Invocation Parameters 判断链表有环 王道25数据结构勘误 关于perplexity的open-sourcing-r1-1776 AI为什么不像人类一样进行多轮对话 新博客改造日记和功能测试 linuxqq只显示登陆背景图 数字设计和计算机体系结构(机械工业出版社)勘误(自制) Dynaseal:面向未来端侧llm agent的llm api key分发机制 A Definitive Guide to Markdown Style This post is using MDX, Where you can embed JSX and Astro components RT-Patch学习 pydantic实现的LLM ReAct fastapi 和 uvicorn 设置监听 ipv6
自建obsidian同步服务
About the Author StudyingLover · 2023-08-31 · via StudyingLover's Blog

自建obsidian同步服务

最近GitHub上有这样一个项目rev-obsidian-sync ,他逆向了obsidian的同步服务,使其可以在本地运行。

服务端

安装

首先安装服务端,

git clone https://github.com/acheong08/rev-obsidian-sync
cd obsidian-sync
go run cmd/obsidian-sync/main.go

go会下载一堆依赖,然后你会在最下面看到这个 image.png
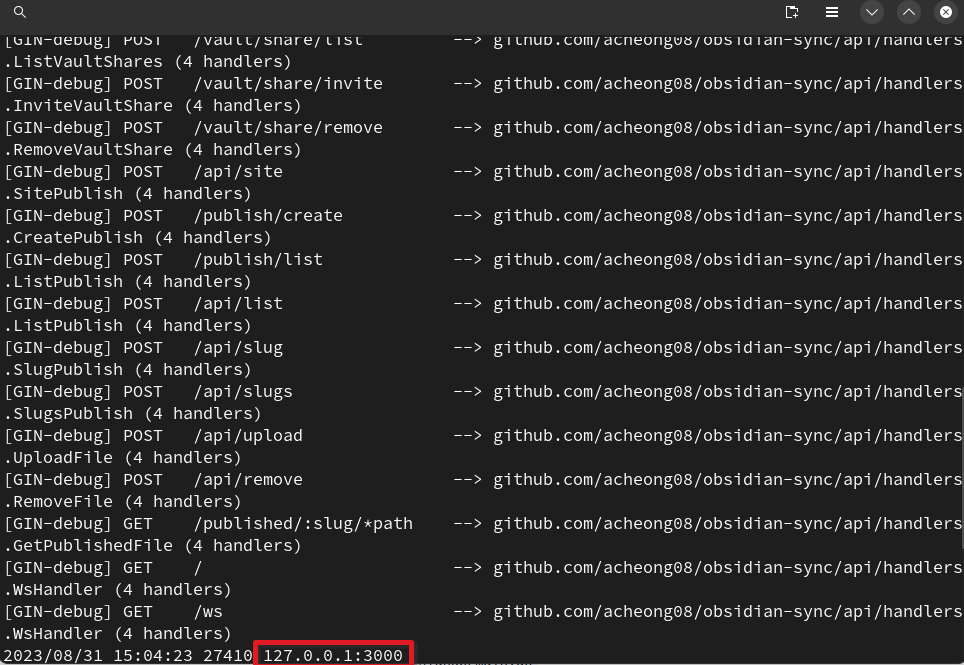
当然你也可以自定义域名,设置环境变量,DOMAIN_NAME 设置域名,ADDR_HTTP设置监听端口,DATA_DIR 设置数据保存的文件夹,SIGNUP_KEY 设置注册的密钥。

创建用户

需要新建一个用户给自己 go run cmd/signup/main.go 在命令行按照提示输入邮箱密码。

或者使用http请求的方式

curl --request POST \
  --url https://yourdomain.com/user/signup \
  --header 'Content-Type: application/json' \
  --data '{
	"email": "example@example.com",
	"password": "example_password",
	"name": "Example User",
	"signup_key": "<SIGNUP_KEY>"
}

客户端

在obsidian仓库打开命令行,然后

cd /path/to/vault/.obsidian
mkdir -p plugins/custom-sync-plugin && cd plugins/custom-sync-plugin
wget https://github.com/acheong08/rev-obsidian-sync-plugin/raw/master/main.js https://github.com/acheong08/rev-obsidian-sync-plugin/raw/master/manifest.json

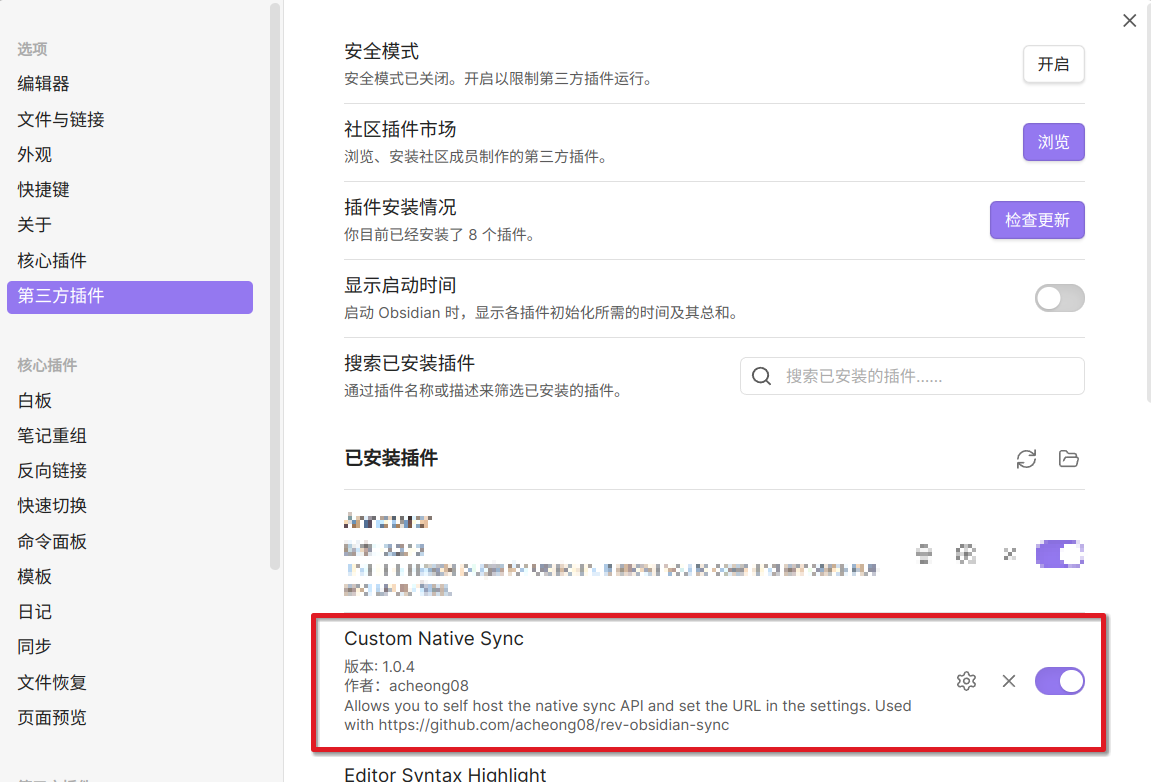
打开obsidian设置界面,选择第三方插件,启用Custom Native Sync image.png
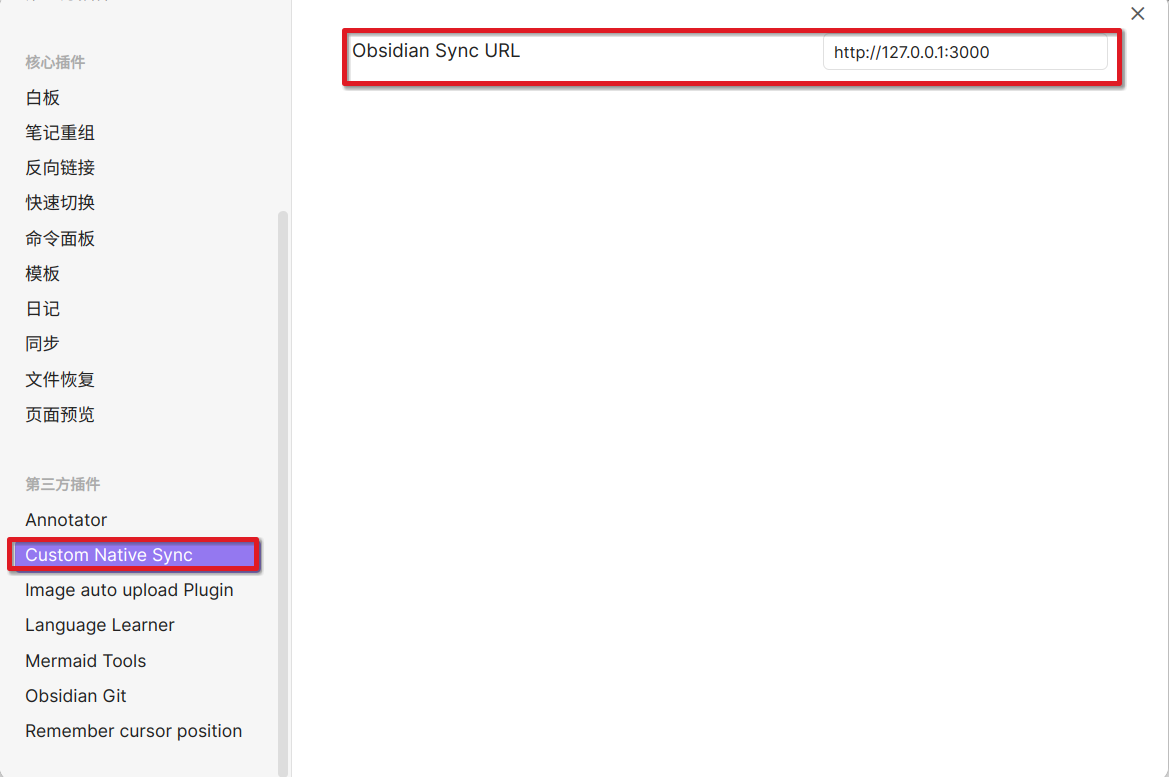
设置服务端地址 image.png

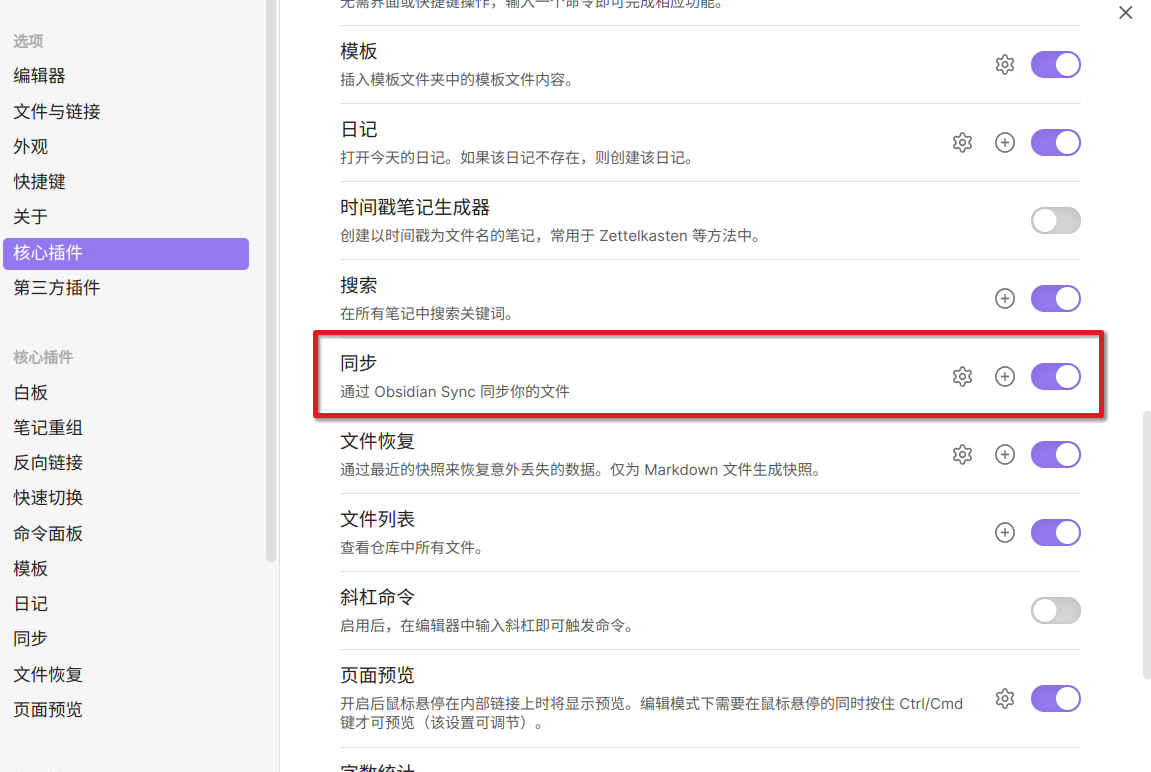
同时打开核心插件的同步 image.png 在点击左侧出现的同步按钮,输入前面设置的账号密码,就可以体验到官方的同步功能了。