惯性聚合 高效追踪和阅读你感兴趣的博客、新闻、科技资讯
阅读原文 在惯性聚合中打开

推荐订阅源

N
Netflix TechBlog - Medium
Blog — PlanetScale
Blog — PlanetScale
月光博客
月光博客
freeCodeCamp Programming Tutorials: Python, JavaScript, Git & More
CTFtime.org: upcoming CTF events
爱范儿
爱范儿
量子位
博客园 - 聂微东
Engineering at Meta
Engineering at Meta
WordPress大学
WordPress大学
GbyAI
GbyAI
MyScale Blog
MyScale Blog
IT之家
IT之家
P
Proofpoint News Feed
M
MIT News - Artificial intelligence
The Cloudflare Blog
H
Hackread – Cybersecurity News, Data Breaches, AI and More
Hugging Face - Blog
Hugging Face - Blog
The Register - Security
Microsoft Security Blog
博客园_首页
MongoDB | Blog
MongoDB | Blog
F
Fortinet All Blogs
博客园 - 三生石上(FineUI控件)
Y
Y Combinator Blog
雷峰网
雷峰网
V
Visual Studio Blog
酷 壳 – CoolShell
酷 壳 – CoolShell
Last Week in AI
Last Week in AI
博客园 - 叶小钗
D
DataBreaches.Net
B
Blog
B
Blog RSS Feed
大猫的无限游戏
大猫的无限游戏
aimingoo的专栏
aimingoo的专栏
让小产品的独立变现更简单 - ezindie.com
The GitHub Blog
The GitHub Blog
云风的 BLOG
云风的 BLOG
Recent Announcements
阮一峰的网络日志
阮一峰的网络日志
小众软件
小众软件
腾讯CDC
T
Threat Research - Cisco Blogs
SecWiki News
SecWiki News
Martin Fowler
Martin Fowler
D
Docker
Cisco Talos Blog
Cisco Talos Blog
T
Tenable Blog
Webroot Blog
Webroot Blog
宝玉的分享
宝玉的分享

An's Blog

「 折腾日志」: 家庭网络 「 折腾日志」: 校园网 About me
「 环境搭建」: MLIR-HLO
An · 2022-01-12 · via An's Blog

forthebadge

0x00 摘要

记述 MLIR-HLO + LLVM 环境搭建的流程

0x01 项目简介

MLIR-HLO aims to provide an end-to-end compiler for CPU and GPU, as well as building reusable blocks for other accelerators. This is heavily inspired by the success of XLA.

0x02 项目地址

MLIR-HLO: https://github.com/tensorflow/mlir-hlo
LLVM: https://github.com/llvm/llvm-project

0x03 搭建过程

  1. Install dependencies
    (下文以Ubuntu 20.04.3 LTS为例,默认root用户)

    apt update && apt install cmake g++ lld ninja-build
    
  2. Clone

    git clone https://github.com/llvm/llvm-project.git
    git clone https://github.com/tensorflow/mlir-hlo.git
    

    目录结构:
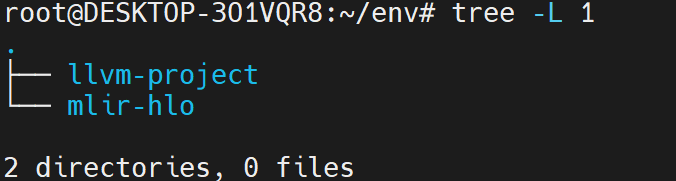
    MLIR-HLO_dir1

    cd llvm-project && git checkout $(cat ../mlir-hlo/build_tools/llvm_version.txt)
    

    Note: 切换LLVM到MLIR-HLO中指定的版本

  3. Build and Test

    • Build LLVM

      cd ../mlir-hlo
      build_tools/build_mlir.sh ../llvm-project/ ../llvm-build
      

      Note:
      1. 上述指定的两个目录需要根据实际情况进行指定,前者为LLVM的源目录,后者为LLVM的编译目录
      2. 建议将LLVM的编译目录独立放置便于管理

      目录结构:
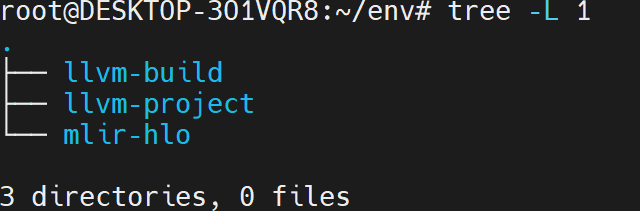
      MLIR-HLO_dir2

    • Build MLIR-HLO

      cmake .. -GNinja \
        -DLLVM_ENABLE_LLD=ON \
        -DCMAKE_BUILD_TYPE=Release \
        -DLLVM_ENABLE_ASSERTIONS=On \
        -DMLIR_DIR=${PWD}/../../llvm-build/lib/cmake/mlir
      

      Note: DMLIR_DIR 需根据实际情况进行指定
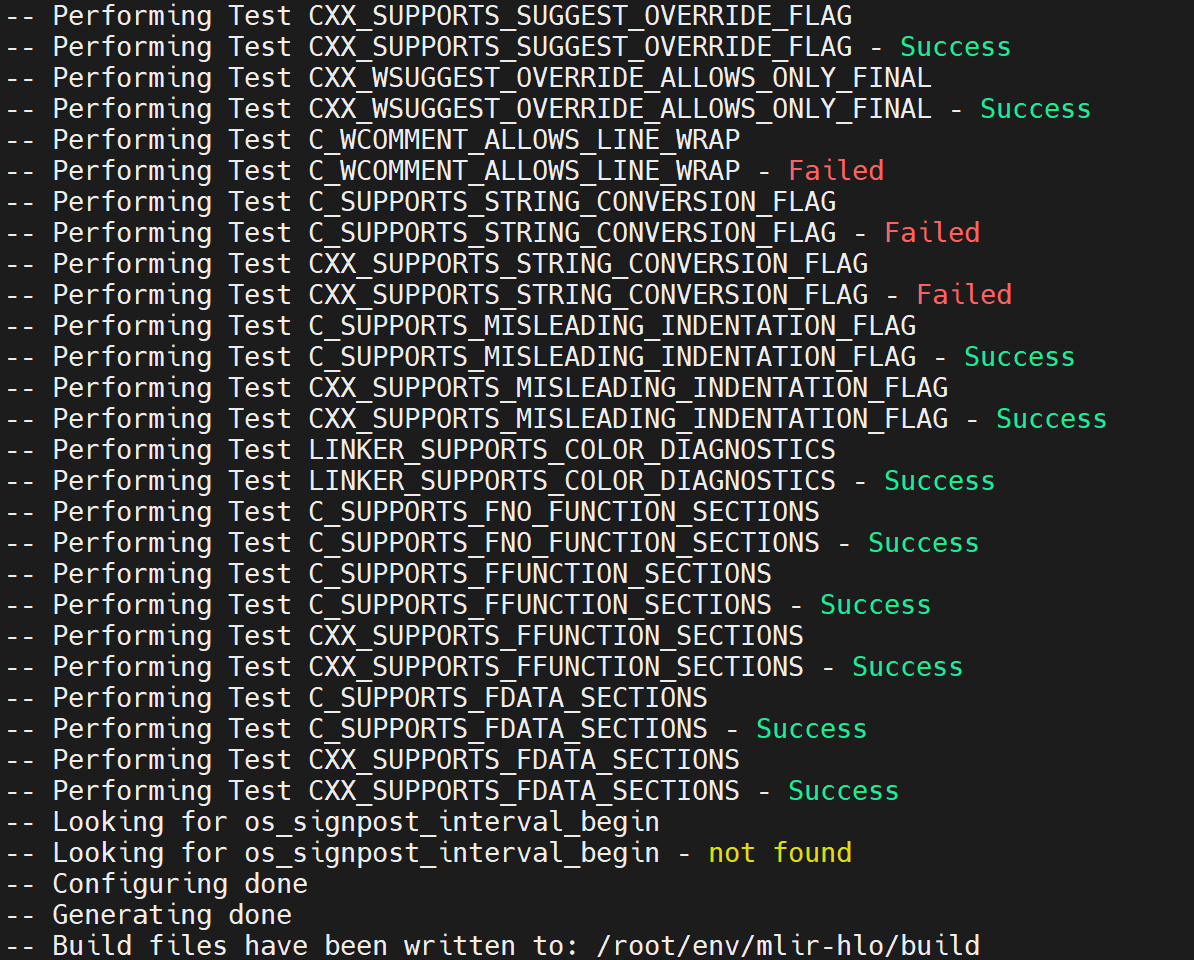
      MLIR-HLO_build1

    • Test

      MLIR-HLO_test1

      Note:
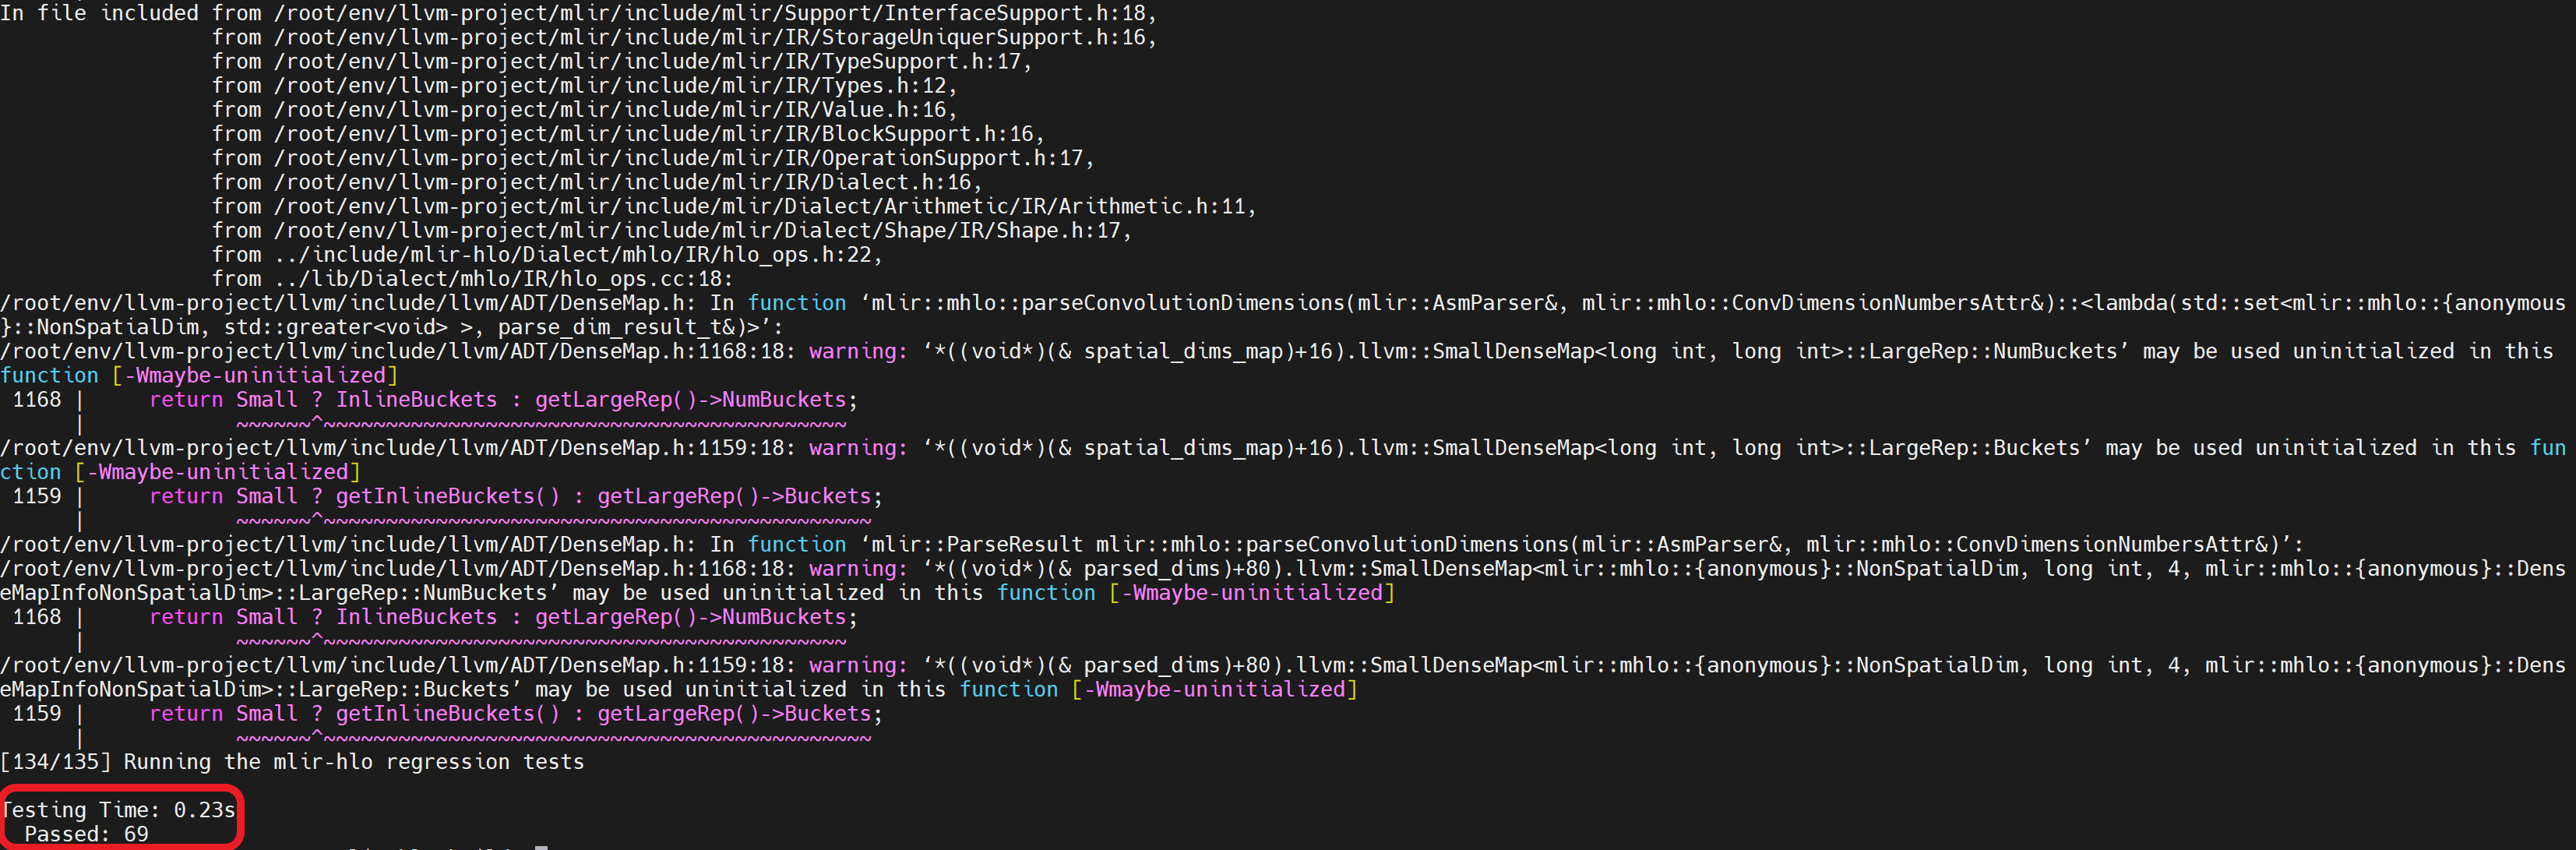
      1. 出现截图所示,则环境搭建完成
      2. 第一次运行 ninja check-mlir-hlo时,需要进行一次编译,后续运行时不需要

      MLIR-HLO_test2

0x04 测试环境

  • H/W
    • CPU: AMD 5950X
    • Mem: 64GB
  • S/W
    • OS: Ubuntu 20.04.3 LTS (Kernel: 5.10.16.3)
    • cmake: 3.16.3
    • gcc: 9.3.0
    • LLVM commit: 98d51c2542dc63608d3e98de415e090030e3ace1
    • MLIR-HLO commit: 5f3a8009b7ce9d7acb89e1a2b6b55ece9f1e8136
  • Date
    • 2022.01.12

Note: 测试中,编译LLVM时内存占用峰值大约30GB

0x05 参考