前言
在上一章 Browser Extension Dev - 06. Inject Script on Demand 中,我们介绍了按需为网页注入脚本执行自定义的功能,还实现了一个简单的复制网页主要内容为 Markdown 的扩展。在这一章中,我们将继续实现一个 Popup 弹窗,用于显示页面主要内容转换得到的 Markdown,并支持在复制之前进行预览和编辑。
首先,需要明确 Popup 是什么?
之前我们已经接触过 Content Script 注入网页的 UI 和 Options 配置页面。Popup 类似于 Options 页面,独立运行,但权限相比 Background/Options 更加受限。通常而言,它和 Content Script UI 的应用场景非常接近,都是显示一些当前网页相关的内容,但它也有一些独有的适用场景:
- 安全与隔离,网站无法以任何方式主动访问 Popup UI,它们完全由浏览器的不同线程/进程进行隔离。Content Script 注入的任何 UI 都有可能被网页检测出来,这就是网页能够检测是否使用了广告拦截器的原因之一。
- 不受普通网站影响,例如一个定时刷新的扩展,可以自动刷新当前页面,我们肯定不希望每次刷新网页之后都重新注入并显示操控面板。
- 无需内存清理,注入 Content Script 很难完全清理内存,这在普通网页不会出现问题,但在 SPA 网页可能会导致问题,复杂的(换句话说,使用了很多 npm 包的)JavaScript 代码真的到处都是内存泄漏。而 Popup 在关闭后就彻底销毁了,下次会再次重建。
- 可以在特权页面打开,例如 https://chromewebstore.google.com/,所有扩展的 Content Script UI 都会在这个网站禁用,但可以打开 popup 并且获得当前标签页的 URL,这在特定场景很有用,例如用于下载扩展 zip 文件的工具
Content Script UI 则有其他几个优势
- 更大的 UI 区域:Popup UI 受限于面板宽度,无法制作全屏面板
- 更容易与网站本身高度集成,例如需要添加符合网站外观的按钮时
- 更容易控制和修改网站本身,例如希望拦截网络、监听并修改 DOM、或者拦截脚本的特定代码执行之类的 – Popup 可以结合 Background Script 注入脚本做到,但没有那么灵活
接下来,让我们接着之前的实现继续完善吧。
参考 Chrome 官方文档 https://developer.chrome.com/docs/extensions/develop/ui/add-popup
思考
现在面临一个问题:如何在 Popup 中获取页面的内容?
答案是无法直接获取,需要通过 Background Script 中转,大致流程如下:
Popup → Background → executeScript(inject.js) → 返回 markdown → Popup 显示
但是等等,scripting.executeScript 可以有返回值吗?当然可以,它支持同步和异步返回值,但返回值必须是可结构化克隆的。
参考 Chrome scripting API 关于 Promise 返回值的官方文档 https://developer.chrome.com/docs/extensions/reference/api/scripting#promises
实现
首先添加一个 popup 页面,在 entrypoints/popup 下添加 index.html 和 main.ts
1
2
3
4
5
6
7
8
9
10
11
12
13
14
15
16
17
18
19
20
21
22
23
24
| <!-- entrypoints/popup/index.html -->
<!doctype html>
<html lang="en">
<head>
<meta charset="UTF-8" />
<meta name="viewport" content="width=device-width, initial-scale=1.0" />
<title>Popup</title>
<style>
html,
body,
#root {
margin: 0;
padding: 0;
width: 600px;
height: 800px;
font-size: 16px;
}
</style>
</head>
<body>
<div id="root"></div>
<script type="module" src="./main.ts"></script>
</body>
</html>
|
1
2
3
4
5
6
7
| // entrypoints/popup/main.ts
const root = document.getElementById('root')!root.innerHTML = `
<h1>Popup UI</h1>
<p>This is a placeholder for the popup UI.</p>
`
|
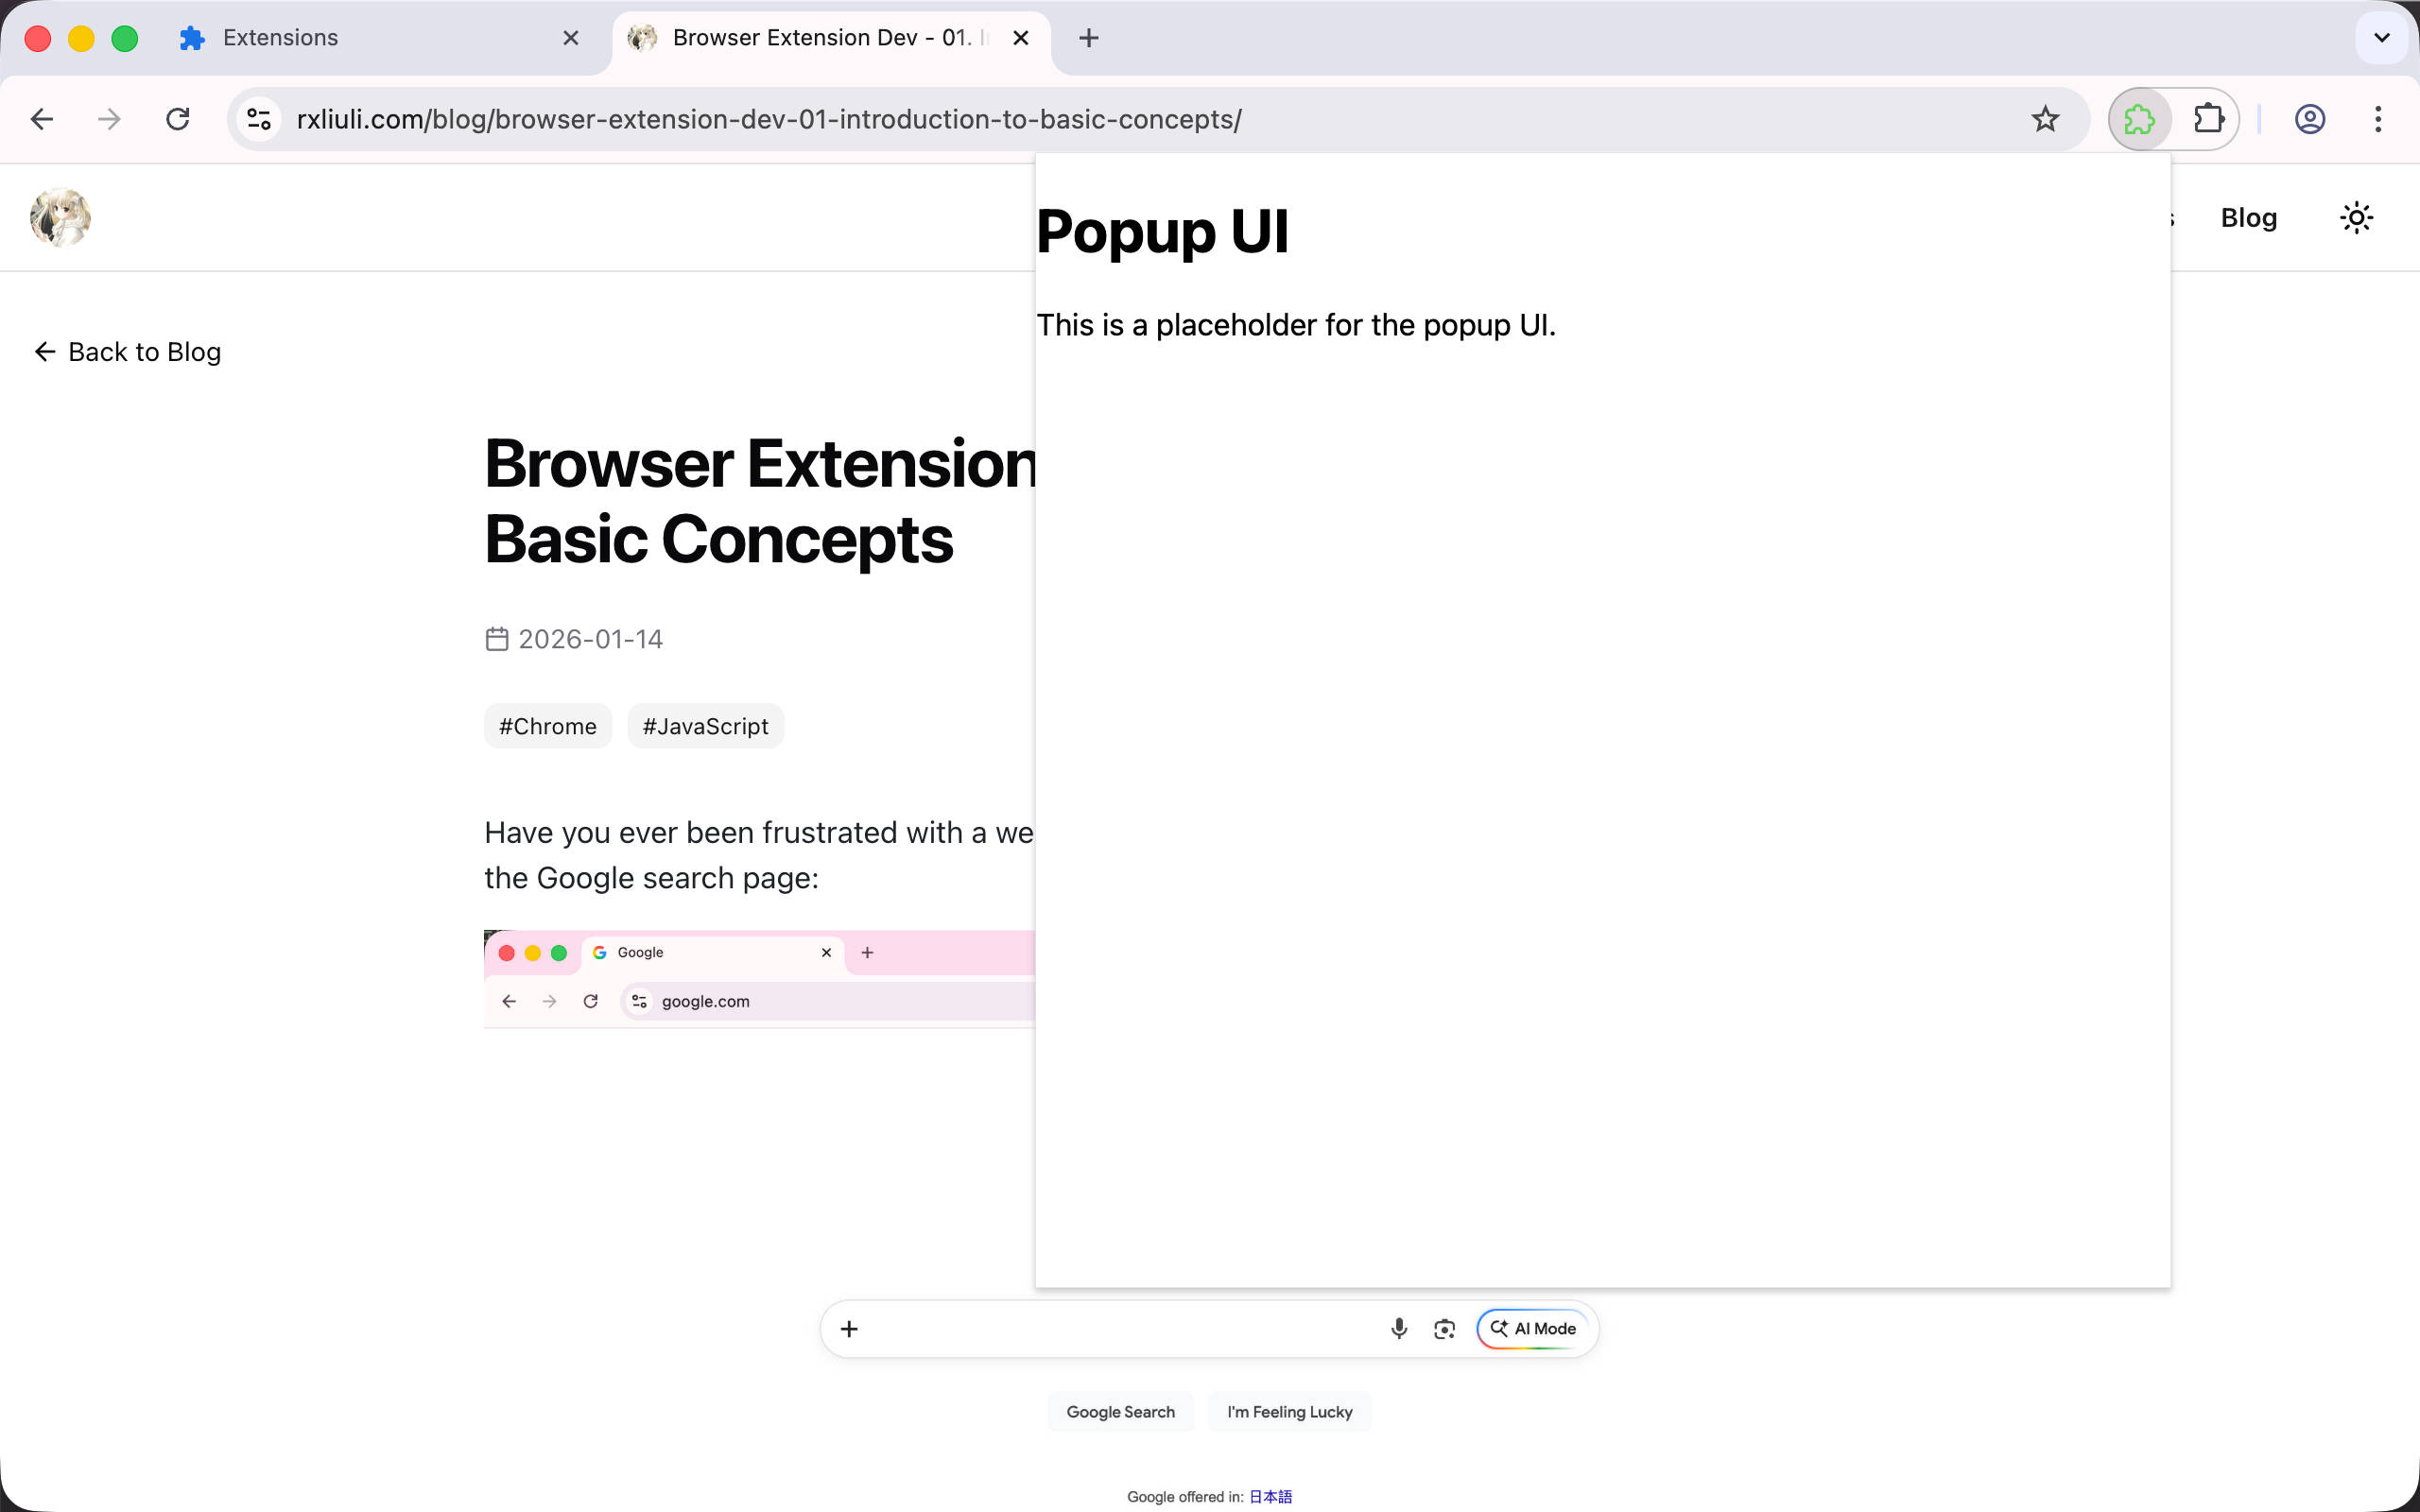
在浏览器中加载扩展之后,点击 action 可以看到弹窗出现了。
修改注入的脚本 Inject Script
在实现通信部分之前,需要修改一下之前注入的 Inject Script,不再复制 Markdown 到剪切板,而是使用 return 返回给调用者。
1
2
3
4
5
6
7
8
9
10
11
12
13
14
15
16
17
18
19
20
| import { Readability } from '@mozilla/readability'
import TurndownService from 'turndown'export default defineUnlistedScript(async () => {
const service = new TurndownService({
headingStyle: 'atx',
codeBlockStyle: 'fenced',
})
const reader = new Readability(document.cloneNode(true) as Document)
const article = reader.parse()
if (article && article.title && article.content) {
return service.turndown(article.content)
// const markdown = service.turndown(article.content)
// await navigator.clipboard.writeText(`# ${article.title}\n\n${markdown}`)
// alert('Article copied as Markdown!')
} else {
return null
// alert('Failed to parse the article.')
}
})
|
下面开始实现 Popup 与 Background Script 的通信部分,由于 Chrome 原生的通信 API 使用起来非常痛苦,这里使用一个浅包装 @webext-core/messaging。
安装依赖
1
| pnpm i @webext-core/messaging
|
然后在 lib/messager.ts 中定义接口
1
2
3
4
5
6
| // lib/messager.ts
import { defineExtensionMessaging } from '@webext-core/messaging'export const messager = defineExtensionMessaging<{
getMarkdown: () => string | null
}>()
|
然后在 Background Script 定义实现
1
2
3
4
5
6
7
8
9
10
11
12
13
14
| messager.onMessage('getMarkdown', async (ev) => {
const tabs = await browser.tabs.query({
active: true,
currentWindow: true,
})
if (!tabs[0].id) {
throw new Error('No active tab found')
}
const result = await browser.scripting.executeScript({
target: { tabId: tabs[0].id },
files: ['/inject.js'] as PublicPath[],
}) // 执行脚本并获取返回值
return result[0].result as string | null
})
|
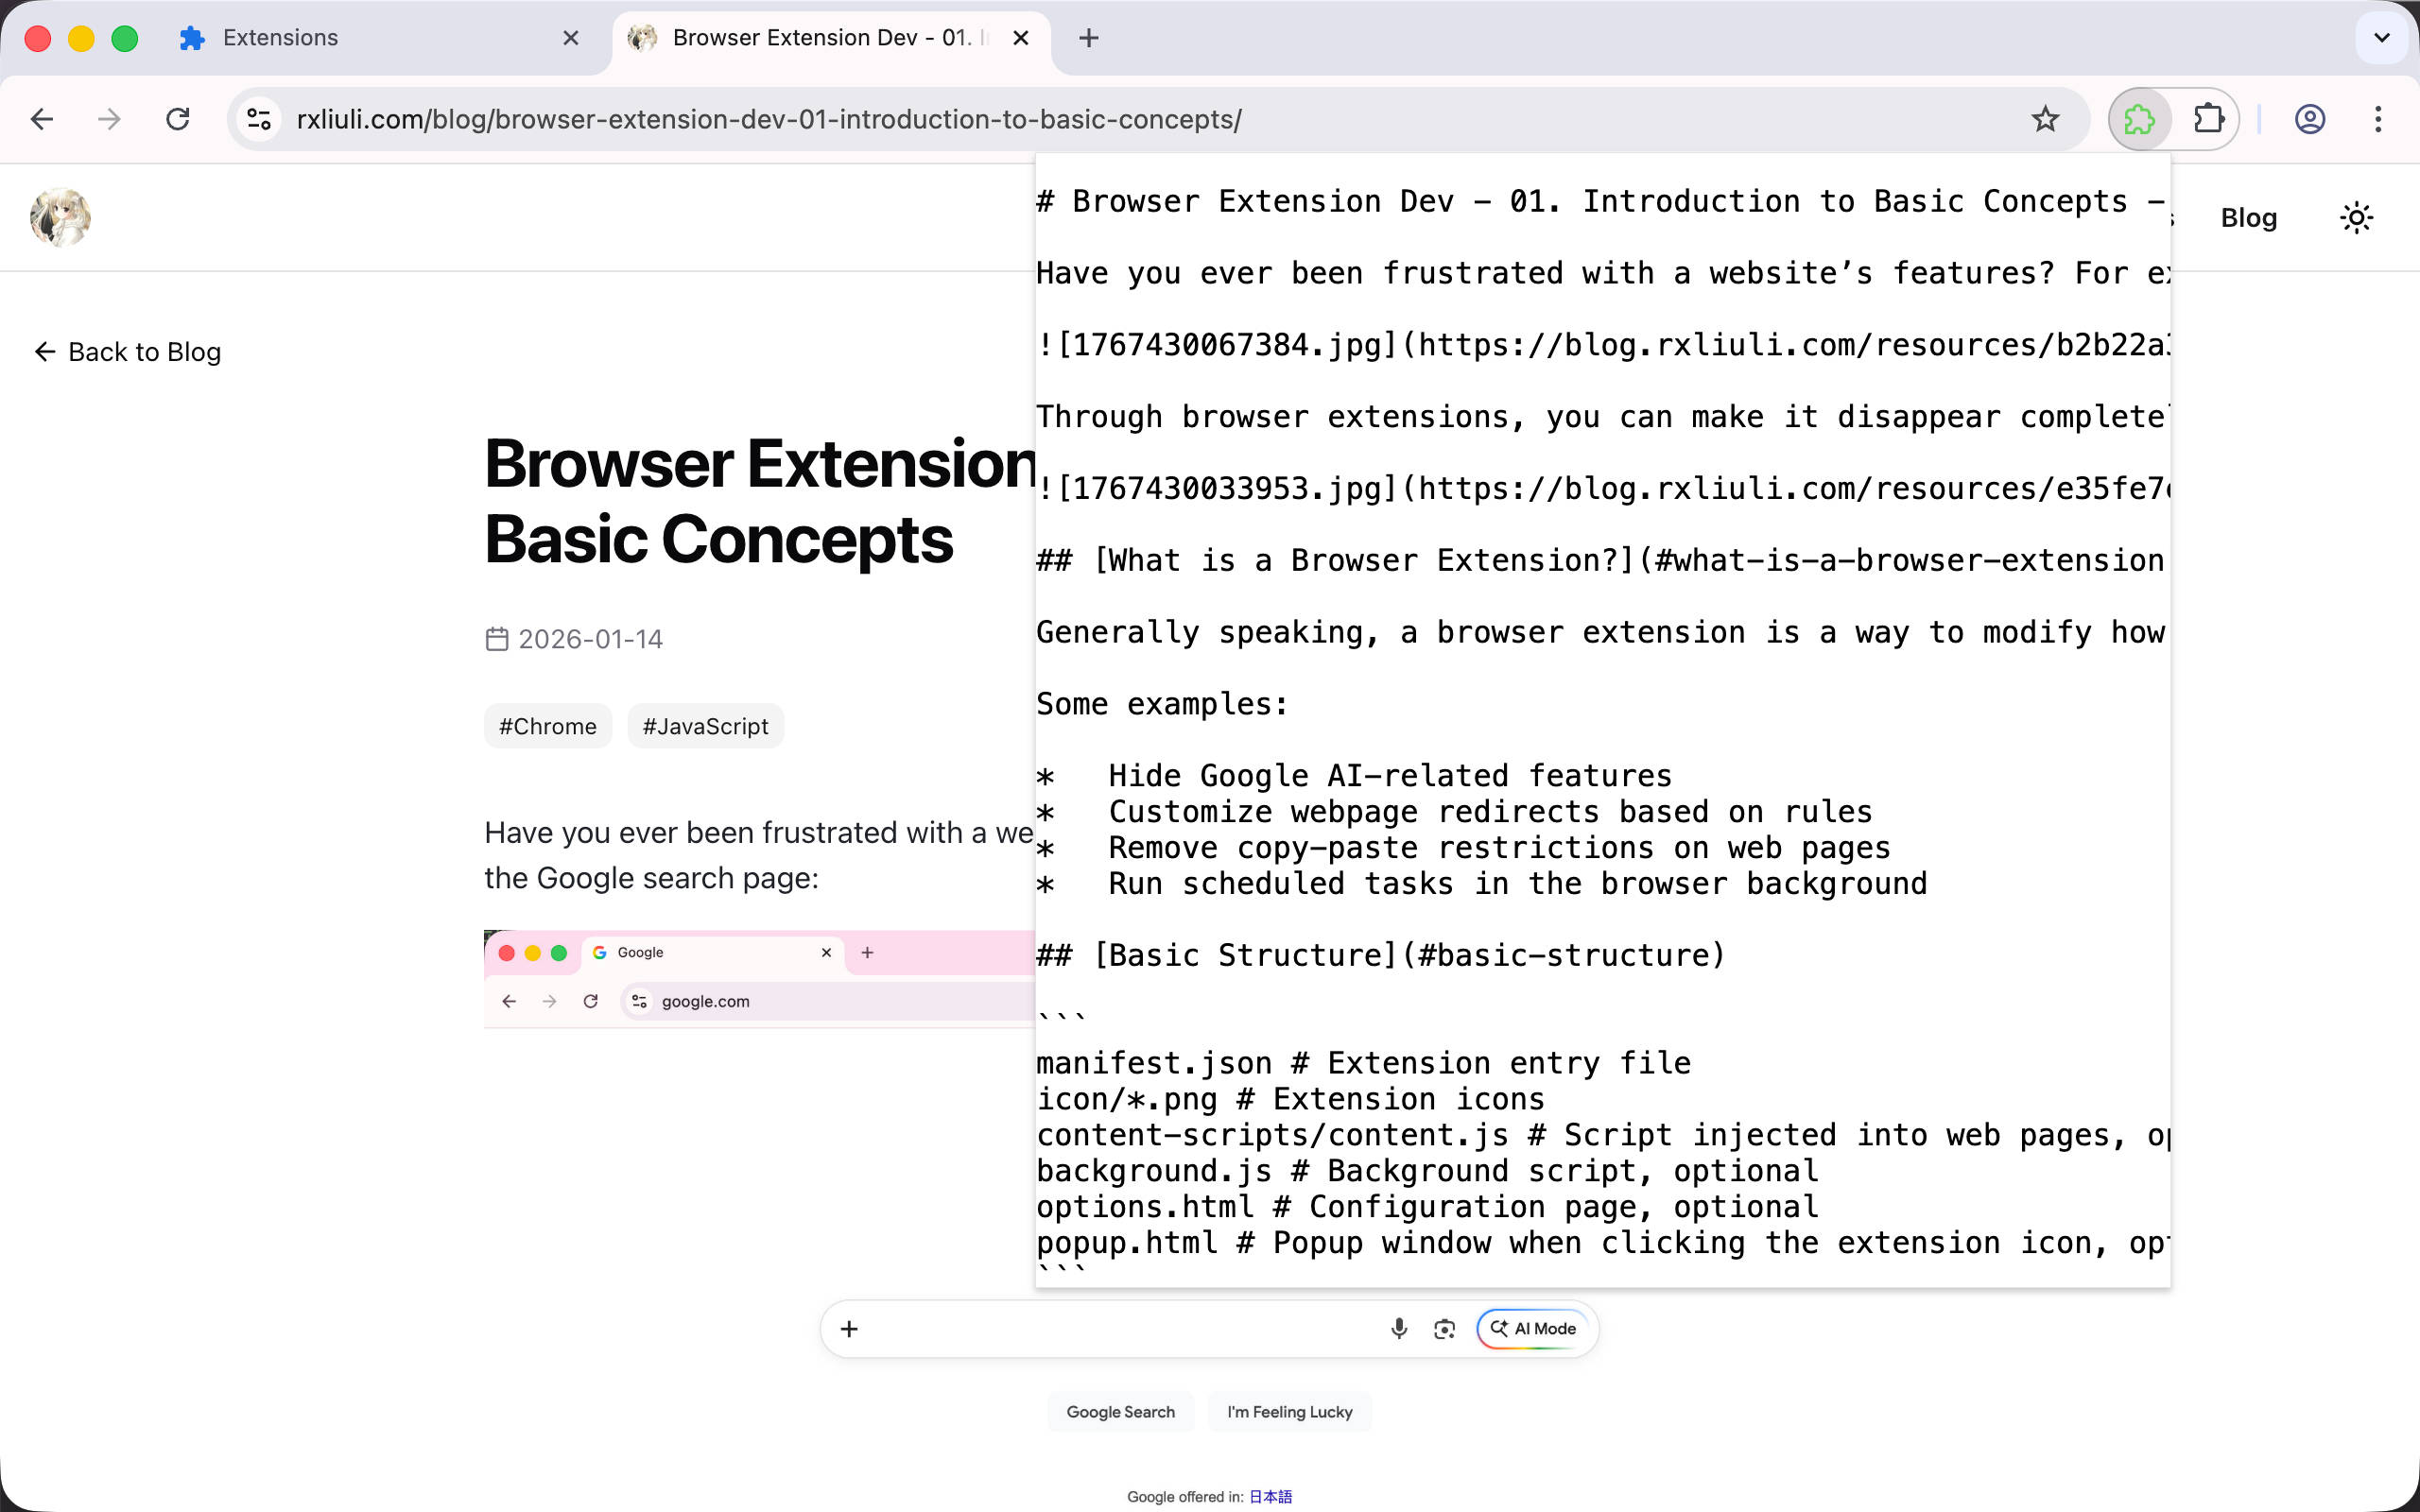
最后在 Popup 中调用,出于简化考虑,这里直接使用 pre 渲染了 Markdown,我们将在下一步引入所见即所得的 Markdown 编辑器。
1
2
3
4
5
6
7
| import { messager } from '@/lib/messager'const root = document.getElementById('root')!
const md = await messager.sendMessage('getMarkdown')
const pre = document.createElement('pre')
pre.textContent = md as string
root.appendChild(pre)
|
添加 markdown 编辑器
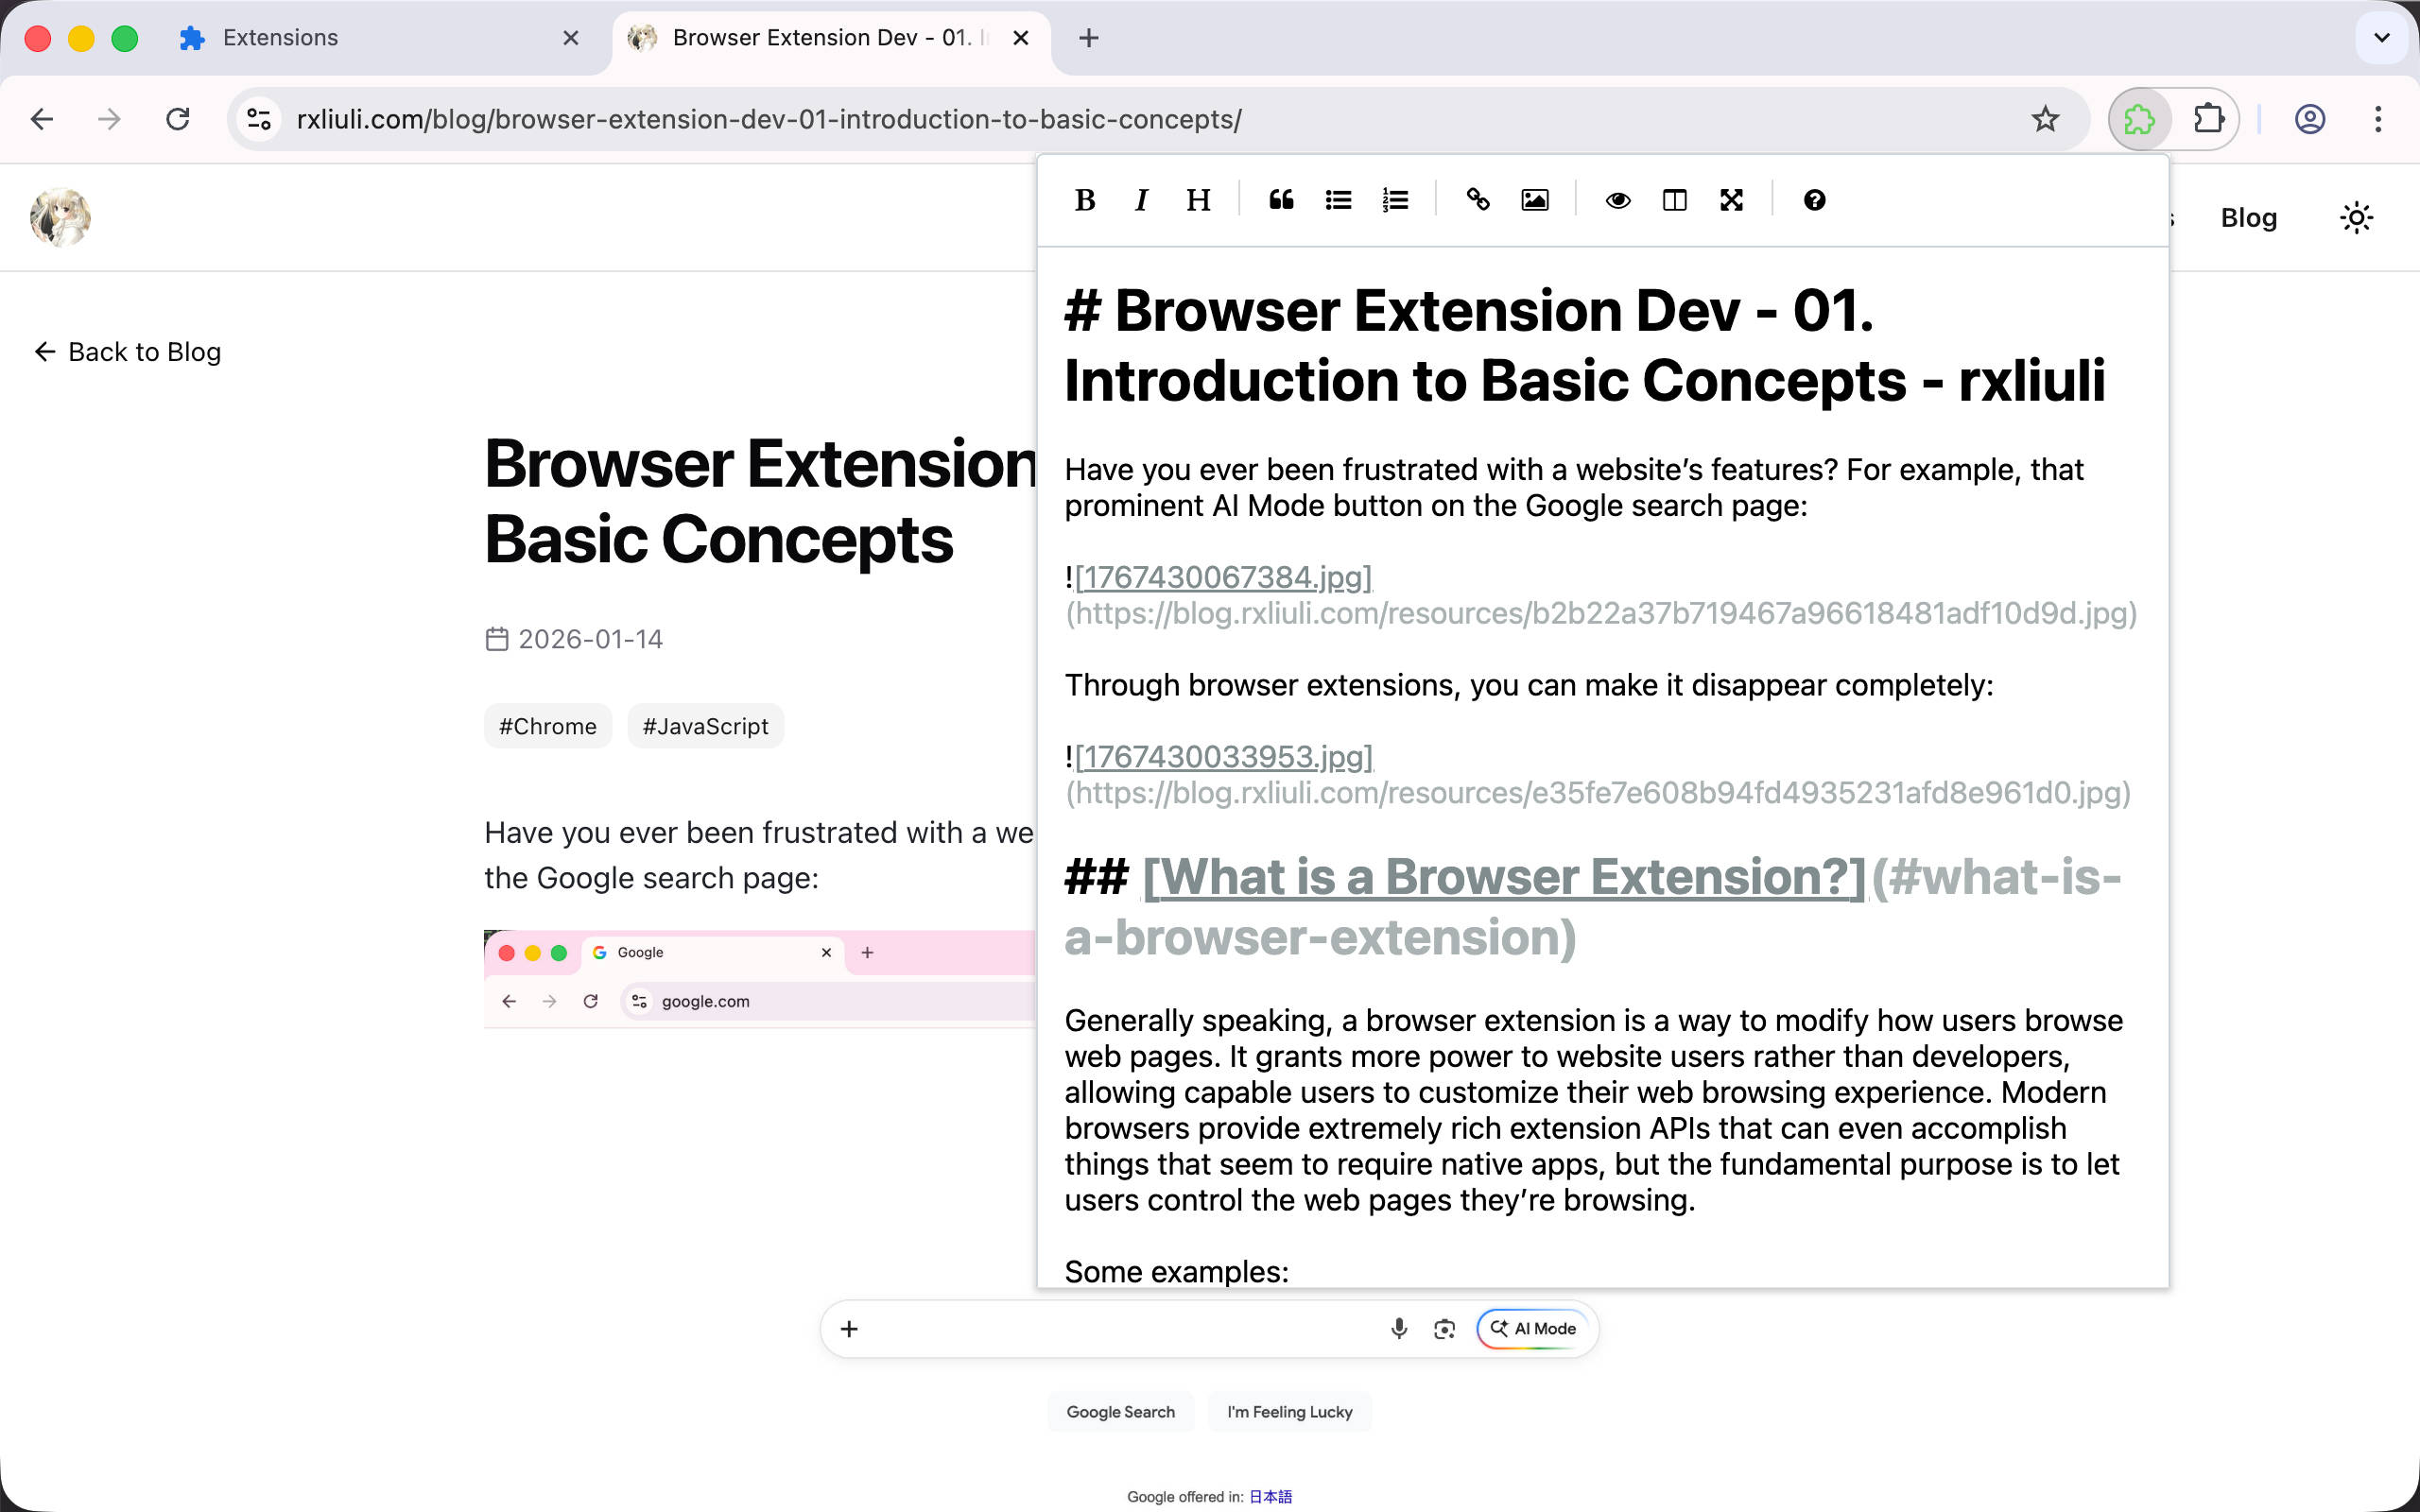
由于并未使用 react,所以这里直接使用一个 vanilla JS 实现的 markdown 编辑器 easymde。
还是先安装依赖。
然后在 Popup 中使用它。
1
2
3
4
5
6
7
8
9
10
11
12
| import 'easymde/dist/easymde.min.css'
import { messager } from '@/lib/messager'
import EasyMDE from 'easymde'const root = document.getElementById('root')!
const textarea = document.createElement('textarea')
root.appendChild(textarea)
const md = await messager.sendMessage('getMarkdown')
new EasyMDE({
element: textarea,
initialValue: md as string,
})
|
现在就可以看到最终的效果了。
总结
在这一章,我们介绍了 Popup 的应用场景、Popup 与 Background Script 的通信、以及从网页获取数据的功能与实现。在下一章,我们终于要发布插件了,我将演示如何将插件发布到 Chrome Web Store,以便让其他人也能使用开发的扩展。
如果有任何问题,欢迎加入 Discord 群组讨论。
https://discord.gg/VxbAqE7gj2
完整代码:https://github.com/rxliuli/browser-extension-dev-examples/tree/main/packages/07-popup-ui



