This article is also available in 简体中文.












This article covers comment plugins supported by Icarus 5.
This article is also available in 简体中文.
The following comment plugins are provided by ppoffice/hexo-component-inferno. Please refer to it for a complete list of supported plugins and their configuration details.
Installation Guide
First, log into Changyan. Get the comment HTML code by following this article.
Copy the value of appid and conf to the corresponding settings in the theme configurations.
For example, the following HTML code
1 |
|
maps to the following theme configuration:
1 | comment: |
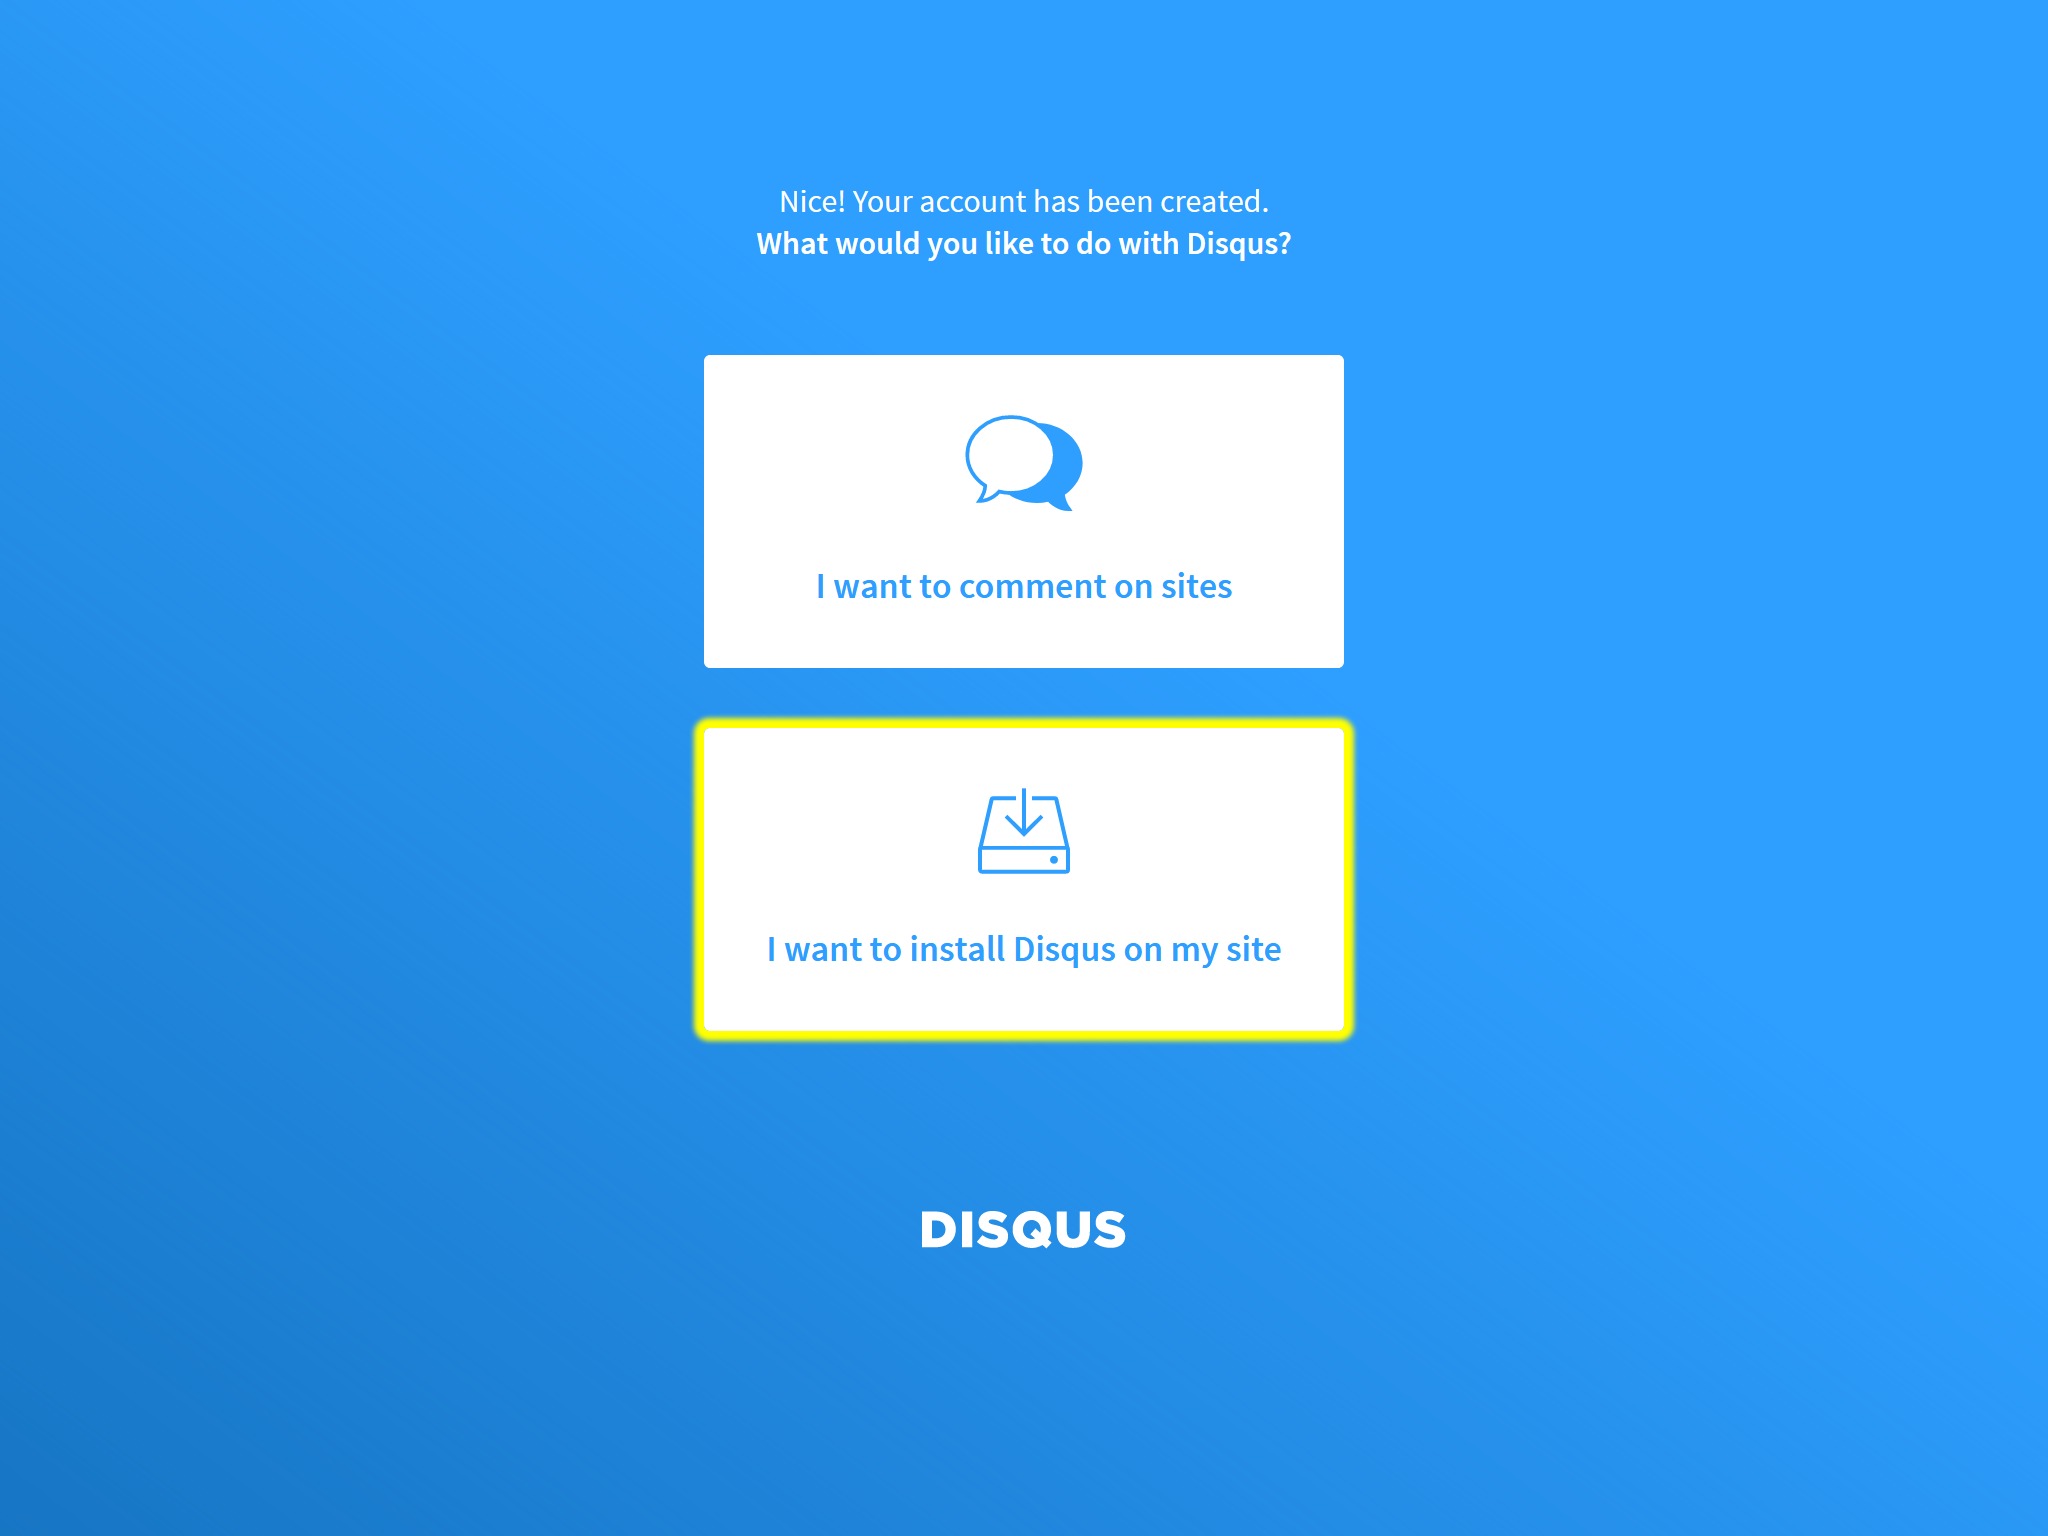
First, log into Disqus. Click the “GET STARTED” button on the front page or visit here and click “I want to install Disqus on my site” to create a new Disqus comment service.
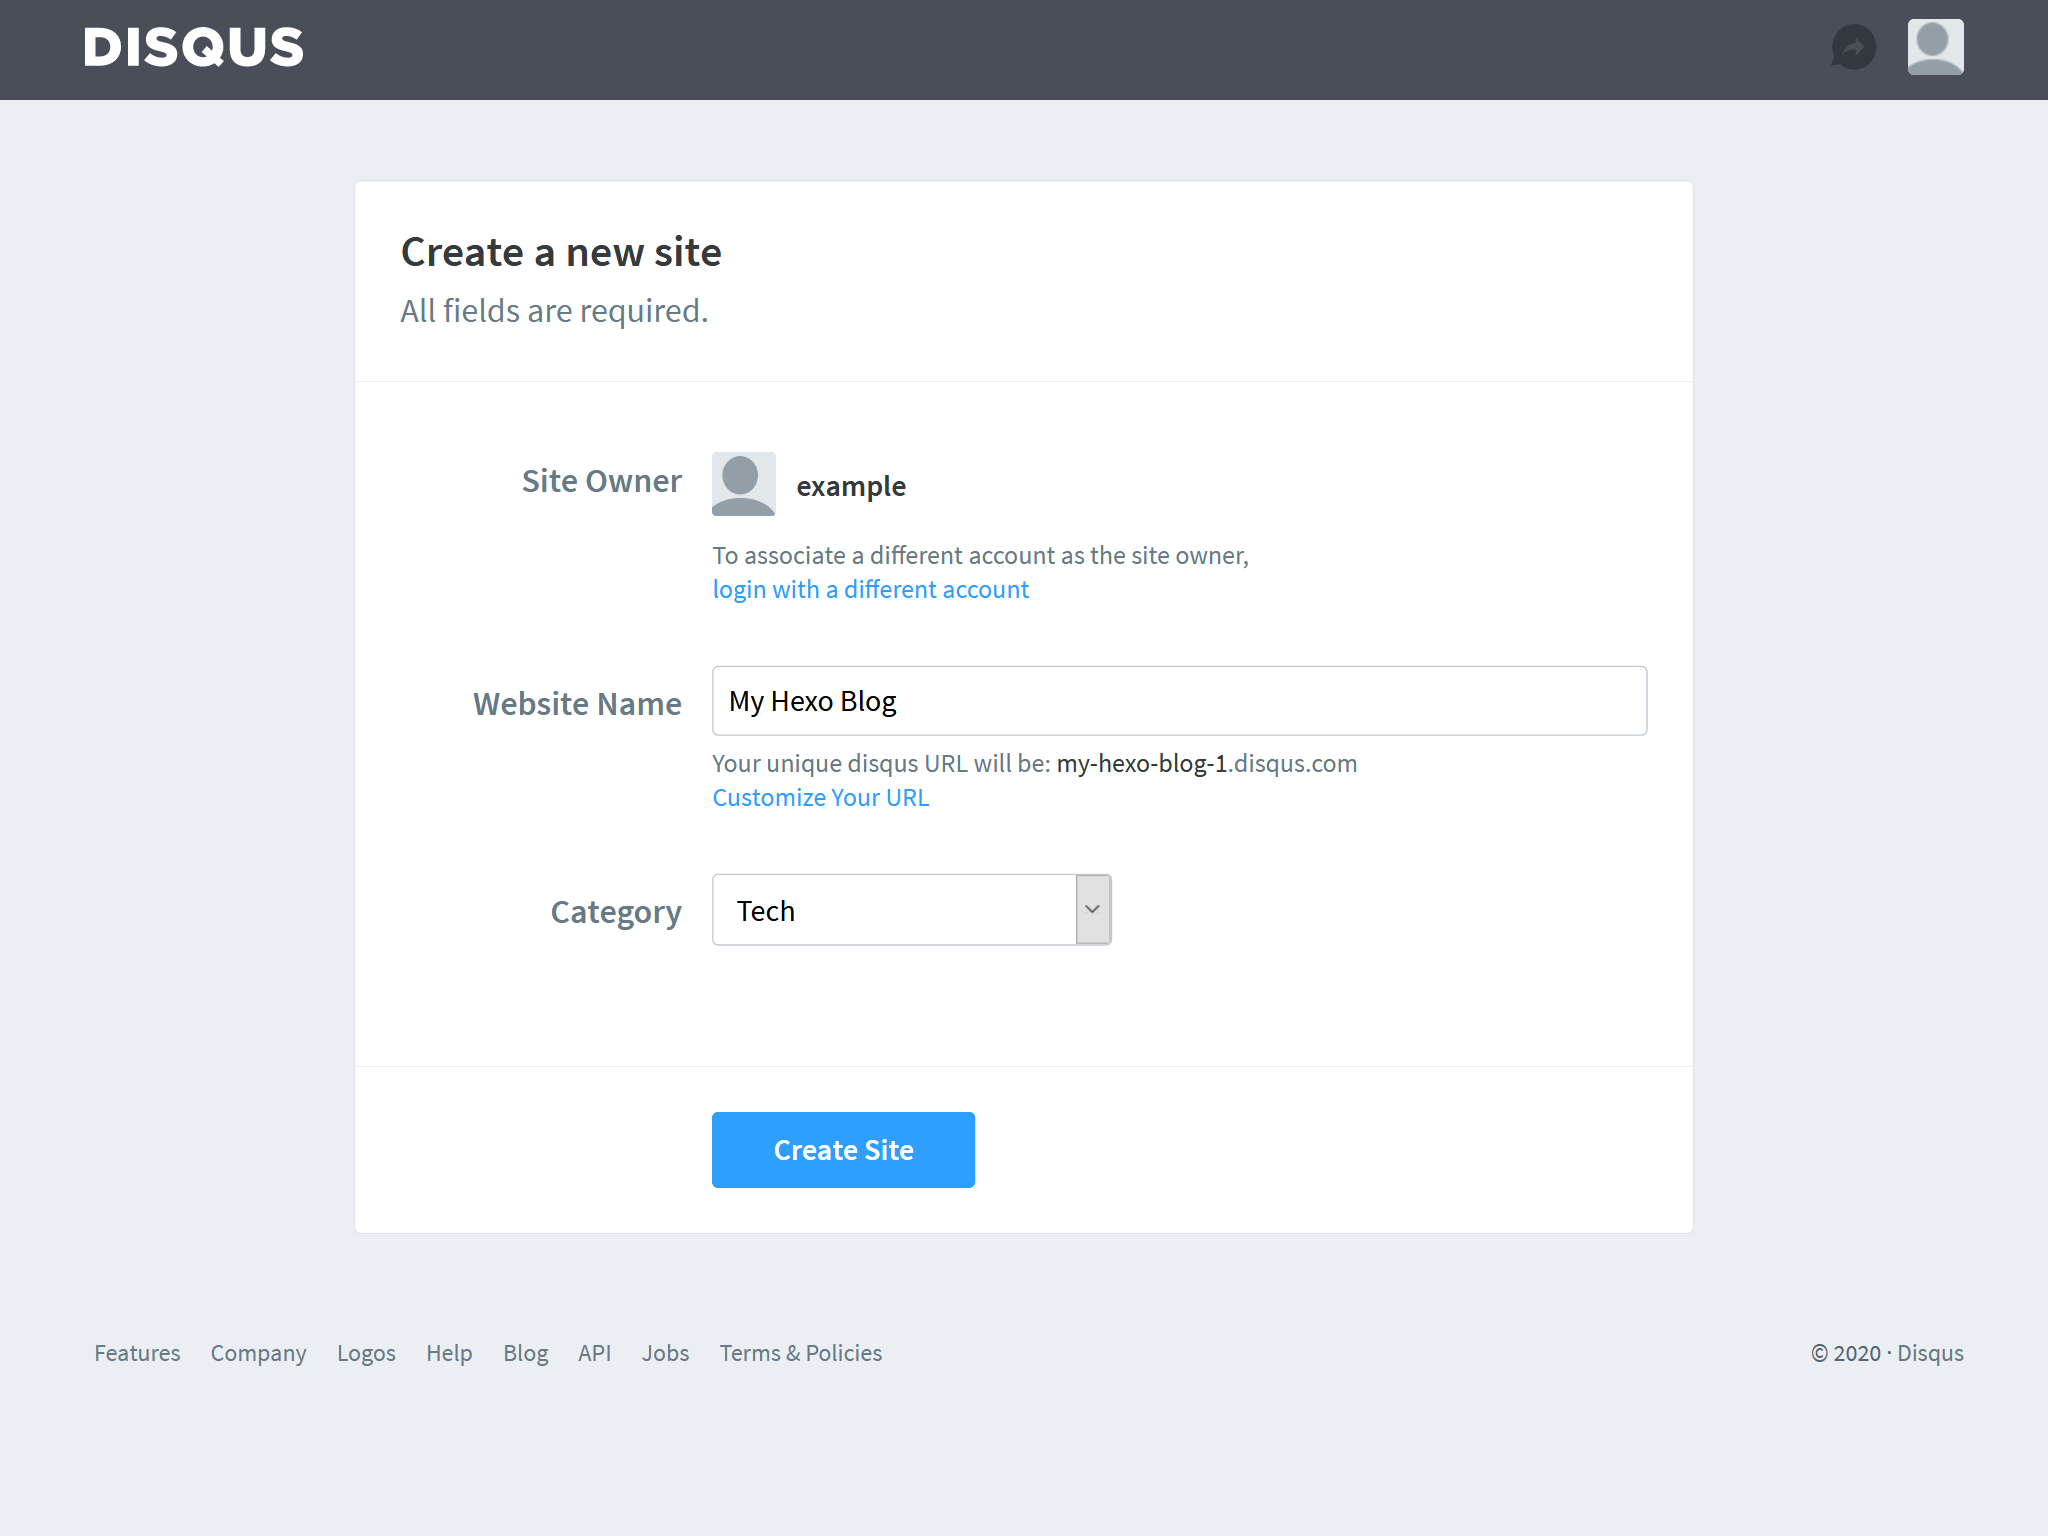
On the create new site page, fill in the “Website Name” and “Category”, then click the “Create Site” button.
Select a subscription plan if you want to. You can also skip this by clicking “Install Disqus” on the left.
Next, choose the platform where Disqus is to be installed. Select the “I don’t see my platform listed, install manually with Universal Code” on the bottom of the page.
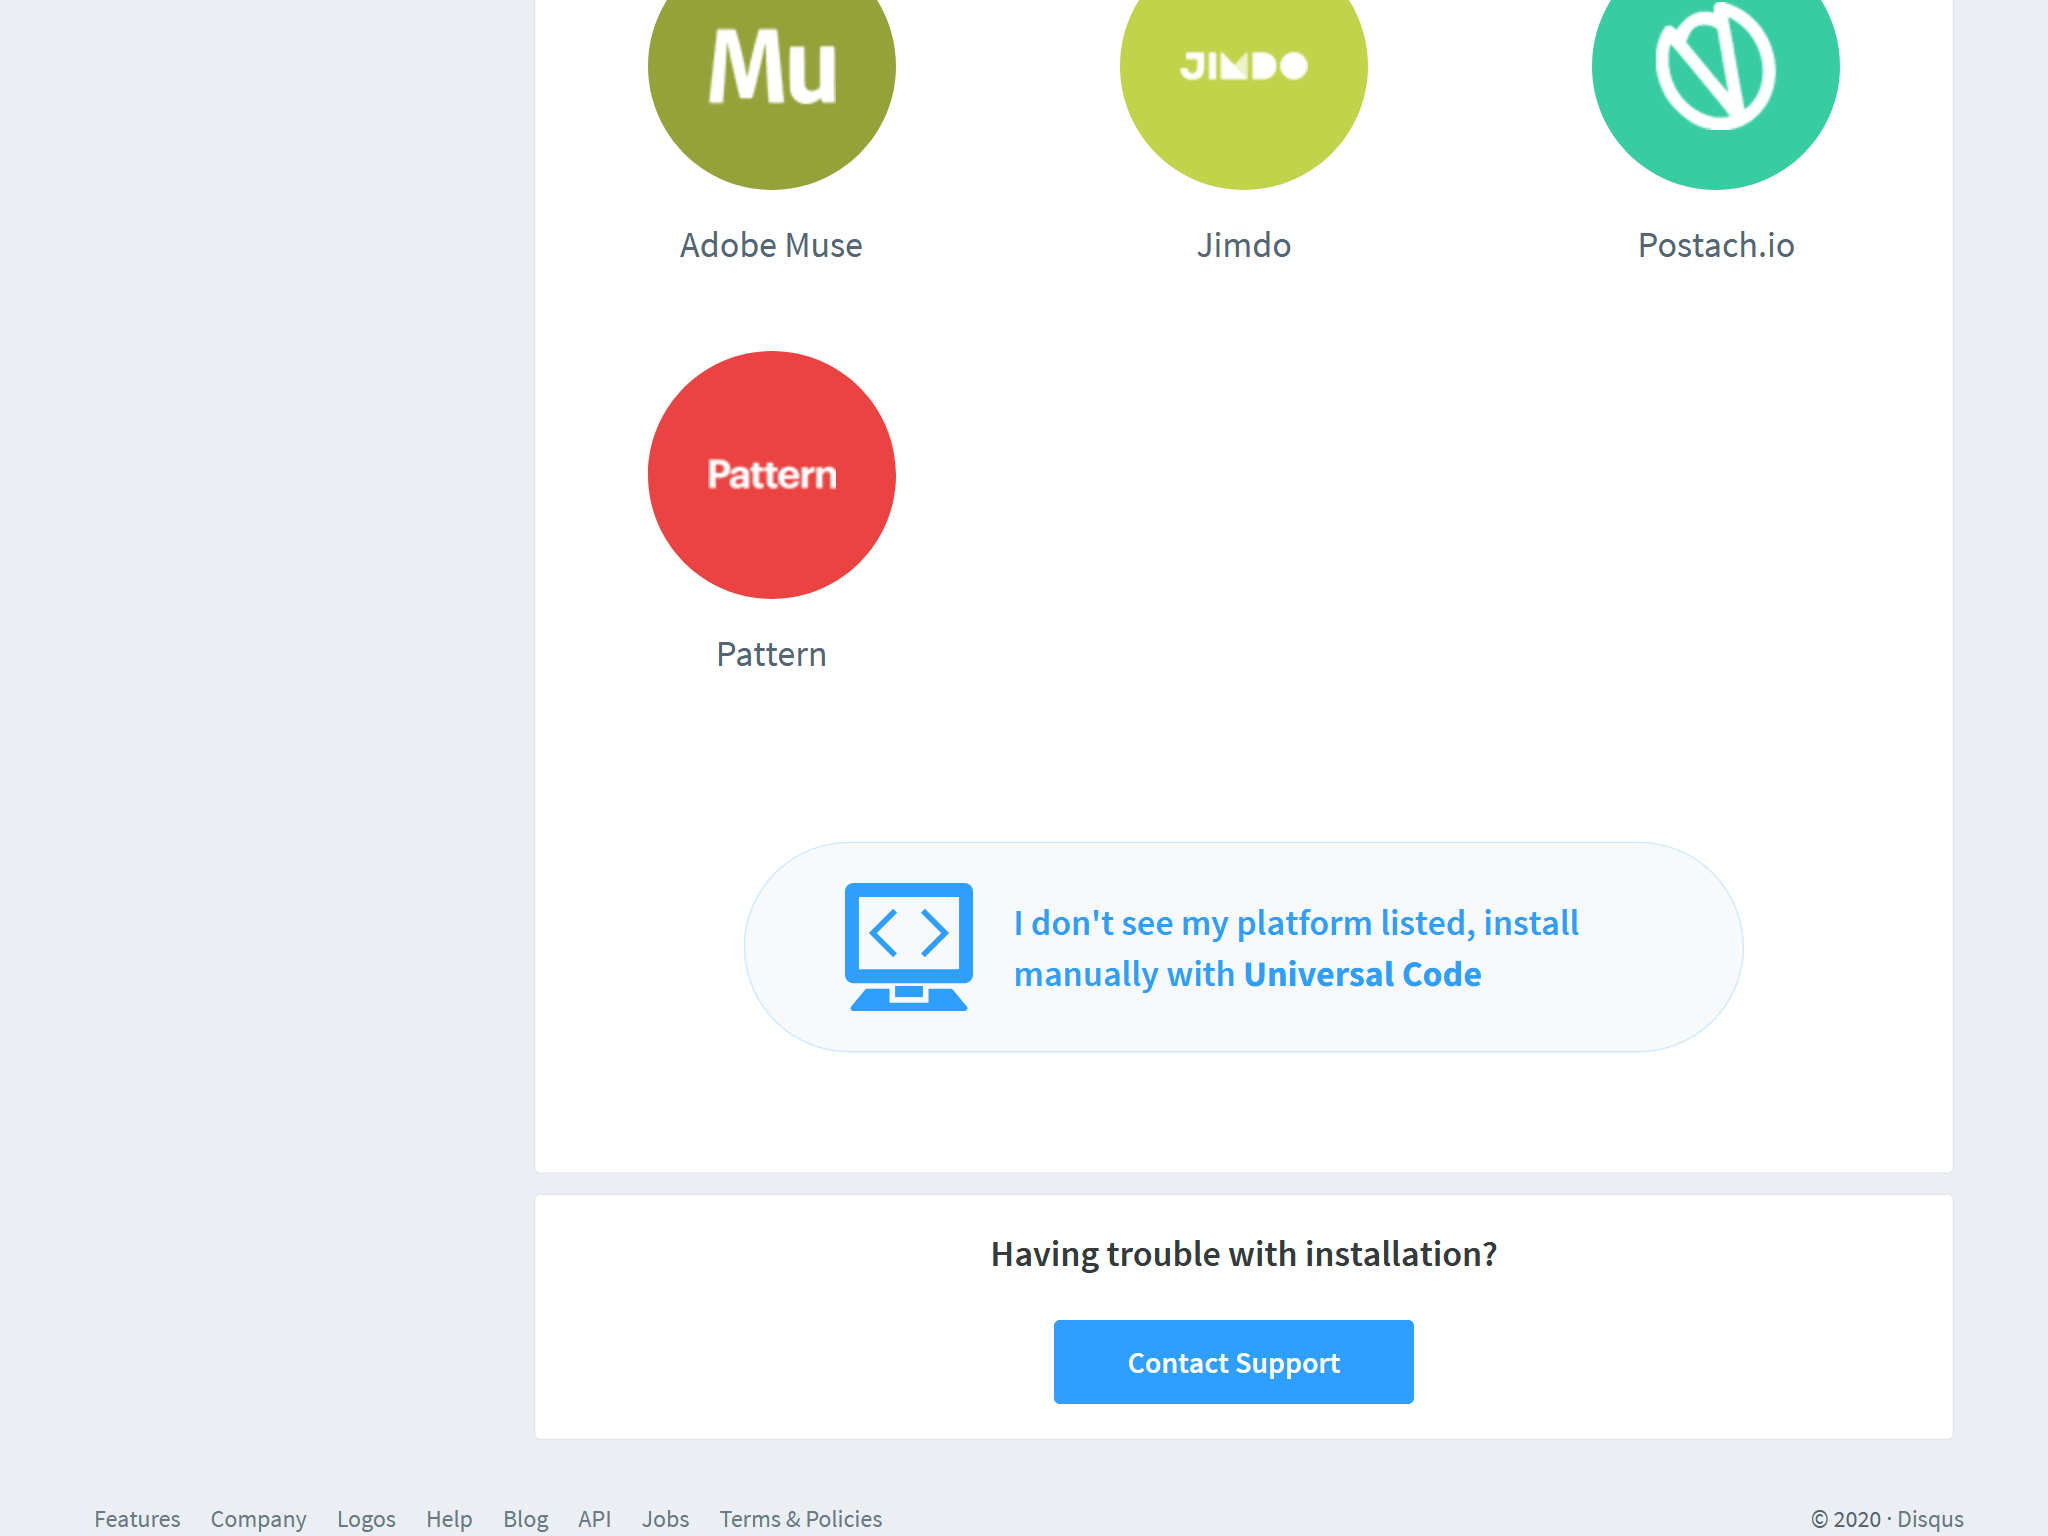
Click the “Configuration” button on the bottom of the page to skip the “Universal Code install instructions”.
Make customizations to your Disqus service on the “Configure Disqus” page. Then, click the “Complete Setup” and “Dismiss Setup” buttons to finish the setup.
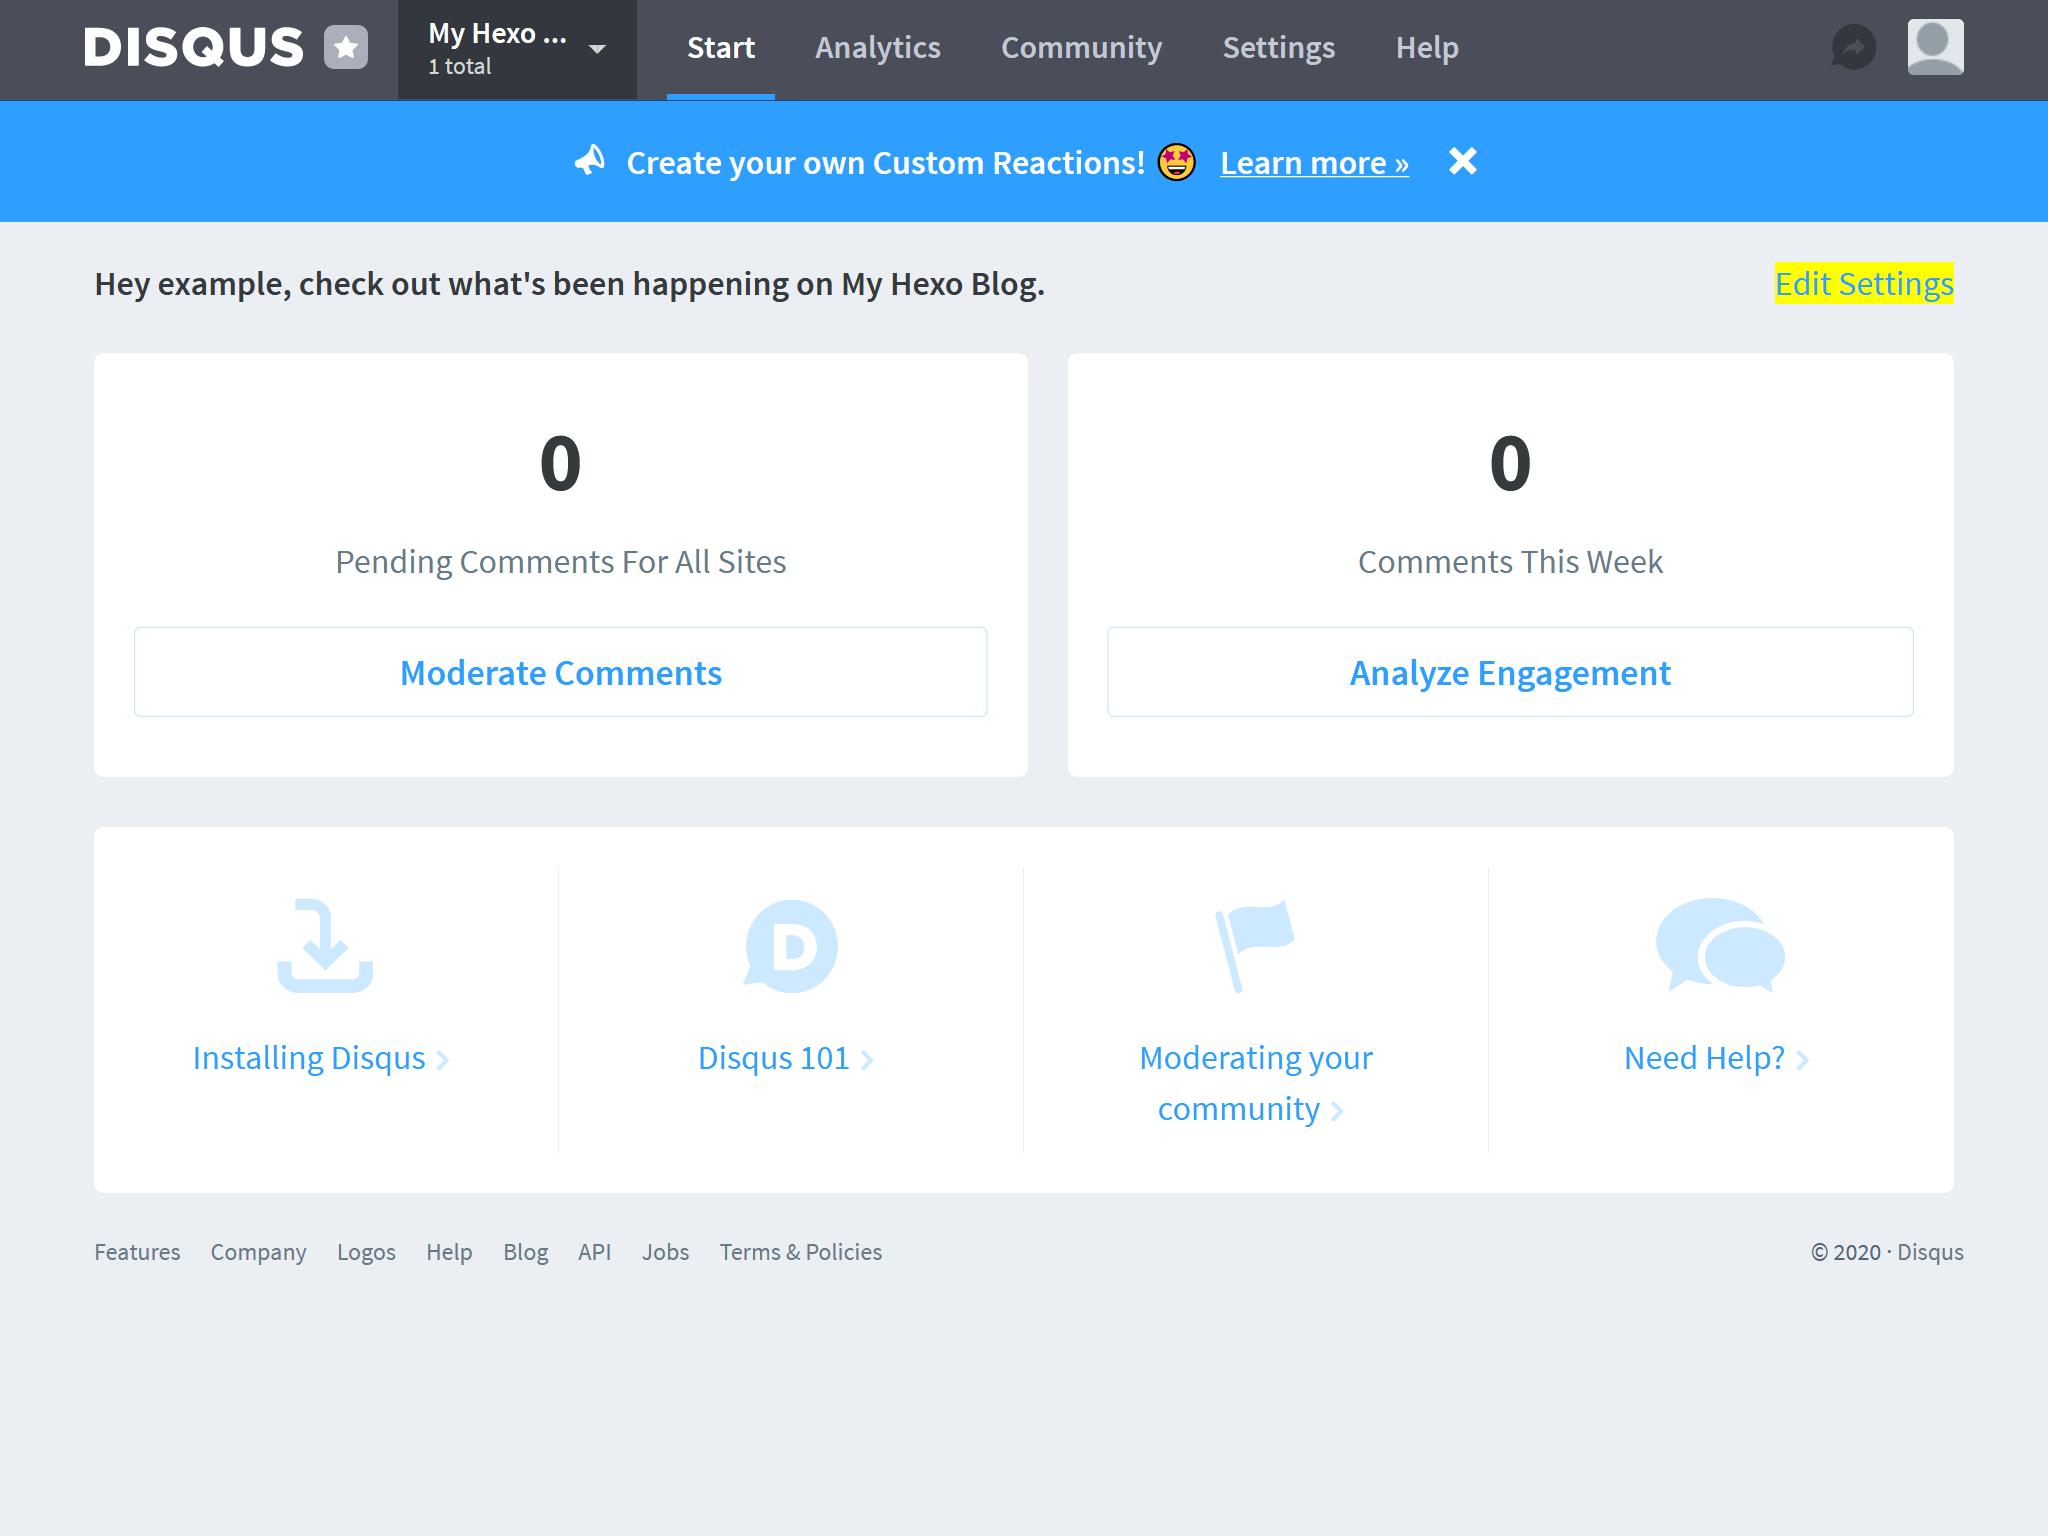
Next, click the “Edit Settings” button on the top right corner of the comment service home page.
Find the value of “Shortname” on the “Configure Disqus for Your Site” page, and copy it to the comment
settings in the theme configurations.
For example, the “Shortname” in the following screenshot is my-hexo-blog-1:
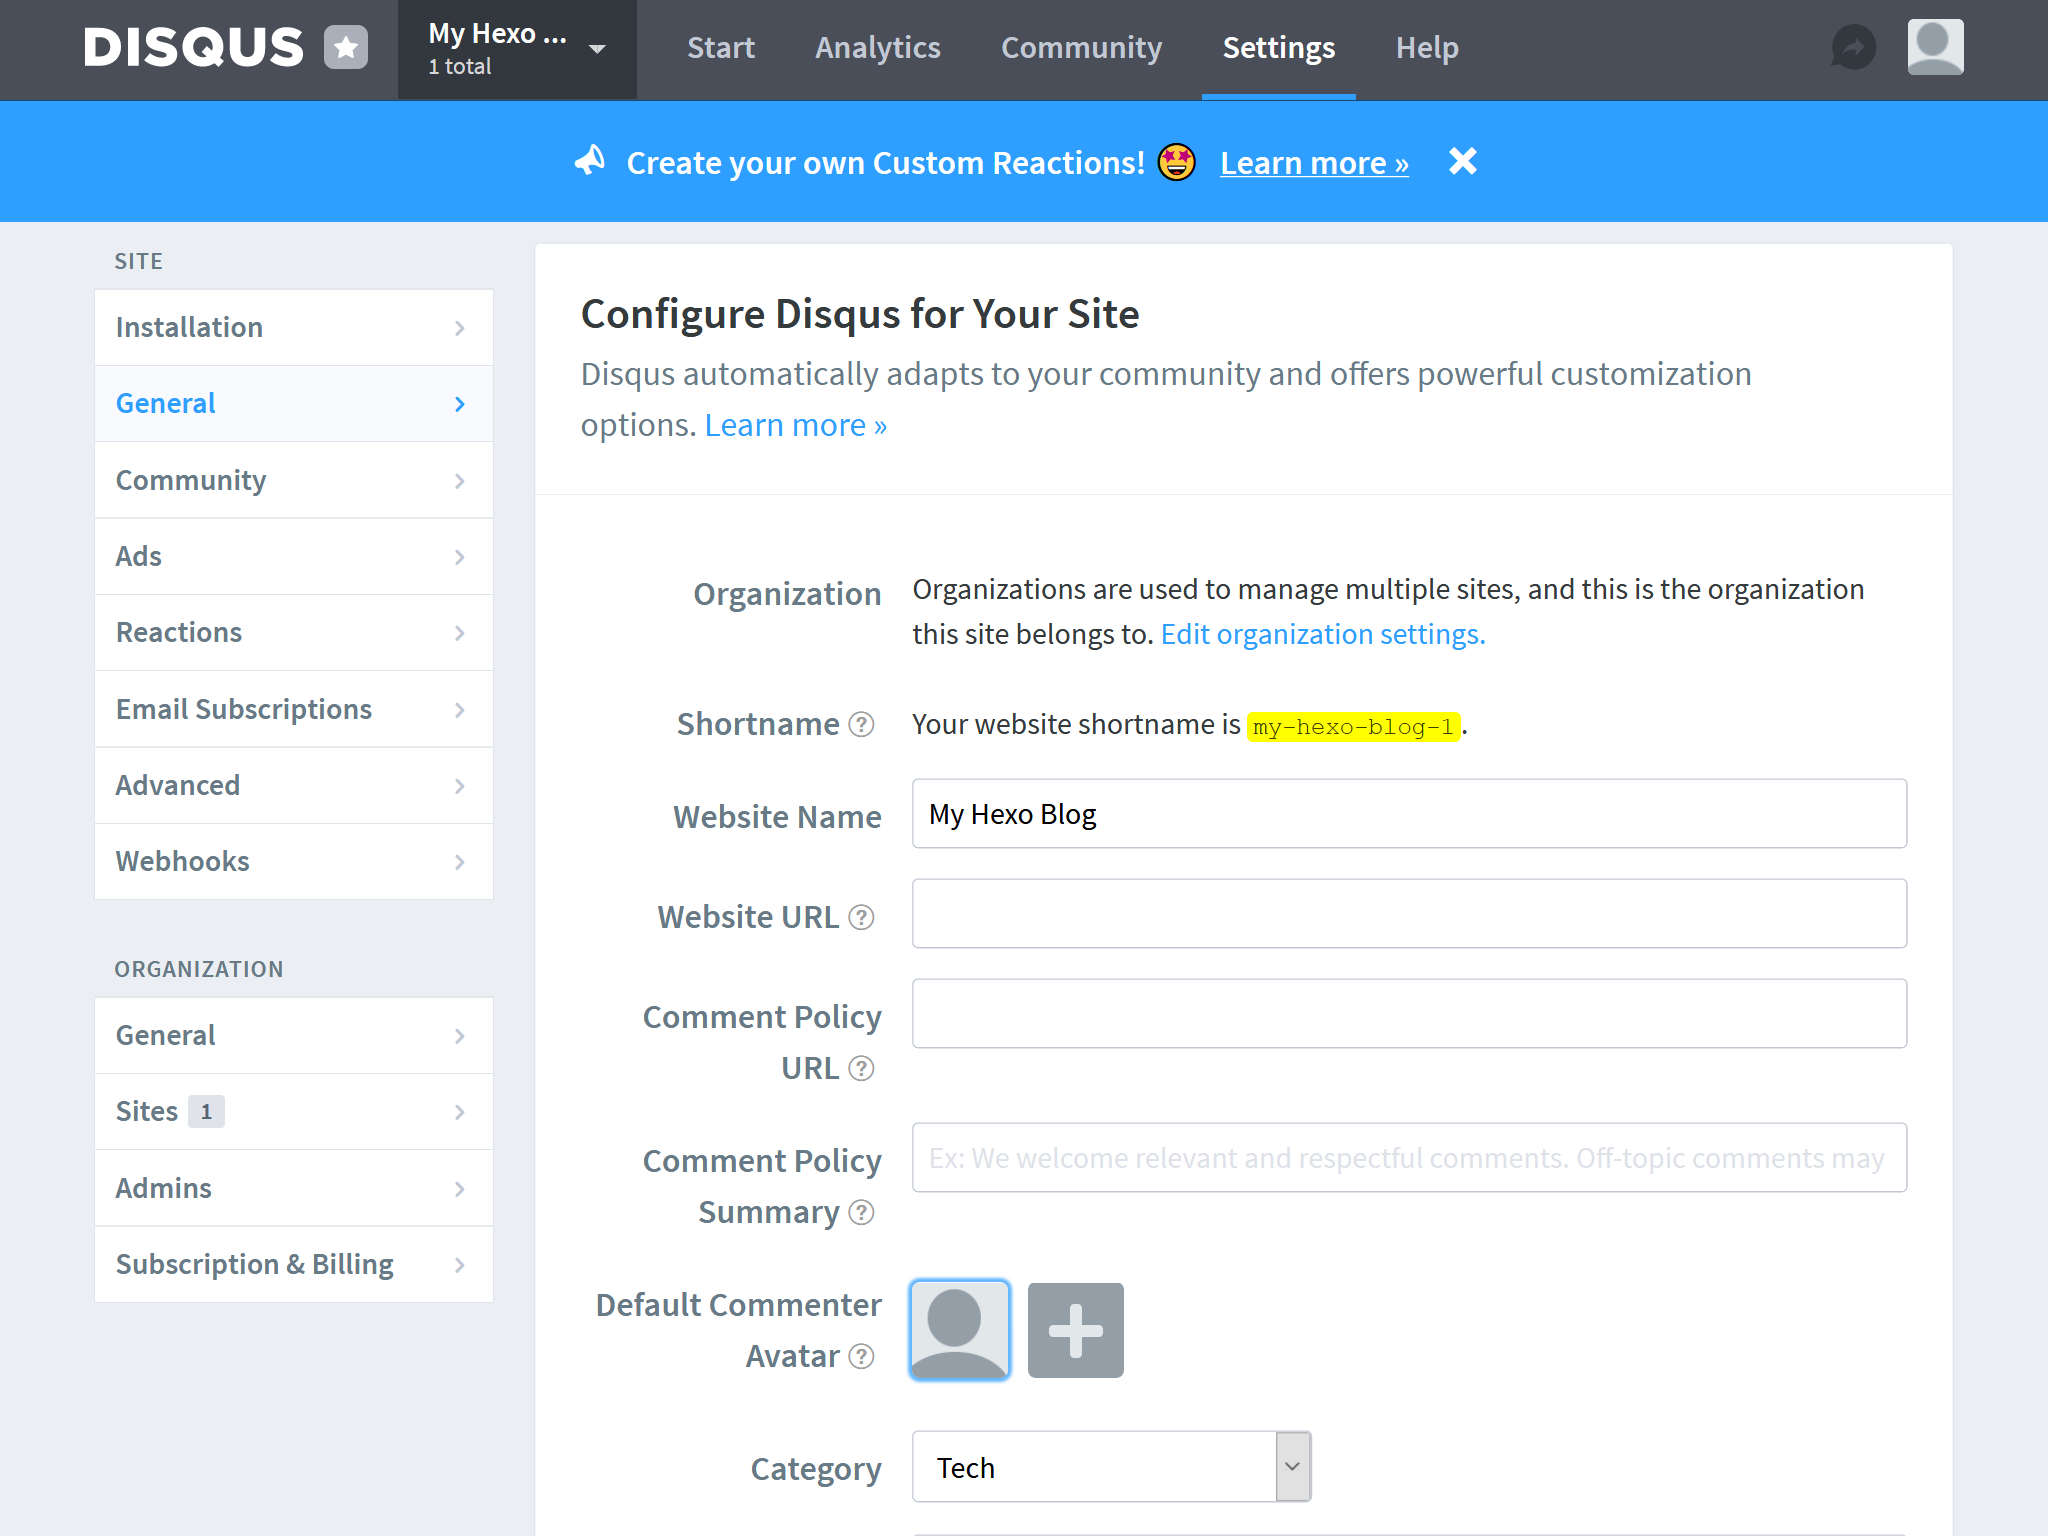
which maps to the following theme configuration:
1 | comment: |
(Optional) You can add disqusId in the front-matter of the post as the unique Disqus ID.
Thereby, you can change the location of the post in the future without losing all your comments:
1 | title: My first post |
DisqusJS is an alternative for Disqus in areas where Disqus is restricted. You can refer to https://github.com/SukkaW/DisqusJS for the detailed configuration process of DisqusJS.
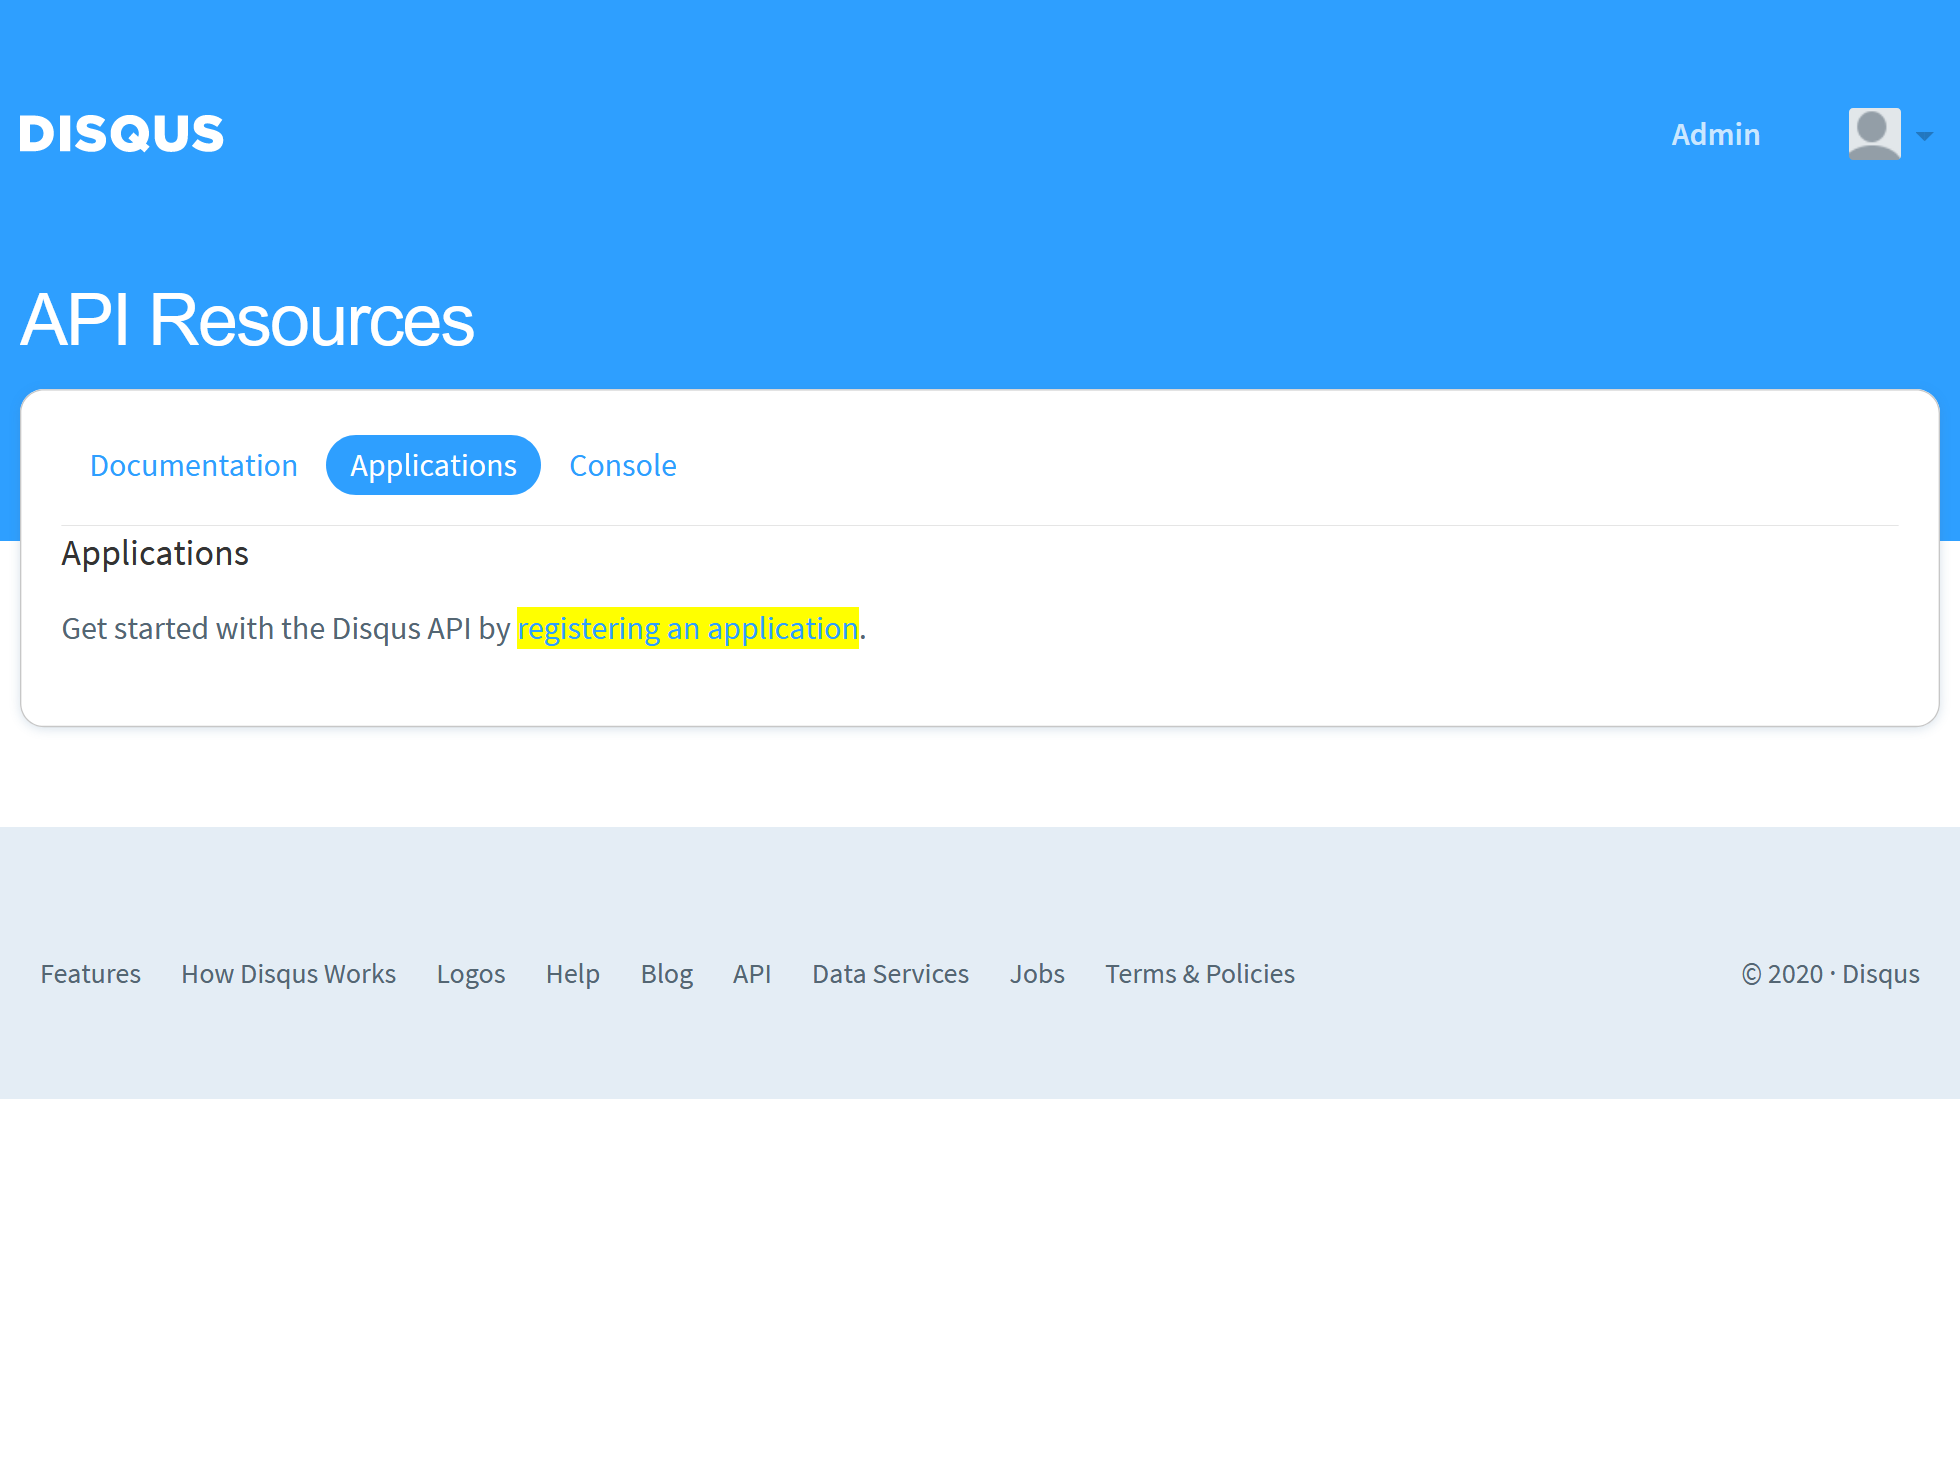
Log into Disqus and visit here. Click the “Register new application” button or “registering an application” to create a new Disqus application.
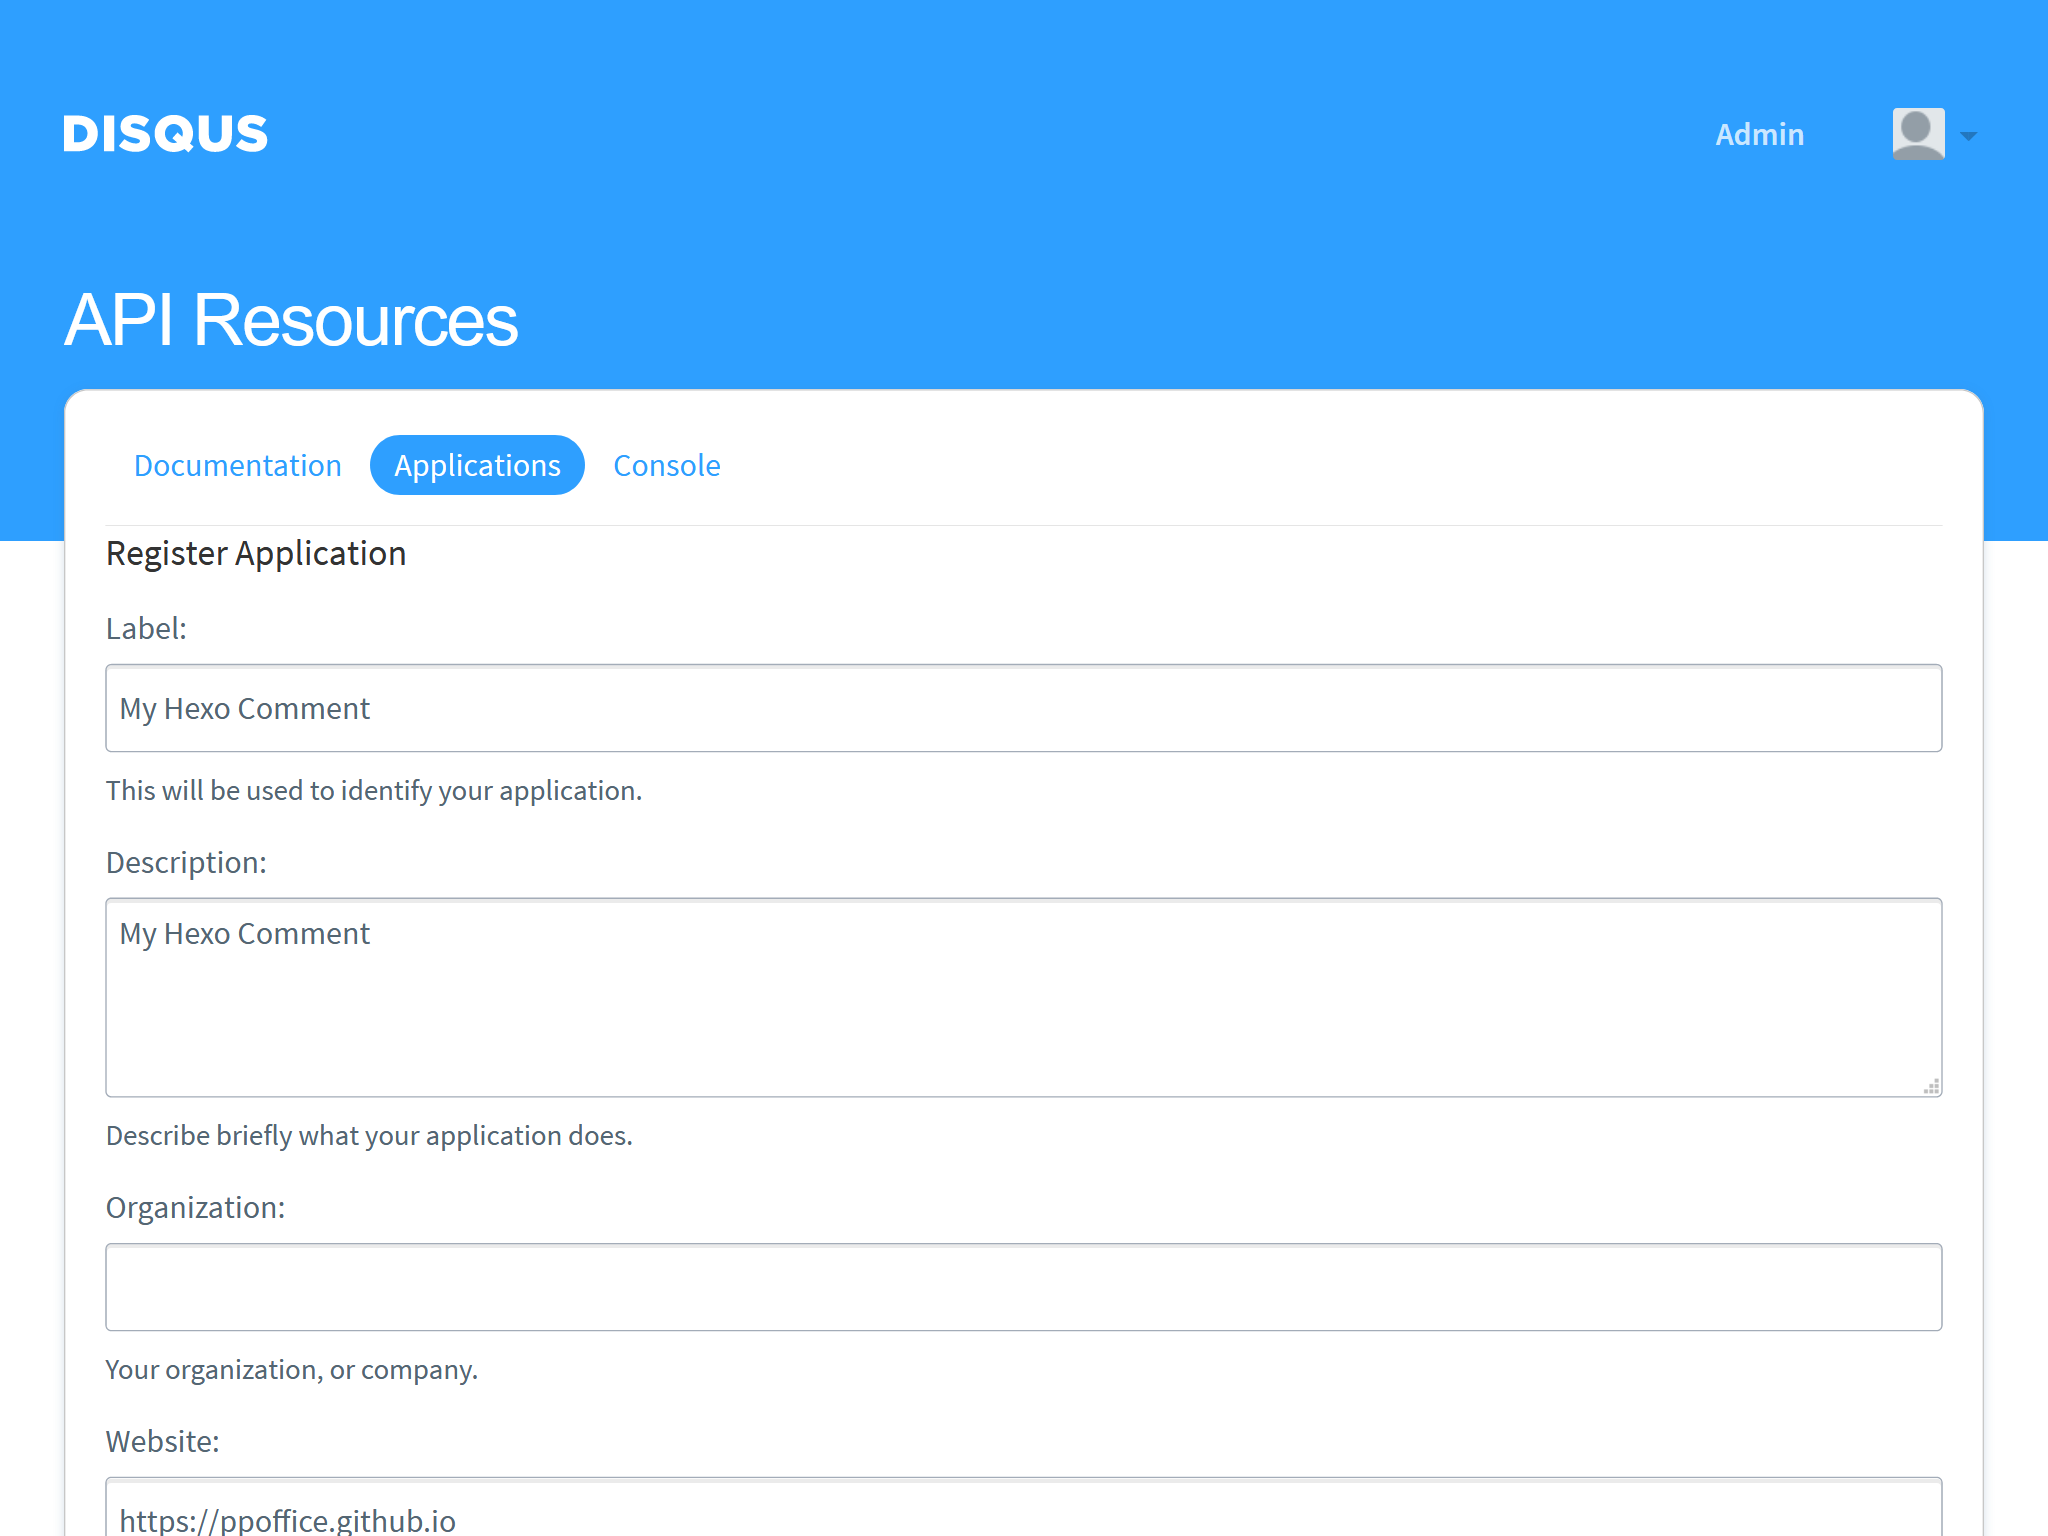
Fill in the “Label”, “Description”, and “Website” on the next page. Then, click “Register my application”.
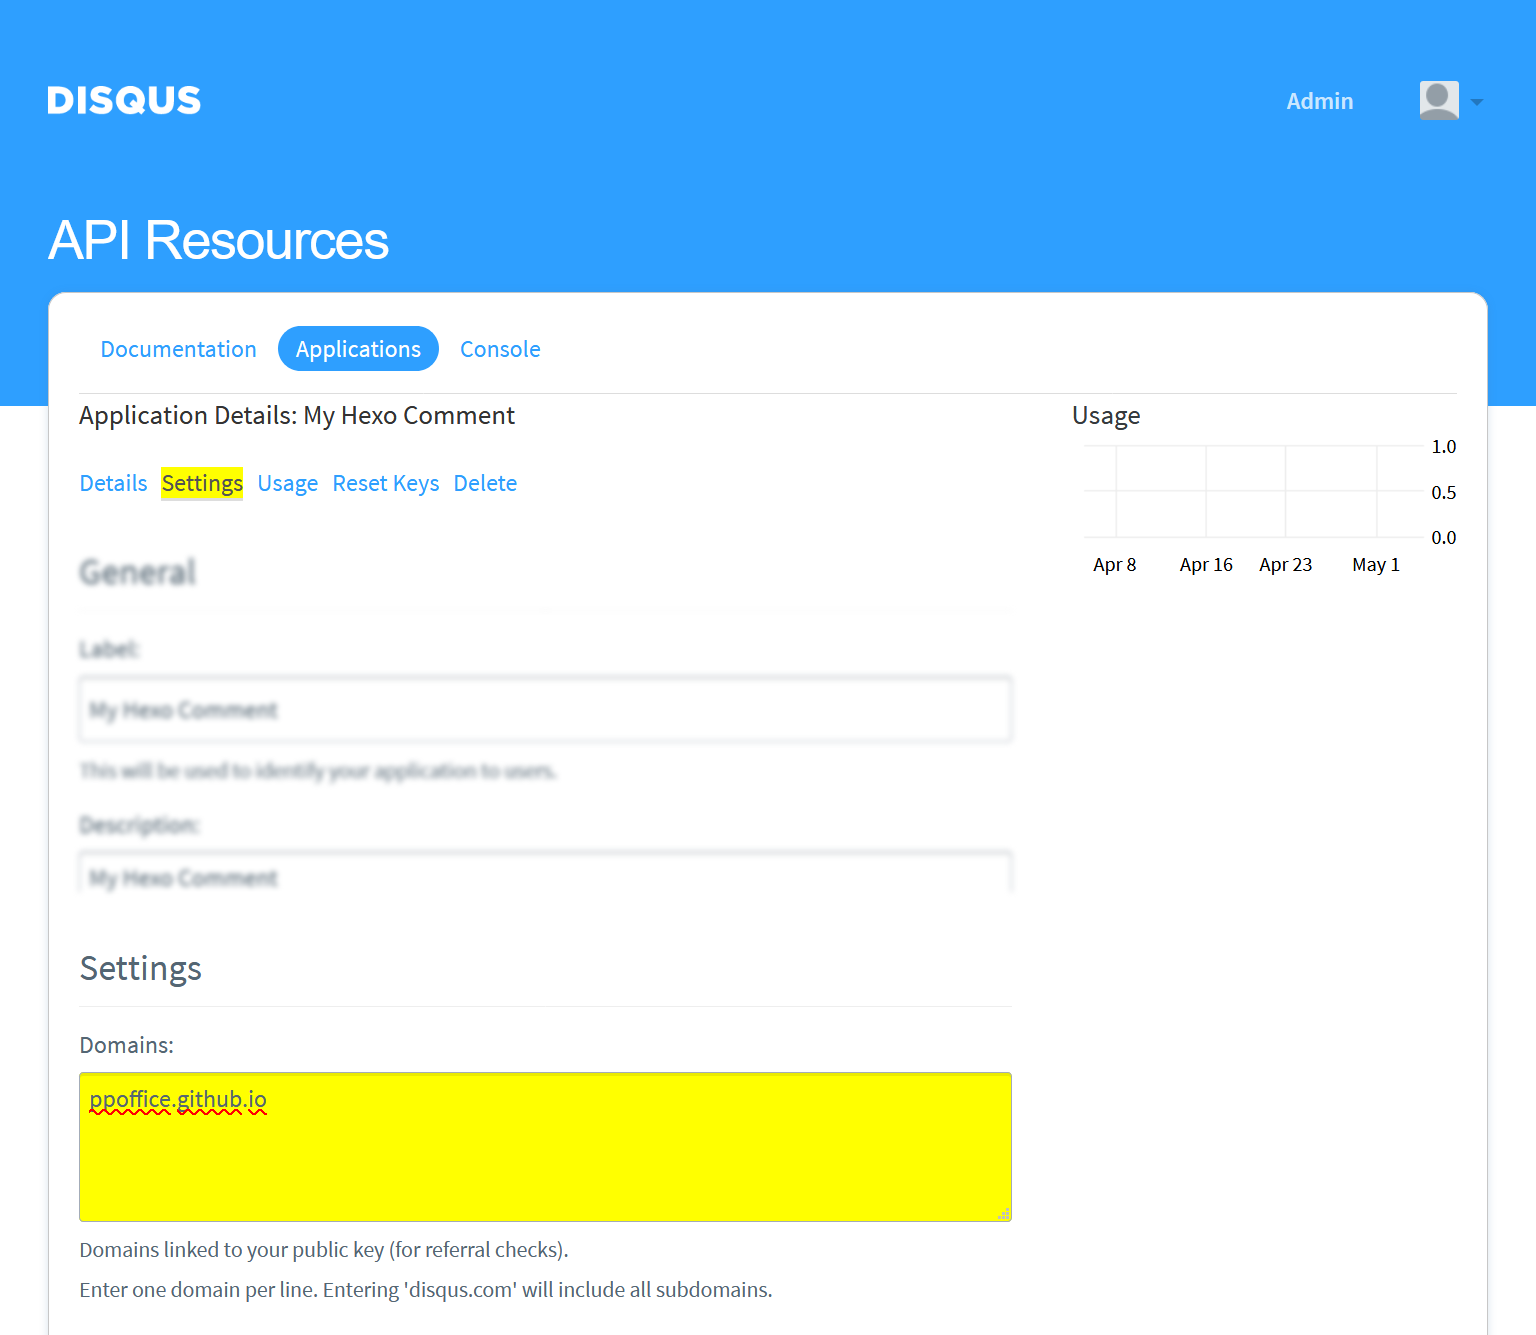
After creating the application, go to the “Settings” tab of the application, fill in the domain name of your Hexo site, e.g., ppoffice.github.io, in the “Domains” field. Then, click the “Save Changes” button on the bottom of the page.
Click the “Details” link on the current page to go to the home page of the current application. Copy the “API Key” in the “OAuth Settings” section to the corresponding setting in the theme configurations.
For example, the “API Key” in the following screenshot:
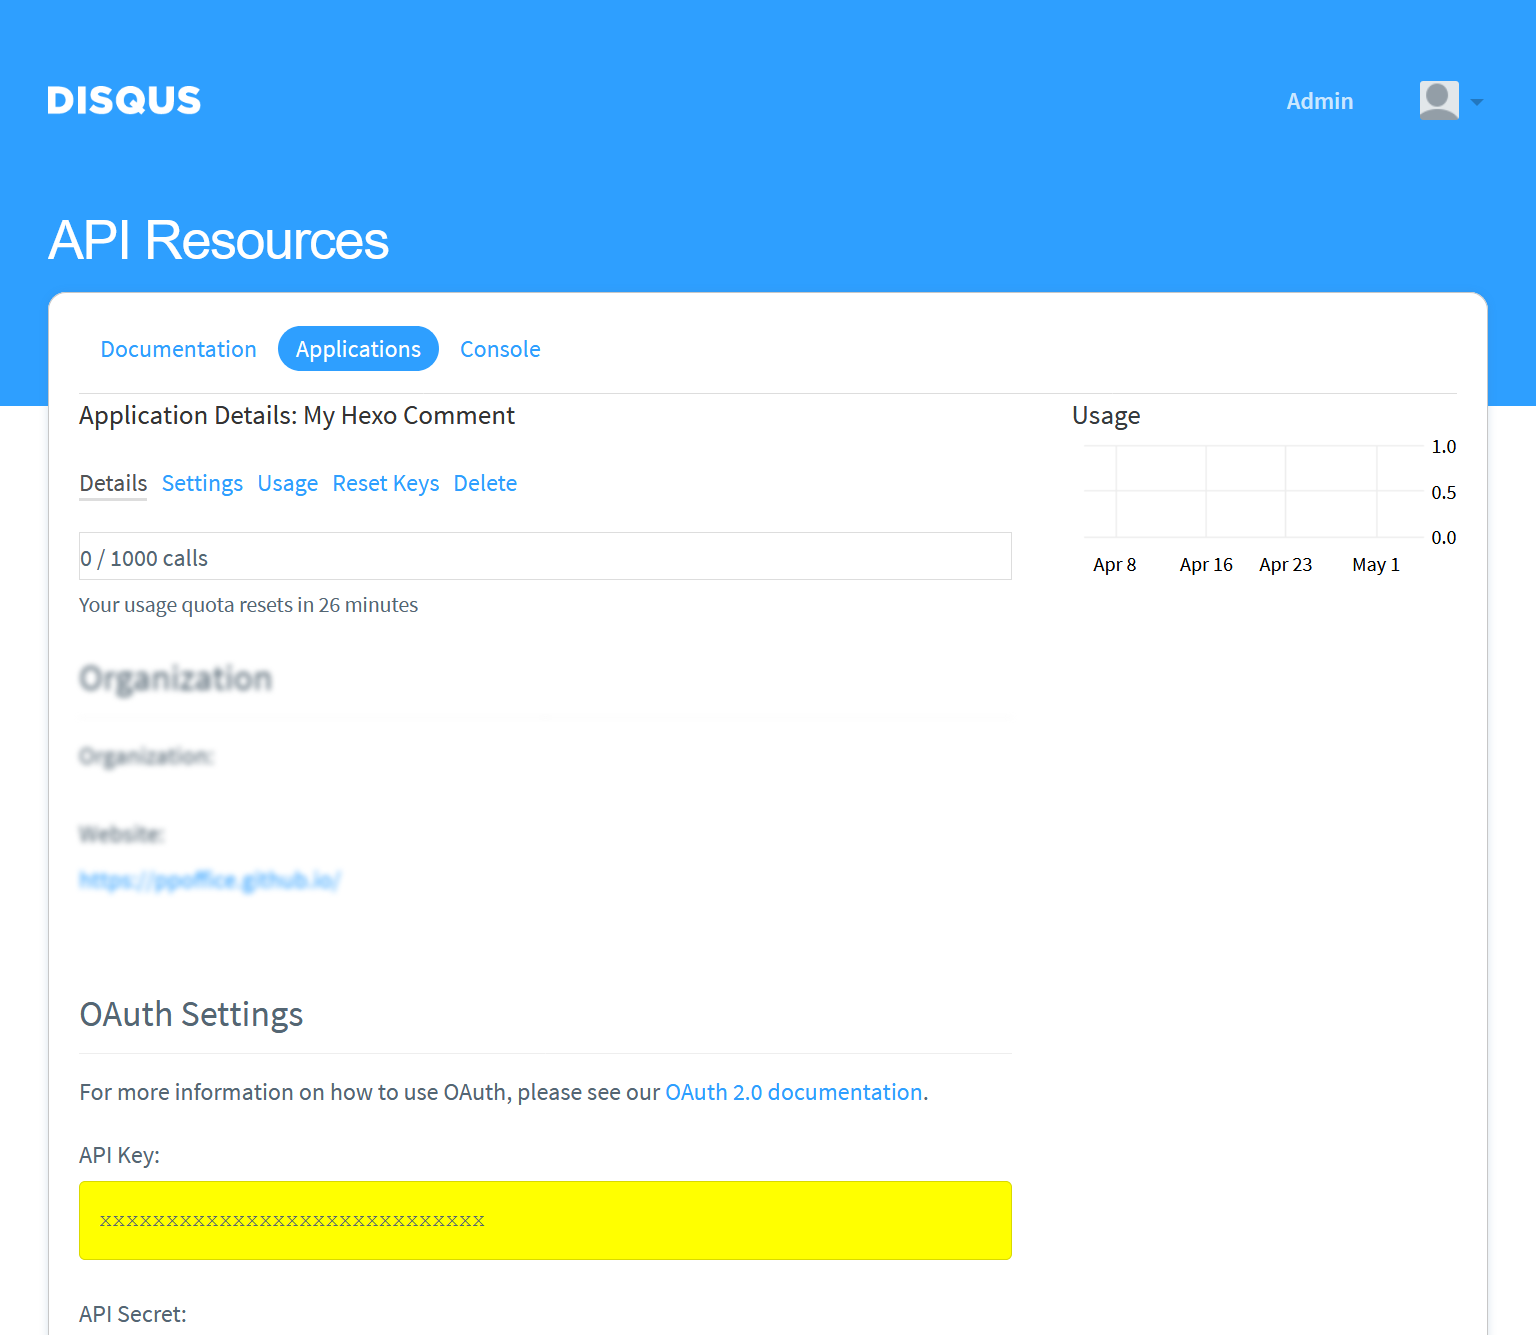
maps to the following theme configuration:
1 | comment: |
To learn more about DisqusJS and its configuration, visit SukkaW/DisqusJS documentation or hexo-component-inferno.
Some AD blockers may block this comment plugin. Use it with caution.
To enable Facebook comment, set the type of comment to facebook:
1 | comment: |
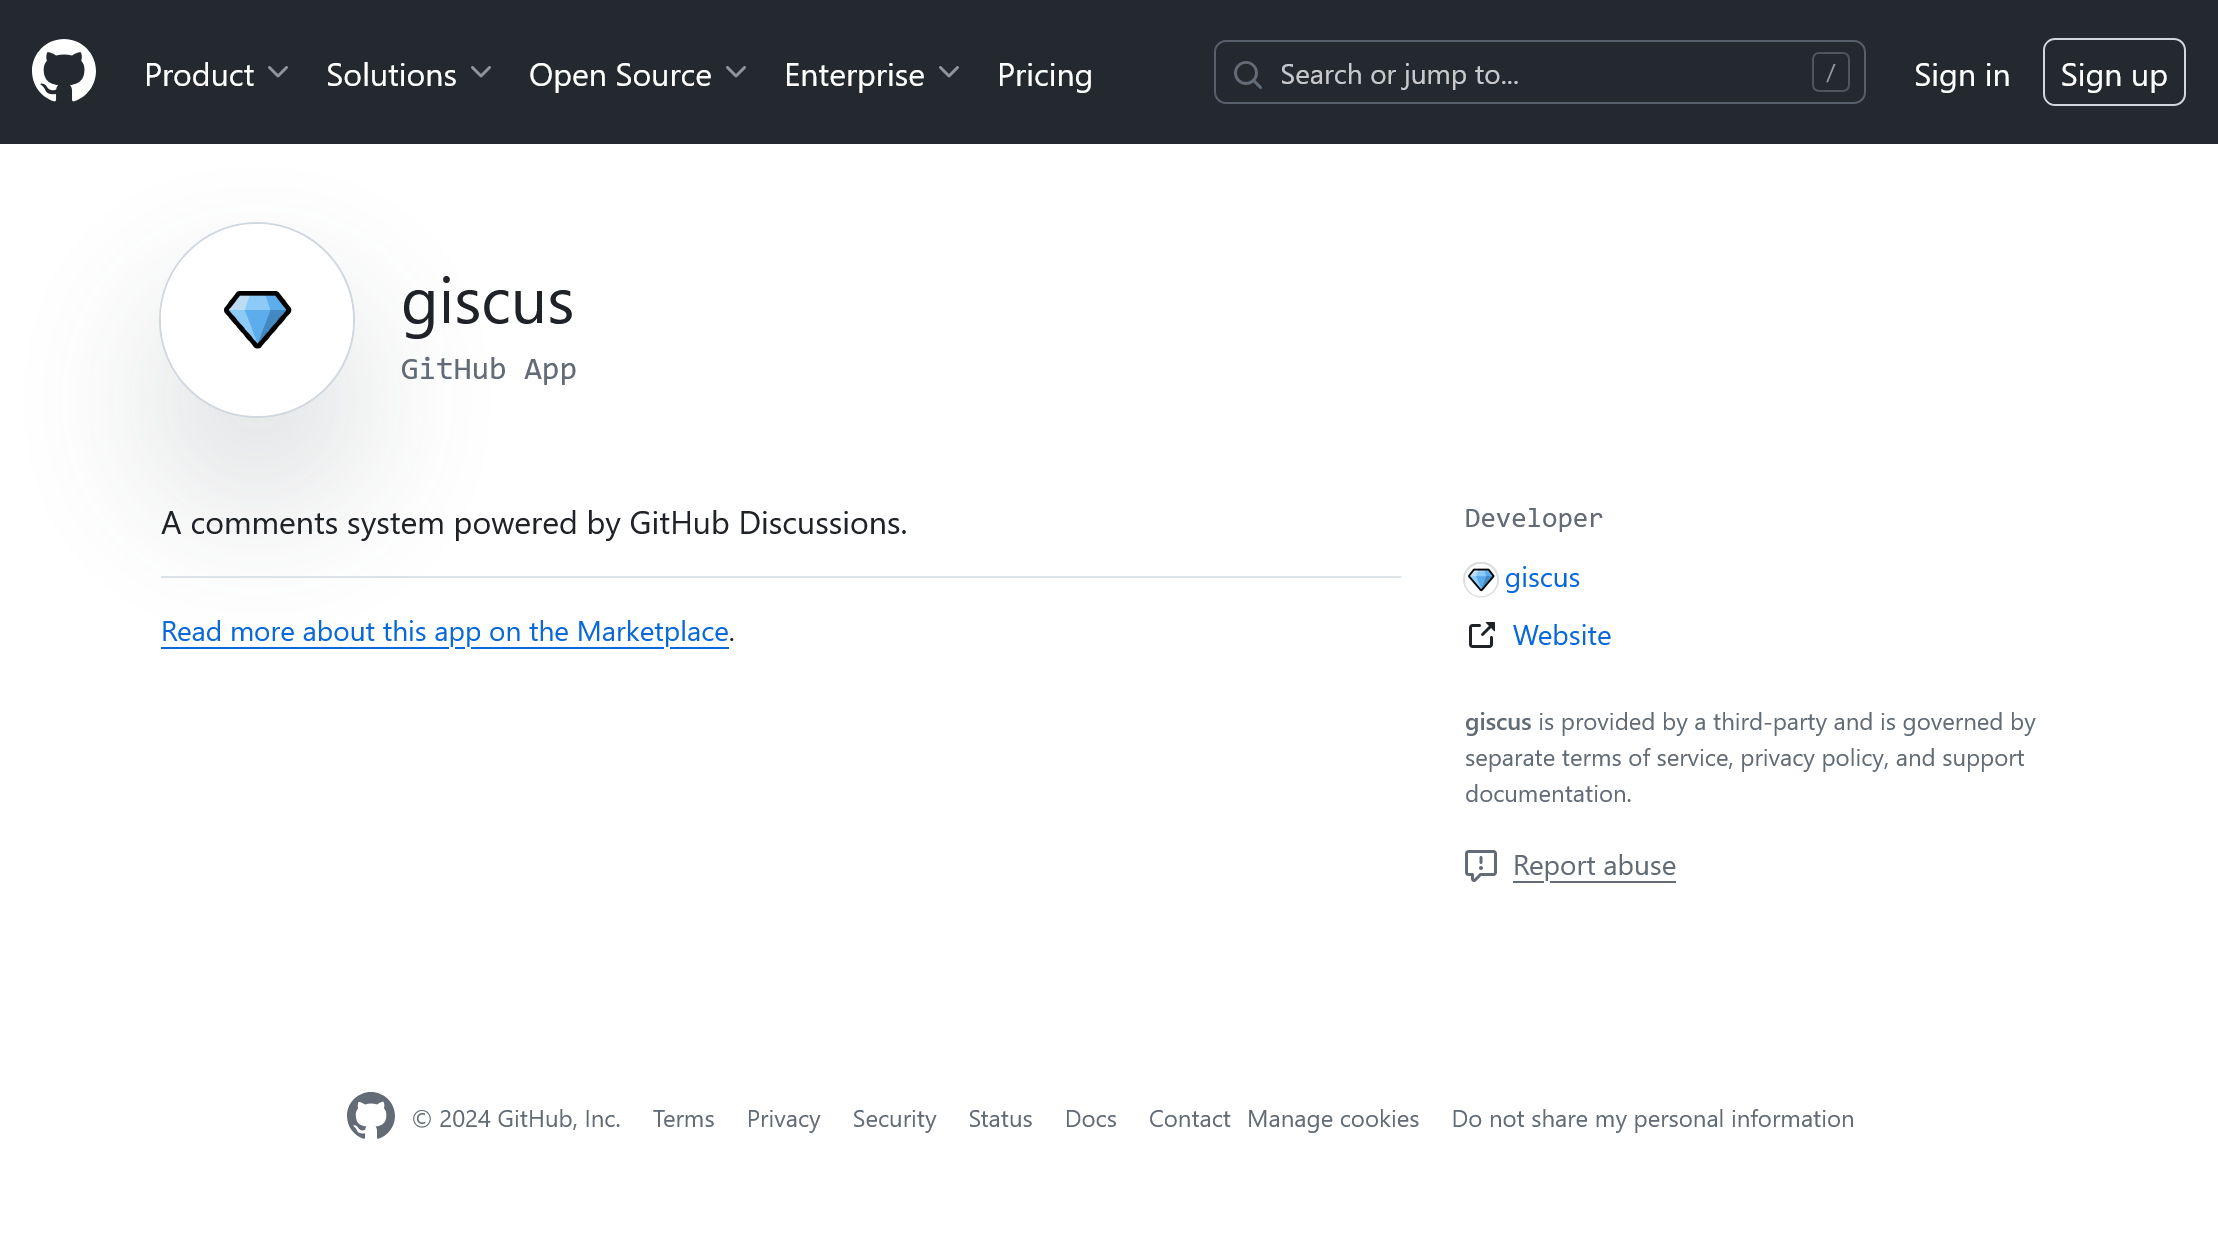
A comments system powered by GitHub Discussions.
Prepare a public GitHub repository.
Go to GitHub Apps - giscus and click “Install”.
(Optional) Select the user to install giscus to on the next page if you also have organizations under your account.
On the next page, you can choose to install giscus to “All repositories” or “Only select repositories”. Then, click the “Install” button.
You will be redirected to the giscus official site if the installation completes. You can review each configuration option and customize your giscus setup.
When finished, move to the “Enable giscus” and copy the attribute values from the giscus HTML code to the corresponding settings in your theme configurations.
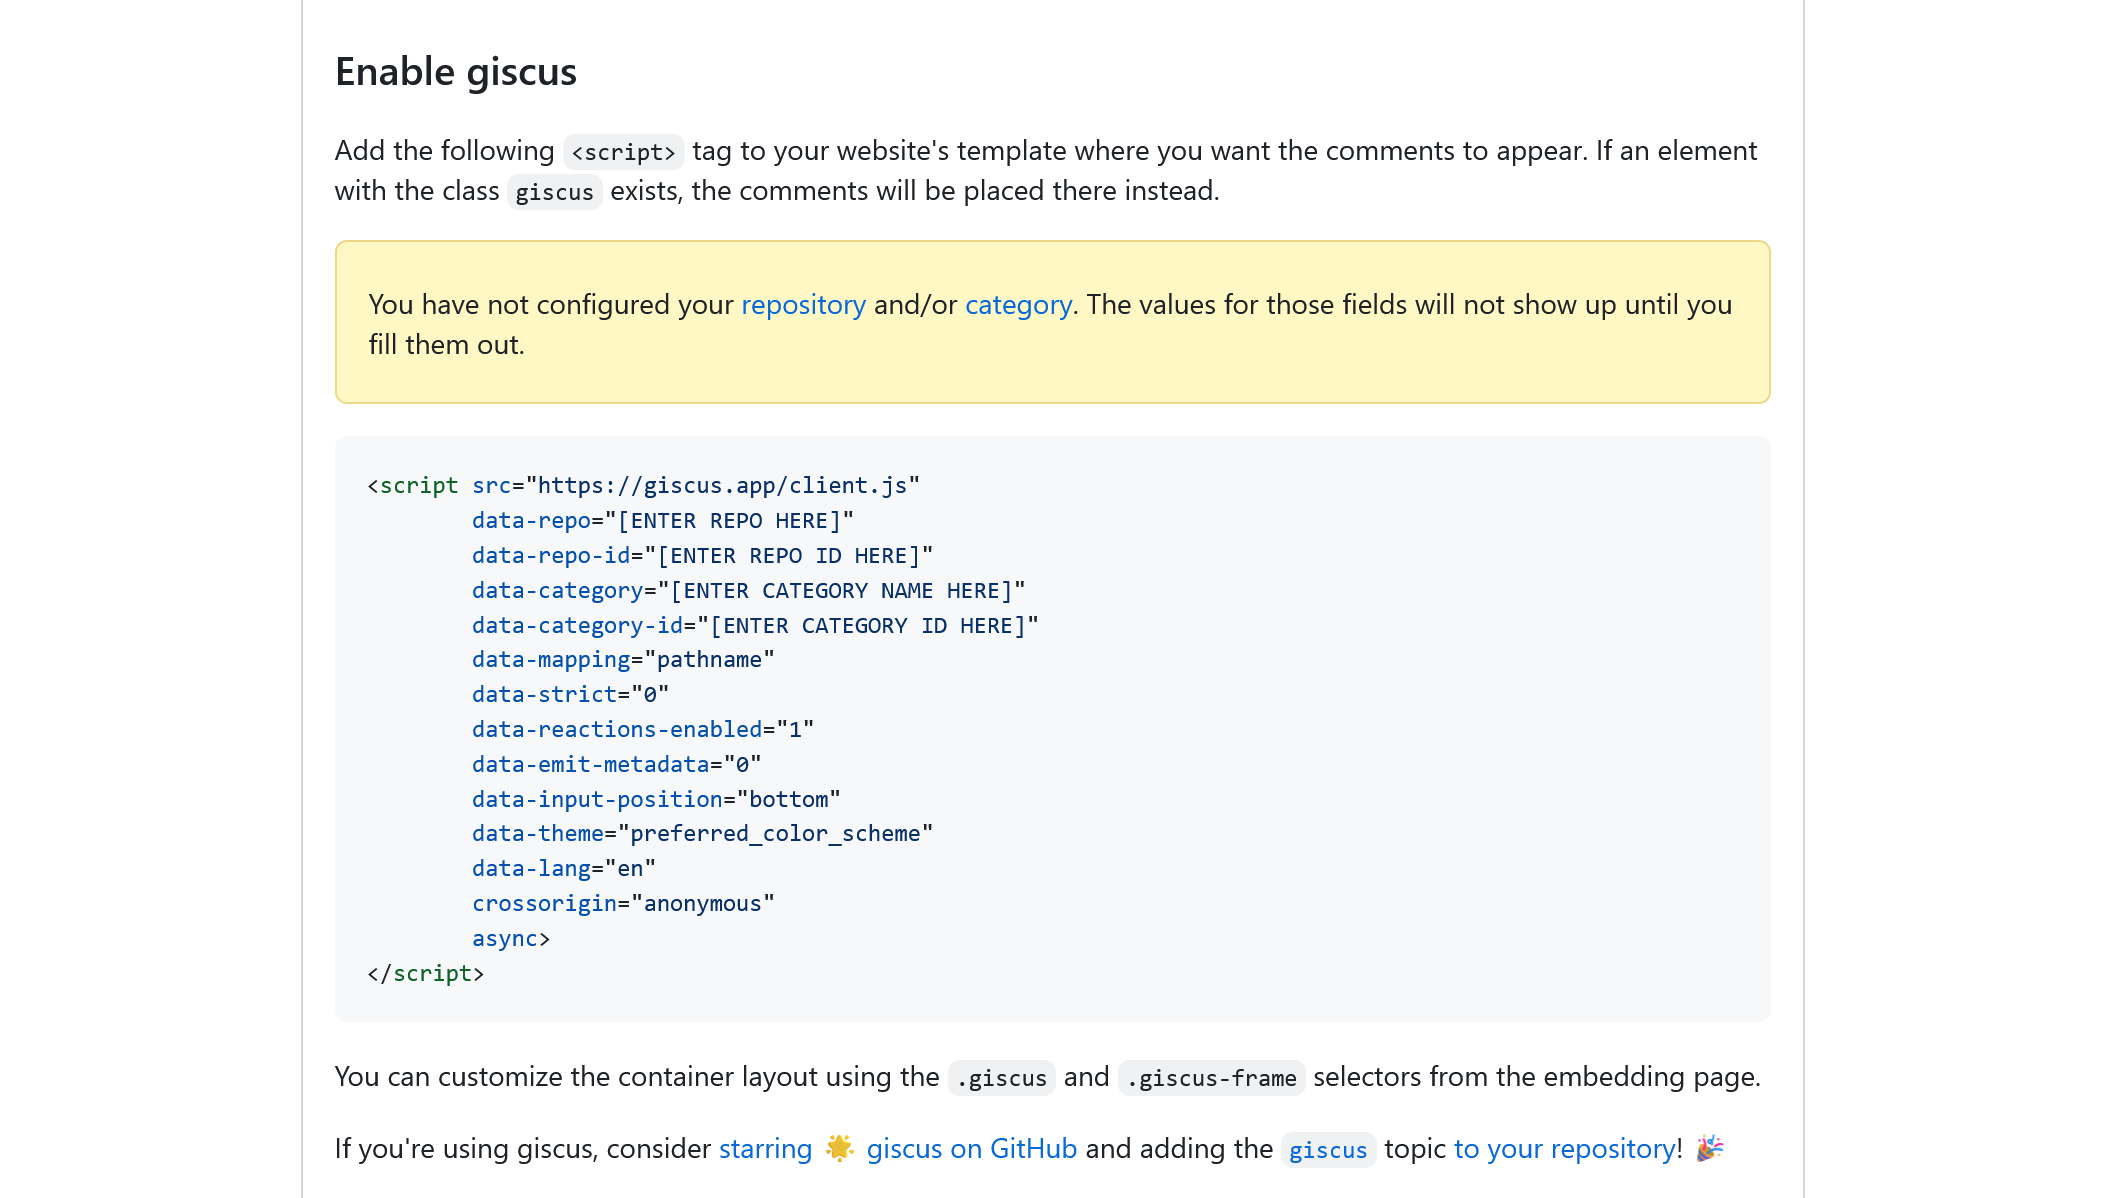
For example, the giscus code below:
1 | <script src="https://giscus.app/client.js" |
maps to the following theme configuration:
1 | comment: |
Log into GitHub and click here to register a new OAuth application. Fill in the “Application name”, “Homepage URL”, and “Application description”. Then, type in the root URL of your Hexo site in the “Authorization callback URL” field. Click the “Register application” button to go to the application details page.
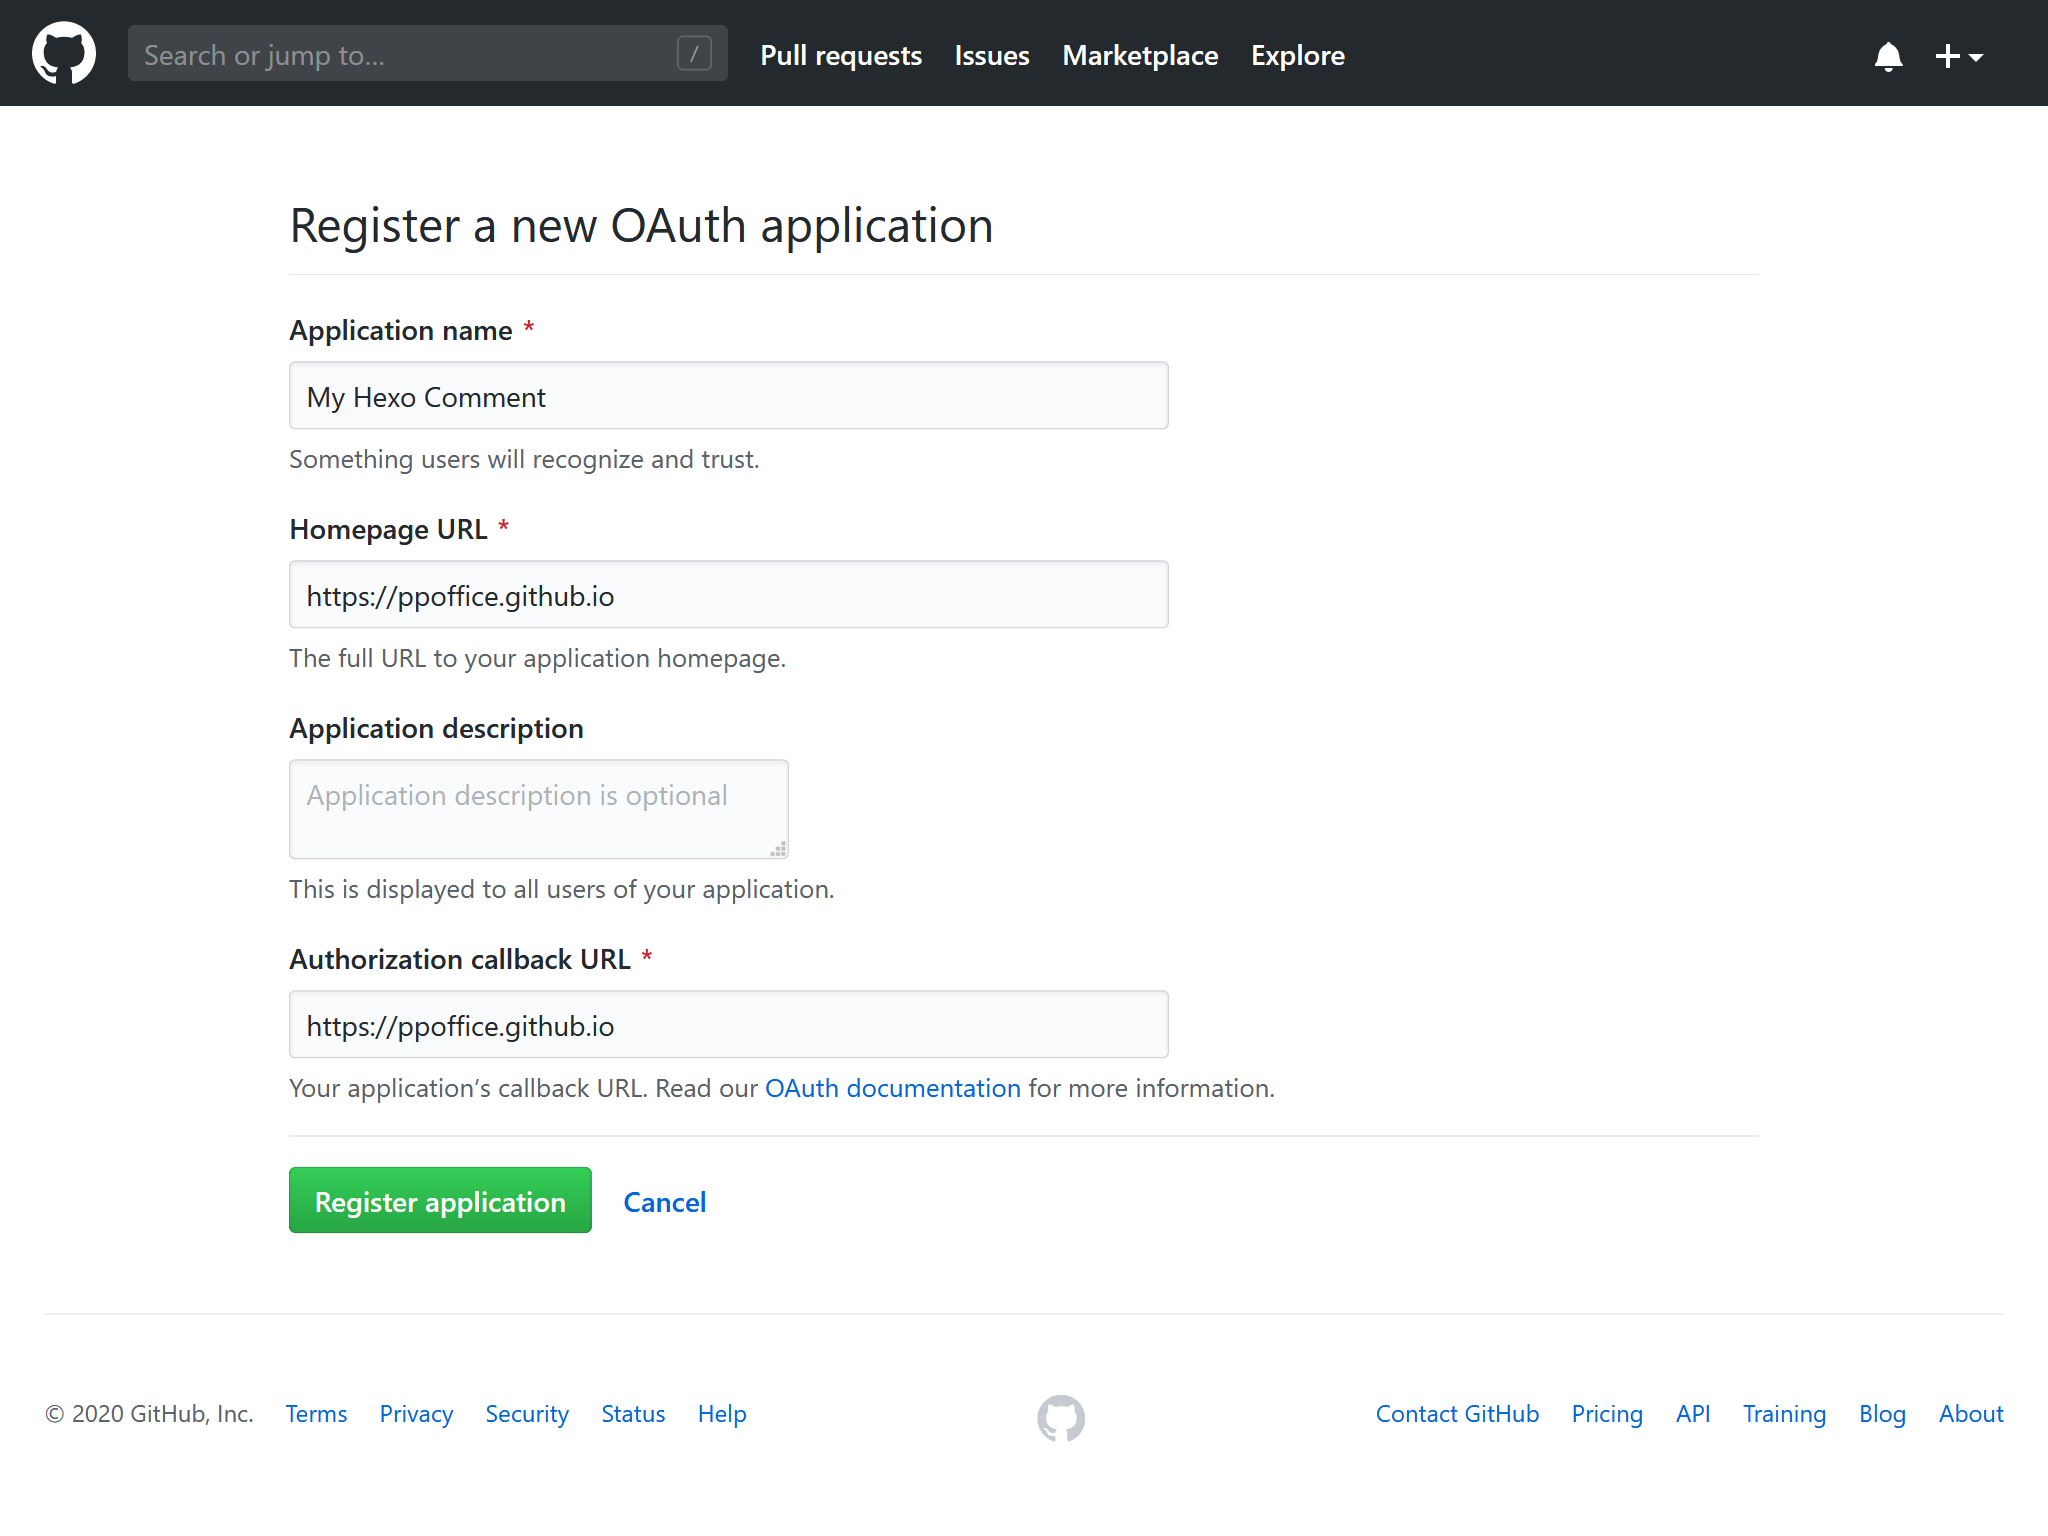
Copy the values of “Client ID” and “Client Secret” to the corresponding settings in the theme configurations.
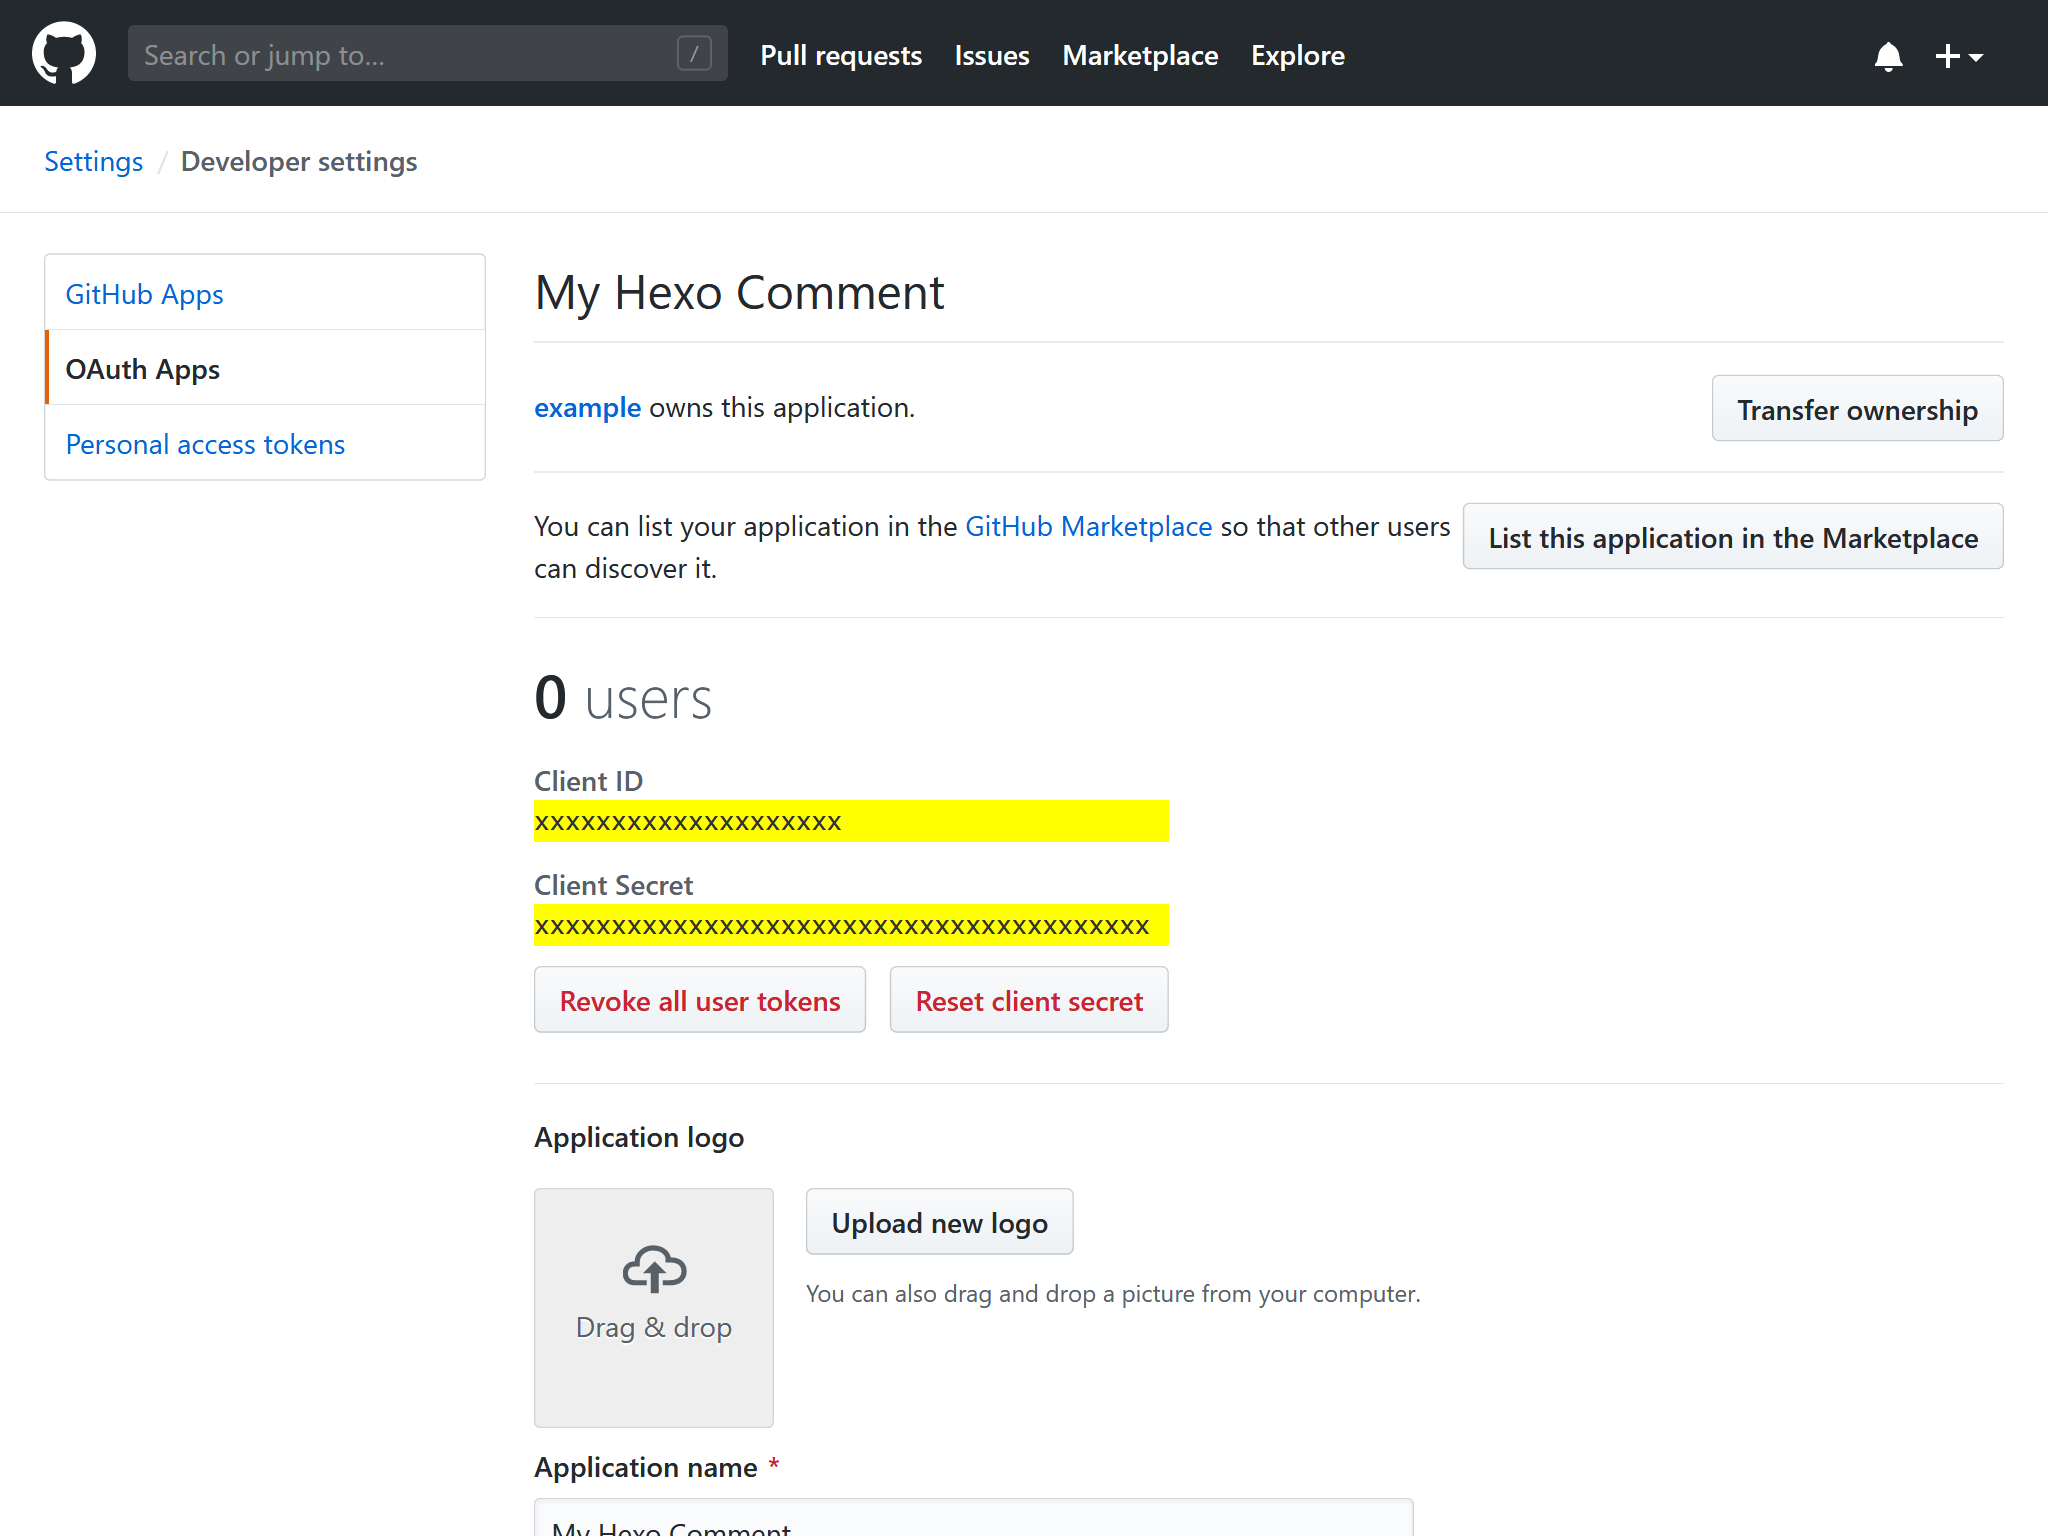
For example, the following “Client ID” and “Client Secret”:
1 | Client ID |
maps the following Gitalk configuration:
1 | comment: |
You can review the description and possible values of the above configuration at Gitalk documentation or hexo-component-inferno.
The maintenance of Gitment seems to be discontinued. You can choose Gitalk or utterances as an alternative GitHub Issue-based comment system.
Installation Guide
Follow the steps in the Gitalk section to register a GitHub OAuth application.
Copy the values of “Client ID” and “Client Secret” to the corresponding settings in the theme configurations.
Here is an example of the Gitment configuration:
1 | comment: |
For more details on the above configuration, refer to Gitment documentation or hexo-component-inferno.
Isso is a valid choice if you wish to set up a self-hosted social comment system instead of relying on third-party ones. However, unlike the other services, Isso requires a web host for running the Isso server.
Installation Guide
Follow the Isso documentation to install and run the Isso server.
Fill in the HTTP URL of Isso server to the corresponding setting in the theme configurations.
For example, if your service URL is https://posativ.org/isso/api/, you will have the following
comment configuration:
1 | comment: |
Some AD blockers may block this comment plugin. Use it with caution.
Installation Guide
First, log into LiveRe. Click “Install” on the navigation bar to go to the installation page.
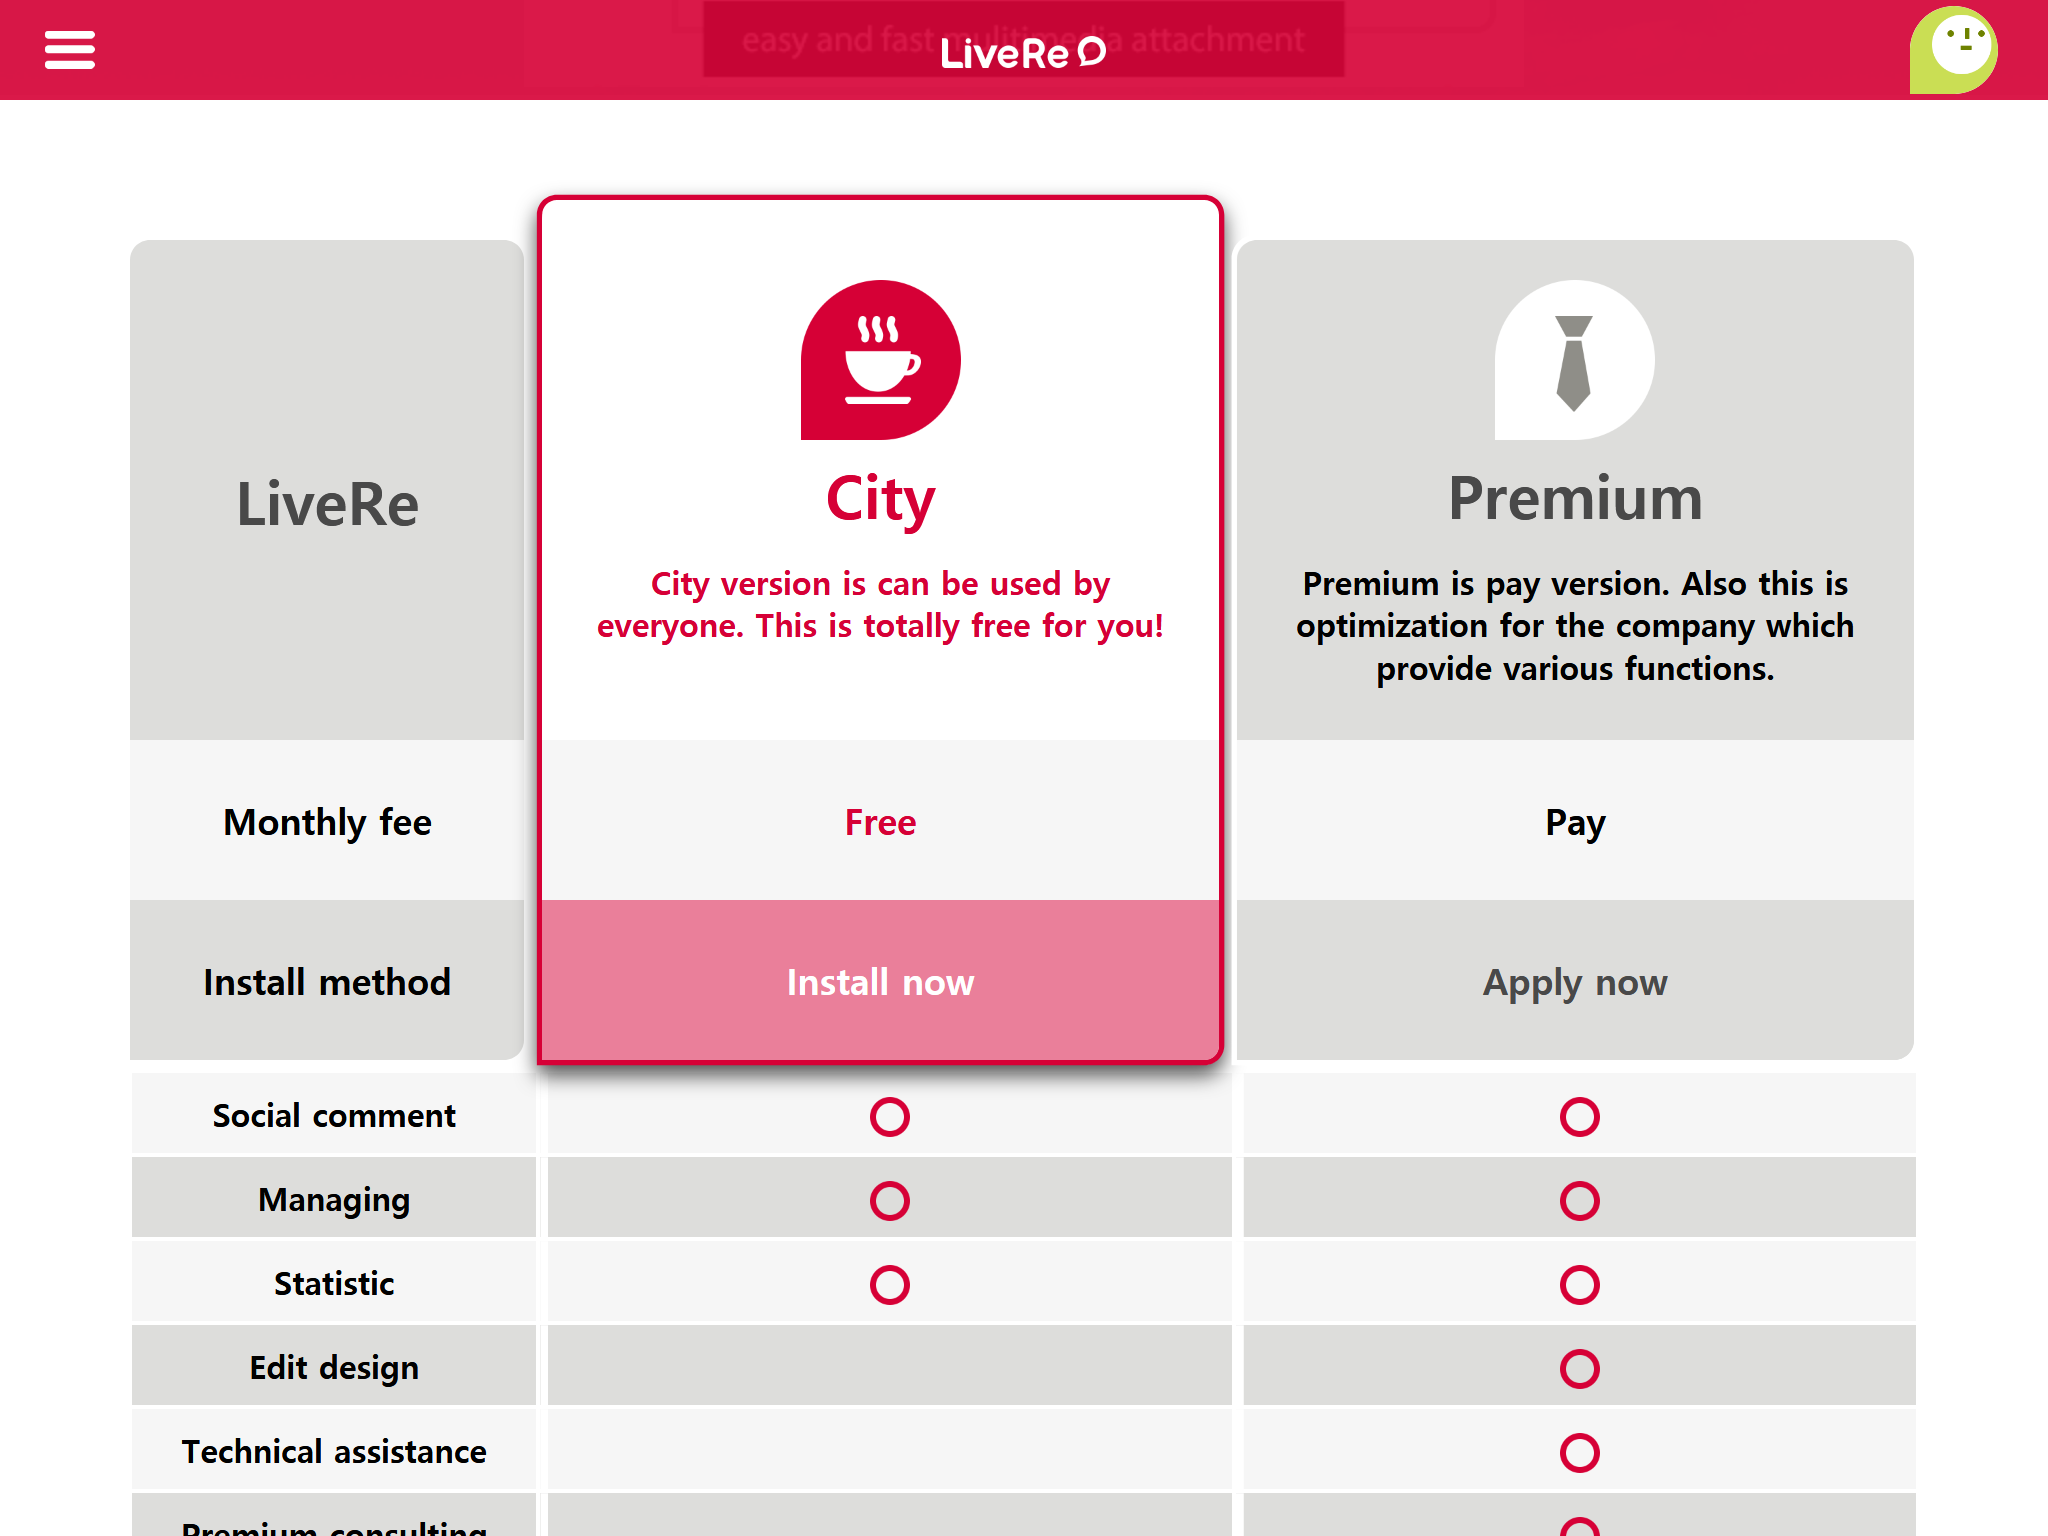
Select the free “City” tier on the installation page and click the “Install Now” button.
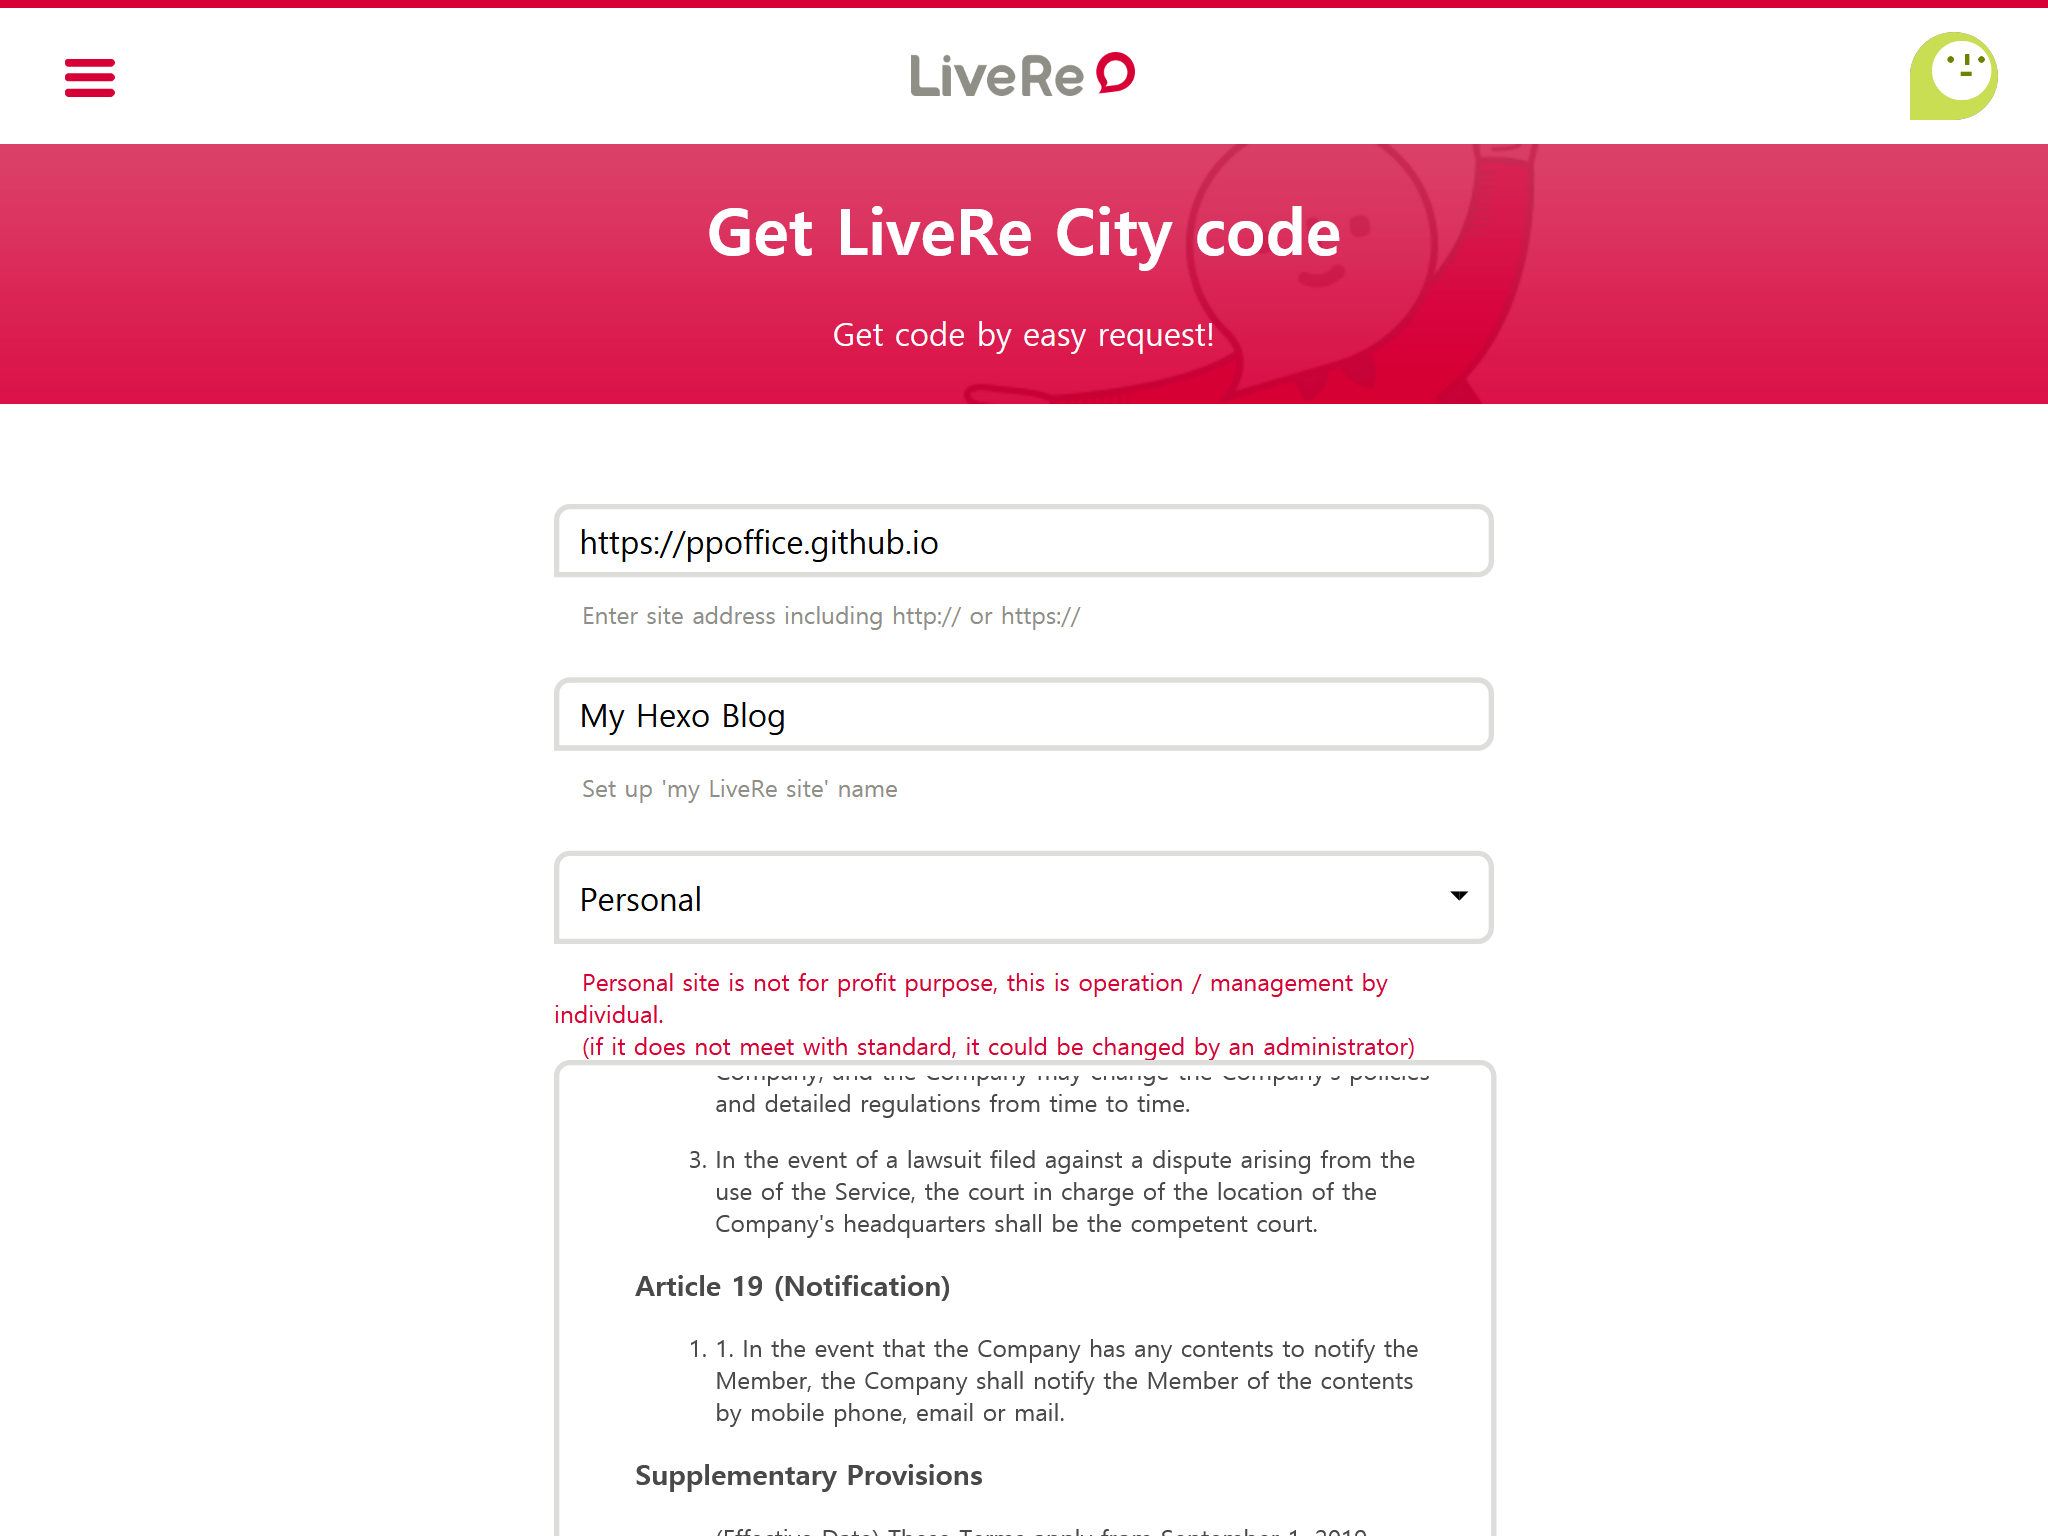
Fill in the “Site URL”, “Name of website”, and “Choose site category” on the “Get LiveRe City code” page. Check “I have check the advertising terms…” and click the “Get code” button to be redirected to the LiveRe HTML code page.
Copy the value inside the quotes of data-uid="..." to the corresponding setting in the theme configurations.
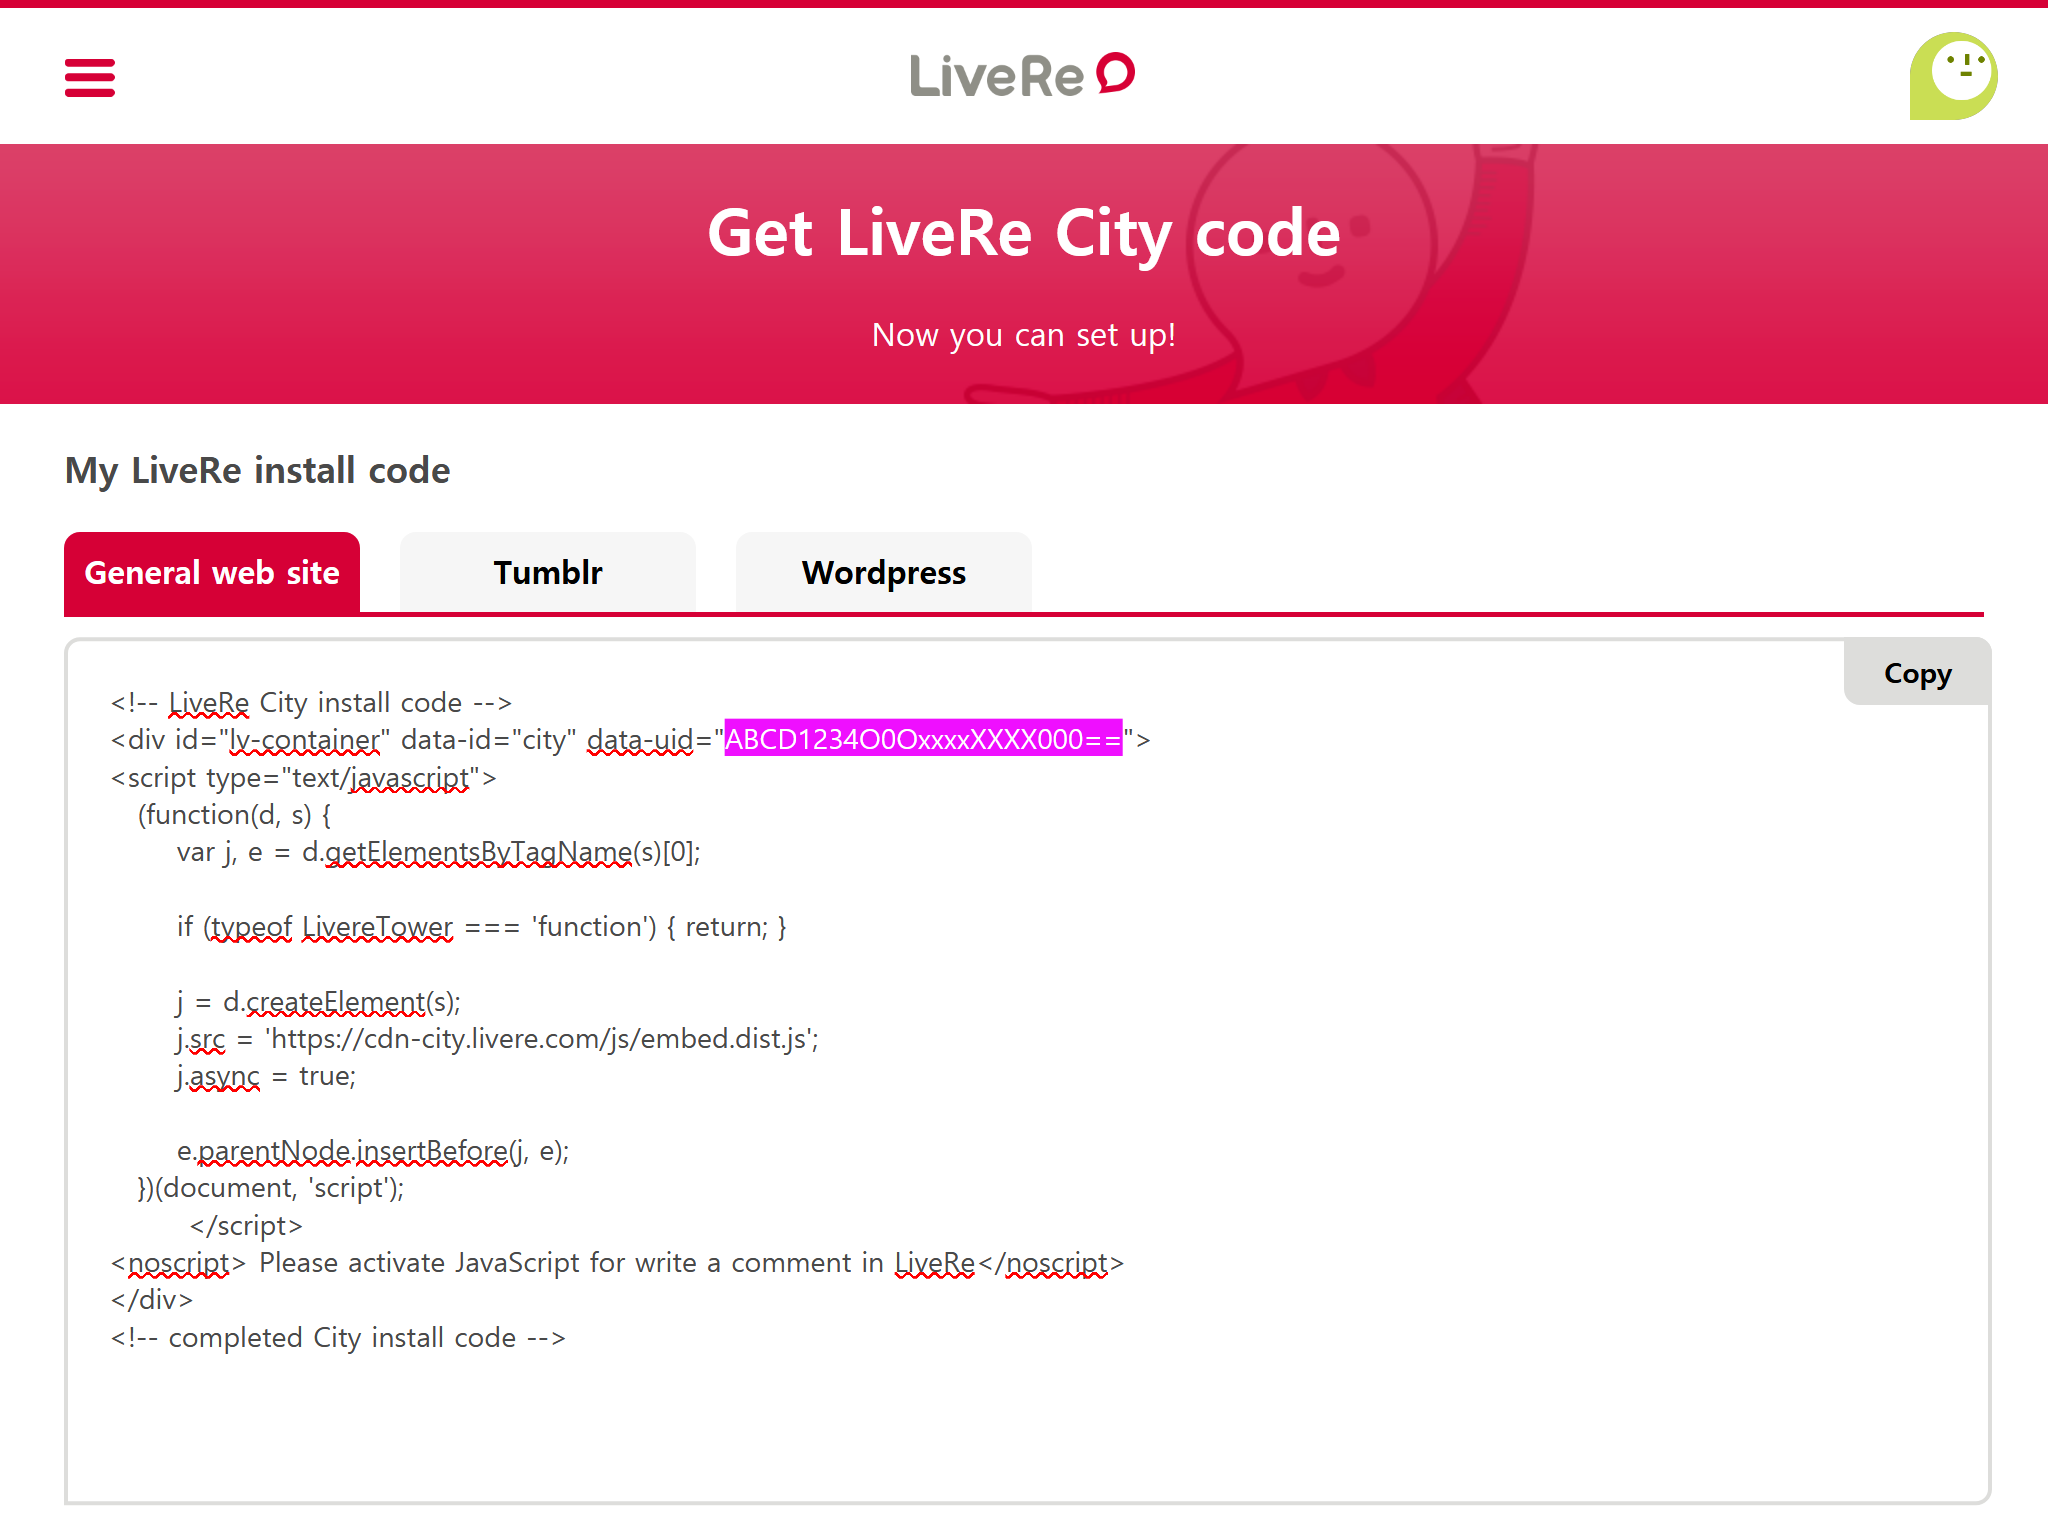
For example, the LiveRe code below:
1 |
|
maps to the following theme configuration:
1 | comment: |
Twikoo is a self-hosted comment system based on cloud functions. Unlike other third-party comment services, the Twikoo backend needs to be deployed to a cloud environment before being configured and used by Icarus.
Follow the Twikoo documentation to deploy the Twikoo cloud function to a cloud service provider of your choice.
Fill in the env_id of your deployment to the corresponding setting in the theme configurations.
1 | comment: |
Prepare a public GitHub repository.
Go to GitHub Apps - utterances and click “Install”.
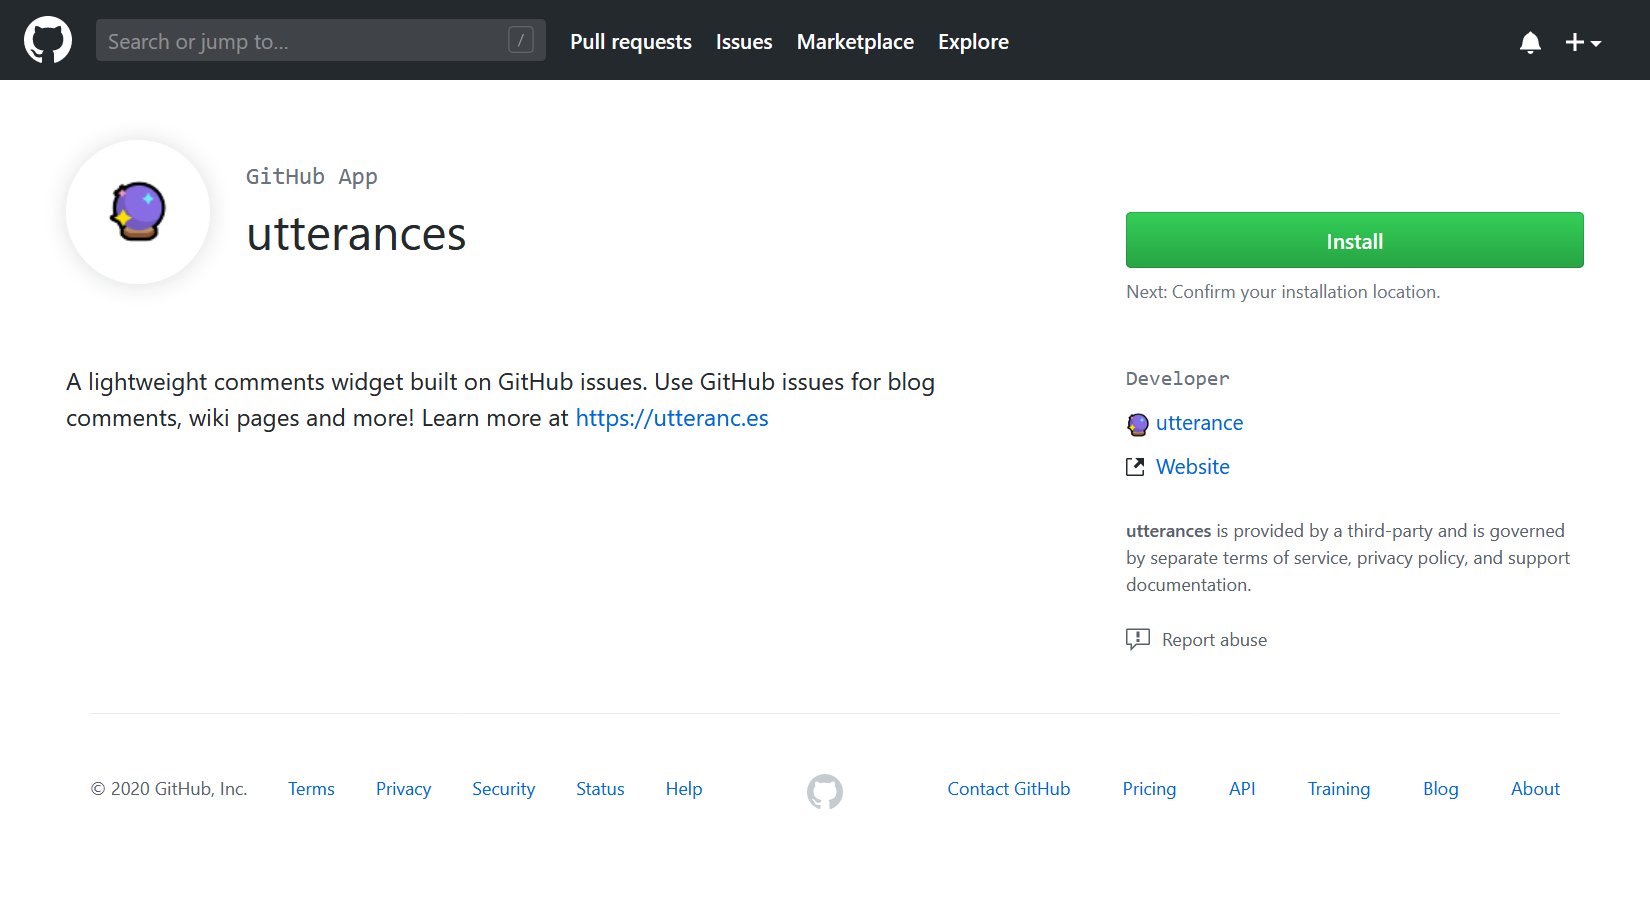
(Optional) Select the user to install utterances to on the next page if you also have organizations under your account.
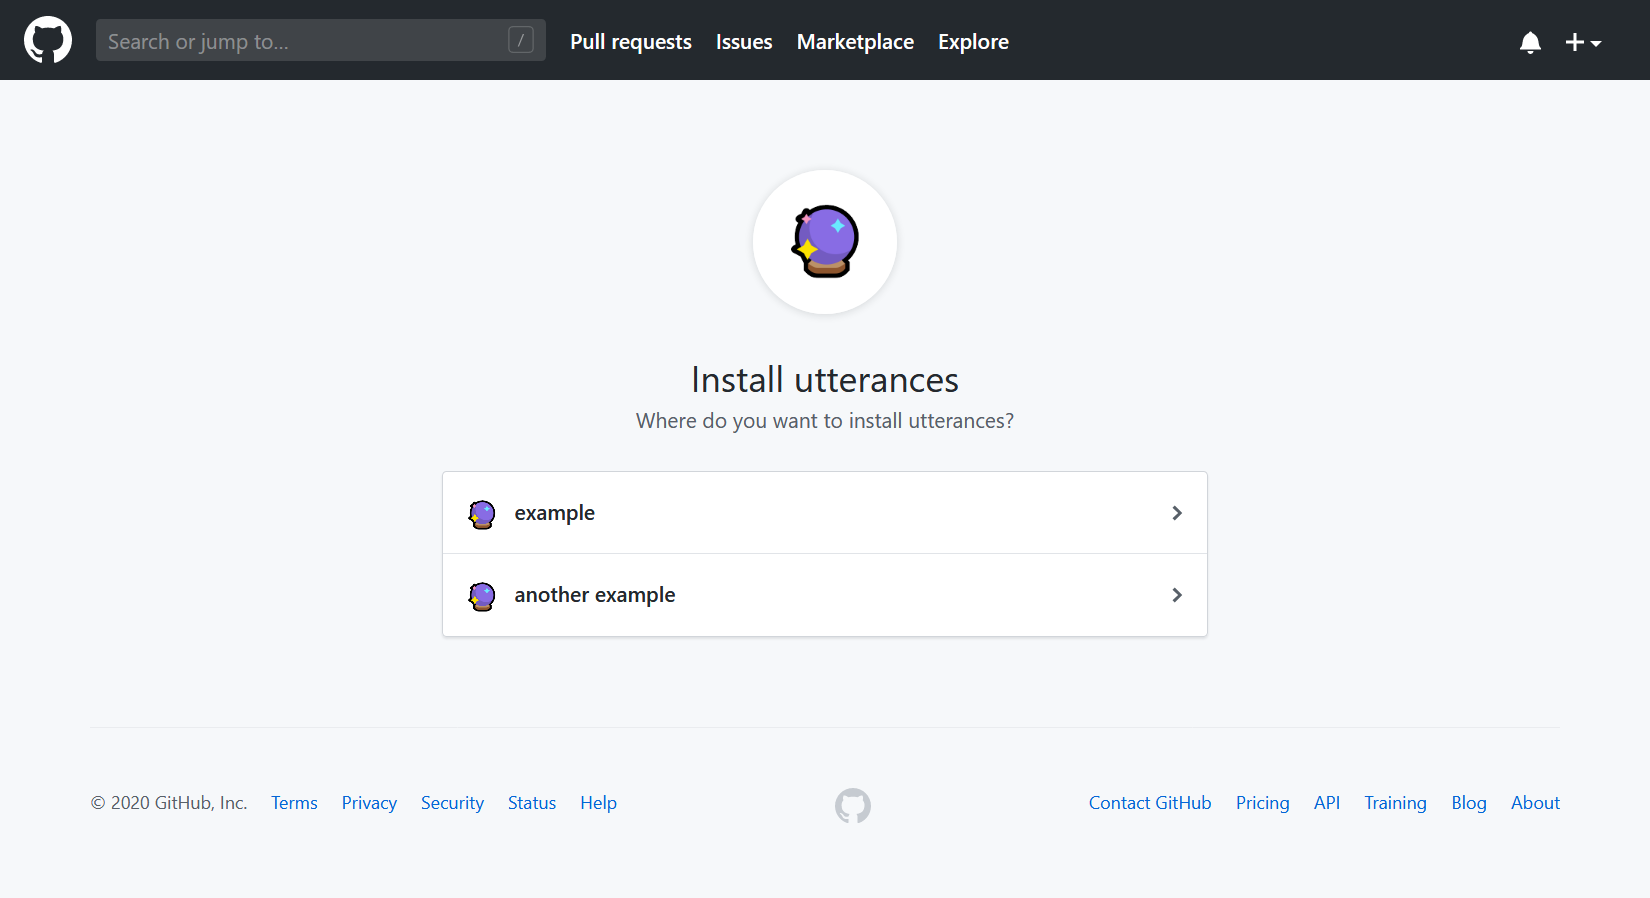
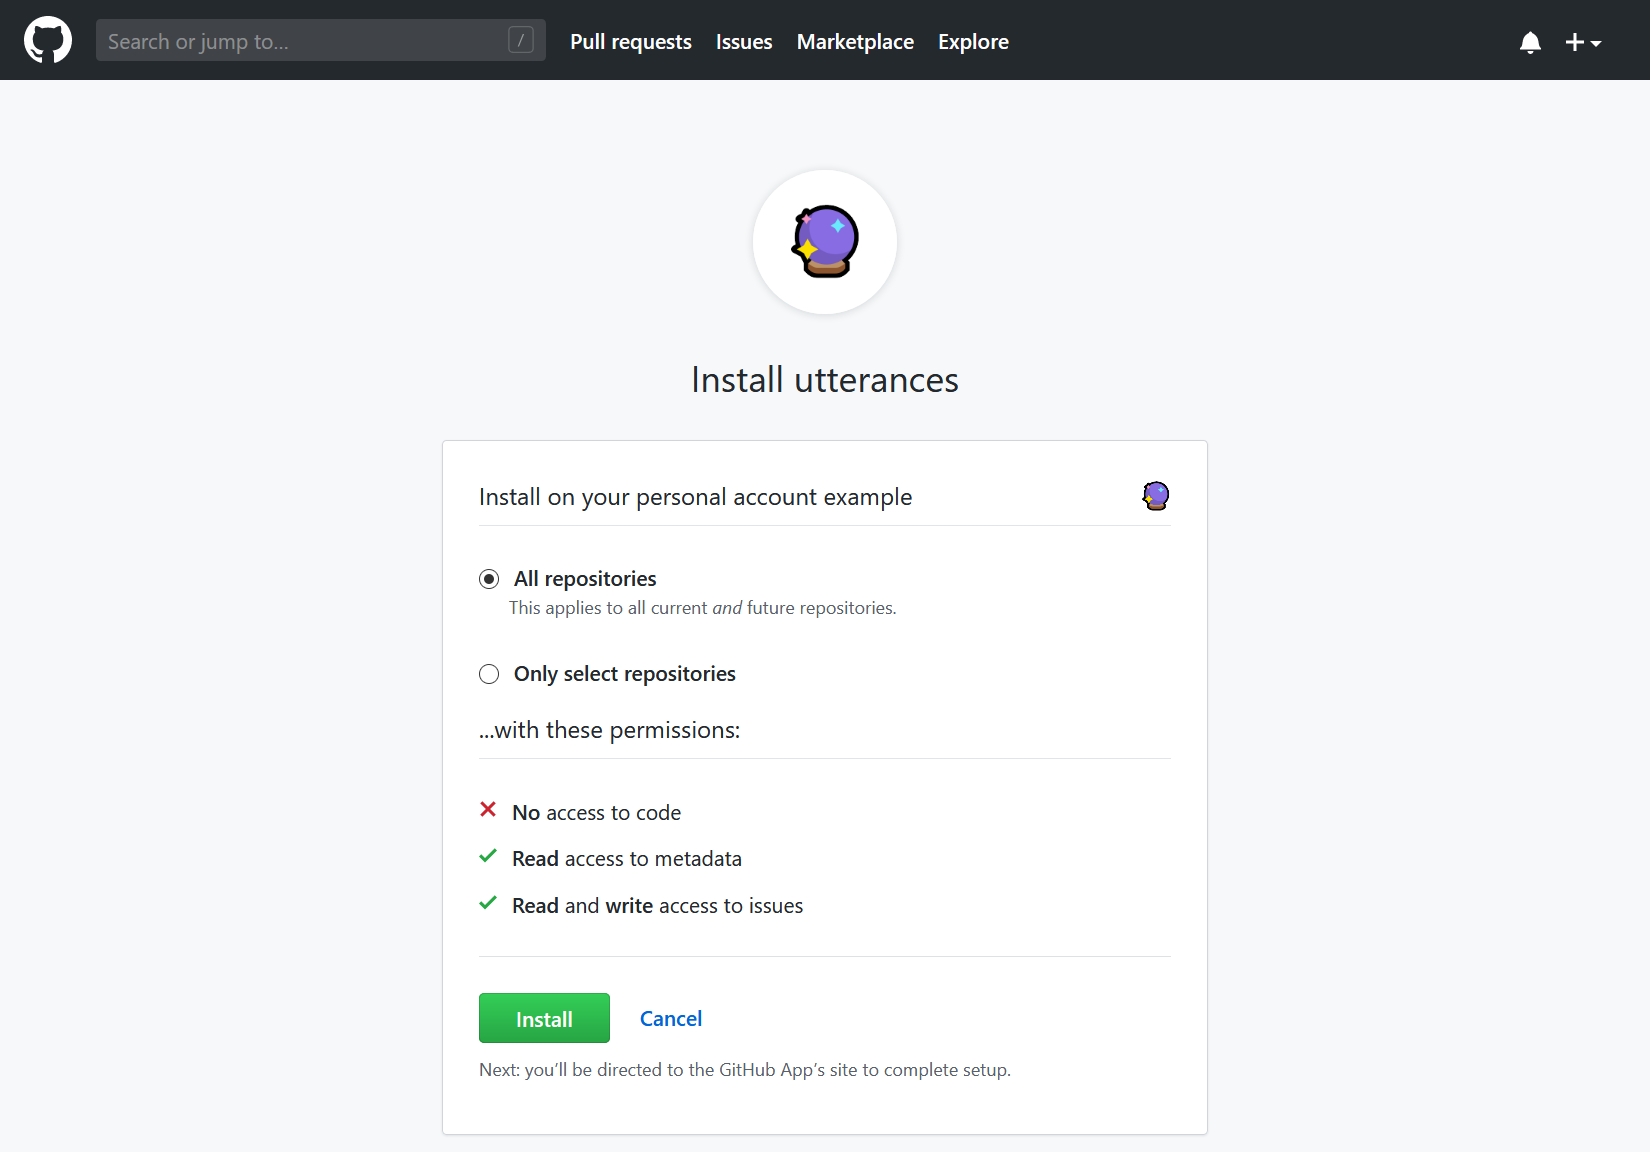
On the next page, you can choose to install utterances to “All repositories” or “Only select repositories”. Then, click the “Install” button.
You will be redirected to the utterances official site if the installation completes. You can review each configuration option and customize your utterances setup.
When finished, move to the “Enable utterances” and copy the attribute values from the utterances HTML code to the corresponding settings in your theme configurations.
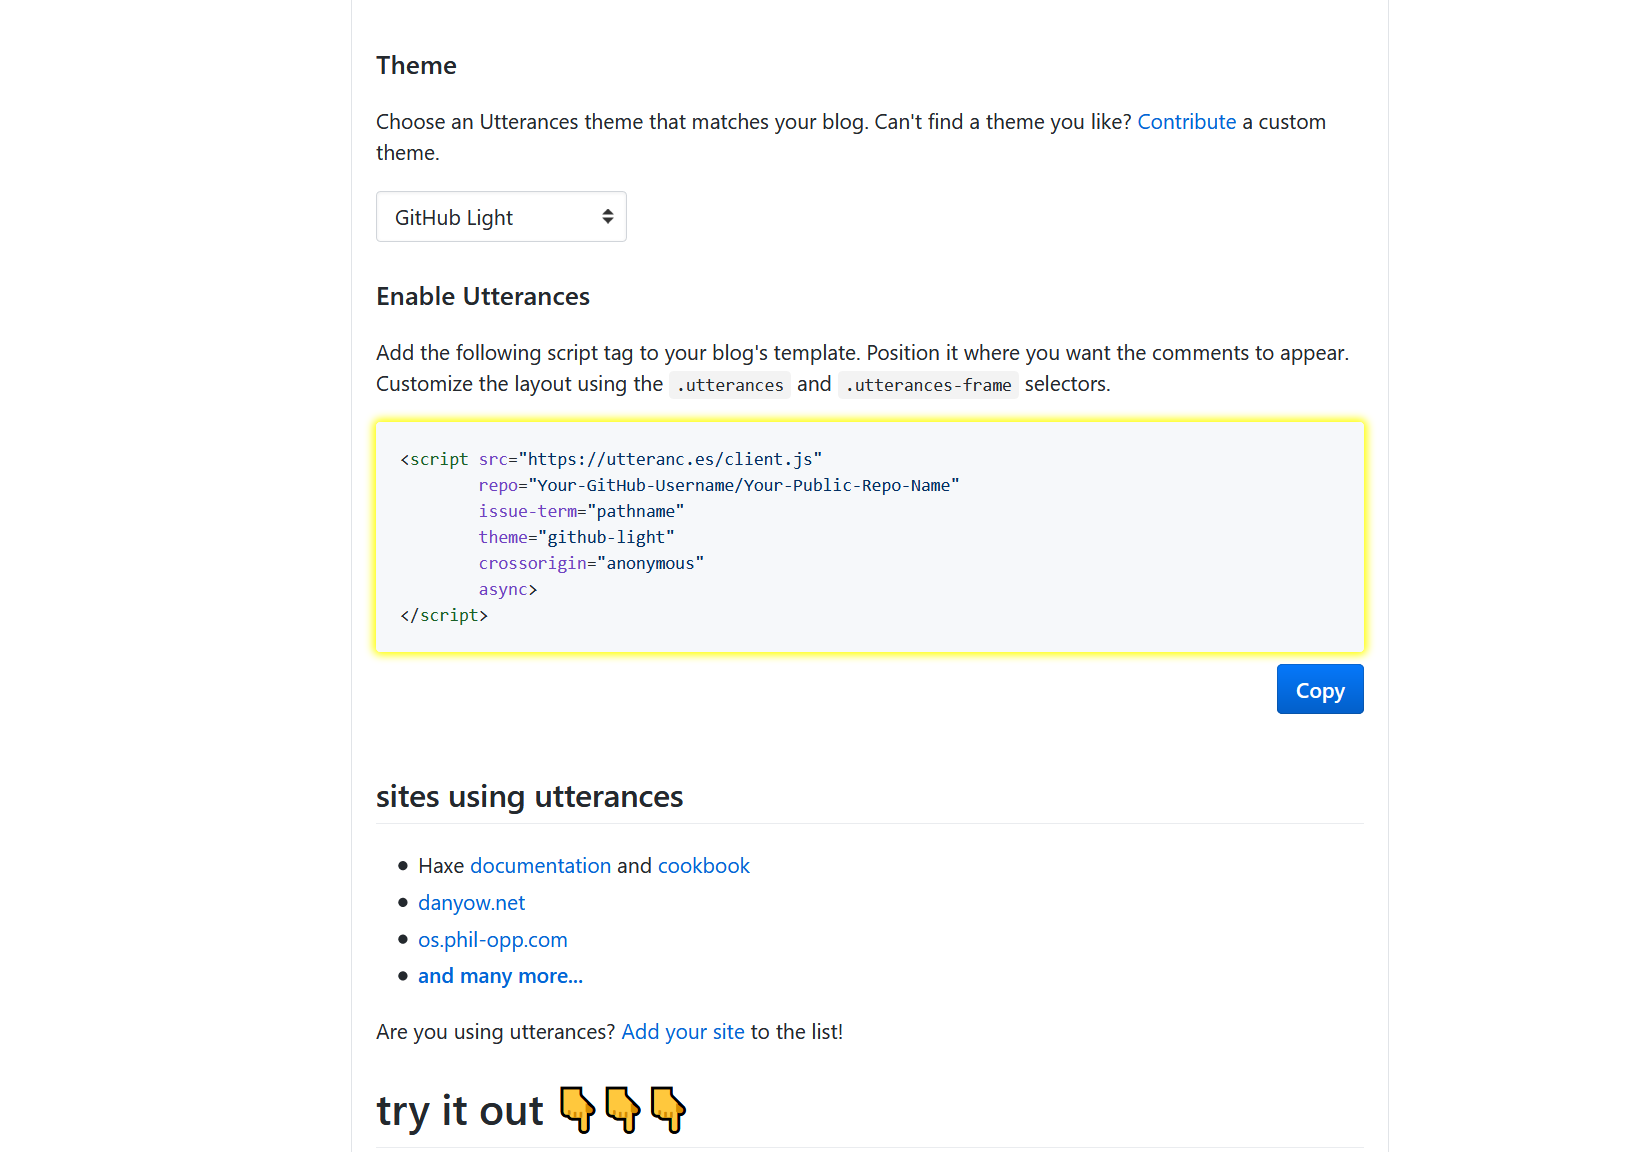
For example, the utterances code below:
1 | <script src="https://utteranc.es/client.js" |
maps to the following theme configuration:
1 | comment: |
A vulnerability has been found in Valine that the comment service exposes IP addresses of all commenters (xCss/Valine#336). Please use alternative comment services until this issue has been fixed.
Create a LeanCloud application following the Quickstart guide.
Copy the “App ID” and “App Key” of your LeanCloud application to the corresponding settings in the theme configurations. In addition, you can refer to the Config Reference to find out the details and possible values of the optional settings. Here is an example configuration:
1 | comment: |
Create a LeanCloud application and a Vercel project following the Get Started guide.
Copy the “Server URL” of your Vercel project to the corresponding setting in the theme configurations.
It is usually something like https://your-domain.vercel.app.
In addition, you can refer to the Client Configuration to find out more
details and possible values of the optional settings.
Here is an example configuration:
1 | comment: |
Something wrong with this article? Click here to submit your revision.
此内容由惯性聚合(RSS阅读器)自动聚合整理,仅供阅读参考。 原文来自 — 版权归原作者所有。