This article is also available in 简体中文.







This article covers search plugin configurations supported by Icarus 5.
This article is also available in 简体中文.
The following search plugins are provided by ppoffice/hexo-component-inferno. Please refer to it for a complete list of supported plugins and their configuration details.
Install the hexo-algolia plugin under the root directory of your Hexo site.
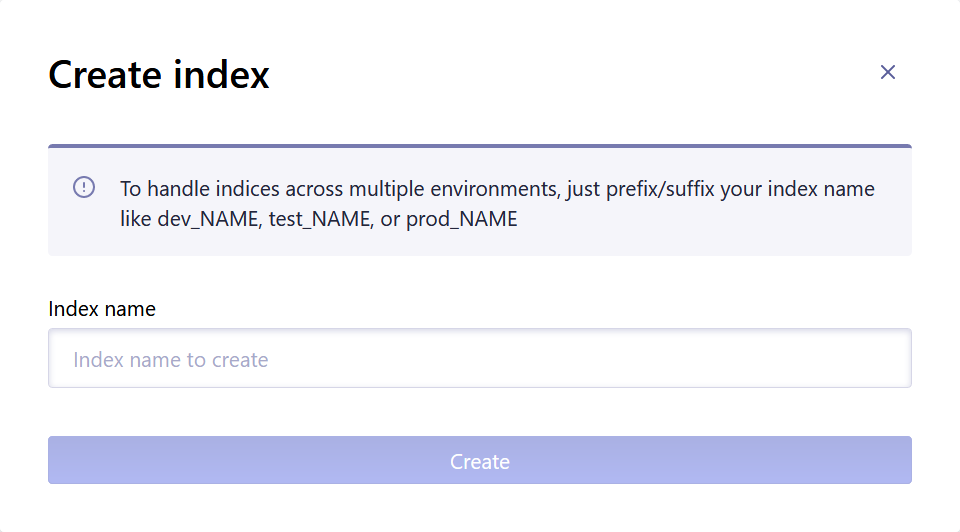
Register and log into Algolia. Click the “Create Index” button on the dashboard when you log in for the first time. Then, enter the name of the index and click the “Create” button to complete index creation.
Next, click “API Keys” on the left navigation bar, copy “Application ID” and “Search-Only API Key” on the page.
Open site configuration file _config.yml under the root directory of your Hexo site and fill in the above
information to the hexo-algolia plugin configurations.
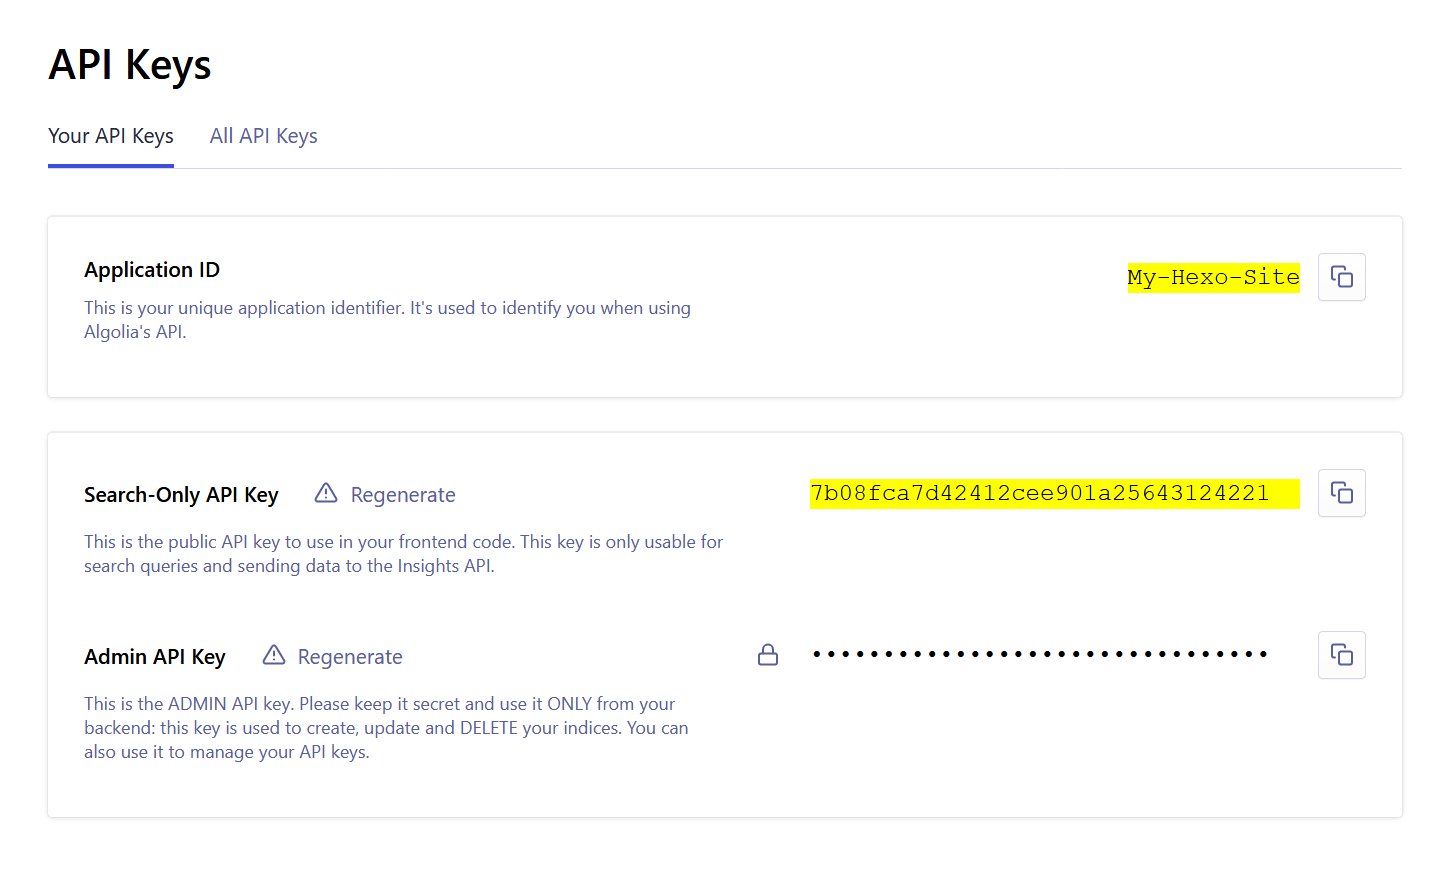
For example, the following Aloglia index information:
1 | Algolia Index Name: My-Hexo-Site |
maps to the following plugin configuration:
1 | algolia: |
Go back to the “API Keys” page from the Algolia dashboard and switch to the “All API Keys” tab.
Click the “New API Key” button.
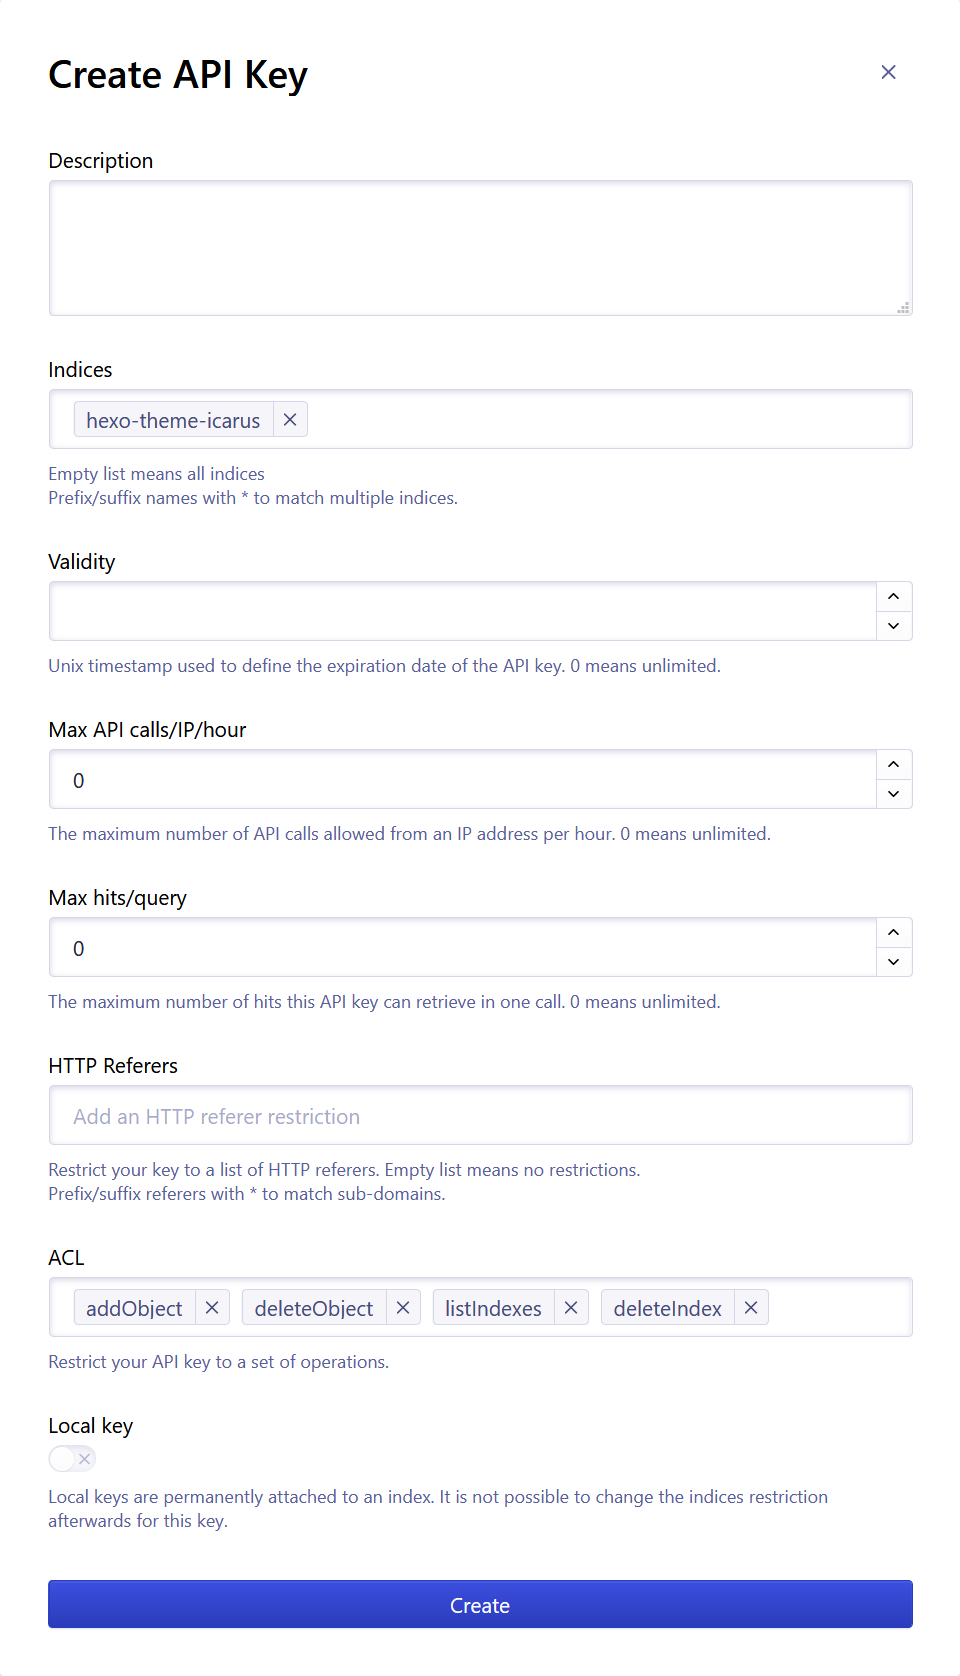
On the popup “Create API Key” dialog, select the index you created in the last step in “Indices” select box.
Then, add addObject, deleteObject, listIndexes, deleteIndex to the “ACL” field.
Click the “Create” button to finish key creation.
Copy the API key you just created, e.g., 727fbd8c998fe419318fa350db6793ca.
Open a Windows Command Prompt (CMD) or Linux/macOS terminal and change the working directory to the root
directory of your Hexo site.
Set the HEXO_ALGOLIA_INDEXING_KEY environment variable to the API key you created in the last step.
This variable is used by hexo-algolia when uploading indices to Algolia.
On Windows:
1 | C:\Users\you> cd path/to/your/hexo/site |
On Linux/macOS:
1 | $ cd path/to/your/hexo/site |
Then, run the following commands to clean up your site and upload indices to Algolia:
1 | $ hexo clean |
Finally, set the search engine to Algolia in your theme configurations:
1 | search: |
Installation Guide
Open theme configuration file and set search engine to Baidu:
1 | search: |
Log into your Google account and visit Google CSE to create a CSE.
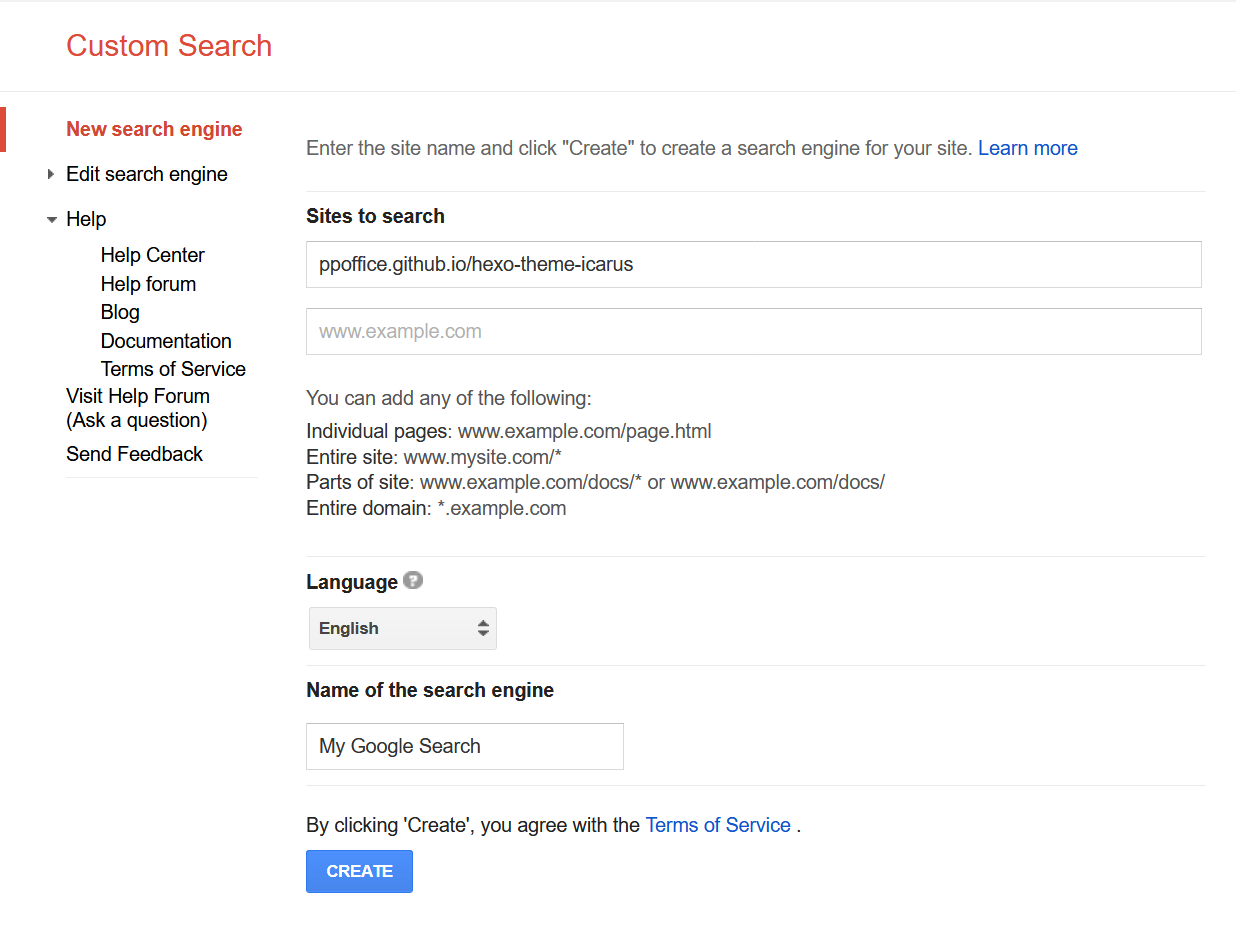
Type in the URL of your site (without http:// or https://) in the “Sites to Search” field.
Select the correct language from the “Language” select box.
Then, fill in the “Name of the search engine”.
Click the “Create” button to finish engine creation.
Then, click the “Get code” button on the right side of “Add it to your site”. Copy the value of cx to the
search settings in your theme’s configurations.
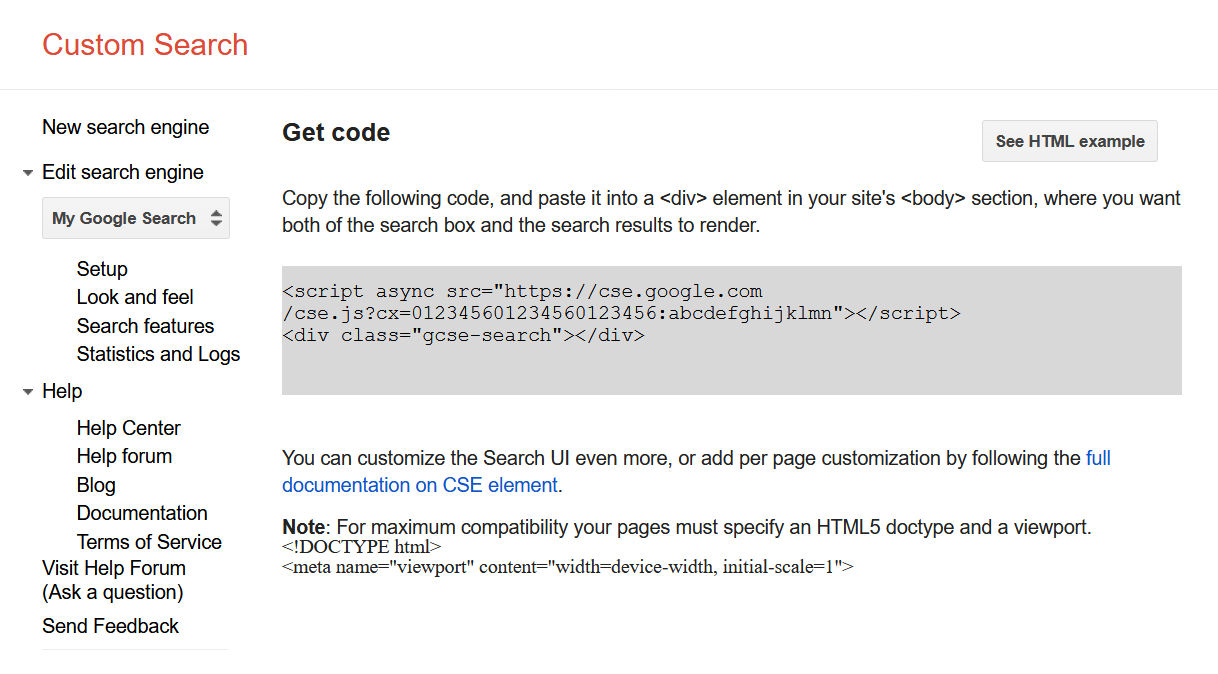
For example, the following HTML code:
1 | <script async src="https://cse.google.com/cse.js?cx=012345601234560123456:abcdefghijklmn"></script> |
maps to the following theme configuration:
1 | search: |
Installation Guide
Insight is the default search engine of this site. You can enable it using the following theme configuration:
1 | search: |
Something wrong with this article? Click here to submit your revision.
此内容由惯性聚合(RSS阅读器)自动聚合整理,仅供阅读参考。 原文来自 — 版权归原作者所有。