This article is also available in 简体中文.










This article covers widgets supported by Icarus 5.
To display multiple widgets at once, simply add individual widget configuration
to the widgets array.
They will appear in the order of their definitions.
The type and position settings are required for every widget.
Here is an example:
1 | widgets: |
This article is also available in 简体中文.
The following widgets are provided by ppoffice/hexo-component-inferno. Please refer to it for a complete list of supported plugins and their configuration details.
You can showcase the post author/site admin information via the profile widget. Its configuration is listed below:
1 | widgets: |
Some notes on the configuration:
If you wish to use Gravatar instead of avatar as your profile picture,
fill in the Gravatar email address in the gravatar setting and leave avatar empty;
There two acceptable formats for social_links:
Icon:
1 | <link_name>: |
Text:
1 | <link_name>: <link_url> |
To show the table of contents of the current post, add the following widget configuration to your theme configurations:
1 | widgets: |
Then, add toc: true to the front-matter of your post:
1 | title: A post with the table of contents |
You can display a list of external sites with the external links widget. An example configuration is listed below:
1 | widgets: |
Use the following configuration to enable the recent posts widget:
1 | widgets: |
Use the following configuration to enable the archives widget:
1 | widgets: |
Use the following configuration to enable the categories widget:
1 | widgets: |
Use the following configuration to enable the tags widget:
1 | widgets: |
To enable Google Feedburner email subscription widget, take the following steps:
First, you need to generate the RSS feed of your Hexo site using a Hexo plugin like hexo-generator-feed.
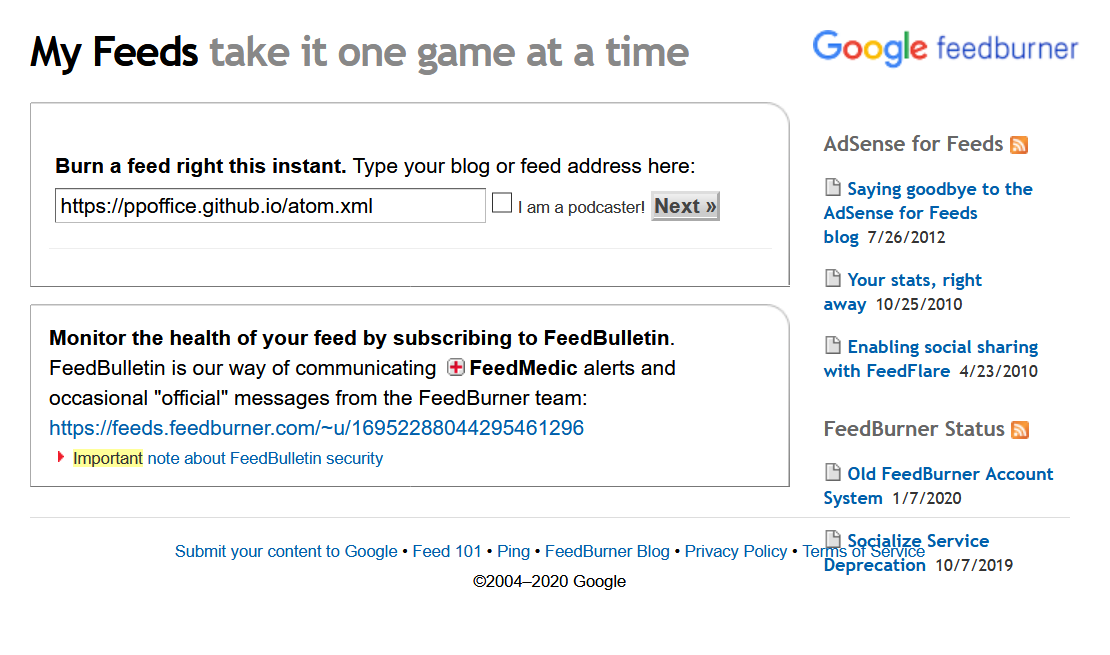
Then, go to Google Feedburner, log into your Google account, and add your RSS feed by typing in the RSS feed address to the input box and click “Next”.
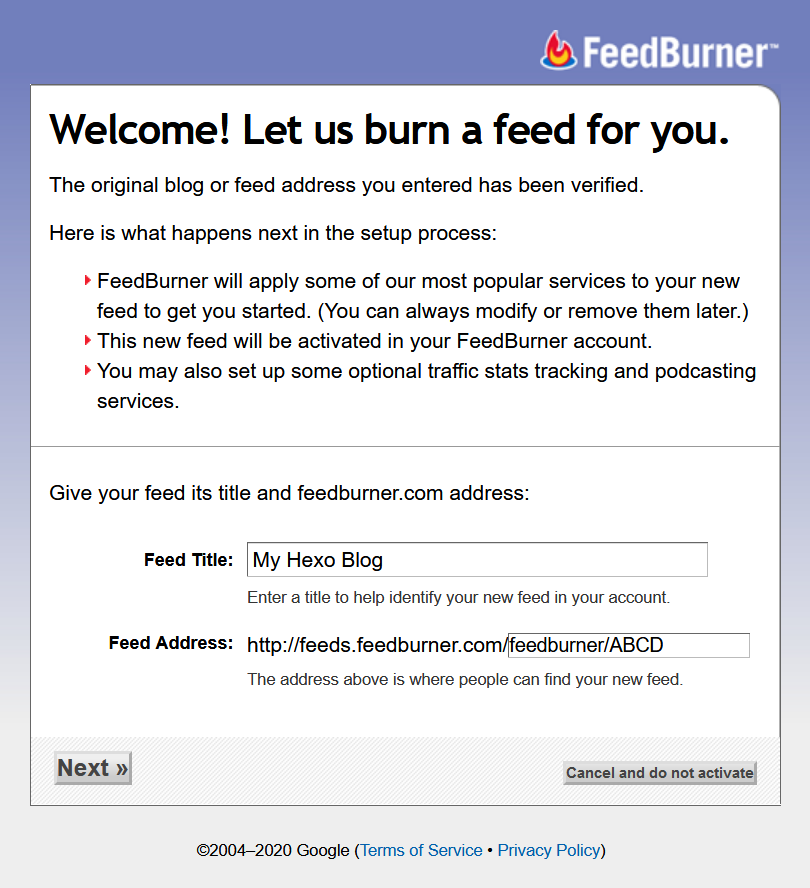
Next, fill in the “Feed Title” on the next page. Click “Next” to continue customizing your feed or click “Skip directly to feed management” to finish.
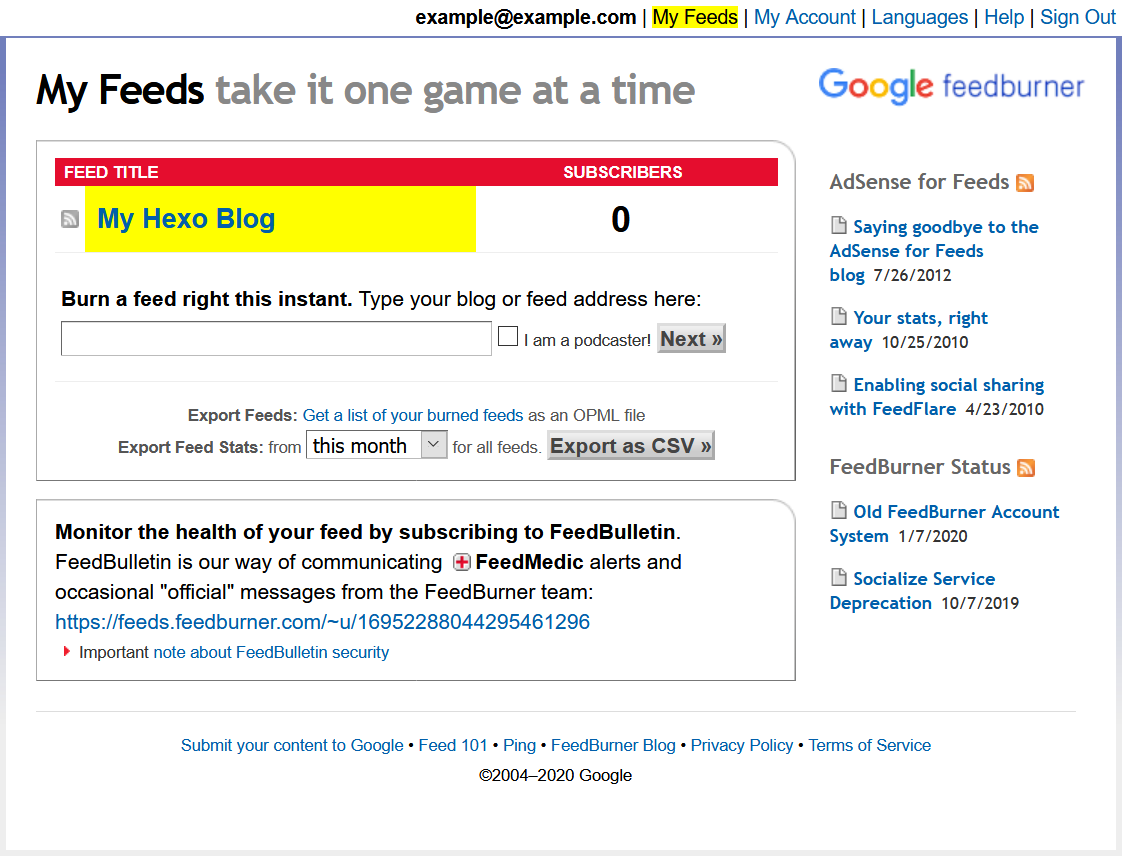
When finished adding the feed, click the “My Feeds” link on the top of the page. Click your newly added feed on the “My Feeds” page.
Switch to the “Publicize” tab and click the “Email Subscription” link on the left side of the page. Enable “Email Subscription” by clicking the “Activate” button.
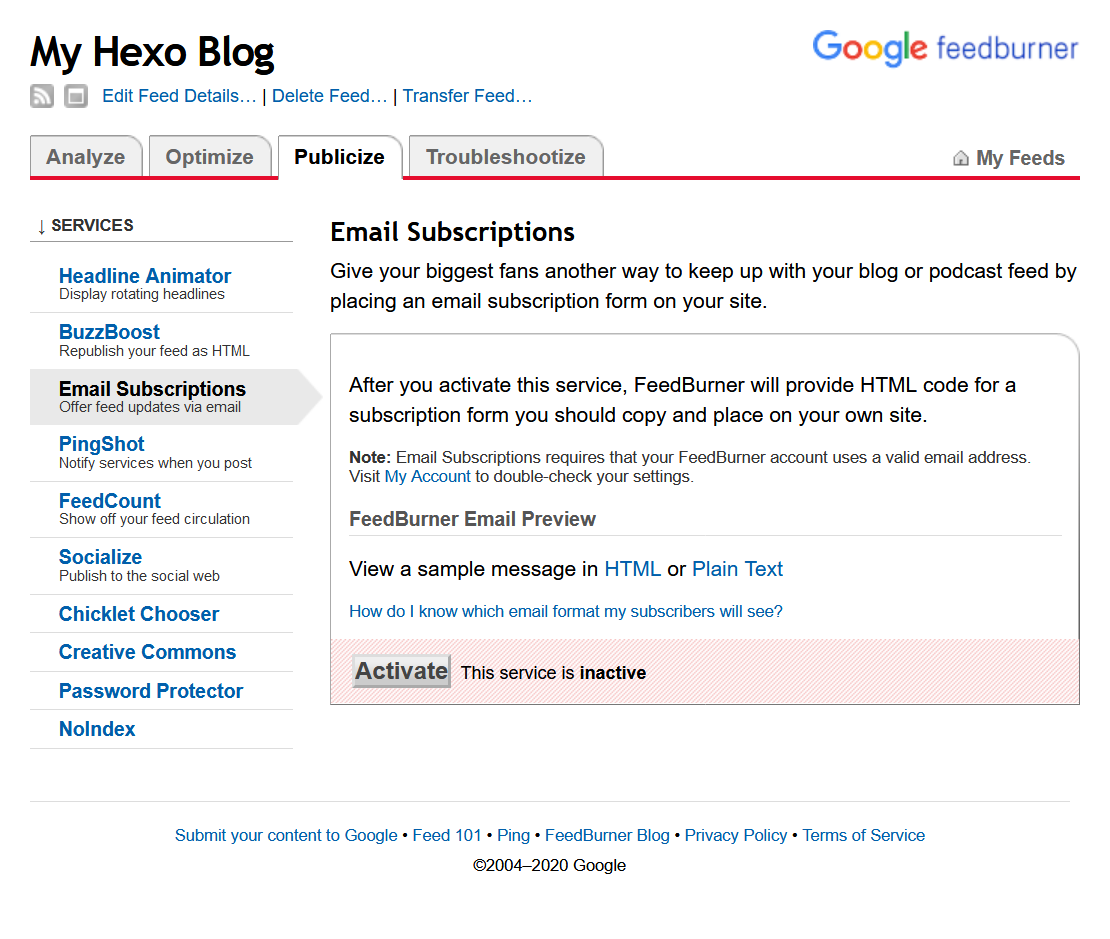
Find the following information in the HTML code on the “Email Subscription” page:
1 | https://feedburner.google.com/fb/a/mailverify?uri=****** |
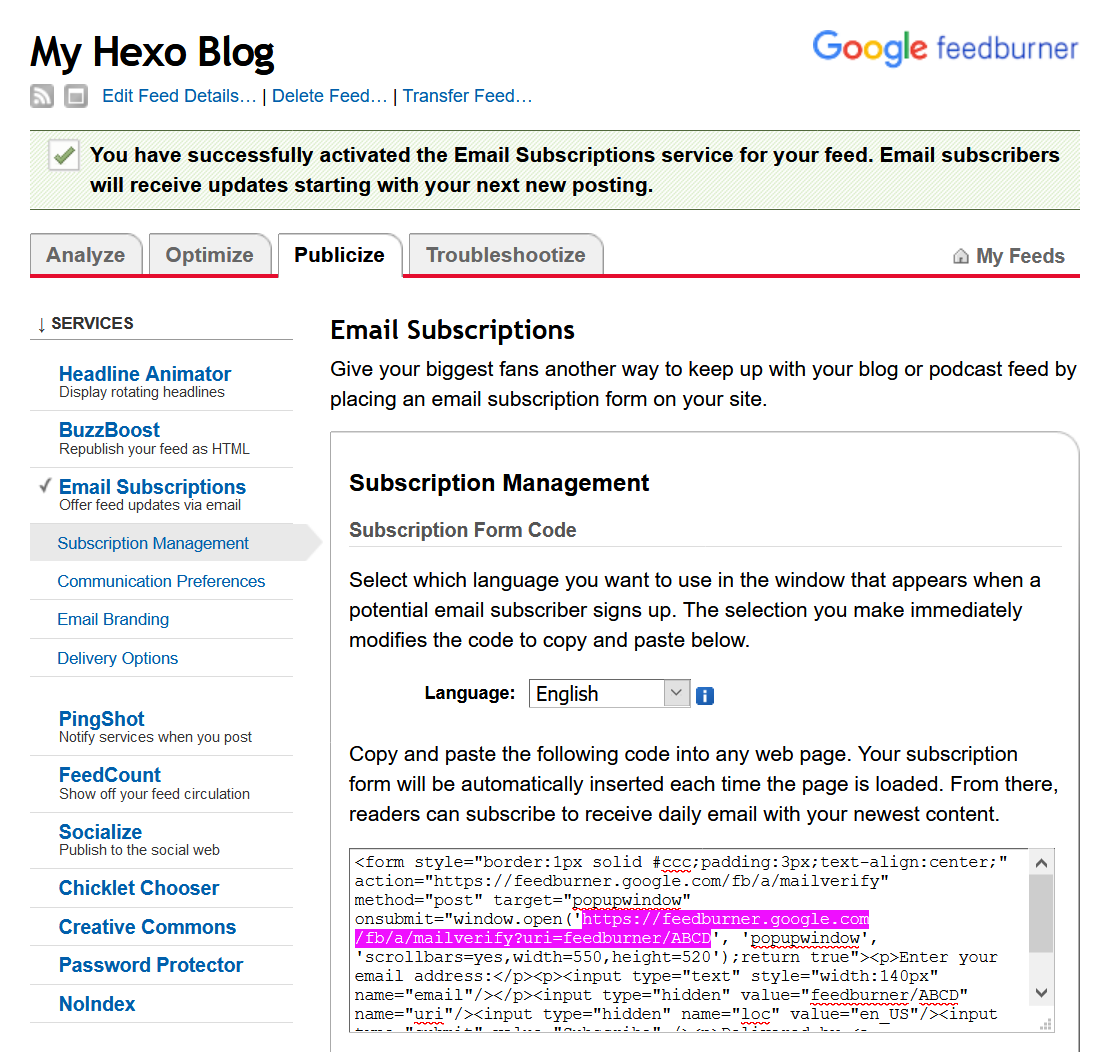
Copy the ID after uri= (e.g., feedforall/ABCD) to the feedburner_id setting of the widget configuration:
1 | widgets: |
Create a new AD on Google AdSense.
Then, copy the values of data-ad-client and data-ad-slot from the AD HTML code to
the client_id and slot_id setting of the widget configuration, respectively.
Here is an example:
1 | widgets: |
To enable follow.it email subscription widget, take the following steps:
First, you need to generate the RSS feed of your Hexo site using a Hexo plugin like hexo-generator-feed.
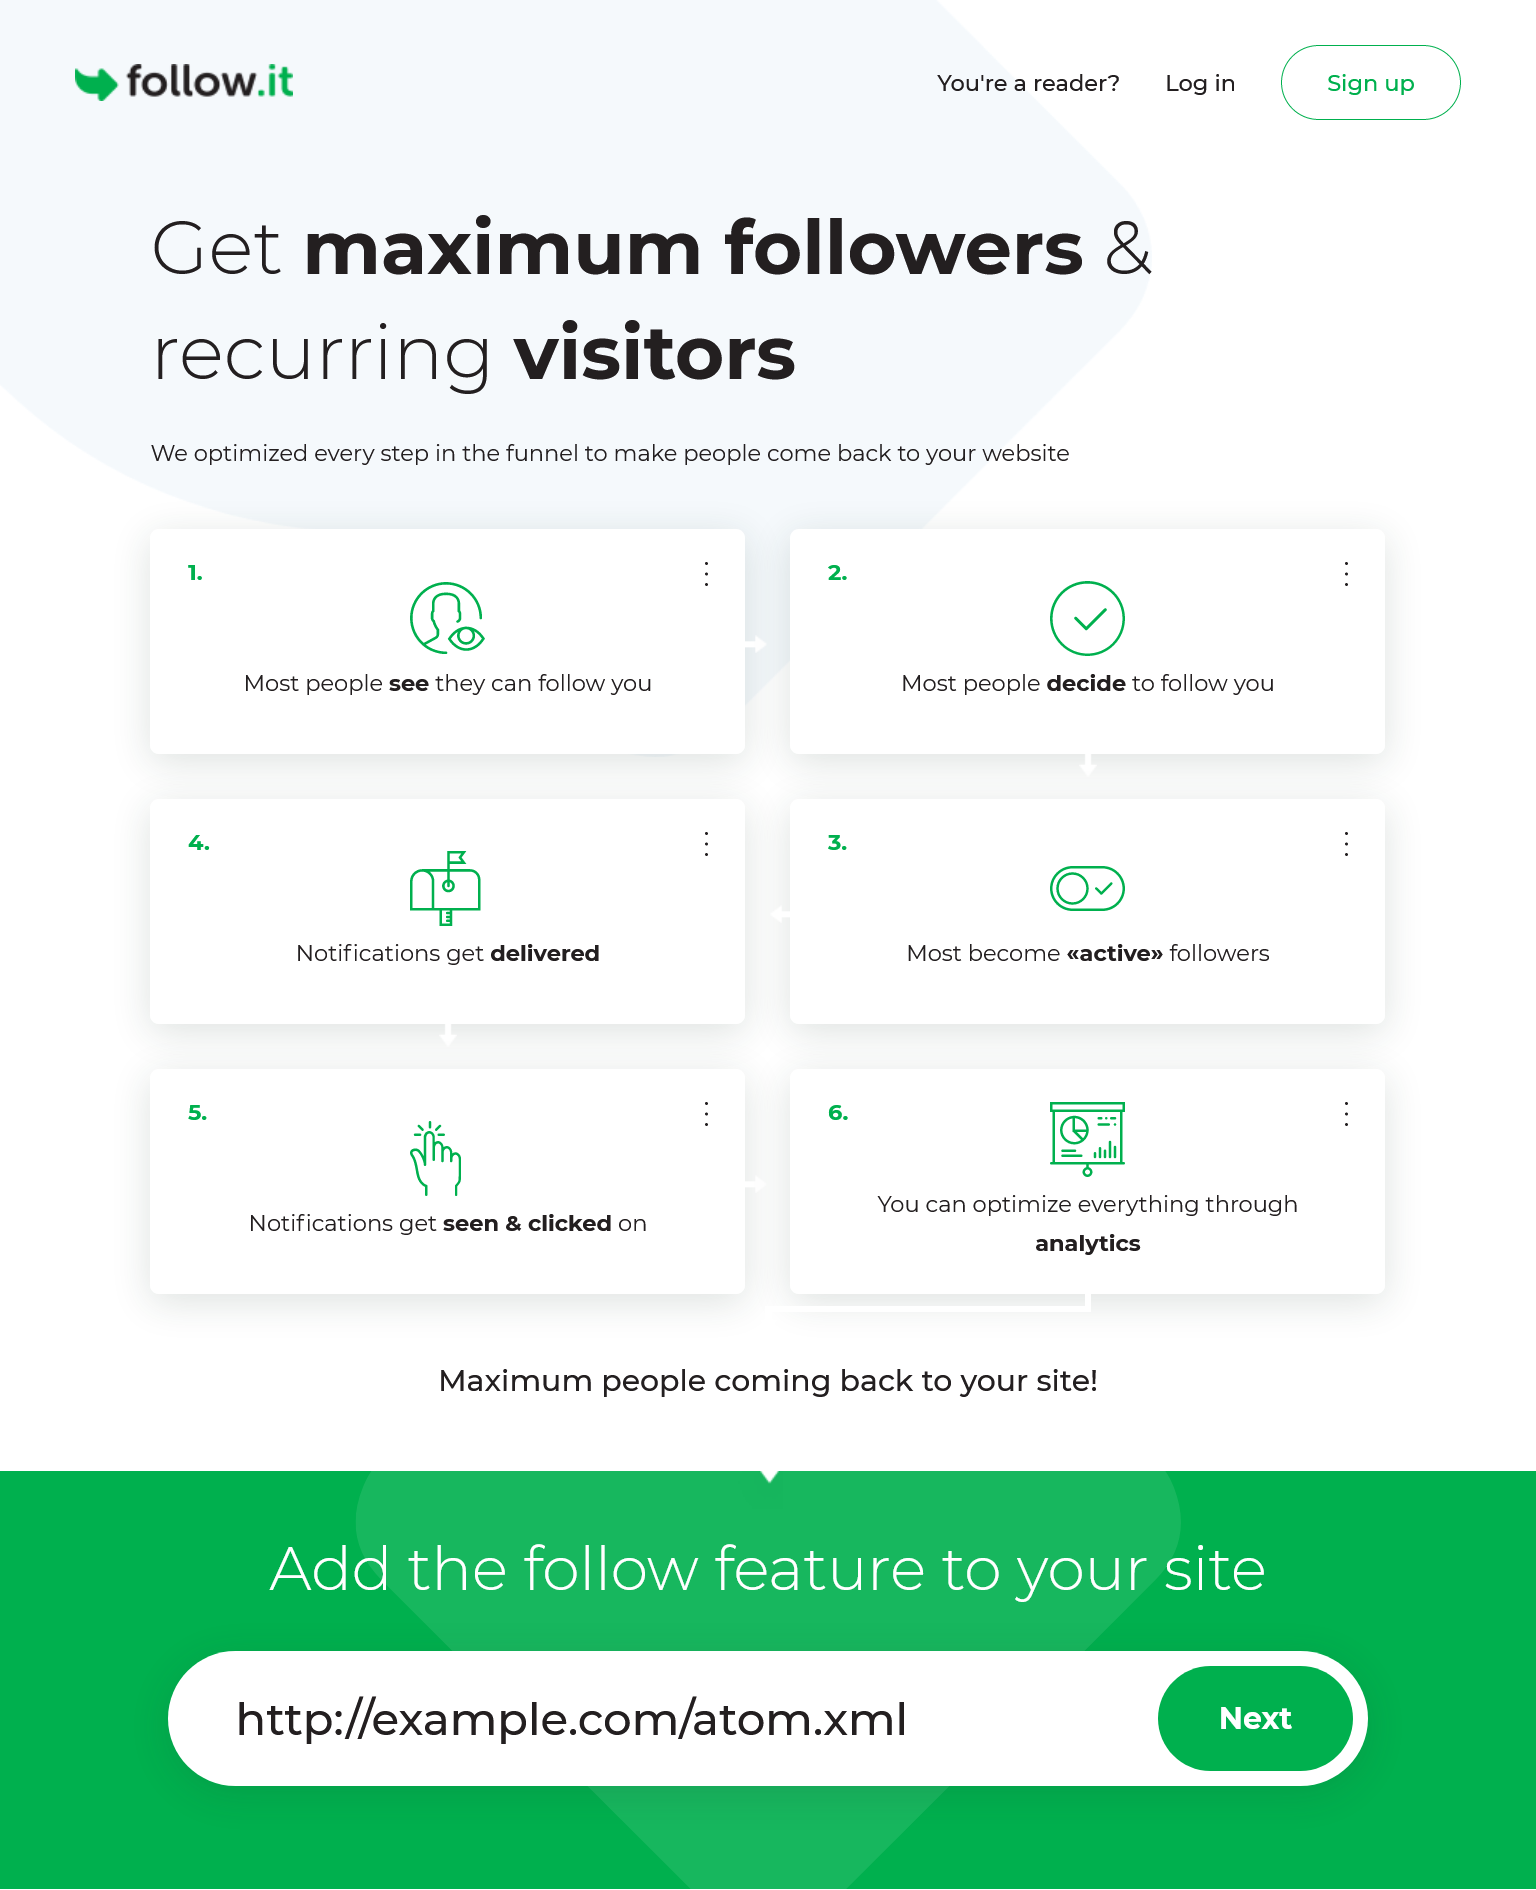
Go to follow.it and enter the URL to your RSS feed file in the text input under
“Add the follow feature to your site”, e.g., http://example.com/atom.xml.
Then, click “Next”.
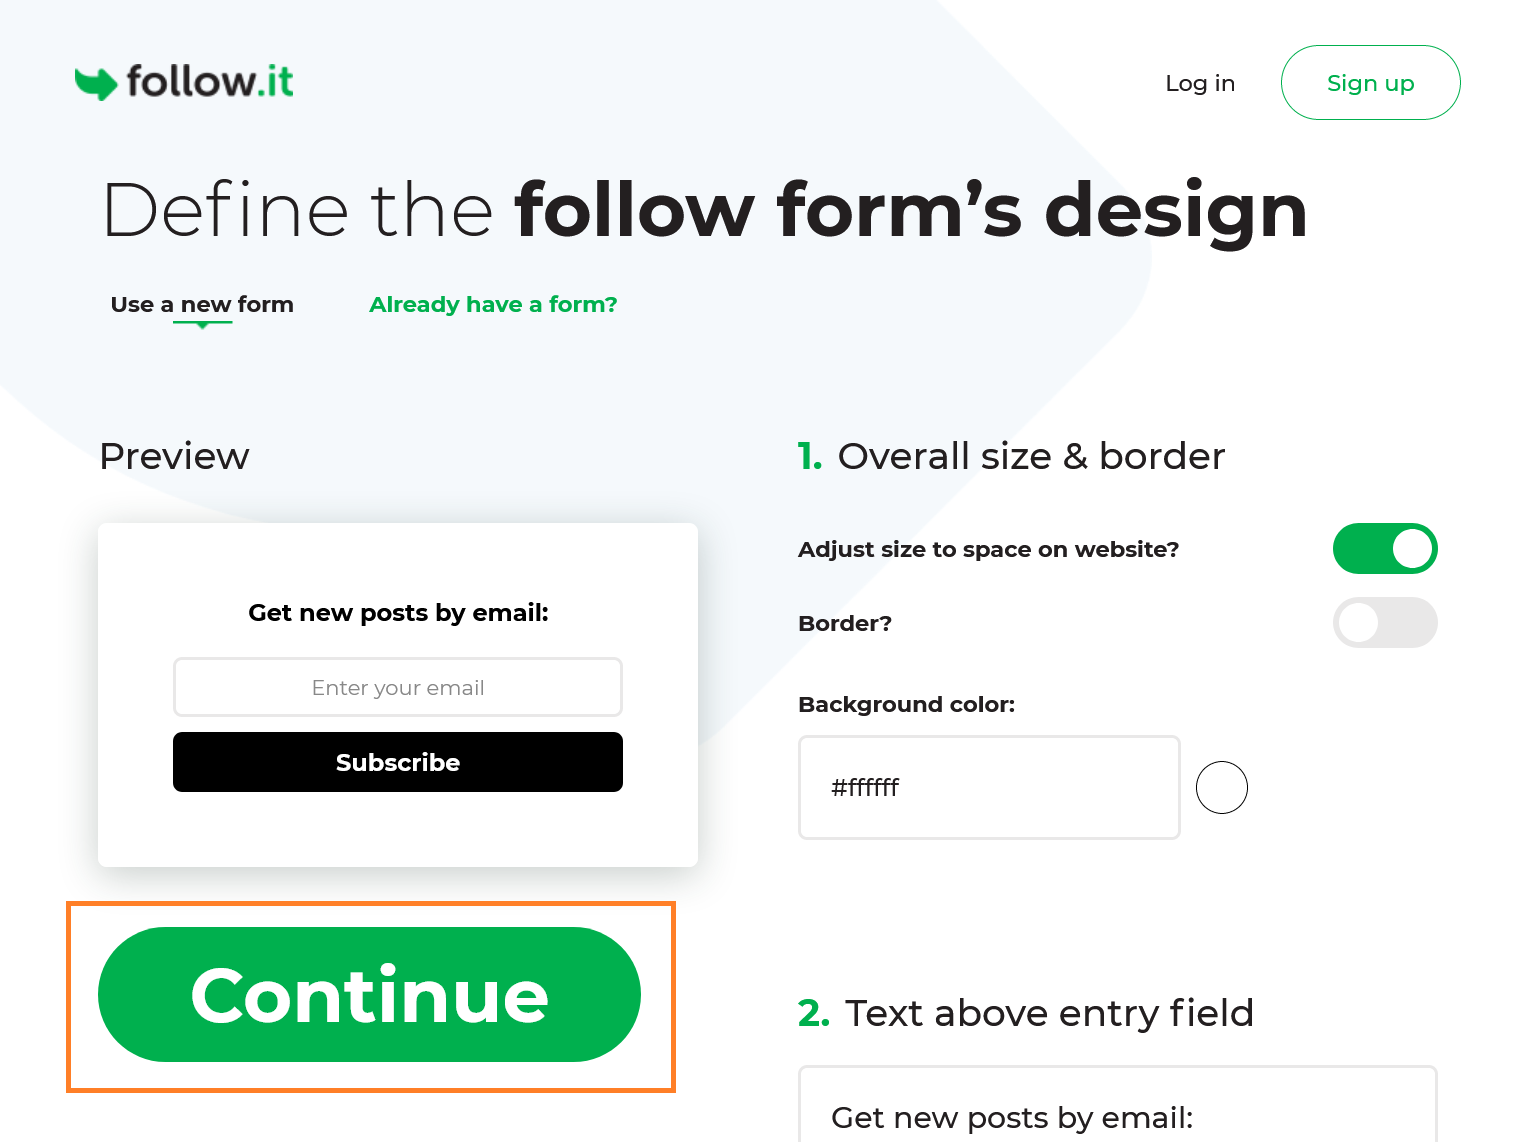
Click the “Continue” button on the “Define the follow form’s design” page.
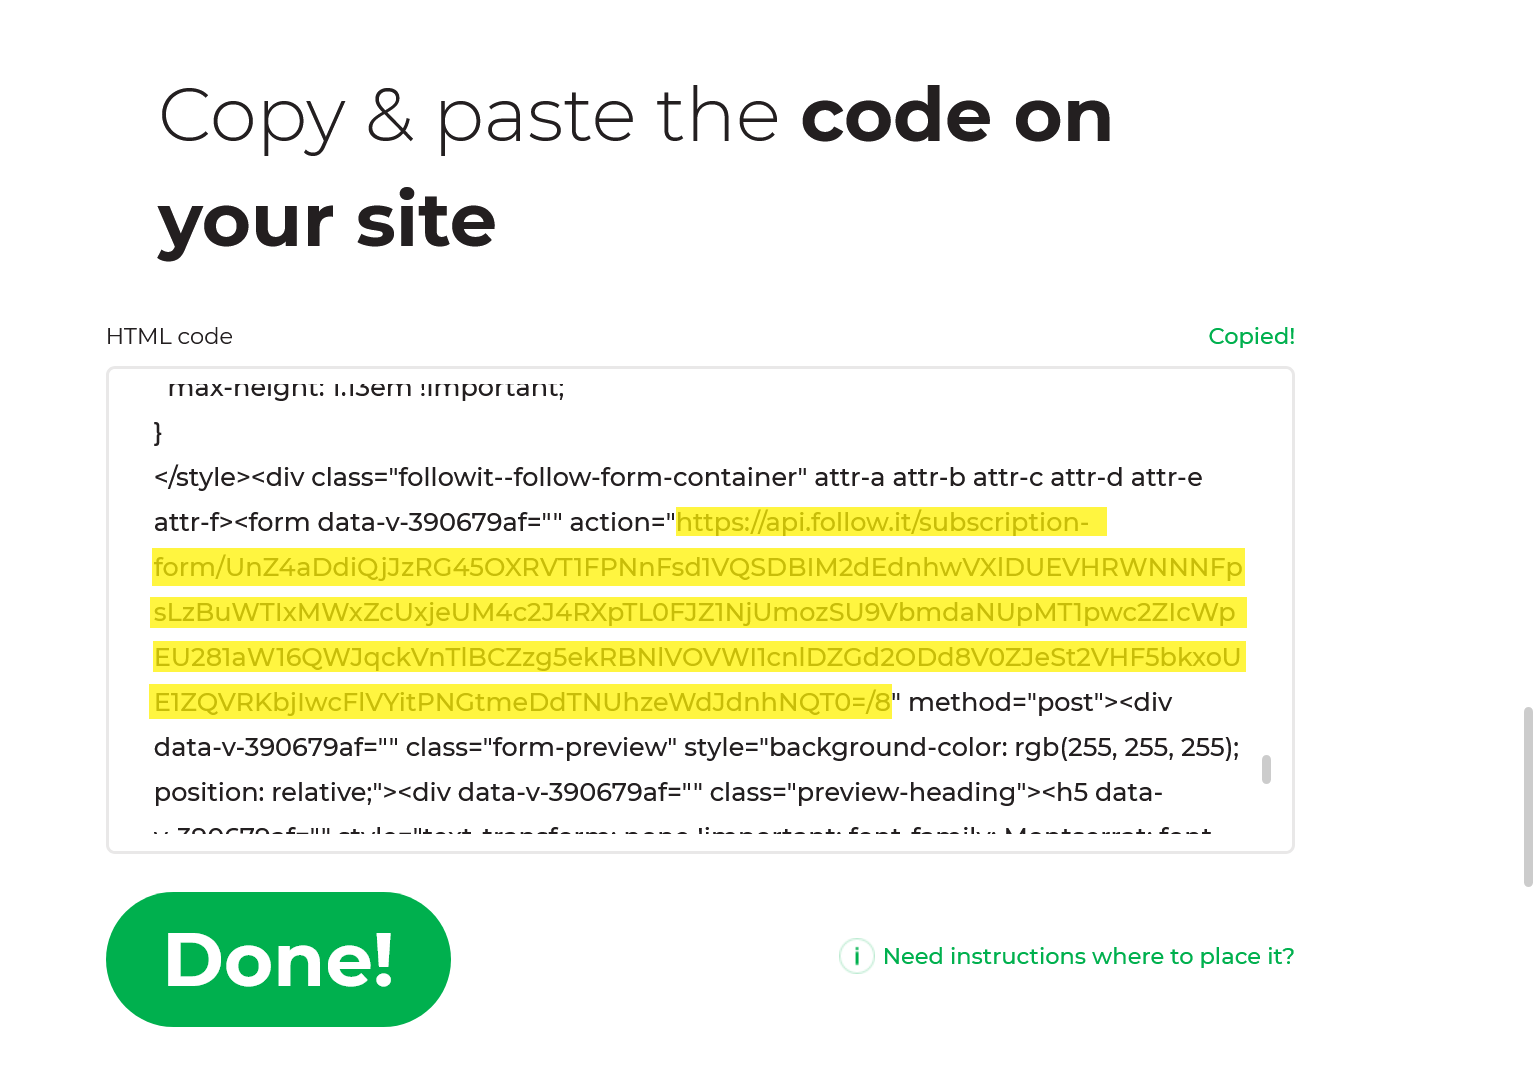
Search for action= and copy the link between double quotes after action=.
Paste the action link you copied to the action_url setting of the widget configuration.
After that, click “Done”.
1 | widgets: |
Click the “Continue” button or the “Skip this” link to skip the “Pick the Follow icons you want” page and “Show a pop-up for maximum conversion” page.
At the “Connect your feed to a follow.it account” page, enter your email address that you will use to create a follow.it account and manage followers in the text input. Then, click “Start”.
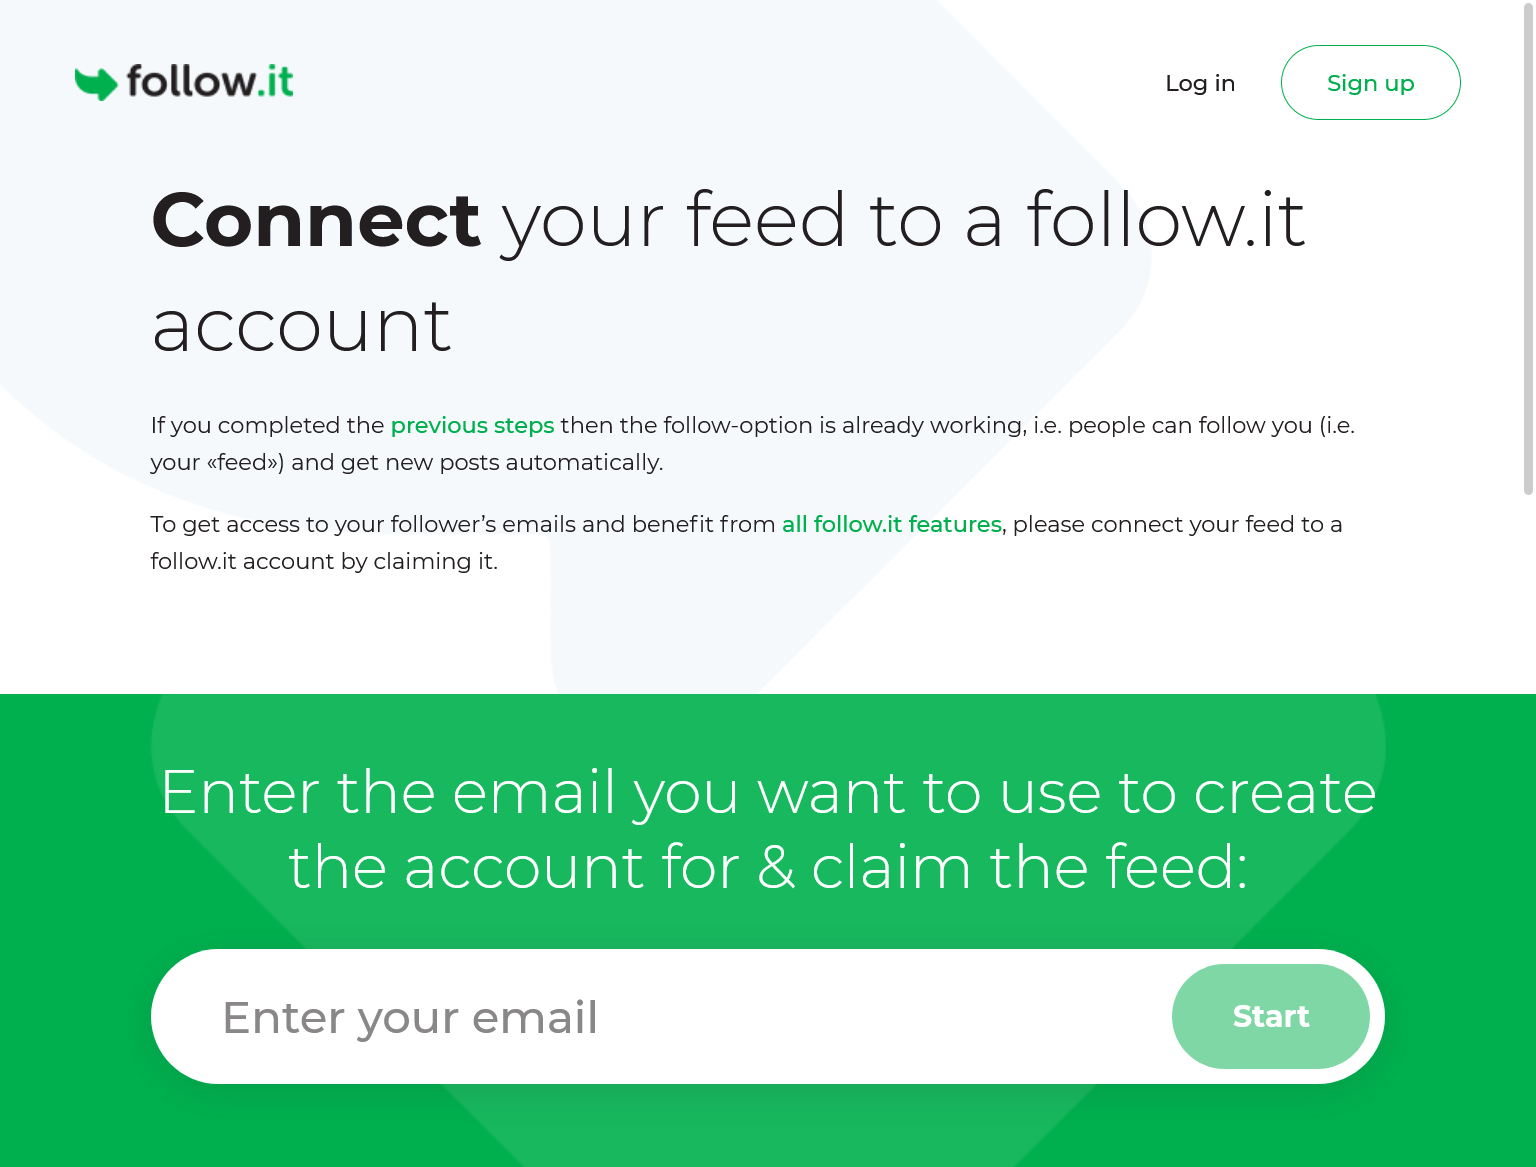
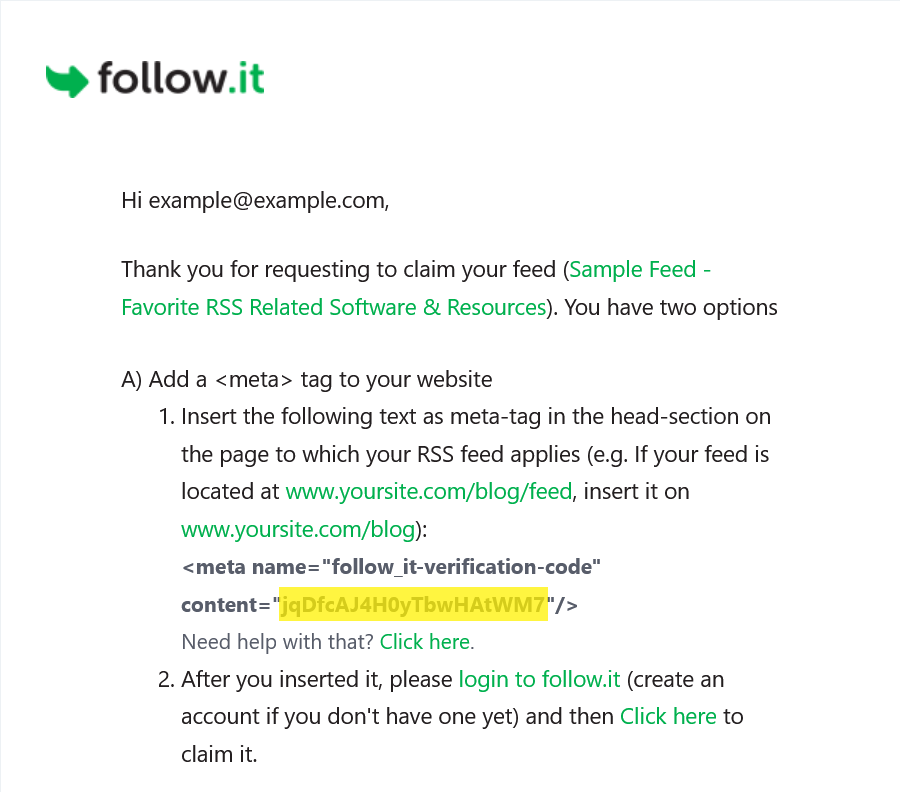
You will then receive an email from follow.it.
In that email, search for <meta name="follow_it-verification-code" content="******"/> and copy the content value
between double quotes after content=.
Paste the content value you copied to the verification_code setting of the widget configuration.
1 | widgets: |
Generate and push your site to your server.
Go back to follow.it and register an account using your email.
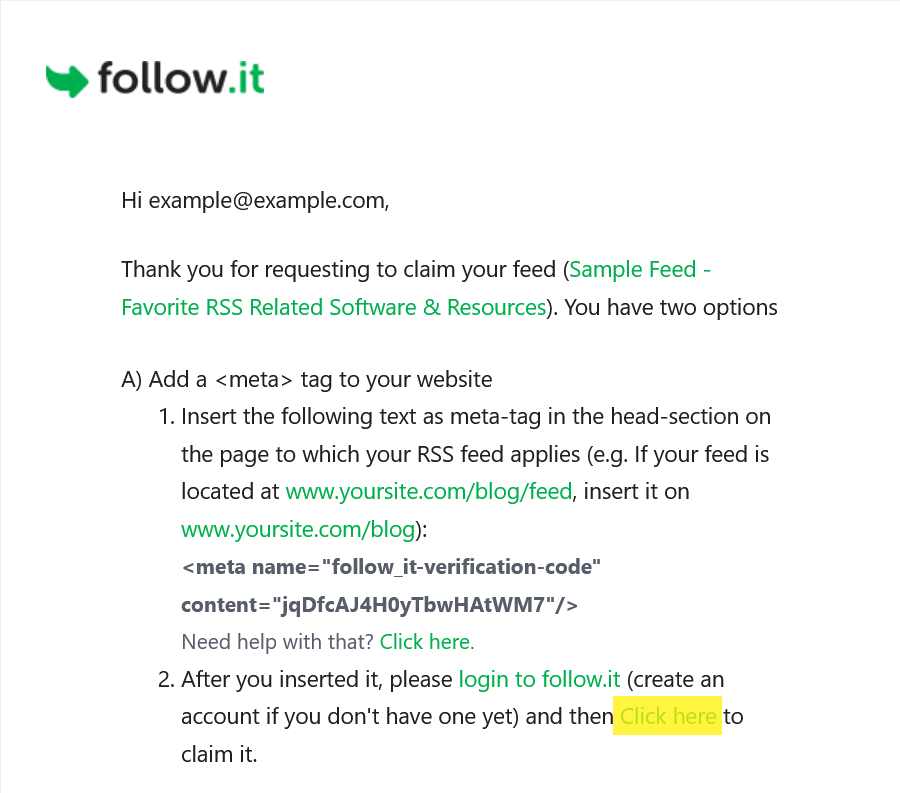
Go back to the first email you receive and click on the “Click here to claim it” link to claim your feed.
Something wrong with this article? Click here to submit your revision.
此内容由惯性聚合(RSS阅读器)自动聚合整理,仅供阅读参考。 原文来自 — 版权归原作者所有。