惯性聚合 高效追踪和阅读你感兴趣的博客、新闻、科技资讯
阅读原文 在惯性聚合中打开

推荐订阅源

V
Visual Studio Blog
爱范儿
爱范儿
GbyAI
GbyAI
博客园 - 叶小钗
Last Week in AI
Last Week in AI
Jina AI
Jina AI
Microsoft Security Blog
云风的 BLOG
云风的 BLOG
C
Check Point Blog
H
Help Net Security
P
Proofpoint News Feed
酷 壳 – CoolShell
酷 壳 – CoolShell
让小产品的独立变现更简单 - ezindie.com
大猫的无限游戏
大猫的无限游戏
H
Hackread – Cybersecurity News, Data Breaches, AI and More
B
Blog RSS Feed
Y
Y Combinator Blog
U
Unit 42
T
Tailwind CSS Blog
MyScale Blog
MyScale Blog
N
Netflix TechBlog - Medium
S
SegmentFault 最新的问题
J
Java Code Geeks
钛媒体:引领未来商业与生活新知
钛媒体:引领未来商业与生活新知

Runpod Blog.

New Runpod datacenter now live: AP-IN-1 Track GPU spend across your team with Cost Centers The GPU supply supercycle is here. Here’s what AI builders need to know. Community Spotlight: One-click AI image and video generation on Runpod with SwarmUI | Runpod Blog Community Spotlight: LoRA Pilot Data Prep to Inference Introducing the Runpod Assistant: Manage Your Cloud GPU Resources with Natural Language OpenAI's Parameter Golf: Train the Best Language Model That Fits in 16MB on Runpod LLM inference optimization: techniques that actually reduce latency and cost Pruna P-Video and Vidu Q3 public endpoints now available on Runpod Runpod brand spelling guide Quickstart - Runpod Documentation The AI market looks nothing like the narrative Training StyleGAN3 with Vision-Aided GAN on Runpod KoboldAI – The Other Roleplay Front End, And Why You May Want to Use It How to Connect Cursor to LLM Pods on Runpod for Seamless AI Dev Community Spotlight: How AnonAI Scaled Its Private Chatbot Platform with Runpod Prompt Scheduling with Disco Diffusion on Runpod Runpod's Latest Innovation: Dockerless CLI for Streamlined AI Development Run Your Own AI from Your iPhone Using Runpod Introducing Flash: Run GPU workloads on Runpod Serverless: No Docker required Use Claude Code with your own model on Runpod: No Anthropic account required Avoid Errors by Selecting the Proper Resources for Your Pod What hackers built on Runpod at TreeHacks 2026 Easily Back Up and Restore Your Pod with Cloud Sync + Backblaze B2 The Complete Guide to GPU Requirements for LLM Fine-Tuning AI Guides, Tutorials & GPU Infrastructure Insights | Runpod Your first Claude Code project within Runpod: a complete setup guide 10 billion Serverless requests and counting Building for resilience: Runpod’s response to the AWS us-east-1 outage How to Connect Google Colab to Runpod
Creative Prompting with Disco Diffusion: Voronoi Noise In...
Zhen Lu · 2022-07-15 · via Runpod Blog.

If you didn't know, every Disco Diffusion render needs to start with some kind of input. If you aren't using an init image, this input is Perlin noise, which is kind of like old school TV static. In this article, we're going to introduce another method of initialing your render: Voronoi. You can get some pretty interesting results with this, so check it out!

UPDATE: We've switched to the discoart template and it doesn't include this out of the box. What you can do if you want to try this is just to use a Voronoi generator like this one and use that as an init image.

If you are just interested in getting started, all you need to do is add this to your config file:

init_generator: voronoi
voronoi_points: 100

You may also want to increase your skip_steps to about 20% of your total steps to see a decent effect, but you can play around with this setting. Just like when using an init_image, the more steps you skip, the more prominent your initial image will be in your final result.

What this does, is it starts you off with a noise pattern that will look something like the following:

Blurry blue and green Voronoi noise init image in the Disco Diffusion progress view

Instead of the normal tv-static perlin noise that looks more like this:
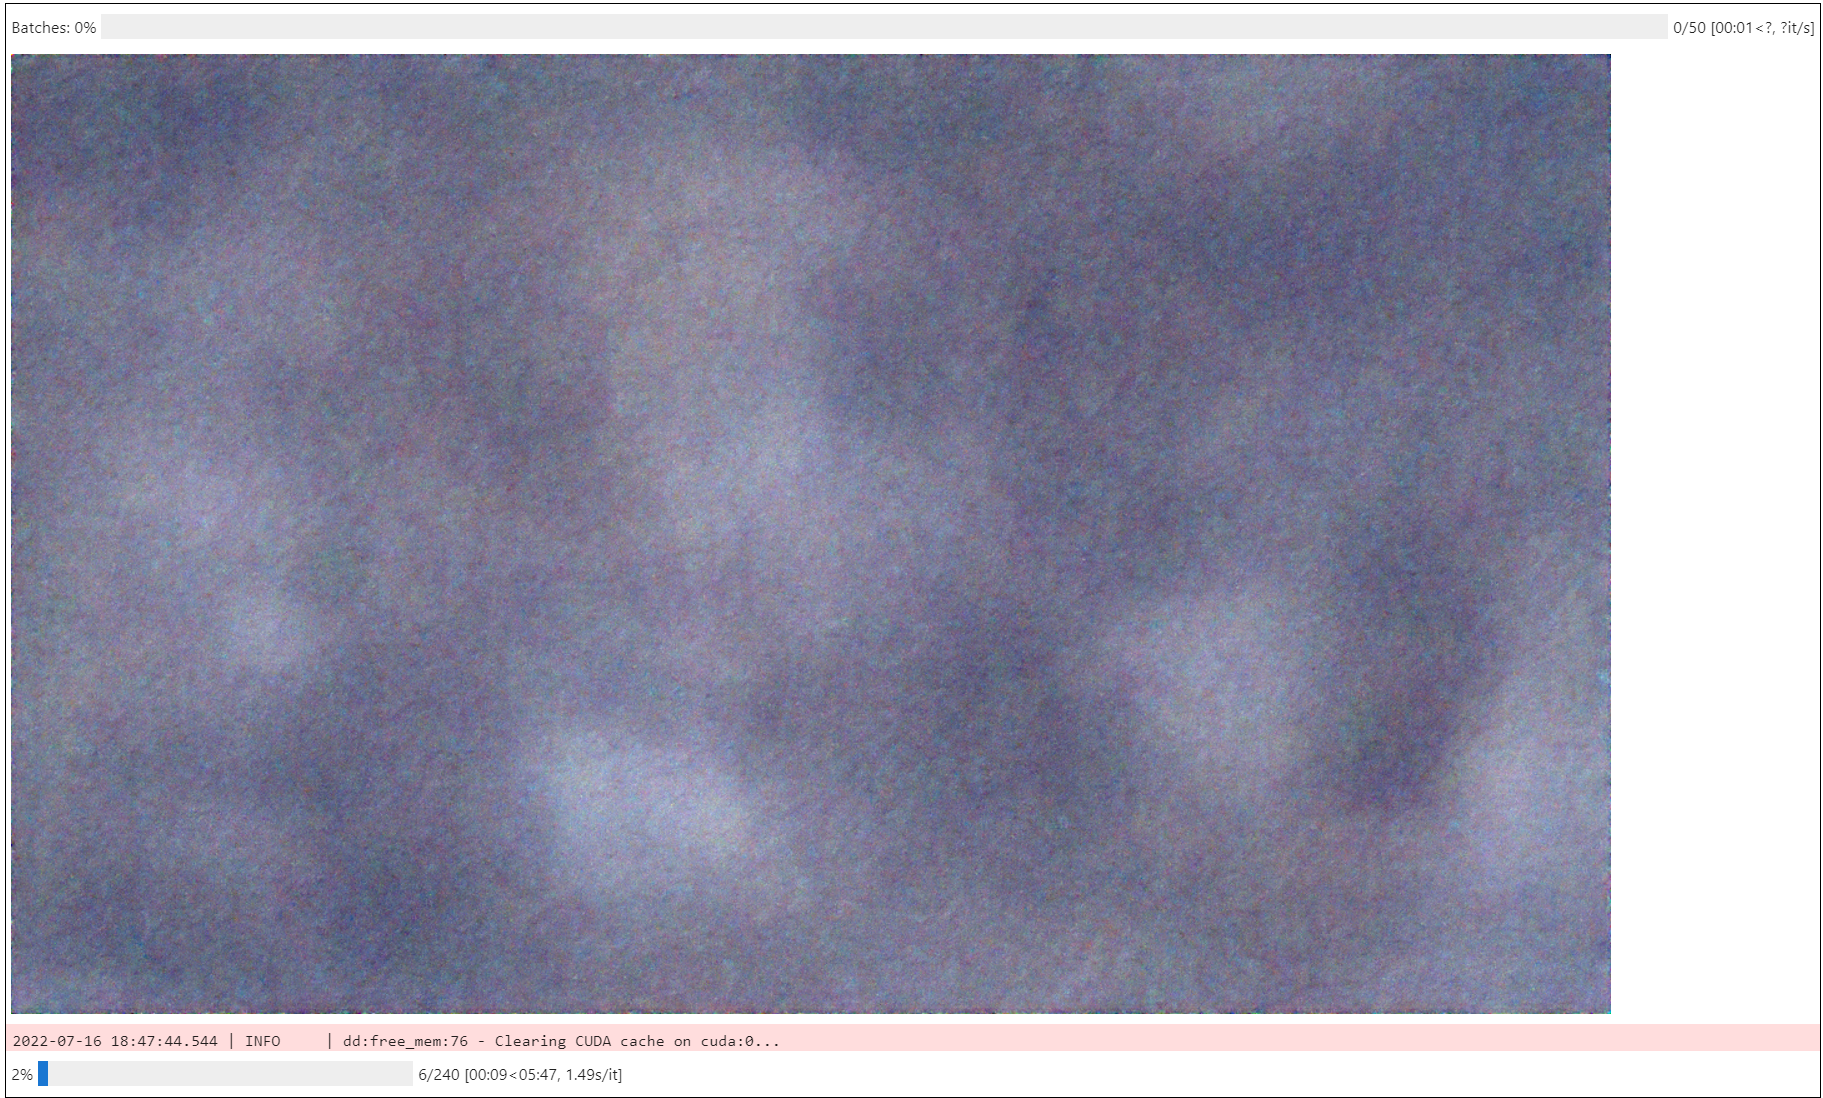
Soft gray Perlin noise init image shown in the Disco Diffusion progress view

This gives you a more "interesting" starting point (Voronoi diagram), which can give you some interesting effects. The higher you make your voronoi_points param, the more little sections will be generated as starting noise. The above was made with 250 points. 25 points looks more like:

__wf_reserved_inherit

Where do the colors come from? You can customize them in two ways. The first way is the "static" method, where you define the static colors that each of your segments can be. This looks like the following:

voronoi_palette_embed:
 mode: static
 palette:
 - 0xFDA4BAFF
 - 0xFCBACBFF
 - 0xF26B8AFF

Each of your polygons in the Voronoi diagram will end up being one of those colors that you defined.

If you want something more fluid, you can use the "generated" type, which looks like this:

voronoi_palette_embed:
 mode: generated
 red:
   low: 0
   high: 128
 green:
   low: 0
   high: 255
 blue:
   low: 50
   high: 255

This will randomly generate colors based on your upper and lower RGB bounds. The above generated template is the default, and is largely skewed towards the blue end of the spectrum. Here are some example outputs that I got using Kroniksan's amazing rift study prompt:

Perlin with secondary model:
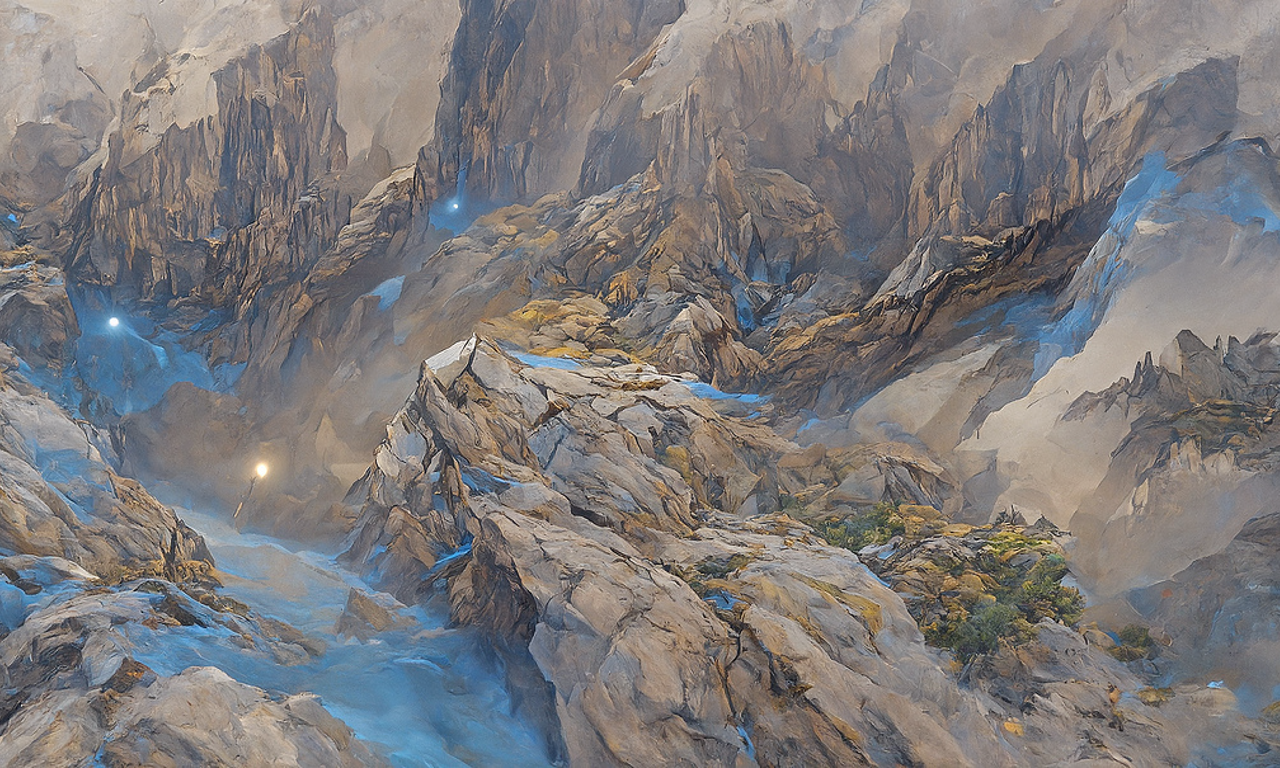
AI-generated Disco Diffusion artwork of craggy tan mountains with glowing blue rifts

Voronoi with default palette secondary model:

AI-generated artwork of blue rock cliffs and a bridge above a glowing teal misty chasm

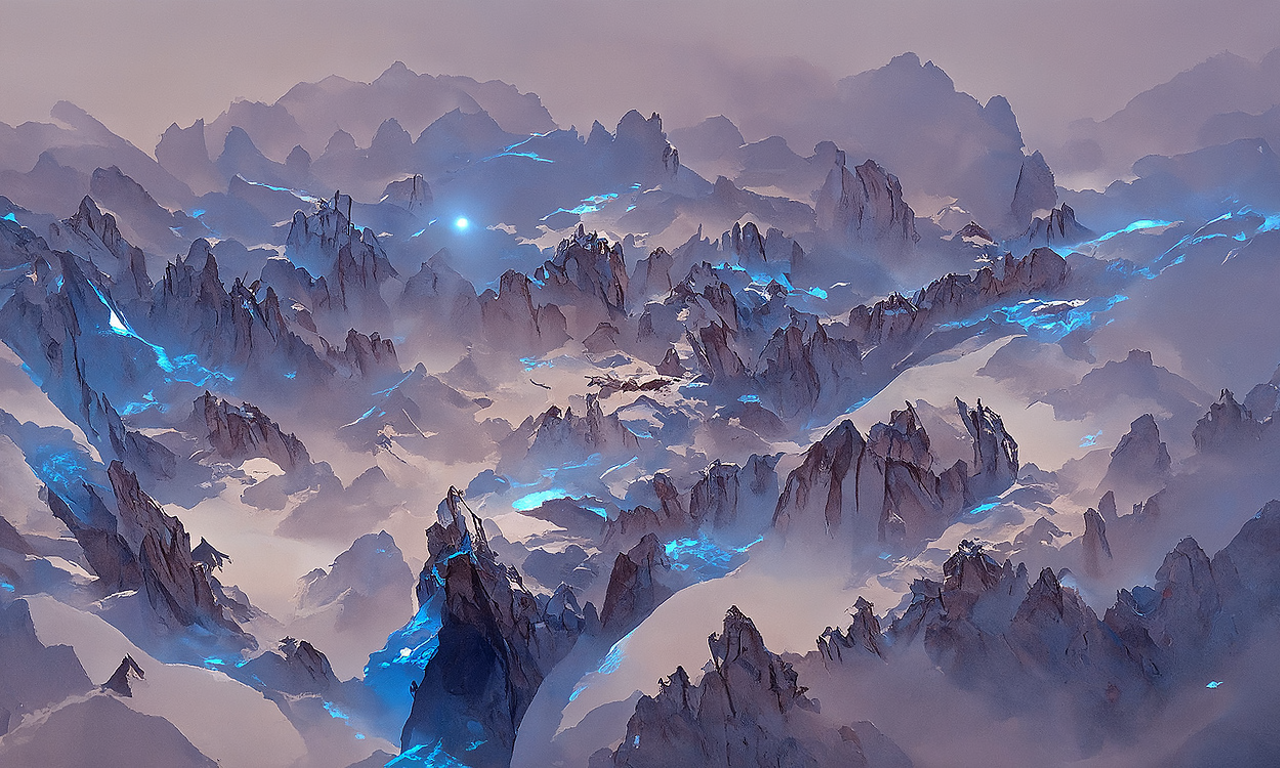
Perlin with no secondary model:

AI-generated artwork of jagged misty mountains laced with glowing blue light

Voronoi with default palette no secondary model:
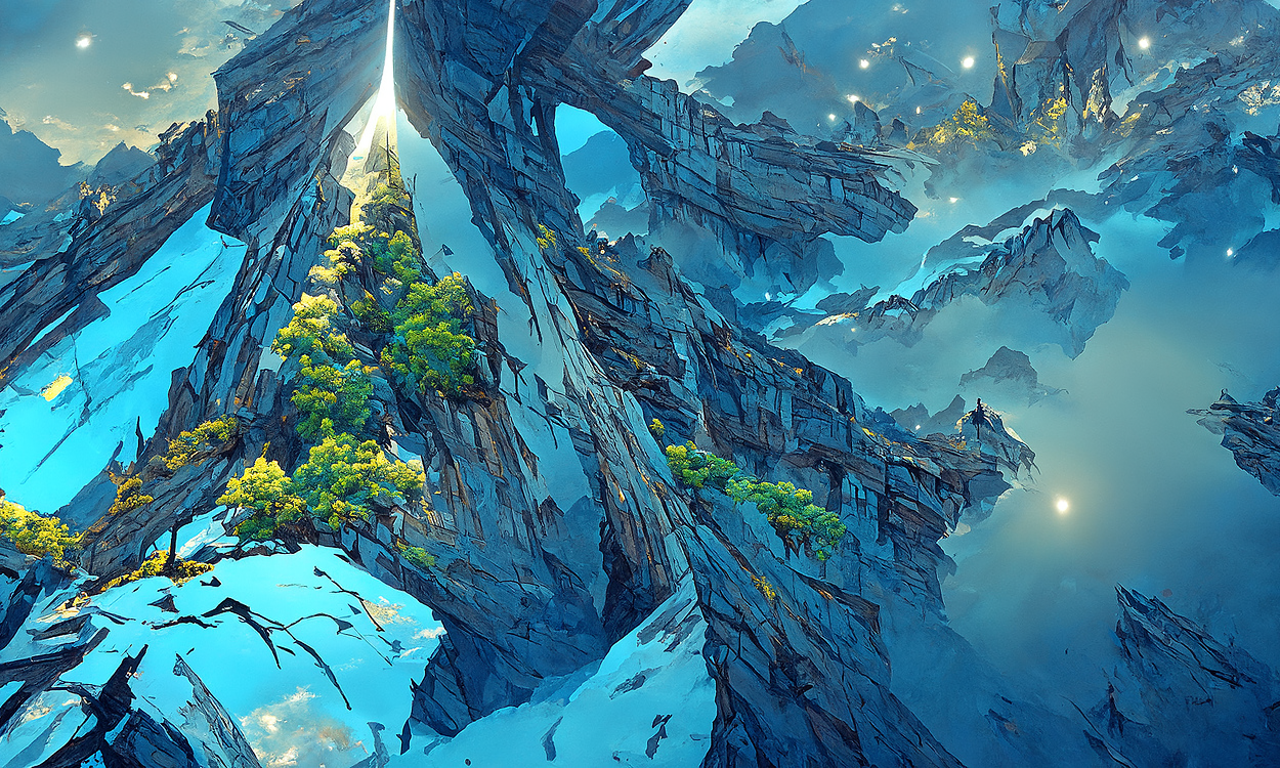
AI-generated artwork of a steep icy peak with green trees against a turquoise sky

You can see that you can get some vastly different effects by using Voronoi as a starting point. If you really want to emphasize the starting palette for some really interesting effects, you can increase your skip steps like in this Voronoi-based lighthouse render:
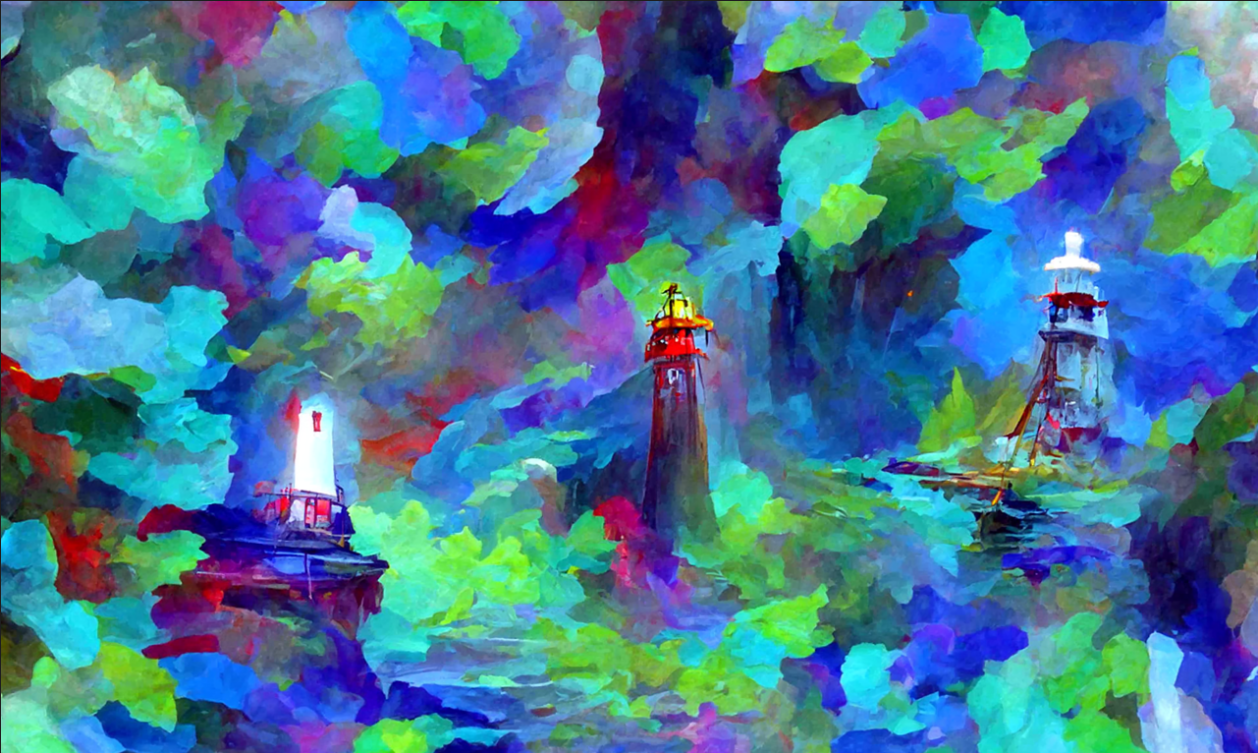
AI-generated painterly scene of three lighthouses amid swirling green and blue brushstrokes

Have fun!

Author profile: Zhen Lu