惯性聚合 高效追踪和阅读你感兴趣的博客、新闻、科技资讯
阅读原文 在惯性聚合中打开

推荐订阅源

Microsoft Azure Blog
Engineering at Meta
Engineering at Meta
A
About on SuperTechFans
T
The Blog of Author Tim Ferriss
I
InfoQ
博客园_首页
G
Google Developers Blog
爱范儿
爱范儿
Last Week in AI
Last Week in AI
量子位
阮一峰的网络日志
阮一峰的网络日志
雷峰网
雷峰网
酷 壳 – CoolShell
酷 壳 – CoolShell
Vercel News
Vercel News
Cyber Security Advisories - MS-ISAC
GbyAI
GbyAI
月光博客
月光博客
The GitHub Blog
The GitHub Blog
V
Visual Studio Blog
N
Netflix TechBlog - Medium
freeCodeCamp Programming Tutorials: Python, JavaScript, Git & More
博客园 - 司徒正美
OSCHINA 社区最新新闻
OSCHINA 社区最新新闻
博客园 - 聂微东

Runpod Blog.

New Runpod datacenter now live: AP-IN-1 Track GPU spend across your team with Cost Centers The GPU supply supercycle is here. Here’s what AI builders need to know. Community Spotlight: One-click AI image and video generation on Runpod with SwarmUI | Runpod Blog Community Spotlight: LoRA Pilot Data Prep to Inference Introducing the Runpod Assistant: Manage Your Cloud GPU Resources with Natural Language OpenAI's Parameter Golf: Train the Best Language Model That Fits in 16MB on Runpod LLM inference optimization: techniques that actually reduce latency and cost Pruna P-Video and Vidu Q3 public endpoints now available on Runpod Runpod brand spelling guide Quickstart - Runpod Documentation The AI market looks nothing like the narrative Training StyleGAN3 with Vision-Aided GAN on Runpod KoboldAI – The Other Roleplay Front End, And Why You May Want to Use It How to Connect Cursor to LLM Pods on Runpod for Seamless AI Dev Community Spotlight: How AnonAI Scaled Its Private Chatbot Platform with Runpod Prompt Scheduling with Disco Diffusion on Runpod Runpod's Latest Innovation: Dockerless CLI for Streamlined AI Development Run Your Own AI from Your iPhone Using Runpod Introducing Flash: Run GPU workloads on Runpod Serverless: No Docker required Use Claude Code with your own model on Runpod: No Anthropic account required Avoid Errors by Selecting the Proper Resources for Your Pod What hackers built on Runpod at TreeHacks 2026 Easily Back Up and Restore Your Pod with Cloud Sync + Backblaze B2 The Complete Guide to GPU Requirements for LLM Fine-Tuning AI Guides, Tutorials & GPU Infrastructure Insights | Runpod Your first Claude Code project within Runpod: a complete setup guide 10 billion Serverless requests and counting Building for resilience: Runpod’s response to the AWS us-east-1 outage How to Connect Google Colab to Runpod
Using Stable Diffusion Scripts and Extensions
Brandon Ikeler · 2023-05-10 · via Runpod Blog.

Looking to "extend" the functionality of your Stable Diffusion instance? Look no further! This guide will show you how to install and use custom scripts and extensions with our Stable Diffusion endpoint.

I'll assume you already have a Pod instance with the Stable Diffusion template; if you don't and need a guide, the first step in this article will show you how to get one spinning.

Installing Custom Scripts

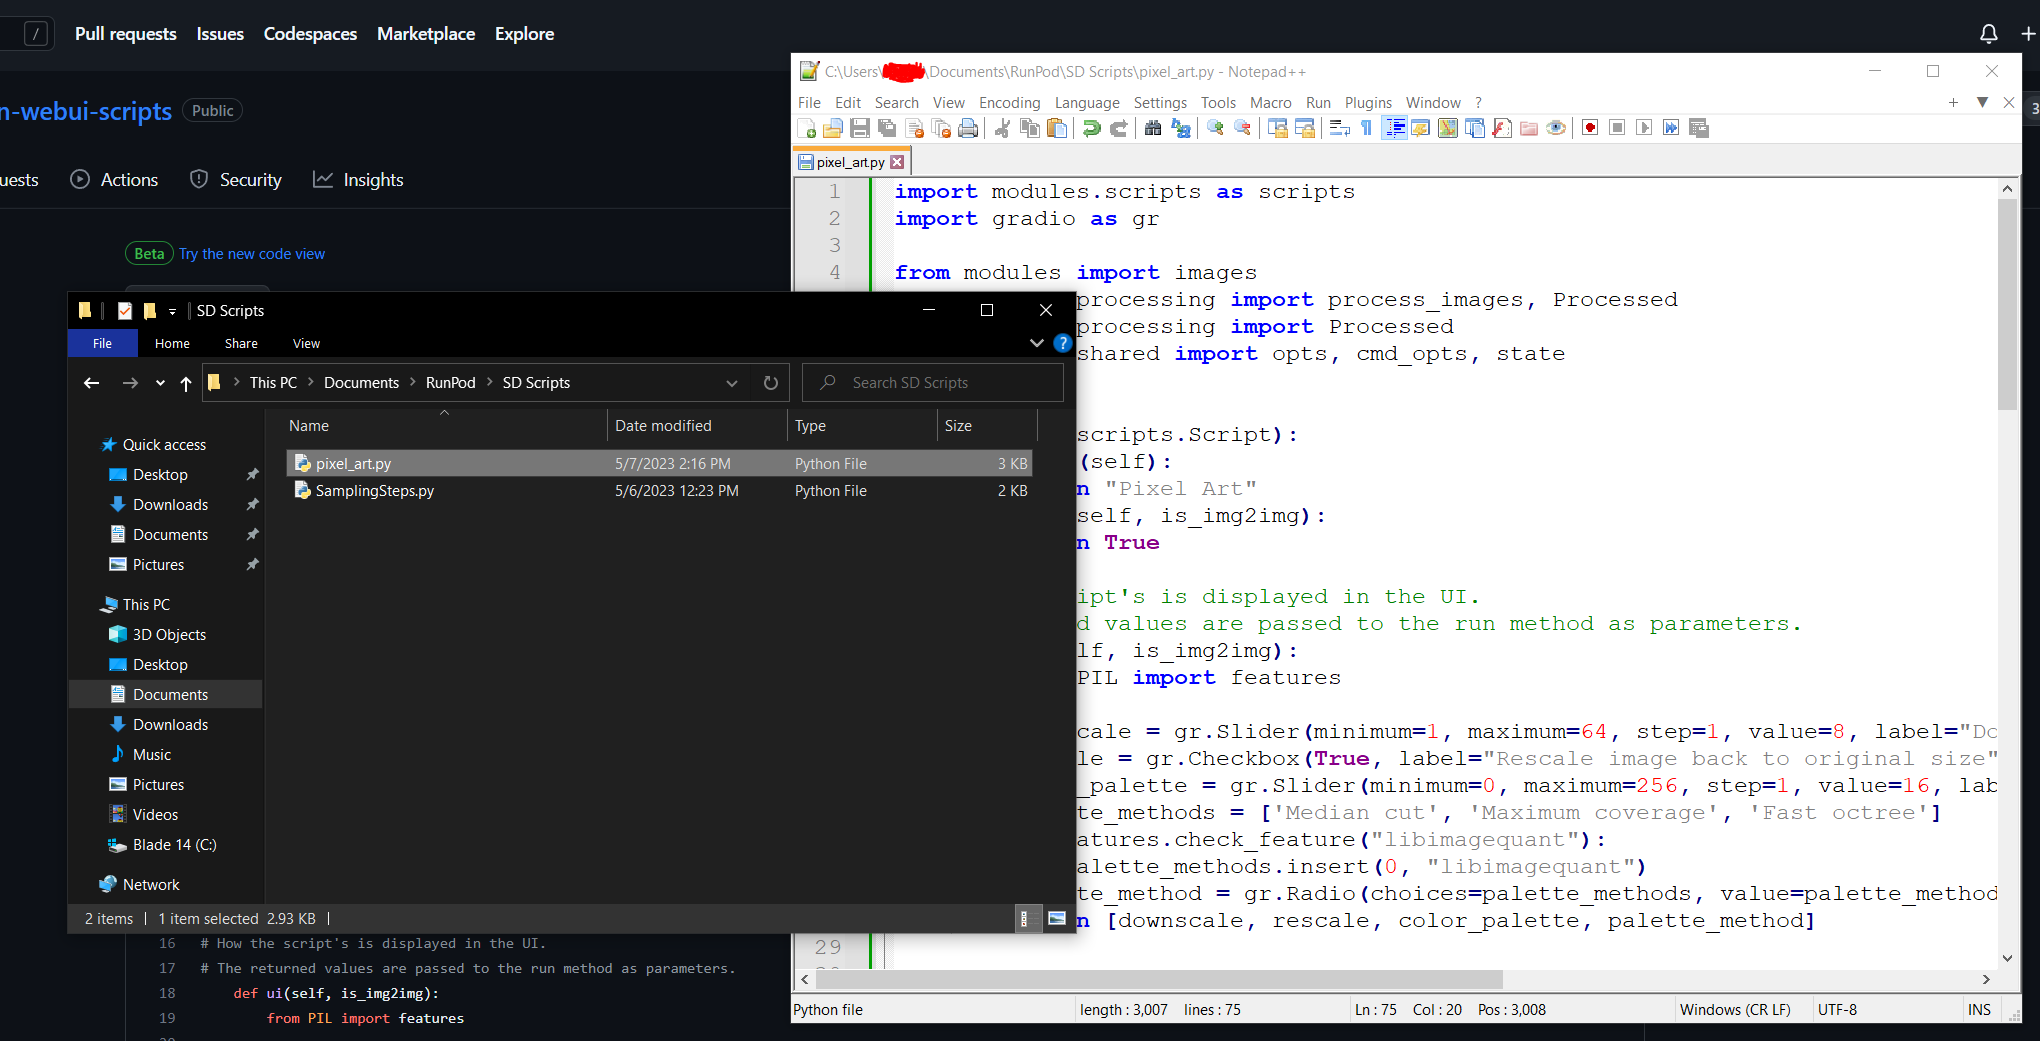
For this tutorial, I'm going to reference the pixel_art script from these repos; this is a script that gives you some options for downscaling and reducing the color palette of generated images to create some neat pixel art. However, if you're savvy enough, you can edit an existing script for additional functionality or write one yourself!

1. Save a copy of the script of your choice (in my case, the pixel_art script).
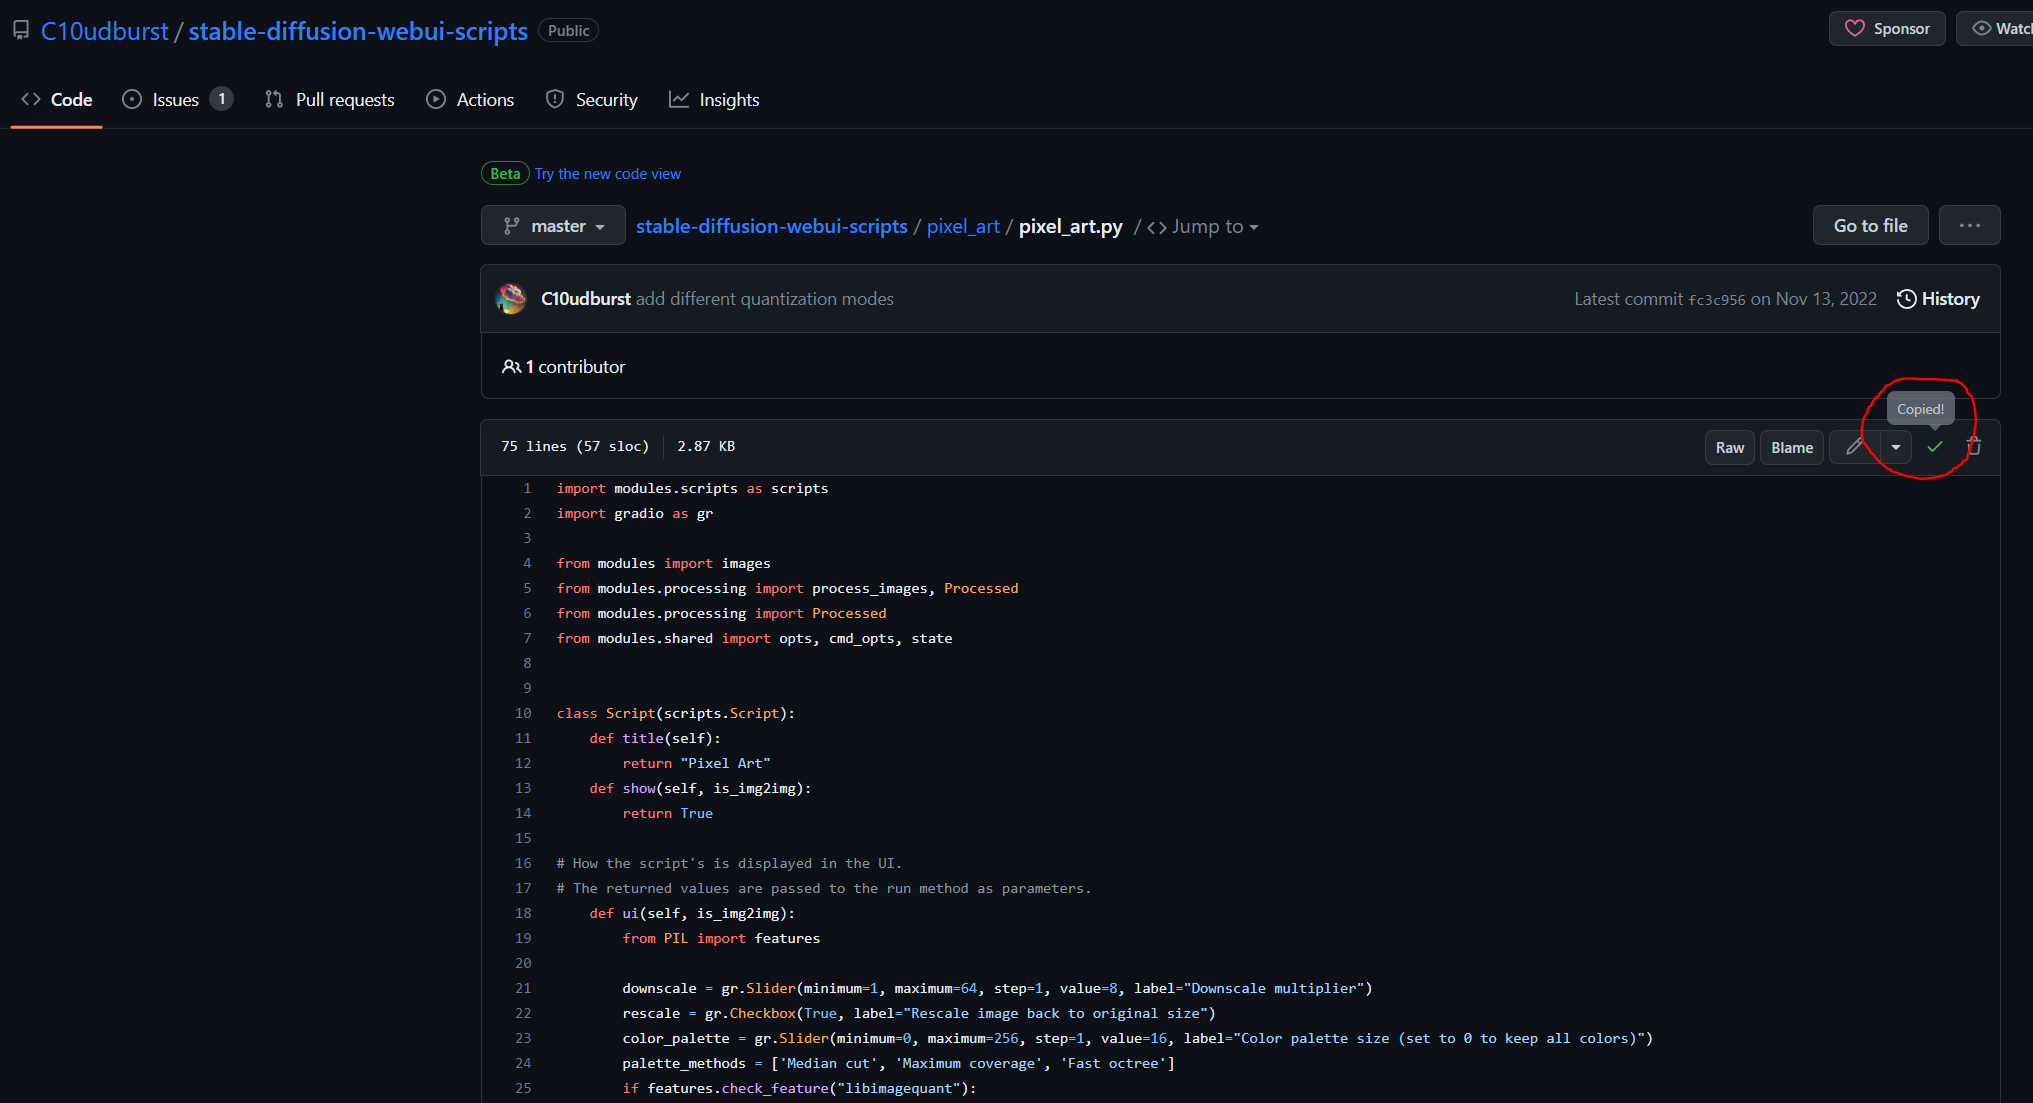
Some scripts might have extra steps or a slightly different installation process; be sure to check out your script's README!

Some scripts might have extra steps or a slightly different installation process; be sure to check out your script's README!

Screenshot from Stable Diffusion scripts and extensions tutorial

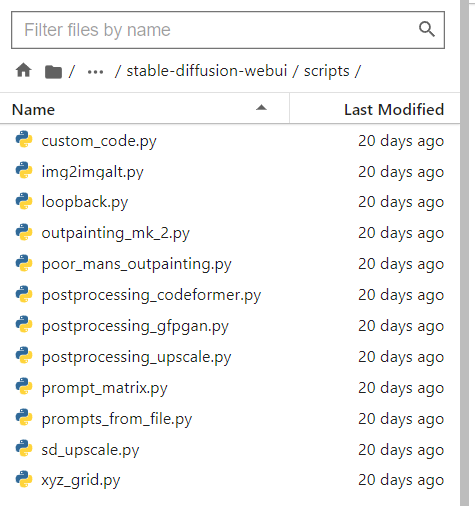
2. Connect to your Pod with Jupyter Lab and navigate to workspace/stable-diffusion-webui/scripts. This is where we'll drop the .py file we saved.
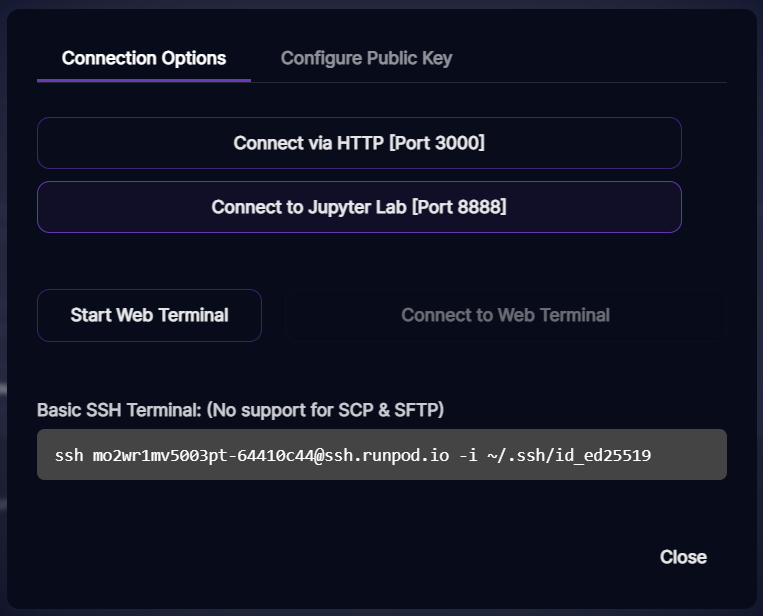
Runpod pod connection options with HTTP port 3000, Jupyter Lab port 8888, and a basic SSH command

Jupyter file browser listing the default scripts in the stable-diffusion-webui/scripts folder

3. Copy the .py file of your script to the scripts directory in Jupyter Lab.
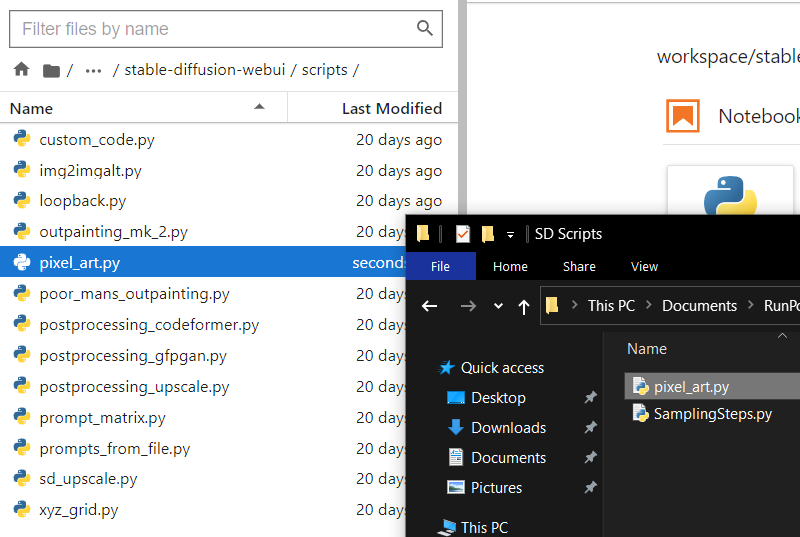
pixel_art.py uploaded into the stable-diffusion-webui/scripts folder via the Jupyter file browser

4. Connect to your Pod via HTTP to access the webUI.
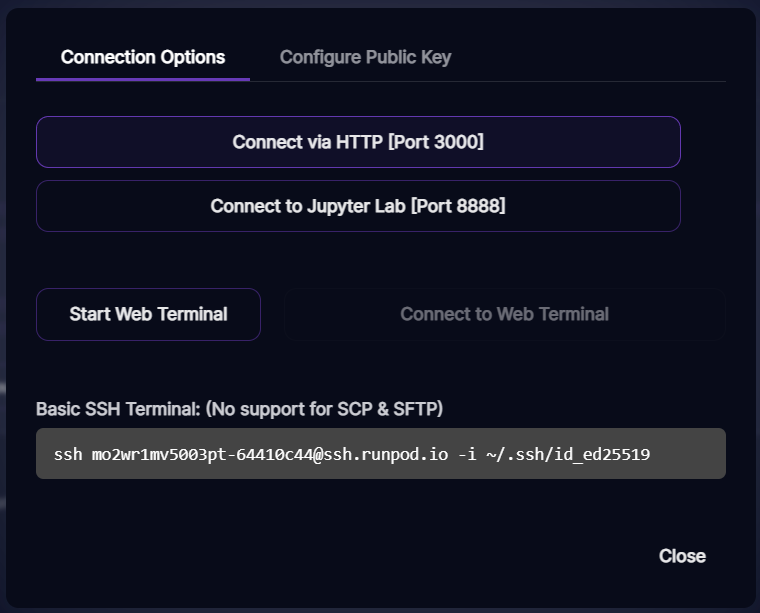
Runpod pod connection options dialog with Connect via HTTP on port 3000 highlighted

If you were already connected via HTTP, hop over to the Settings tab at the top and select Reload UI to refresh your available scripts.

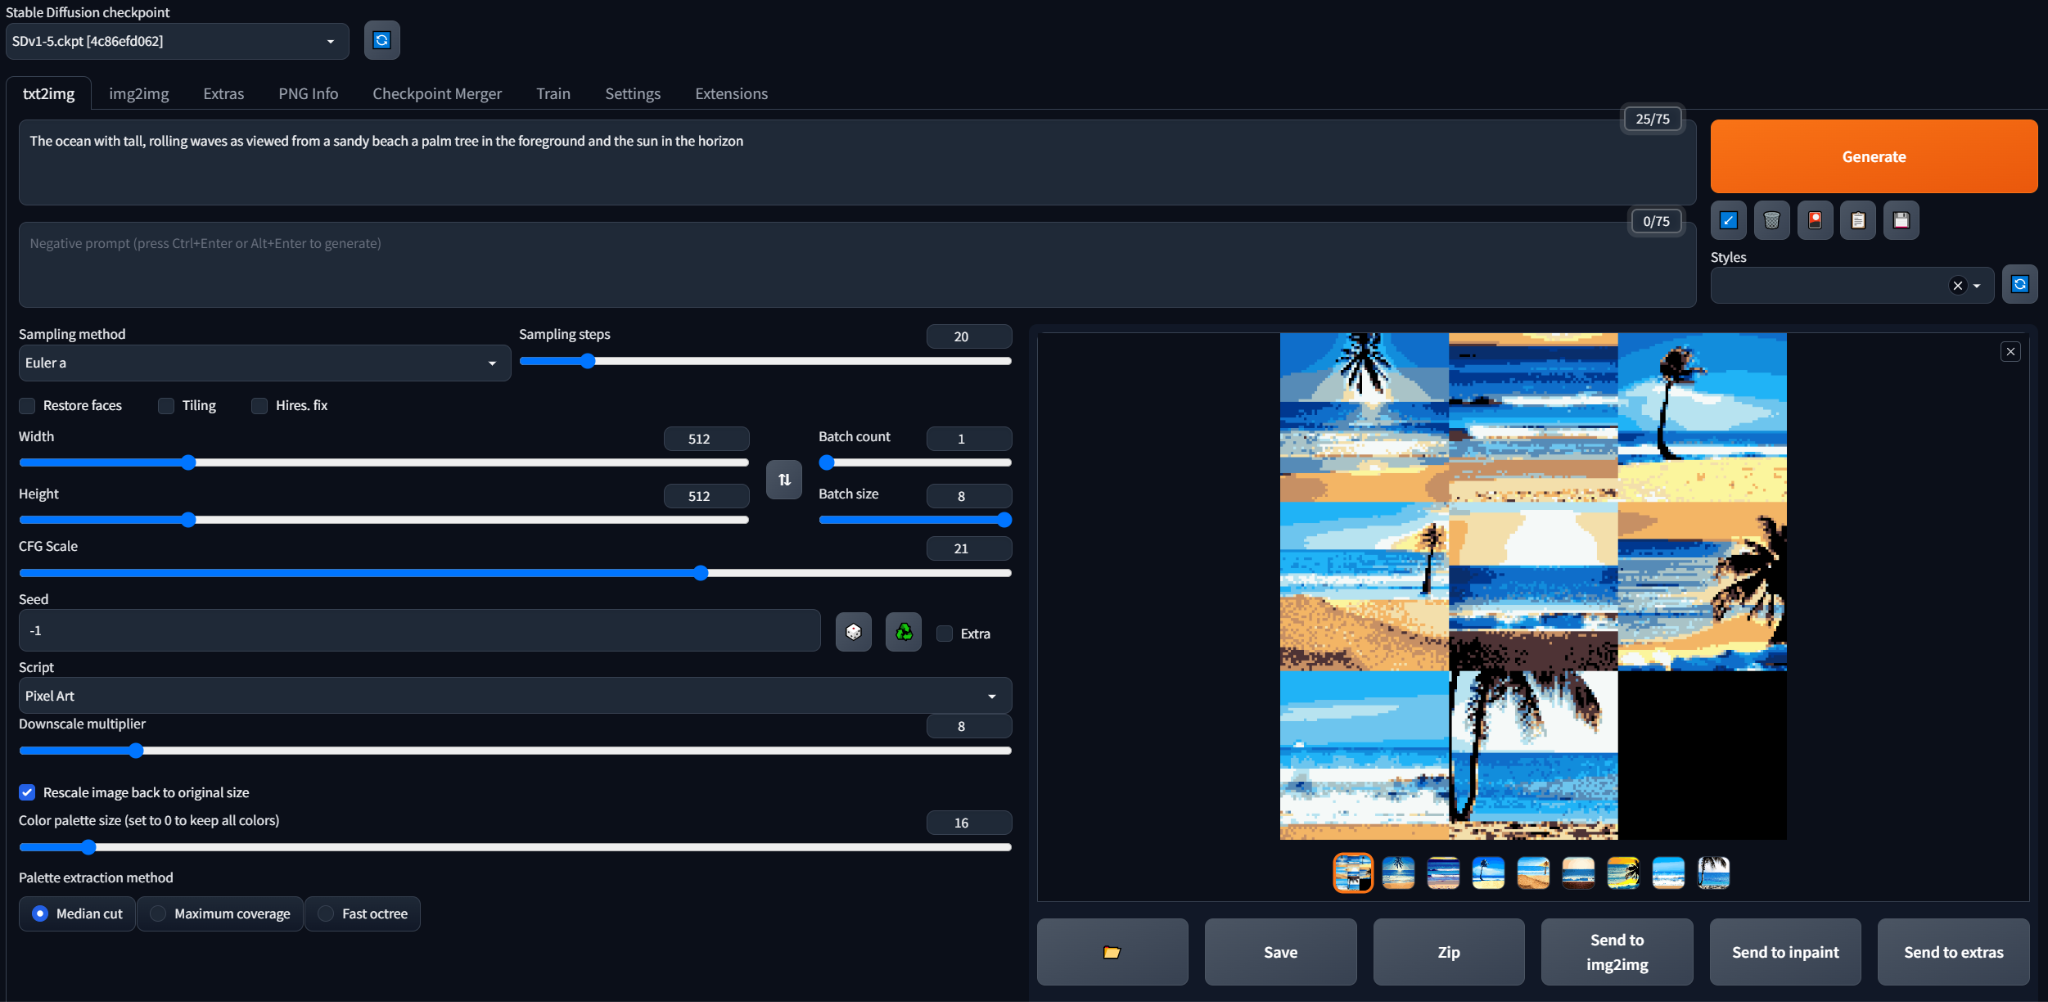
5. Select your script from the Script dropdown, configure the settings specific to your script, and generate some images!
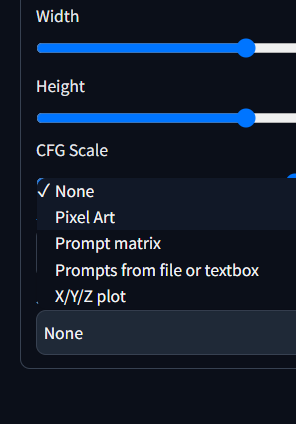
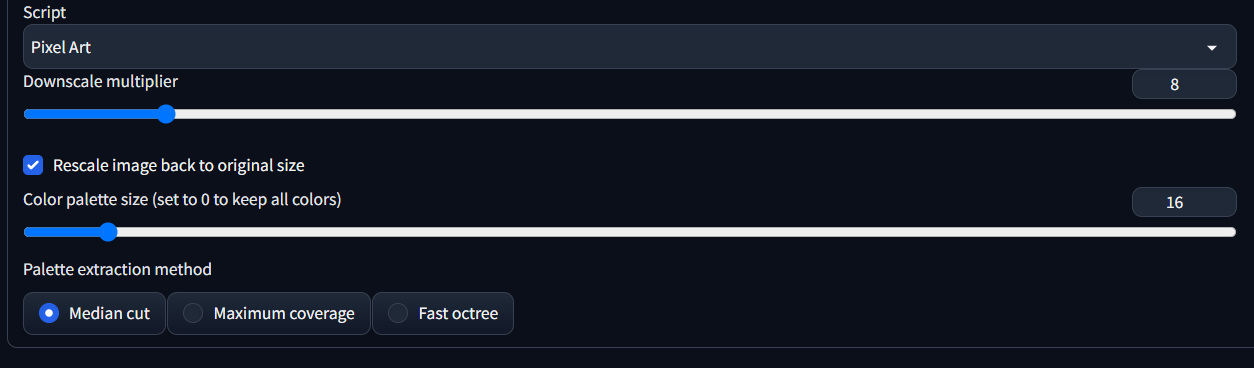
Stable Diffusion web UI Script dropdown listing Pixel Art, Prompt matrix, Prompts from file, and X/Y/Z plot options

Pixel Art script settings with downscale multiplier, color palette size, and palette extraction method options

Stable Diffusion web UI generating a batch of beach scenes with the Pixel Art script enabled

Pixelated AI-generated beach scene with ocean waves and a palm tree silhouette at sunset

Installing Extensions

Before we start! Each Pod instance has a requirements.txt file which lists dependencies needed for things to work properly:
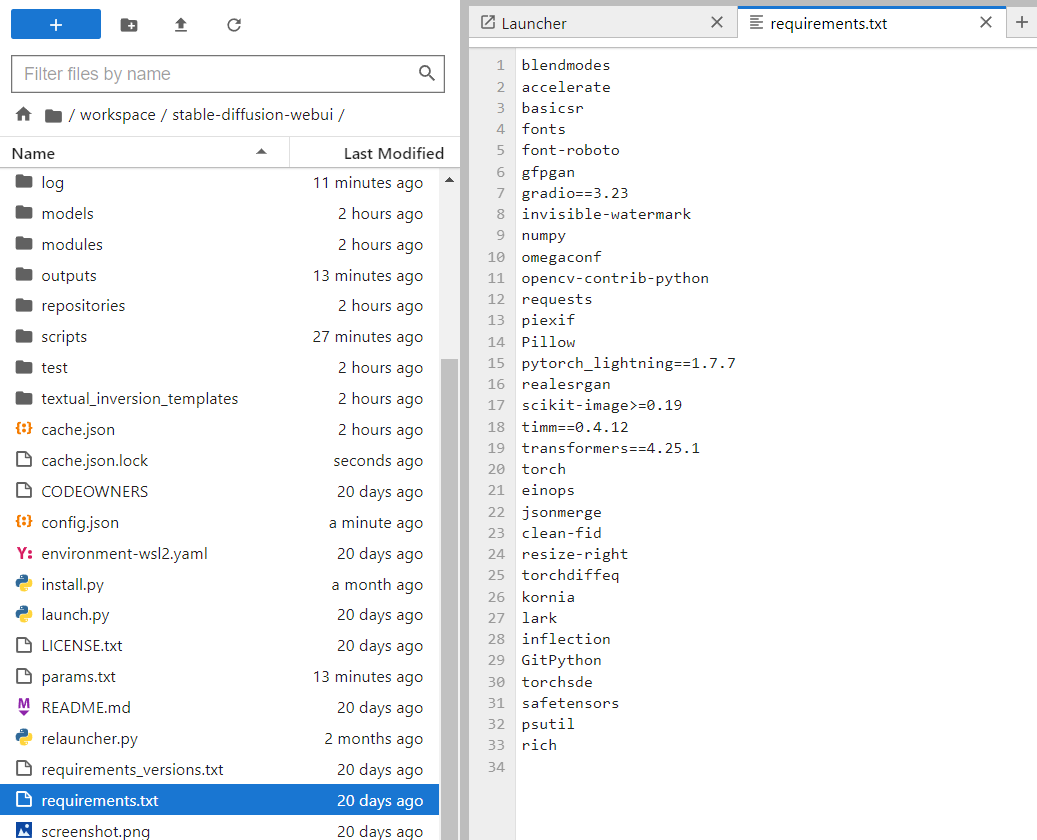
JupyterLab file browser in the stable-diffusion-webui folder with requirements.txt open listing dependencies

Your extension will install its own dependencies. If these conflict with any of the existing ones, bad things™ can happen, so double-check before you install!

For this tutorial, I'll be showing off the Randomize extension; this one

1. In the Stable Diffusion webUI, navigate to the Extensions tab at the top. If you have a specific extension in mind, you can select the Install from URL tab and provide a URL for the extension's git repo.

Stable Diffusion web UI Extensions tab with the Install from URL form for an extension git repository

If you don't have a specific one in mind, select the Available tab and click the orange Load from: button (a URL to a JSON file with a bunch of extension repos should auto-populate the text box). Then, you can scroll down and select an interesting extension; I'm going to follow this path for the tutorial with the Randomize extension.
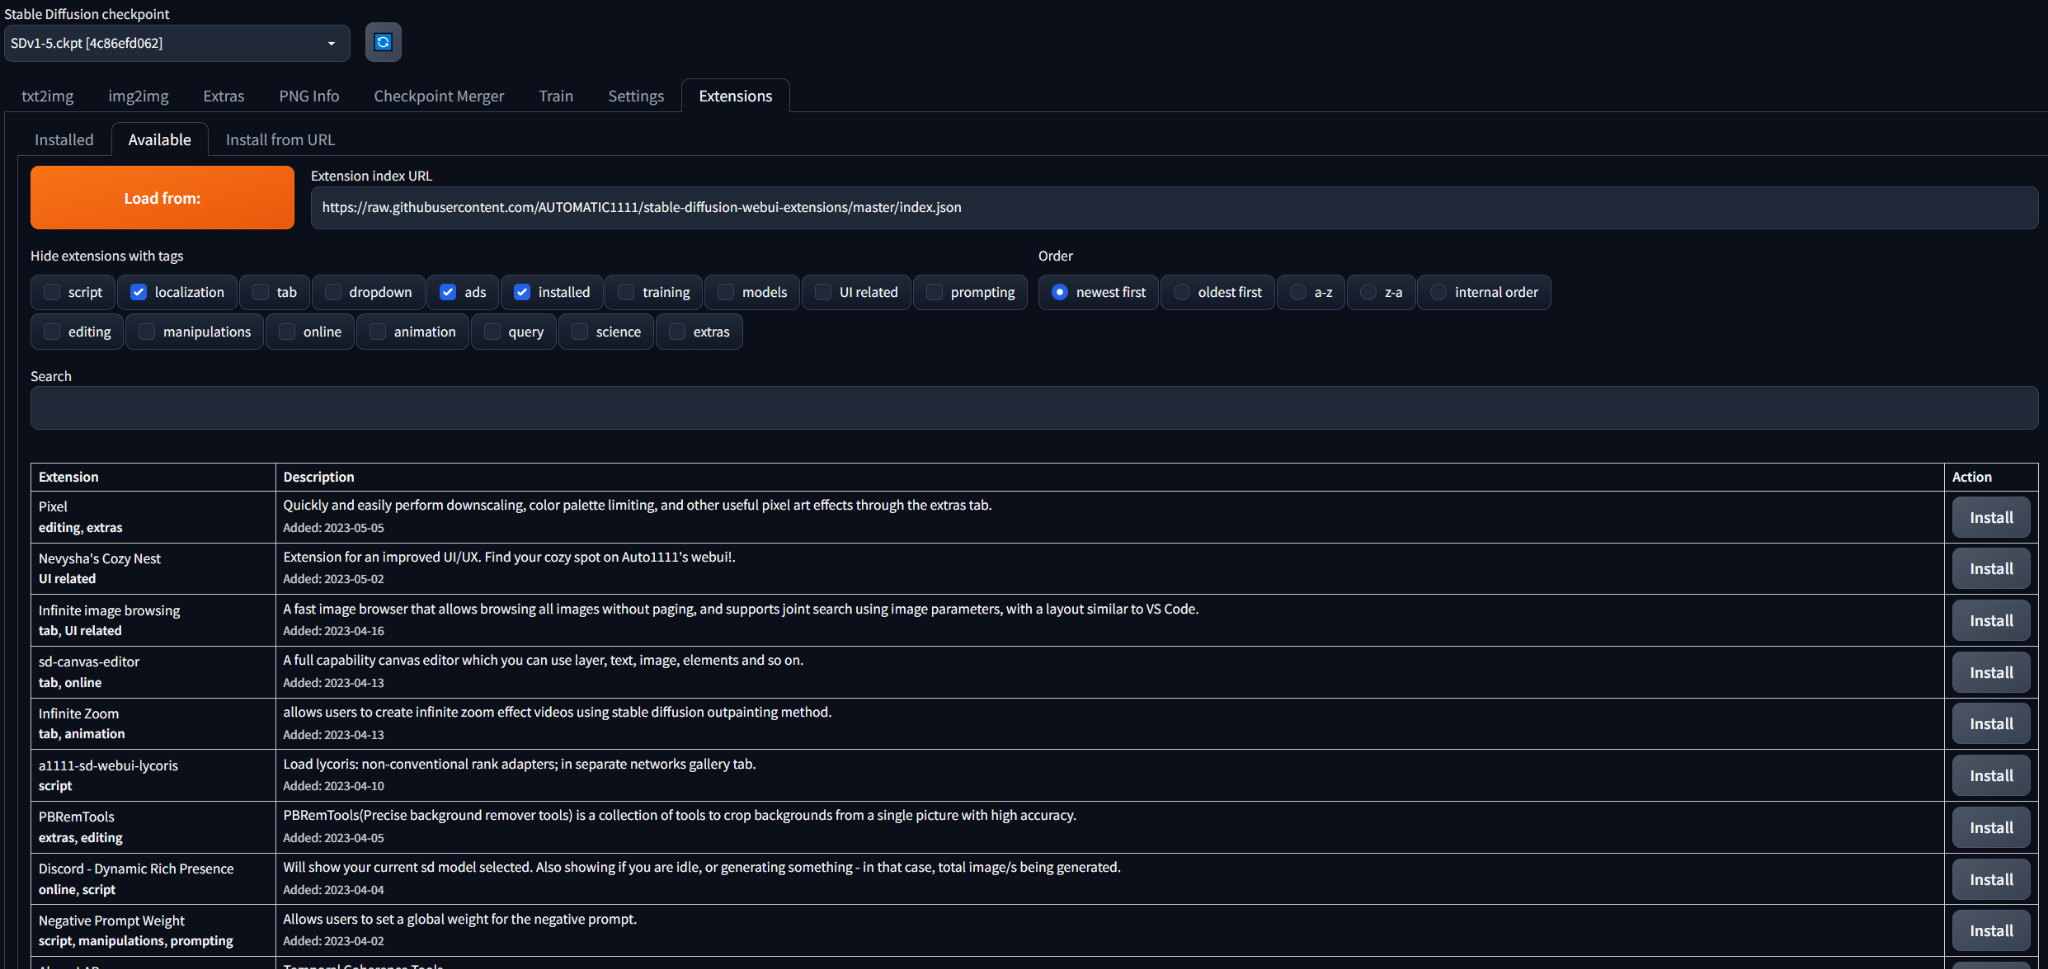
Available extensions list in the Stable Diffusion web UI Extensions tab with Install buttons

2. Select the Install button on the right for the extension of your choice, and under the Installed tab, click the orange Apply and restart UI button.
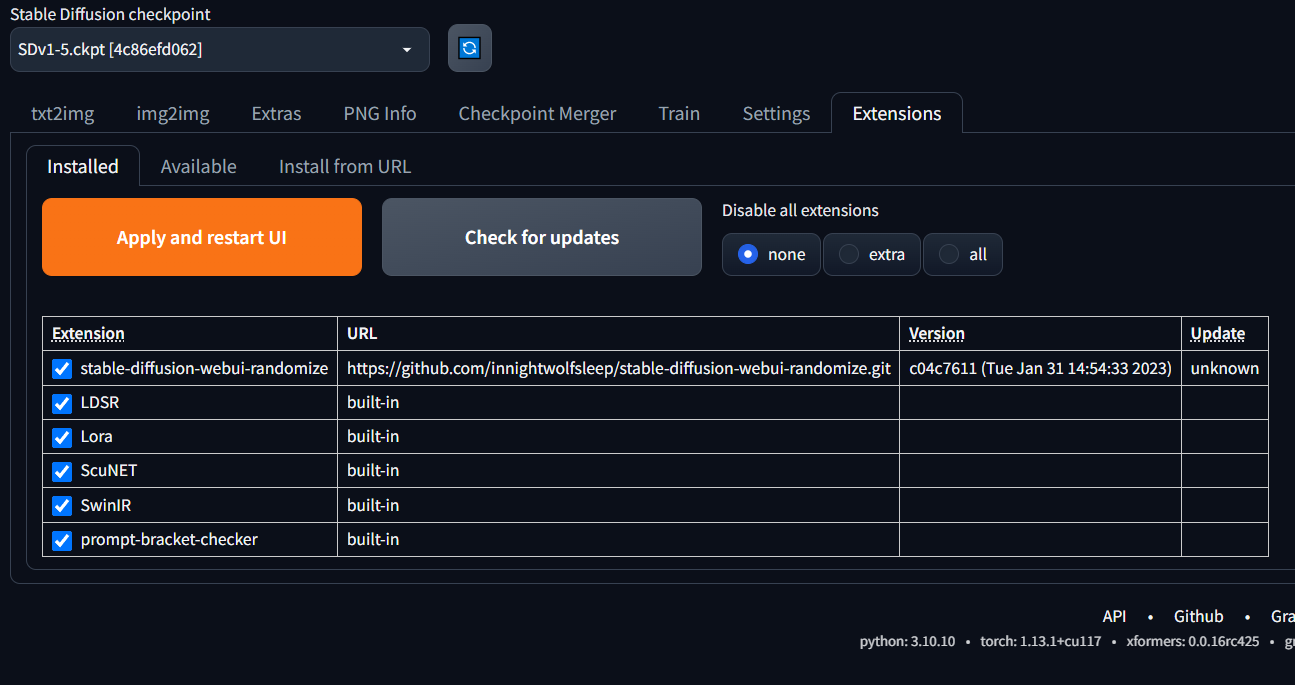
Installed extensions list in Stable Diffusion web UI showing the randomize extension and Apply and restart UI button

3. Once your UI has restarted, you should see the additional options your extension provides in the appropriate tab (in my case, the txt2img tab).
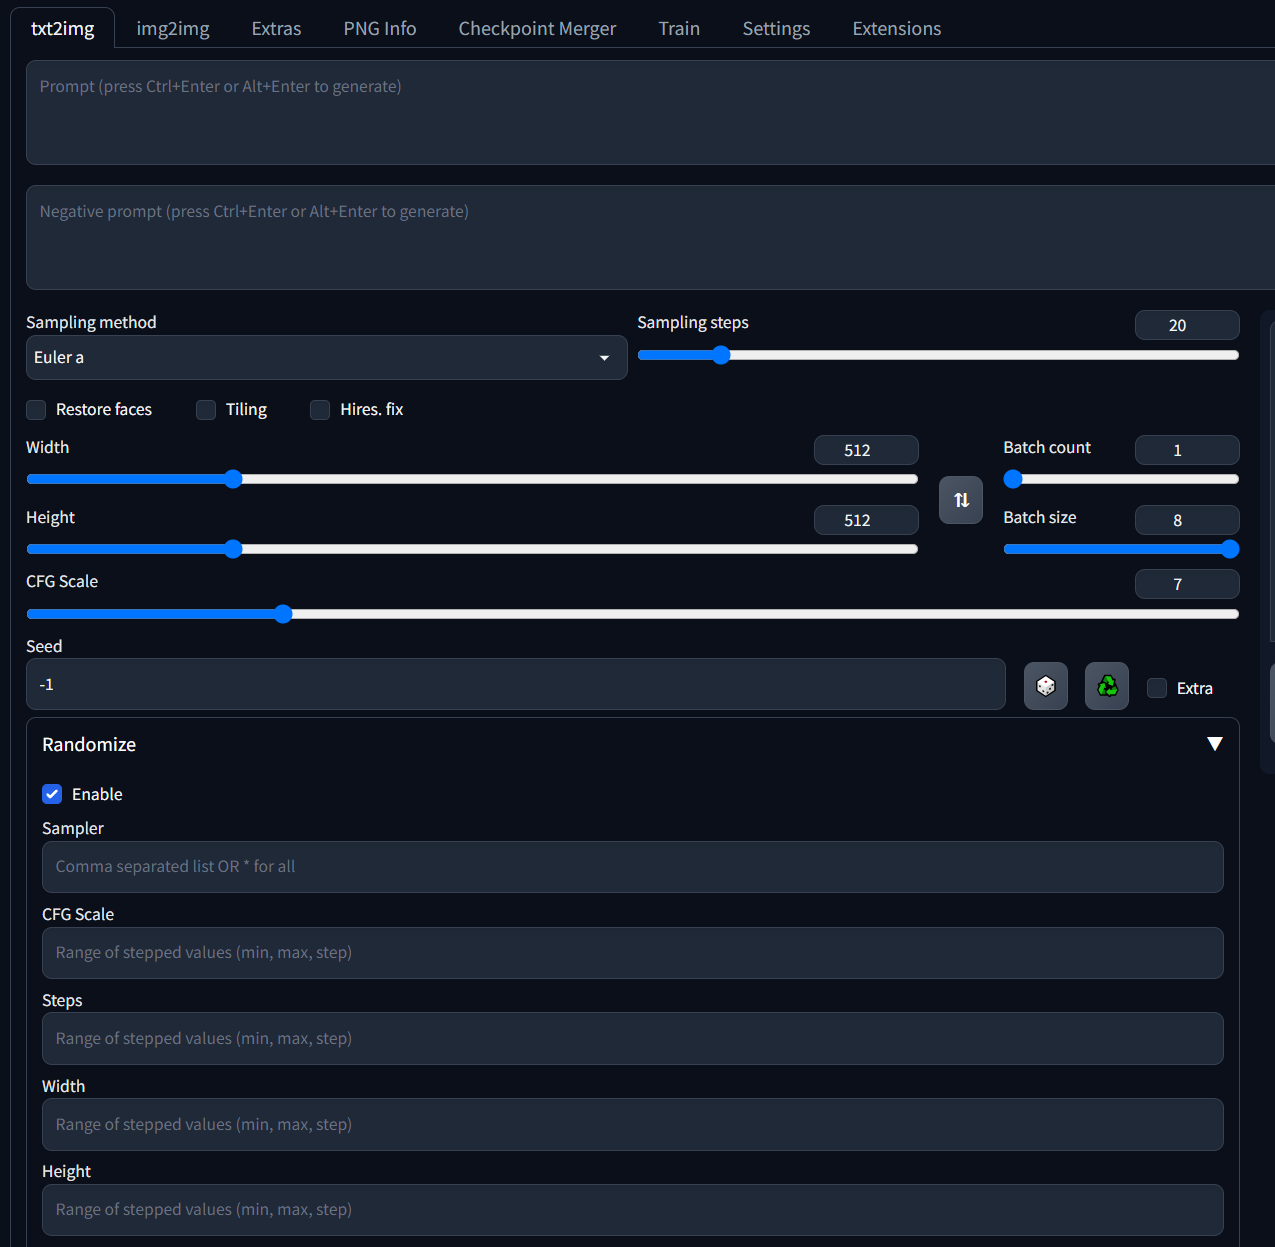
Stable Diffusion txt2img settings with the Randomize extension panel for sampler, CFG scale, steps, width, and height

Now, you can use these new options to customize your experience with Stable Diffusion!
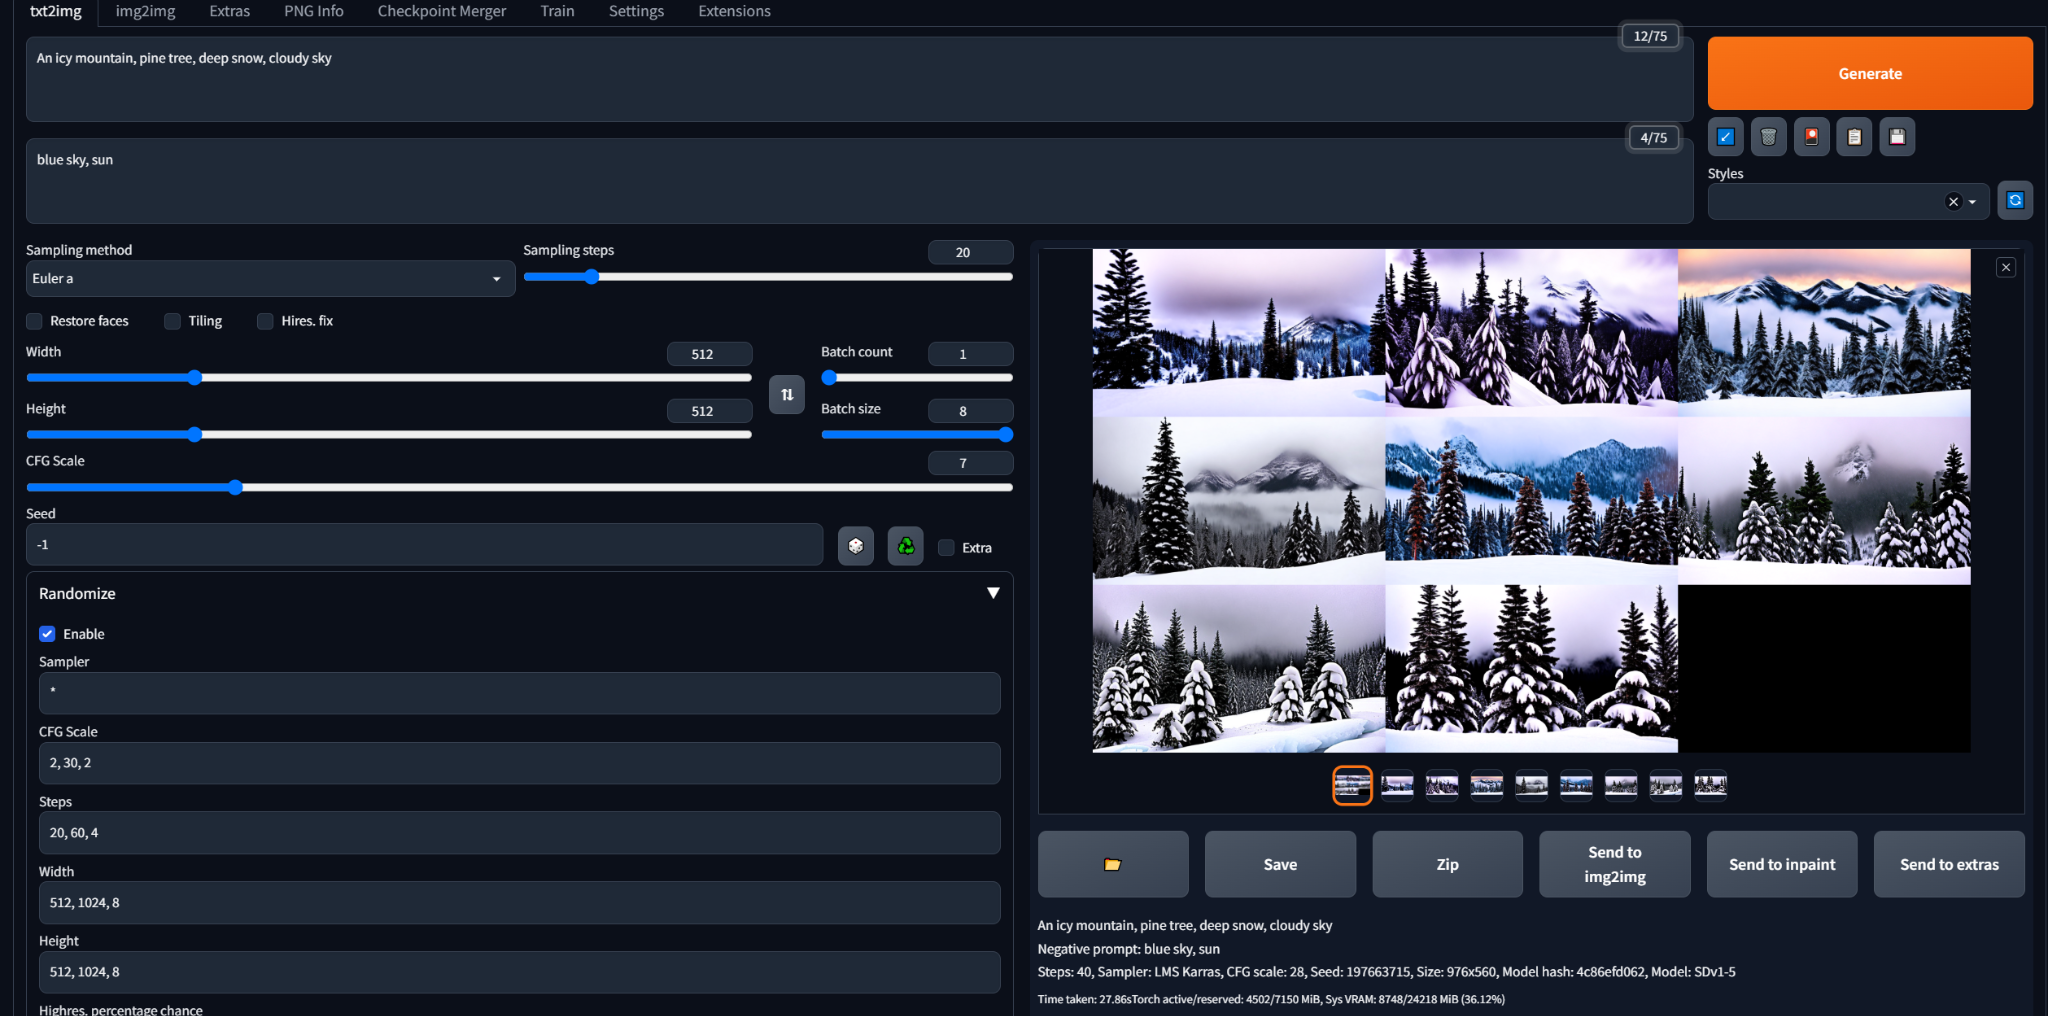
Stable Diffusion web UI showing a batch of snowy mountain images generated with the Randomize extension enabled

AI-generated snowy landscape with pine trees and a mountain under a purple cloudy sky

AI-generated winter scene of snow-covered pine trees in front of misty mountains

Author profile: Brandon Ikeler