







Running stateful workloads inside Kubernetes is different from running stateless services. The reason being is that the containers and Pods can get created and destroyed at any time. If any of the cluster nodes go down or a new node appears, Kubernetes needs to reschedule the Pods.
If you ran a stateful workload or a database in the same way you are running a stateless service, all of your data would be gone the first time your Pod restarts.
Therefore you need to store the data outside of the container. Storing the data outside ensures that nothing happens to it when the container restarts.
The Volumes abstraction in Kubernetes solves the problem of storing data outside of containers problem. The Volume lives as long as the Pod lives. If any of the containers within the Pod get restarted, Volume preserves the data. However, once you delete the Pod, the Volume gets deleted as well.
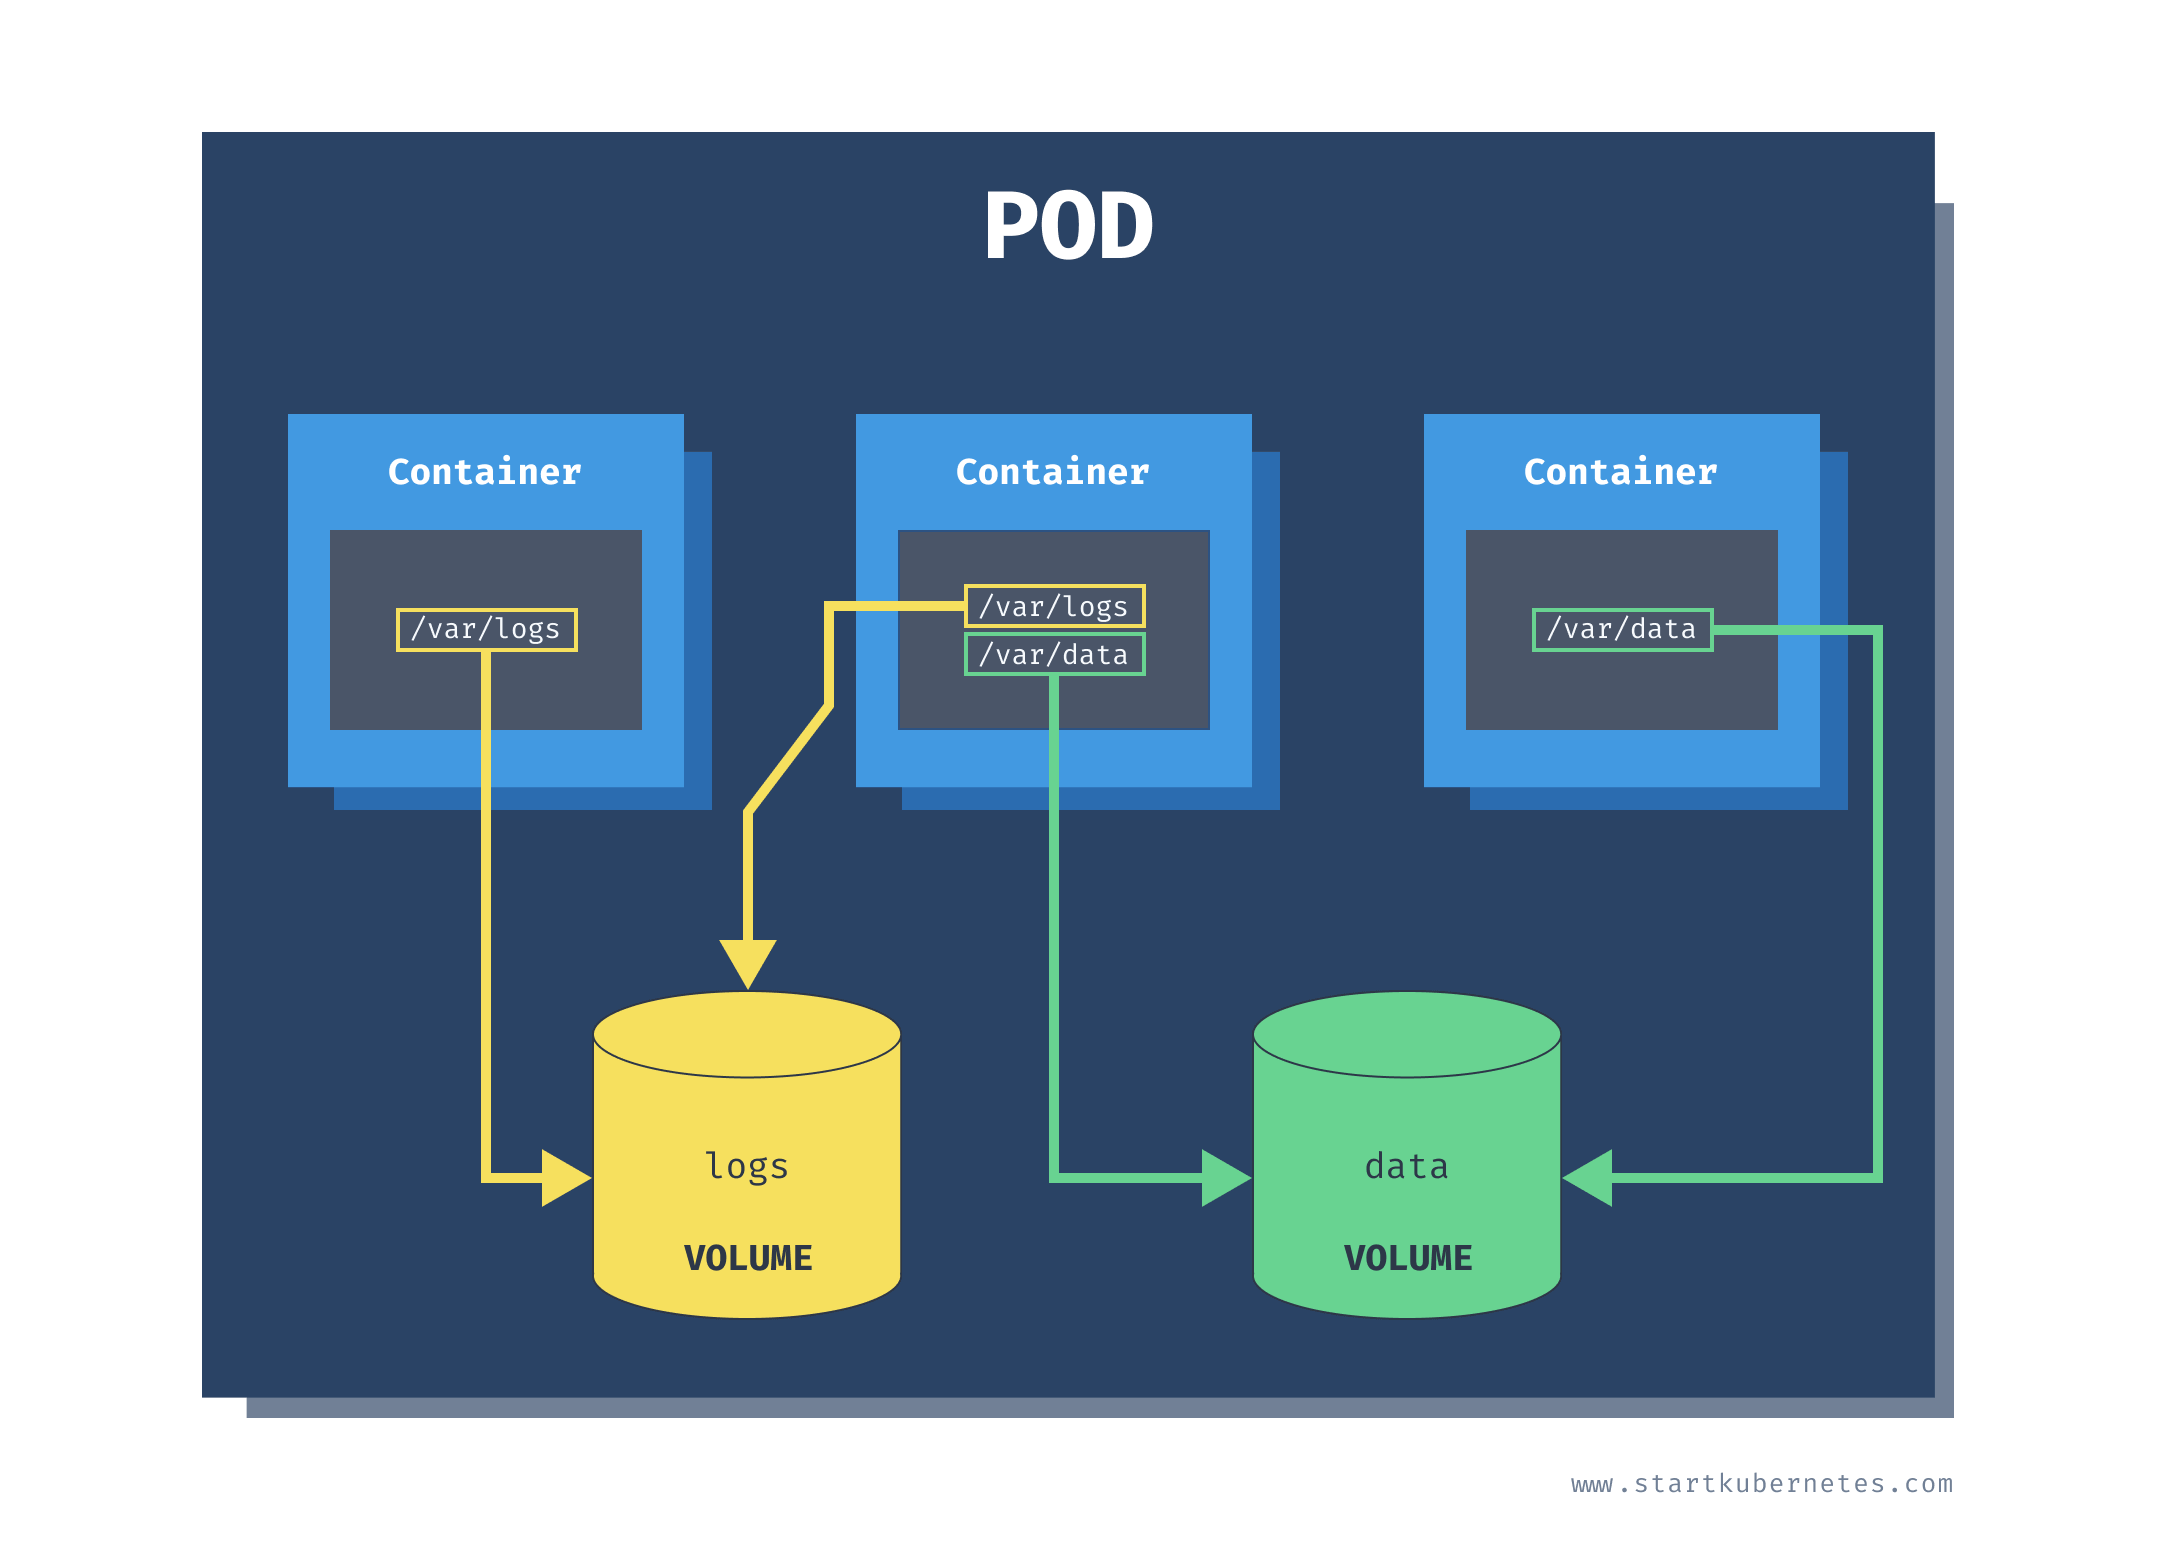
The Volume is just a folder that may or may not have any data in it. The folder is accessible to all containers in a pod. How this folder gets created and the backing storage is determined by the volume type.
The most basic volume type is an empty directory (emptyDir). When you create a Volume with the emptyDir type, Kubernetes creates it when it assigns a Pod to a node. The Volume exists for as long as the Pod is running. As the name suggests, it is initially empty, but the containers can write and read from the Volume. Once you delete the Pod, Kubernetes deletes the Volume as well.
There are two parts to using the Volumes. The first one is the Volume definition. You can define the volumes in the Pod spec by specifying the volume name and the type (emptyDir in our case). The second part is mounting the Volume inside of the containers using the volumeMounts key. In each Pod you can use multiple different Volumes at the same time.
Inside the volume mount we refer to the Volume by name (pod-storage) and specifying which path we want to mount the Volume under (/data/).
apiVersion: v1
kind: Pod
metadata:
  name: empty-dir-pod
spec:
  containers:
    - name: alpine
      image: alpine
      args:
        - sleep
        - '120'
      volumeMounts:
        - name: pod-storage
          mountPath: /data/
  volumes:
    - name: pod-storage
      emptyDir: {}
Save the above YAML in empty-dir-pod.yaml and run kubectl apply -f empty-dir.pod.yaml to create the Pod.
Next, we are going to use the kubectl exec command to get a terminal inside the container:
```text
$ kubectl exec -it empty-dir-pod -- /bin/sh
/ # ls
bin    dev    home   media  opt    root   sbin   sys    usr
data   etc    lib    mnt    proc   run    srv    tmp    var
If you run ls inside the container, you will notice the data folder. The data folder is mounted from the pod-storage Volume defined in the YAML.
Let's create a dummy file inside the data folder and wait for the container to restart (after 2 minutes) to prove that the data inside the data folder stays around.
From inside the container create a hello.txt file under the data folder:
echo "hello" >> data/hello.txt
You can type exit to exit the container. If you wait for 2 minutes, the container will automatically restart. To watch the container restart, run the kubectl get po -w command from a separate terminal window.
Once container restarts, you can check that the file data/hello.txt is still in the container:
$ kubectl exec -it empty-dir-pod -- /bin/sh
/ # ls data/hello.txt
data/hello.txt
/ # cat data/hello.txt
hello
/ #
Kubernetes stores the data on the host under the /var/lib/kubelet/pods folder. That folder contains a list of pod IDs, and inside each of those folders is the volumes. For example, here's how you can get the pod ID:
$ kubectl get po empty-dir-pod -o yaml | grep uid
  uid: 683533c0-34e1-4888-9b5f-4745bb6edced
Armed with the Pod ID, you can run minikube ssh to get a terminal inside the host Minikube uses to run Kubernetes. Once inside the host, you can find the hello.txt in the following folder:
$ sudo cat /var/lib/kubelet/pods/683533c0-34e1-4888-9b5f-4745bb6edced/volumes/kubernetes.io~empty-dir/pod-storage/hello.txt
hello
If you are using Docker Desktop, you can run a privileged container and using nsenter run a shell inside all namespace of the process with id 1:
$ docker run -it --privileged --pid=host debian nsenter -t 1 -m -u -n -i sh
/ #
Once you get the terminal, the process is the same - navigate to the /var/lib/kubelet/pods folder and find the hello.txt just like you would if you're using Minikube.
Kubernetes supports a large variety of other volume types. Some of the types are generic, such as emtpyDir or hostPath (used for mounting folders from the nodes' filesystem). Other types are either used for cloud-provider storage (such as azureFile, awsElasticBlockStore, or gcePersistentDisk), network storage (cephfs, cinder, csi, flocker, ...), or for mounting Kubernetes resources into the Pods (configMap, secret).
Lastly, another particular type of Volumes are Persistent Volumes and Persistent Volume Claims.
The lack of the word "persistent" when talking about other volumes can be misleading. If you are using any cloud-provider storage volume types (azureFile or awsElasticBlockStore), the data will still be persisted. The persistent volume and persistent volume claims are just a way to abstract how Kubernetes provisions the storage.
For the full and up-to-date list of all volume types, check the Kubernetes Docs.
此内容由惯性聚合(RSS阅读器)自动聚合整理,仅供阅读参考。 原文来自 — 版权归原作者所有。