







In this tutorial, we’re going to talk about setting up Users, Permissions, and ACLs in FreeNAS. ACL stands for Access Control List, which designates access control entries for users and administrators on FreeNAS systems, specifically for Windows SMB shares. This tutorial assumes you already have your pool configured. If you need help getting started with configuring a pool, we recommend you watch our ZFS Pools Overview video first.
First, you’ll want to set up a FreeNAS user account and configure specific permissions.
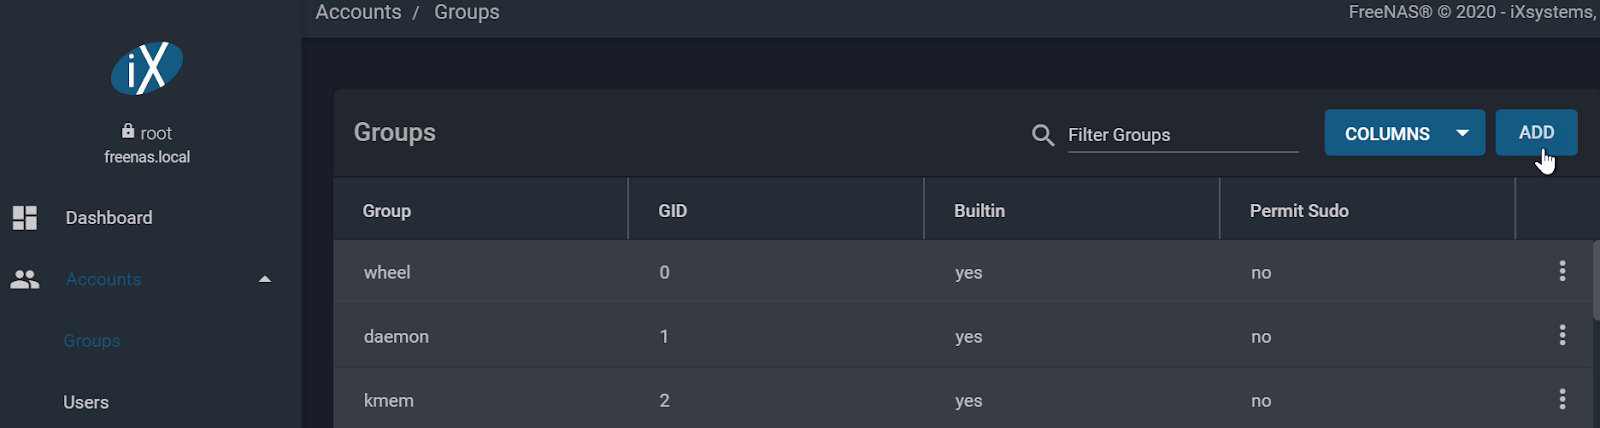
To do this, click “Groups” under the left side menu under “Accounts”.
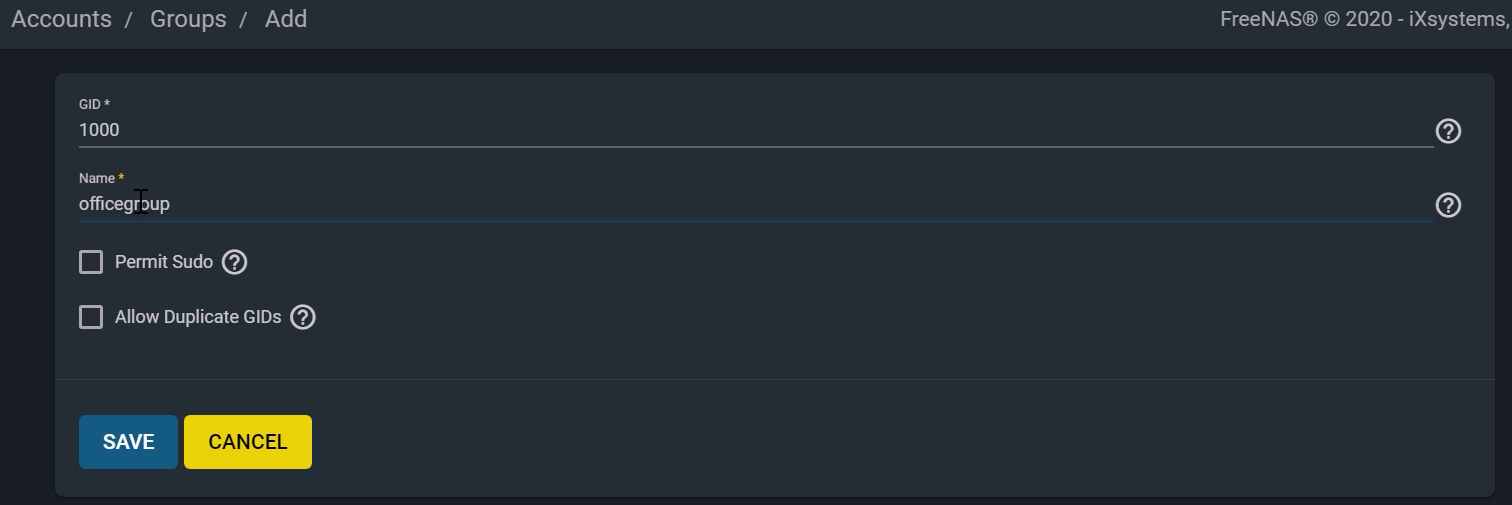
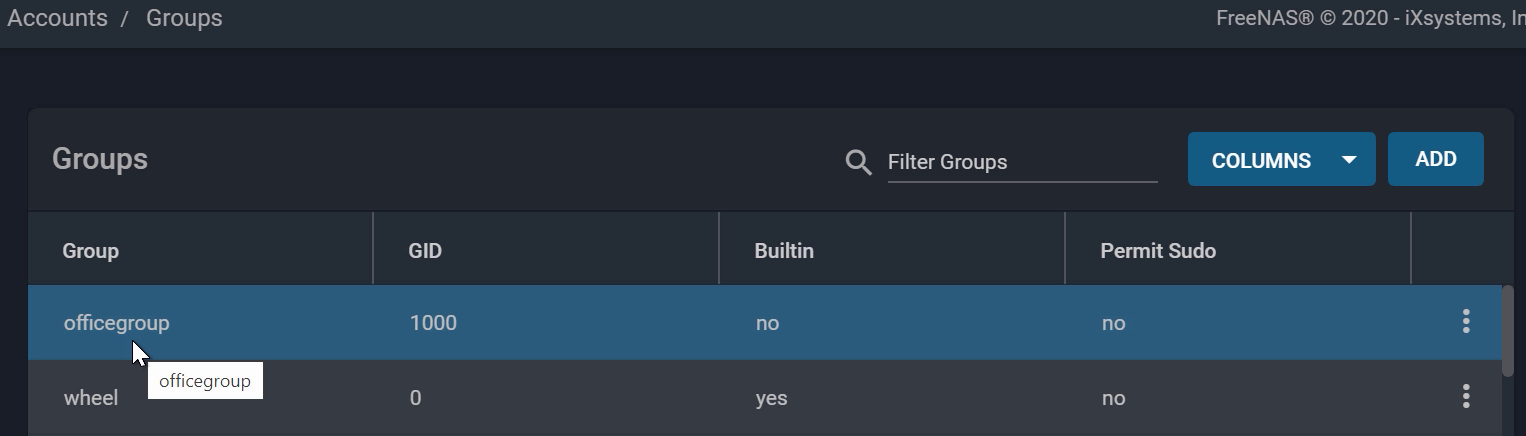
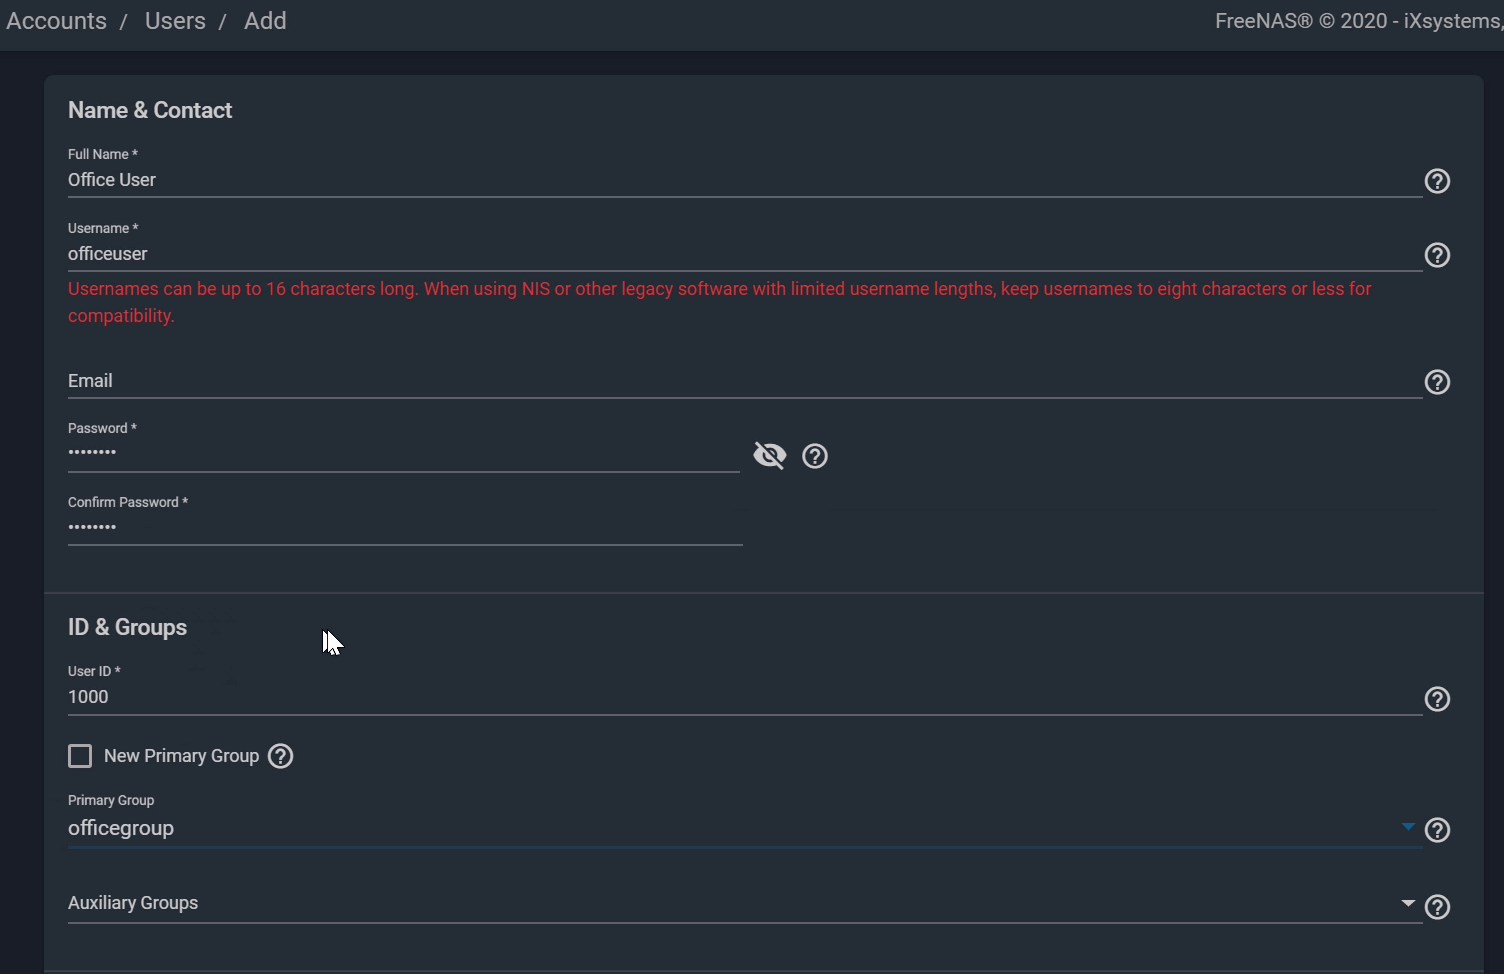
Next, go to “Accounts”, “Users”, then “ADD” a User
Permissions are generally used for non-SMB or Generic datasets, so that means any dataset using AFP or NFS shares. SMB datasets for Windows clients will utilize ACLs which we’ll talk about in the next section.
If you haven’t already, go ahead and create a Generic share-type dataset by clicking the three dots on your pool and then choosing “Add Dataset”. Name your dataset and click “SAVE”.
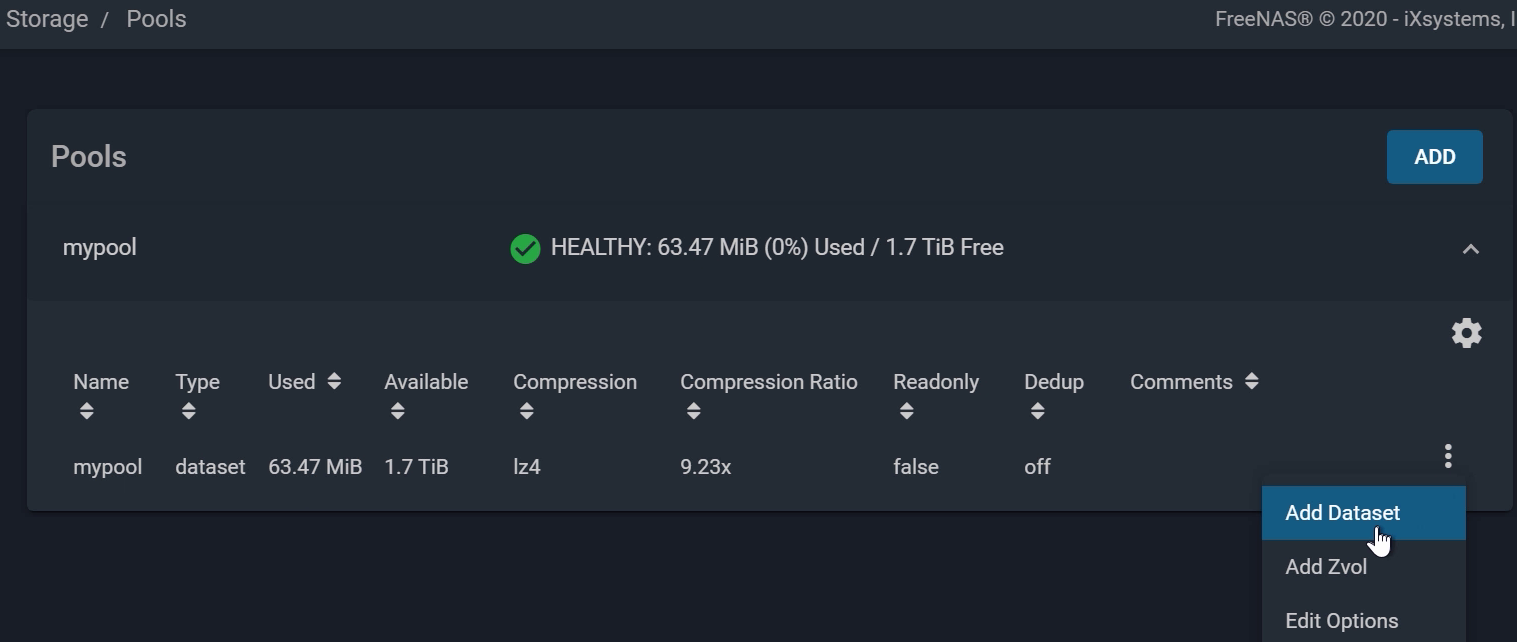
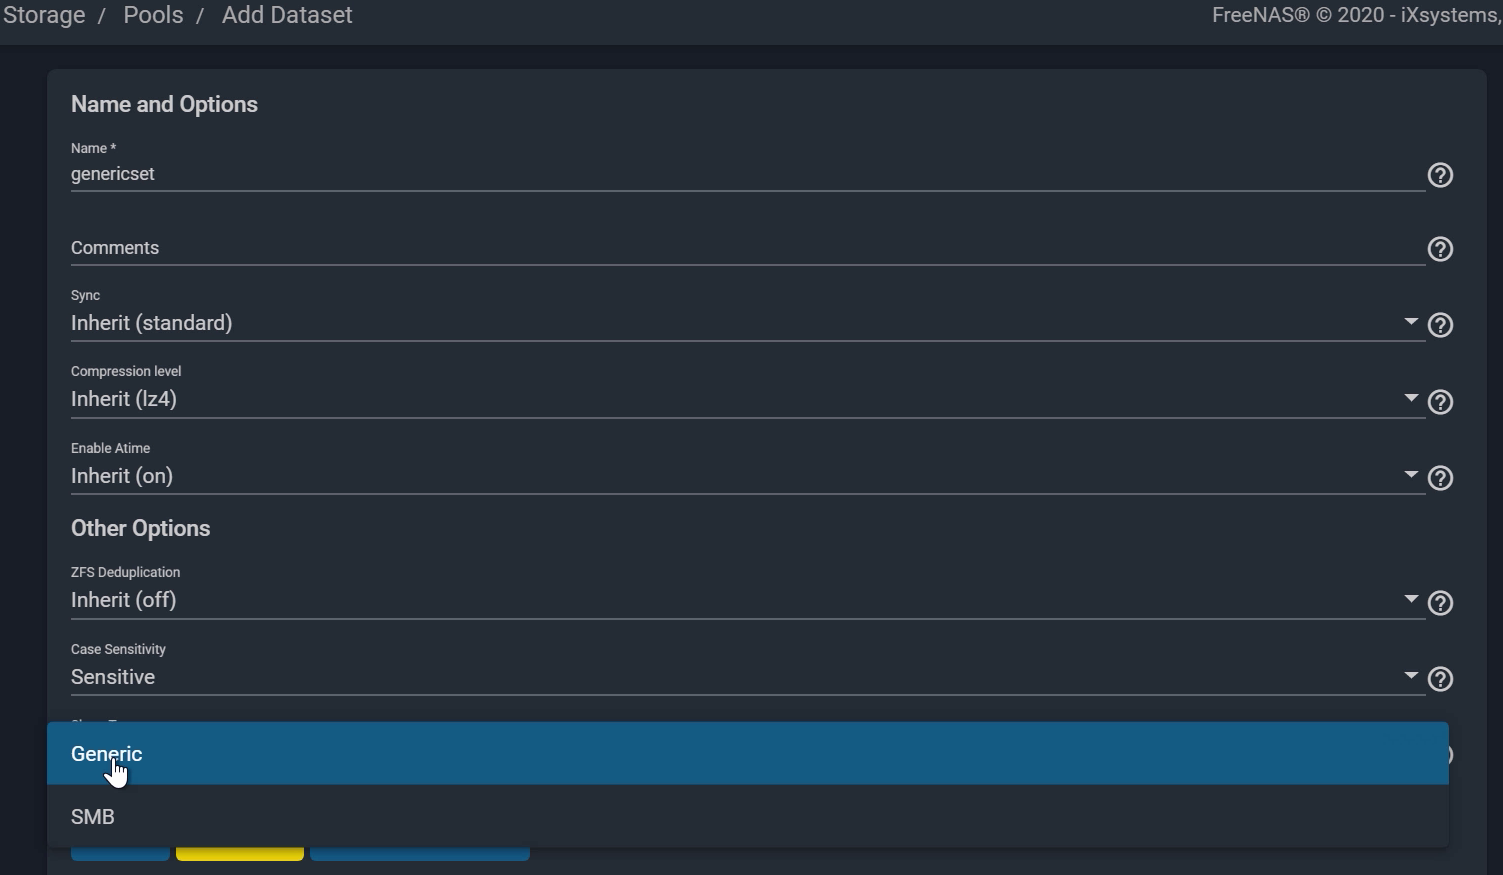
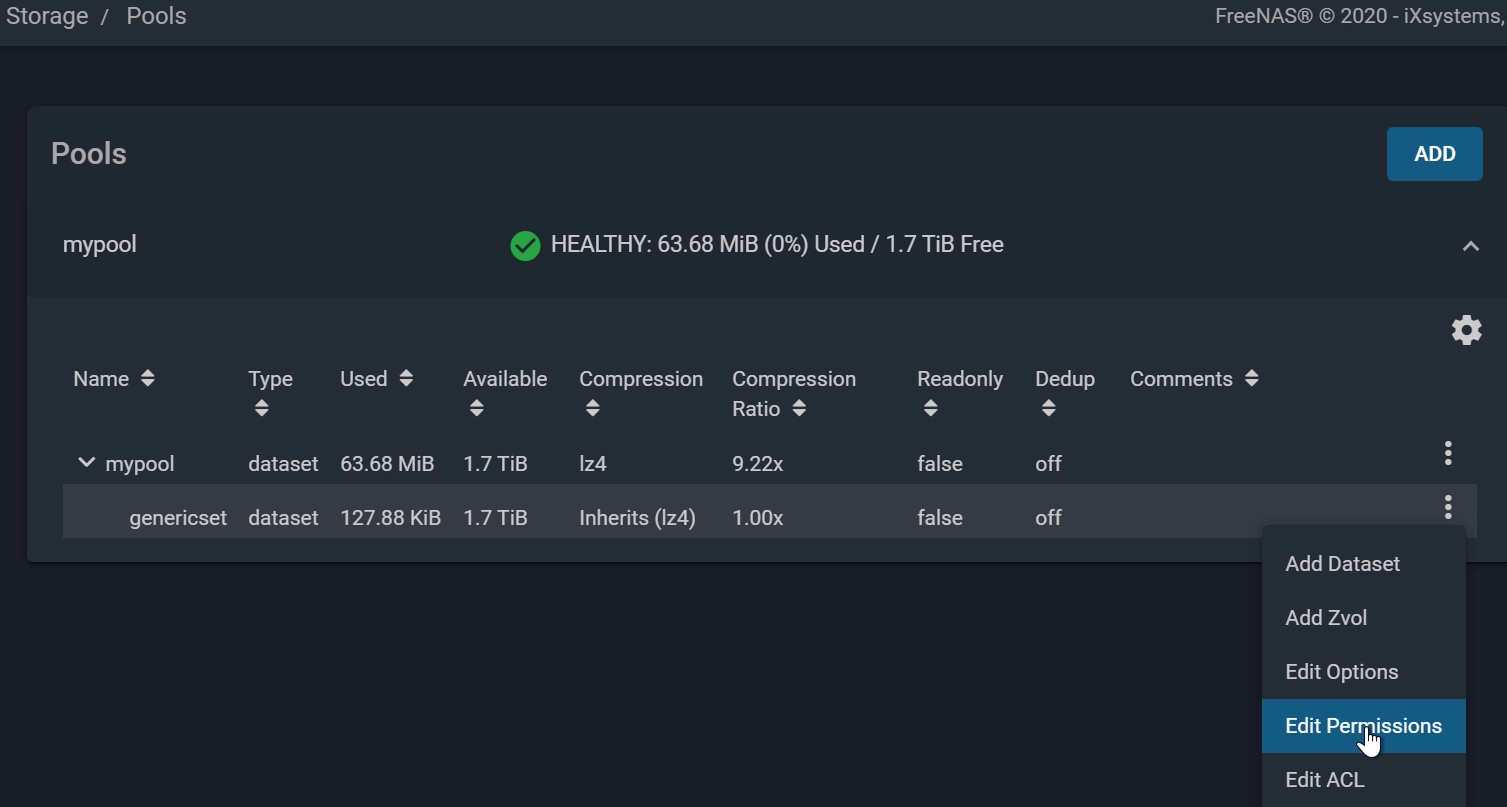
From the Pools window, open the Permissions options by clicking the three dots on the right of your target dataset, and “Edit Permissions”.
You can set the Owner to the user you created earlier, which was “officeuser” and the group to “officegroup”. On the right side under Access, this is where you can set the Read and Write permissions. Go ahead and check “Write” to give editing permissions when you assign this Group to the dataset.
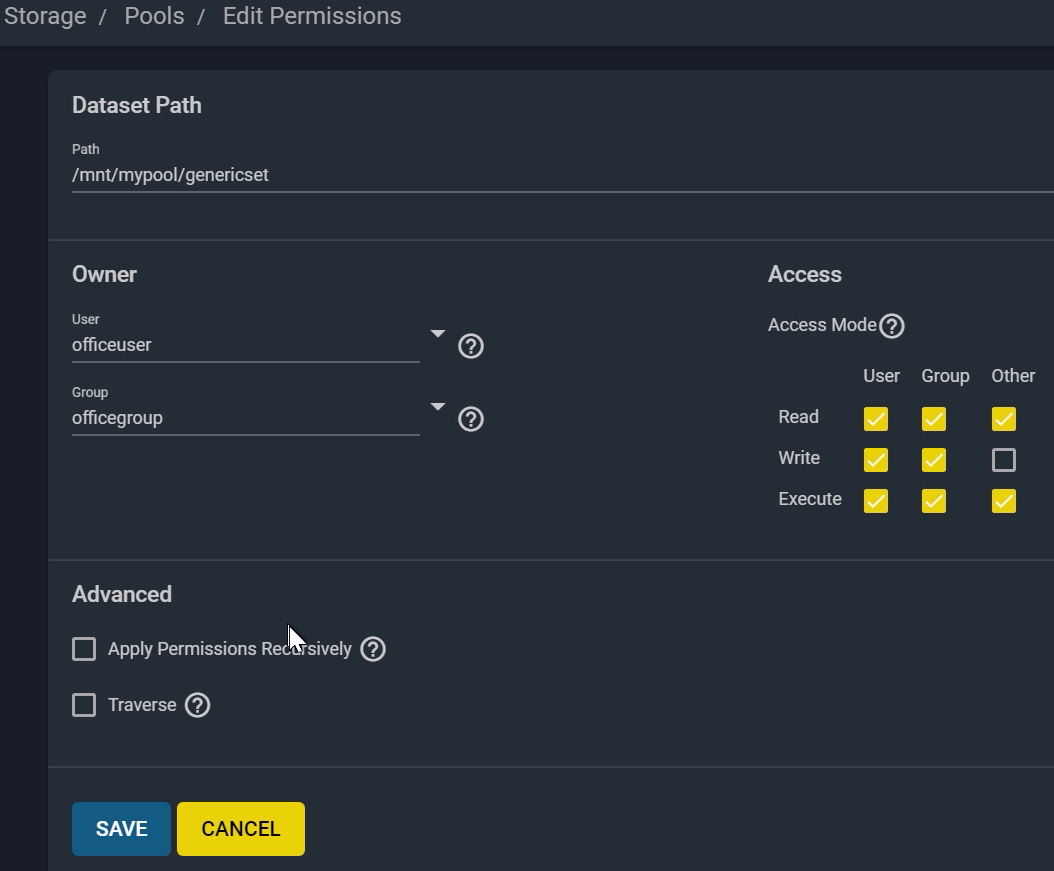
Check “Apply Permissions Recursively” if you want to set these permissions to all directories and files that are currently in the dataset. Check “Traverse” to apply permissions to any child datasets, or datasets within the dataset. Click “SAVE” when done.
Next, we’ll talk about ACLs, or “Access Control List”. ACL is a security feature used in Microsoft Windows, which designates access control entries for users and administrators on a system. FreeNAS interacts with it through the SMB protocol. Note that the “Edit ACL” feature was recently introduced in FreeNAS 11.3.
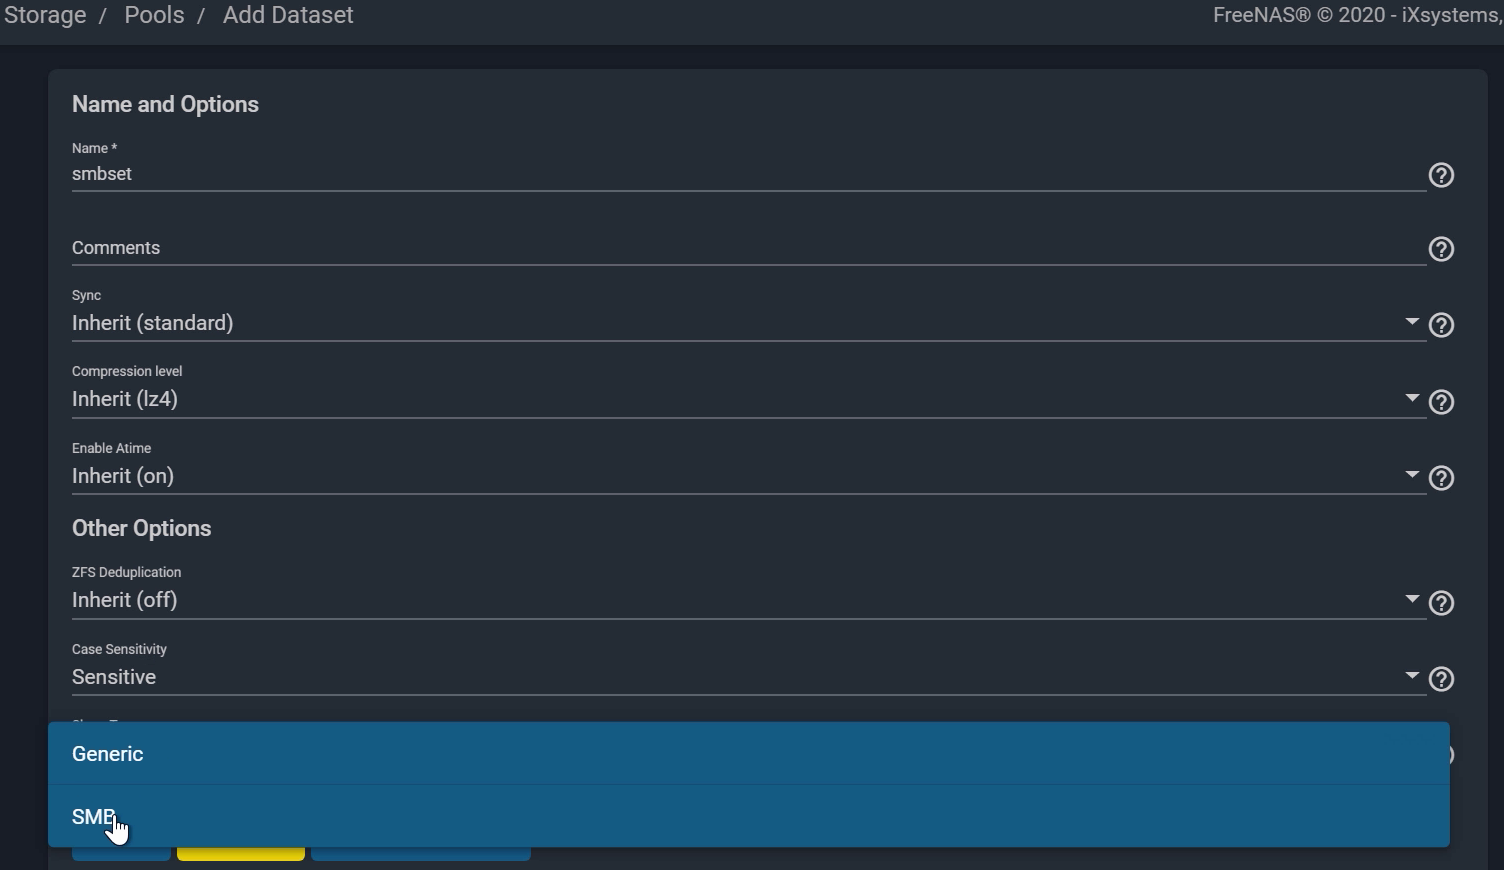
If you haven’t already, go ahead and create an SMB dataset by clicking the three dots on your pool and “Add Dataset”. Name your dataset, and choose “SMB” under the Share Type. Lastly, click “SAVE” to proceed.
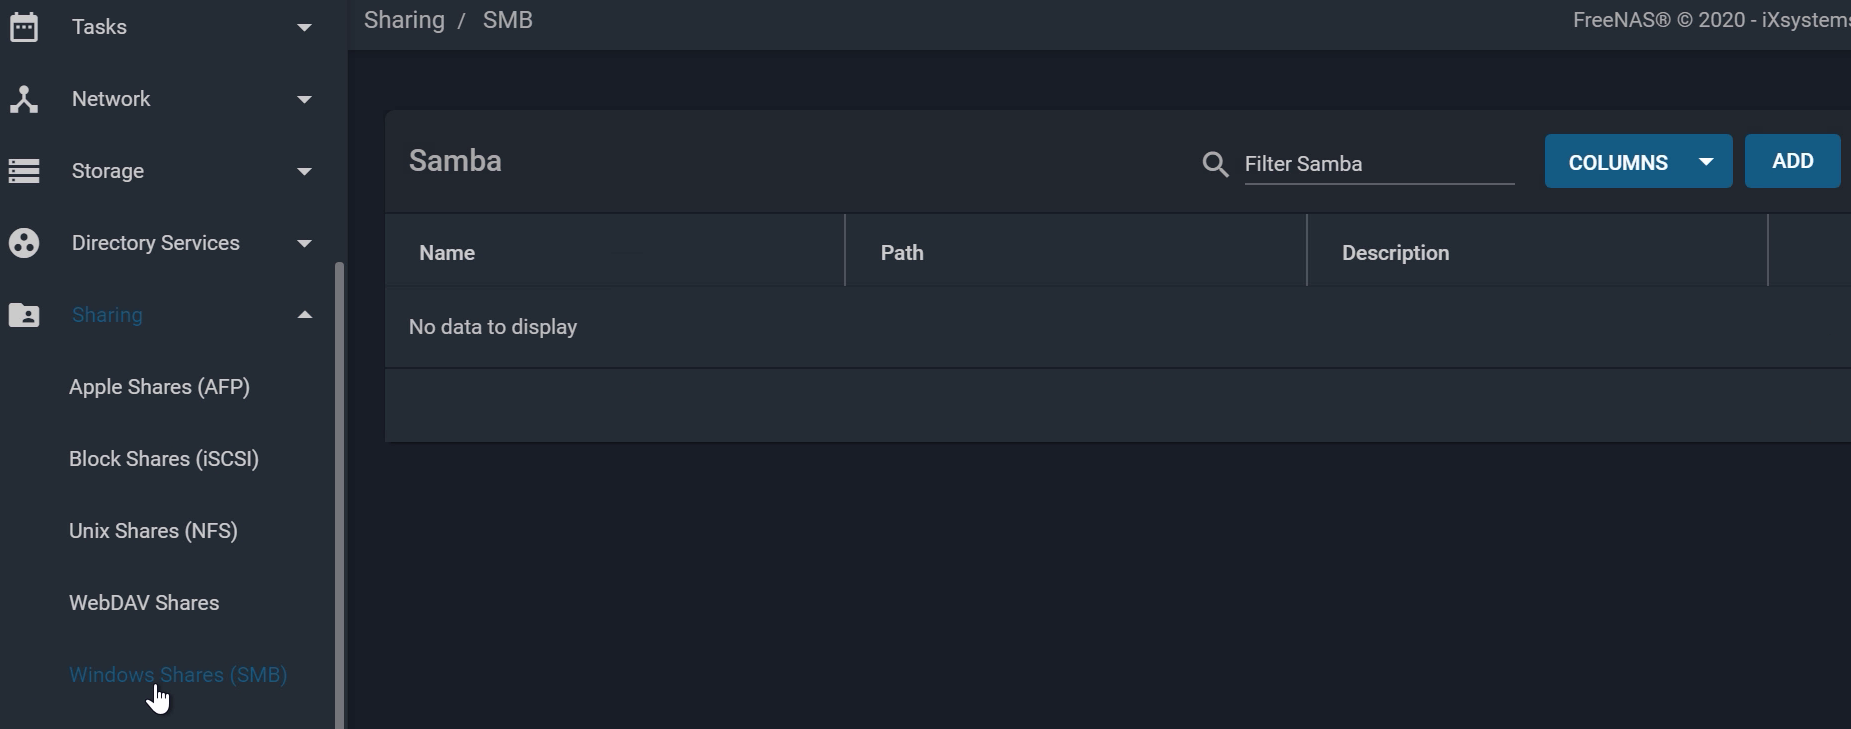
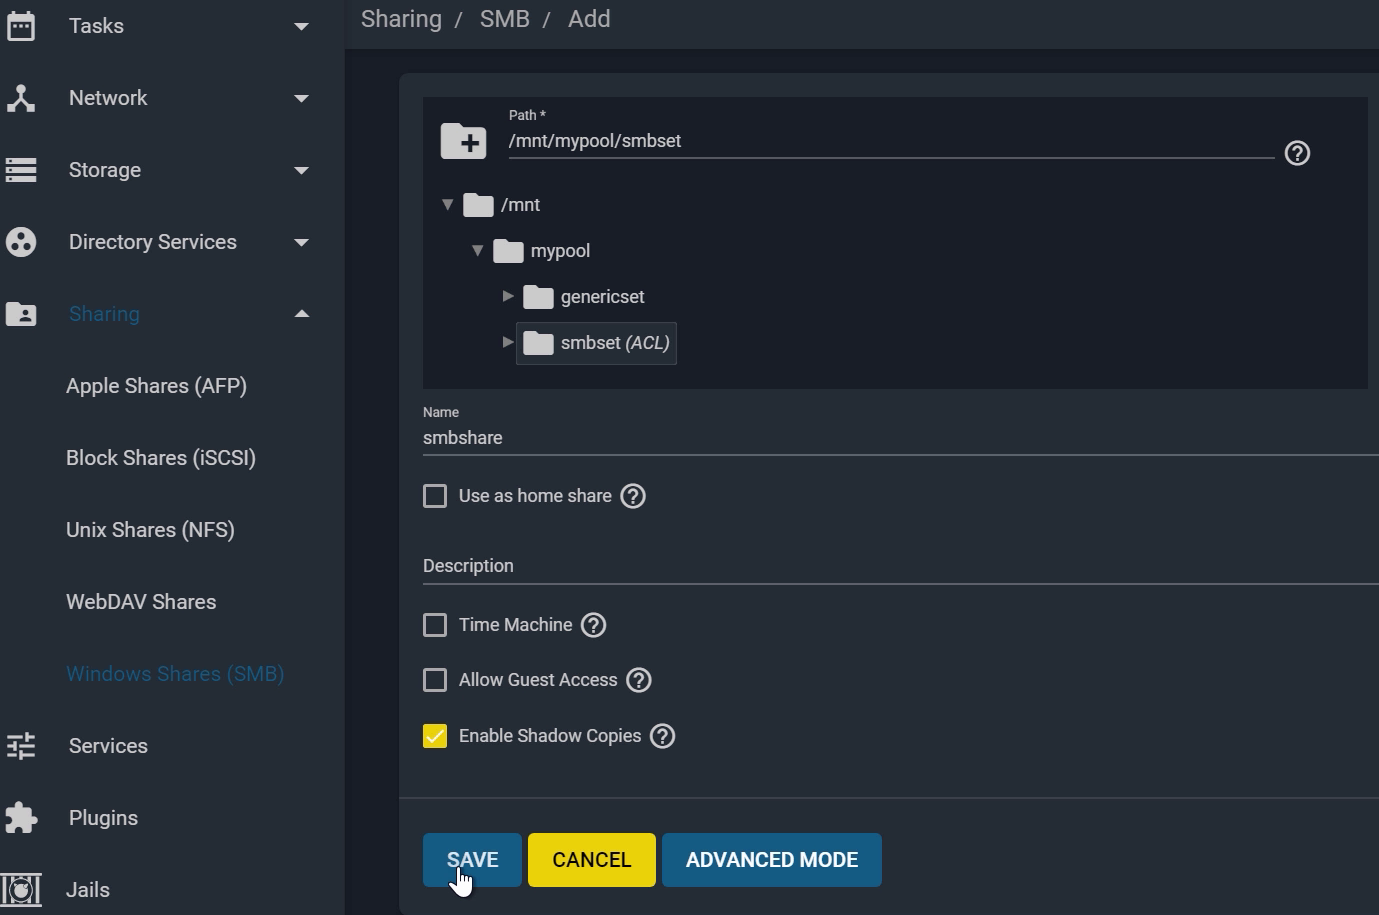
You can create a share for this SMB dataset as well, by going to “Sharing“, choosing “Windows Shares”, and then selecting “ADD”. Browse to the path of your SMB dataset. You’ll notice it says ACL next to the folder because you set the Share type as SMB earlier. In this tutorial, let’s call this “smbshare” and click “SAVE” to continue.
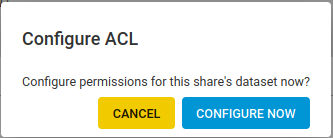
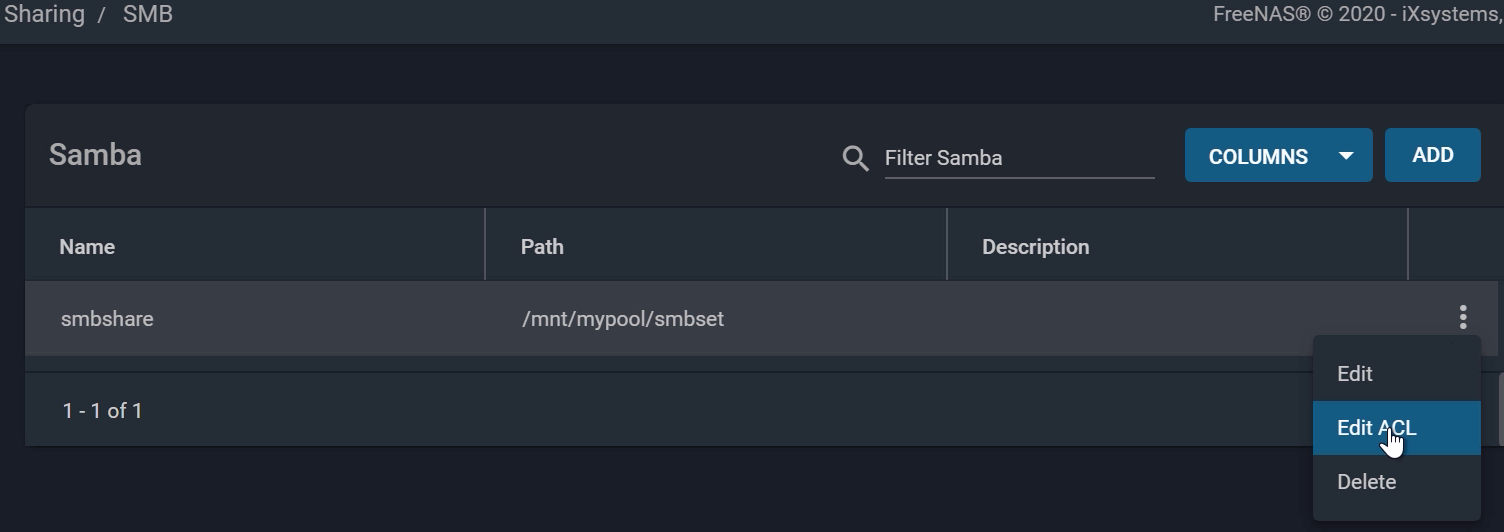
From the SMB window, open the share options by clicking the three dots on the right, and “Edit ACL”. On the left side, leave “root” and “wheel” as the original owners of the dataset.
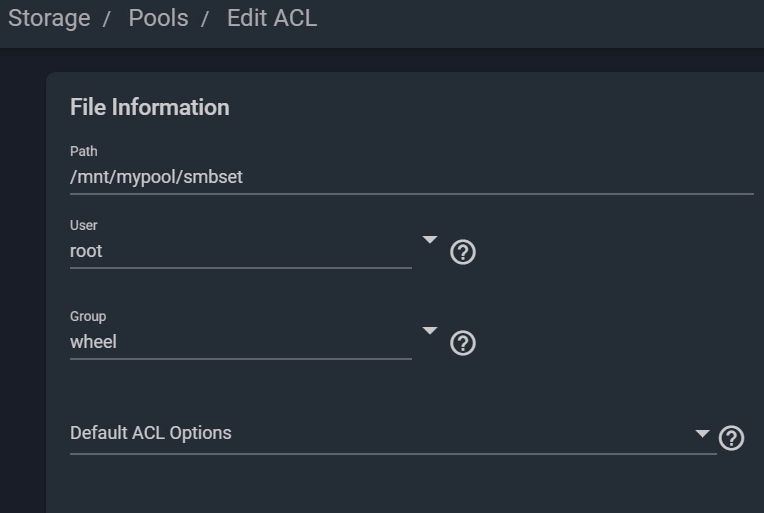
To give another user ownership permissions, click “Add ACL Item”, then choose “User” for the Who field, and “officeuser” for the User field. You may copy the same settings as the ACL items above on the right side. Do the same for the group, and choose “officegroup” for the Group field. Note: to set open permissions or guest access, you can choose “OPEN” from the “Default ACL Options” dropdown list.
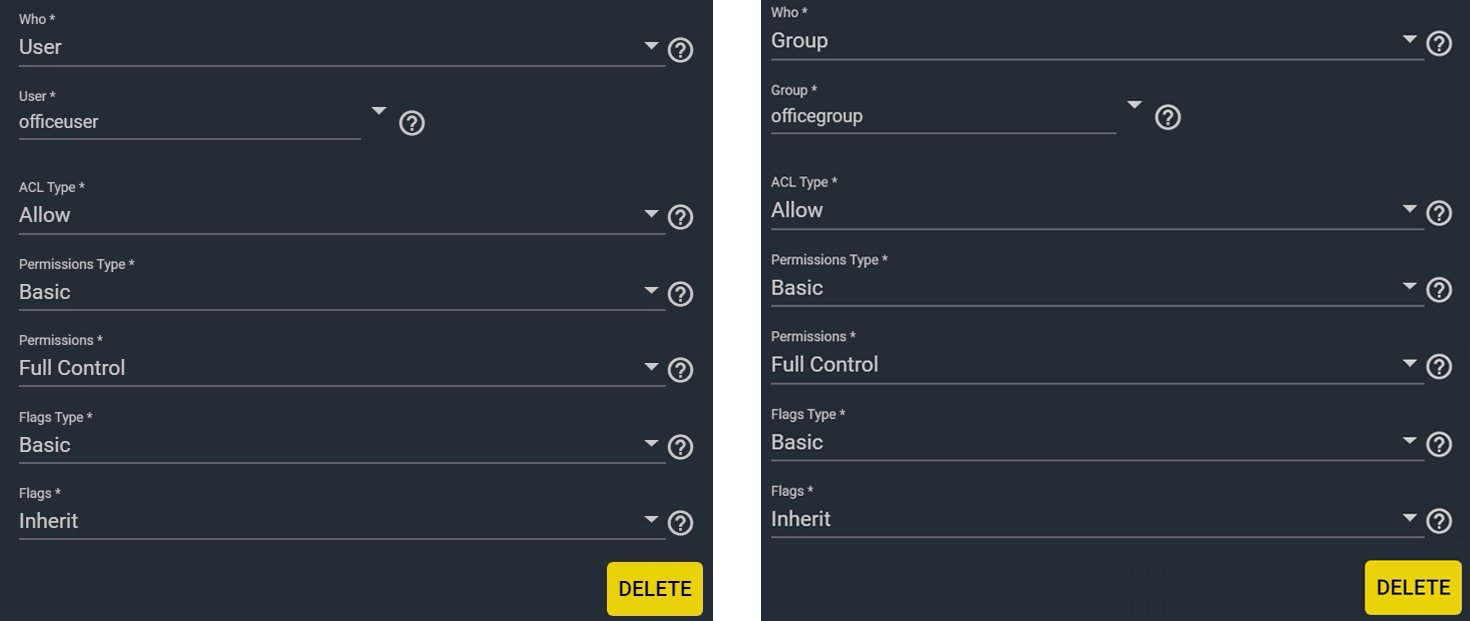
The settings on the right side under “Group” allow you to configure the dataset’s ACL settings according to your network and security needs. Note that when you set the Share Type to “SMB”, the ACL options will default to that specific configuration, which is shown here. Lastly, click “SAVE” when you’re finished choosing your settings.
If you want to read more about configuration and recommendations for ACLs, make sure to check out the FreeNAS Documentation.
Now you have properly set up Permissions and ACLs for your datasets. Repeat the process above each time you need to give a User specific permissions to access a shared dataset on your network or simply use the same group with a new user. To learn how to access a share on Windows with the specific user, make sure to check out our Windows SMB Shares tutorial.
Thank you for reading this tutorial! Be sure to watch our other tutorial videos on our YouTube channel.
此内容由惯性聚合(RSS阅读器)自动聚合整理,仅供阅读参考。 原文来自 — 版权归原作者所有。