





The extension UI boilerplate code includes an extension details page surface, which users will access under Extensions > [your extension’s details page] > Configuration in the Netlify UI. You can change this to a different surface or add additional ones for various locations in the Netlify UI.
This document covers how to update your extension UI to add an additional surface to render in the Netlify UI. It also includes a list of available surfaces and their configuration values for your reference.
For more information about all of the components and surfaces available, refer to the extension UI reference docs.
Section titled “Add a new surface”
First, edit the extension’s configuration file (extension.yaml) to add a new surface under surfaces.
For example, to add the Project Notifications Configuration surface, add extension-site-notifications-configuration.
config:
ui:
surfaces:
- extension-team-configuration
- extension-site-notifications-configuration
This signals to the Netlify UI that it should show your extension UI when a user installs your extension and navigates to Project configuration > Notifications.
Next, create the new component that Netlify should render for this surface in the Netlify UI. For example, add new file called SiteNotificationsConfiguration.tsx under src/ui/surfaces/ with the following component code:
import {
Card,
CardTitle,
Form,
FormField,
FormFieldSecret,
SiteNotificationsConfigurationSurface,
} from "@netlify/sdk/ui/react/components";
export const SiteNotificationsConfiguration = () => {
const onSubmit = (values) => {
// Do something with form values
};
return (
<SiteNotificationsConfigurationSurface>
<Card>
<Form onSubmit={onSubmit}>
<FormField name="username" label="Username" />
<FormFieldSecret name="password" label="password" />
<Select
name="notification_provider"
label="Notification Provider"
options={[
{ label: "SMS", value: "SMS" },
{ label: "Email", value: "email" },
{ label: "Carrier Pigeon", value: "carrier_pigeon" },
]}
/>
</Form>
</Card>
</SiteNotificationsConfigurationSurface>
);
};
Next, update the extension UI application to render your new component when a user navigates to the correct surface:
import { Surfaces } from "@netlify/sdk/ui/react";
import { SurfaceRouter, SurfaceRoute } from "@netlify/sdk/ui/react/components";
import { TeamConfiguration } from "./surfaces/TeamConfiguration.jsx";
import { SiteNotificationsConfiguration } from "./surfaces/SiteNotificationsConfiguration.jsx";
export const App = () => (
<SurfaceRouter>
<SurfaceRoute surface={Surfaces.TeamConfiguration}>
<TeamConfiguration />
<SurfaceRoute>
<SurfaceRoute surface={Surfaces.SiteNotificationsConfiguration}>
<SiteNotificationsConfiguration />
<SurfaceRoute>
</SurfaceRouter>
);
Next, redeploy the extension so that you can preview it locally. Redeploying and updating your private extension is only required when you add or remove surfaces.
Now, you can run start local development. Once the server starts, navigate to Project configuration > Notifications for your project in the Netlify UI and the new surface should appear. The original boilerplate surface should also still appear when you navigate to Team settings > General team settings
Section titled “Available surfaces”
The Netlify SDK supports extension UI for the following surfaces across team sections and project sections of the Netlify UI.
For team features and configurations, you can add the following surfaces:
Section titled “Extension details page”
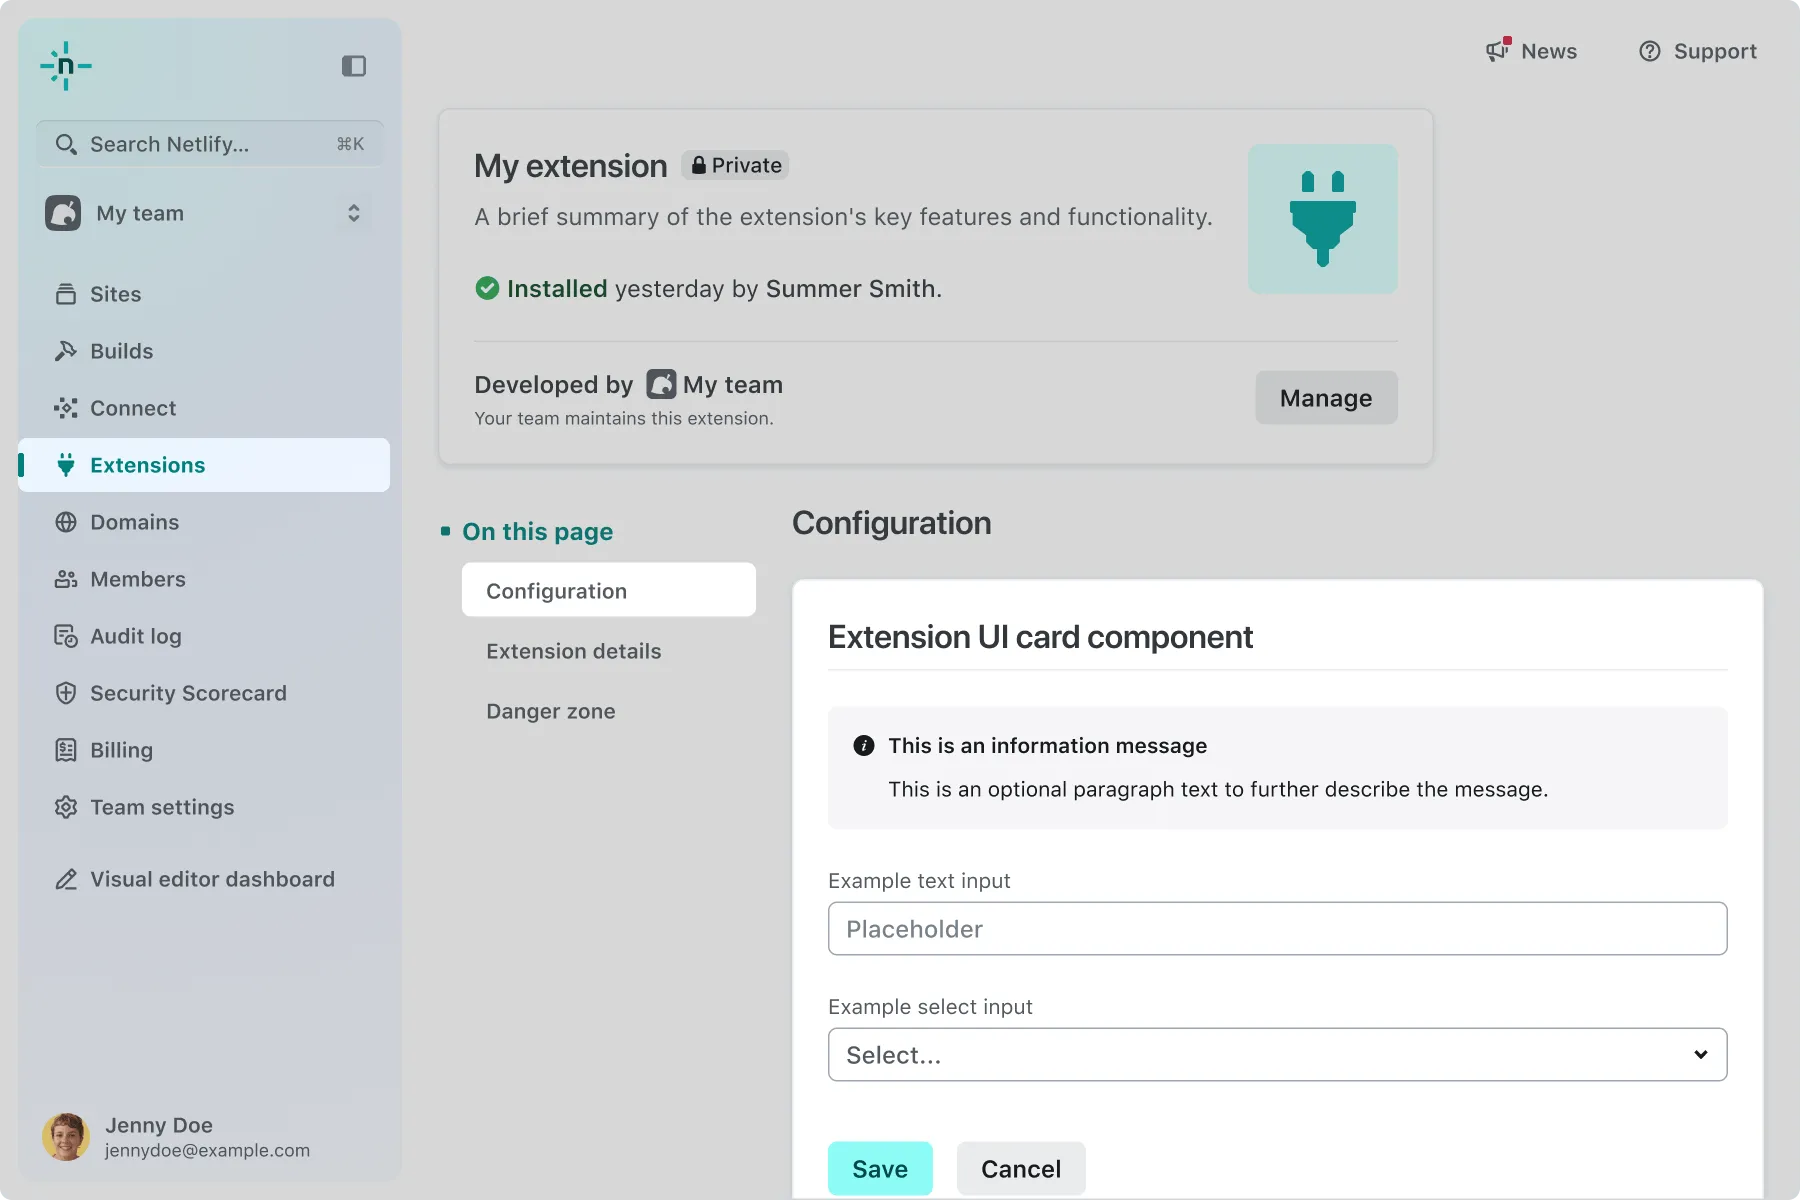
Note that this surface is sometimes referred to as the Team Configuration surface.
TeamConfigurationSurfaceextension.yaml: extension-team-configurationFor project features and configurations, you can add the following surfaces:
Section titled “General project settings”
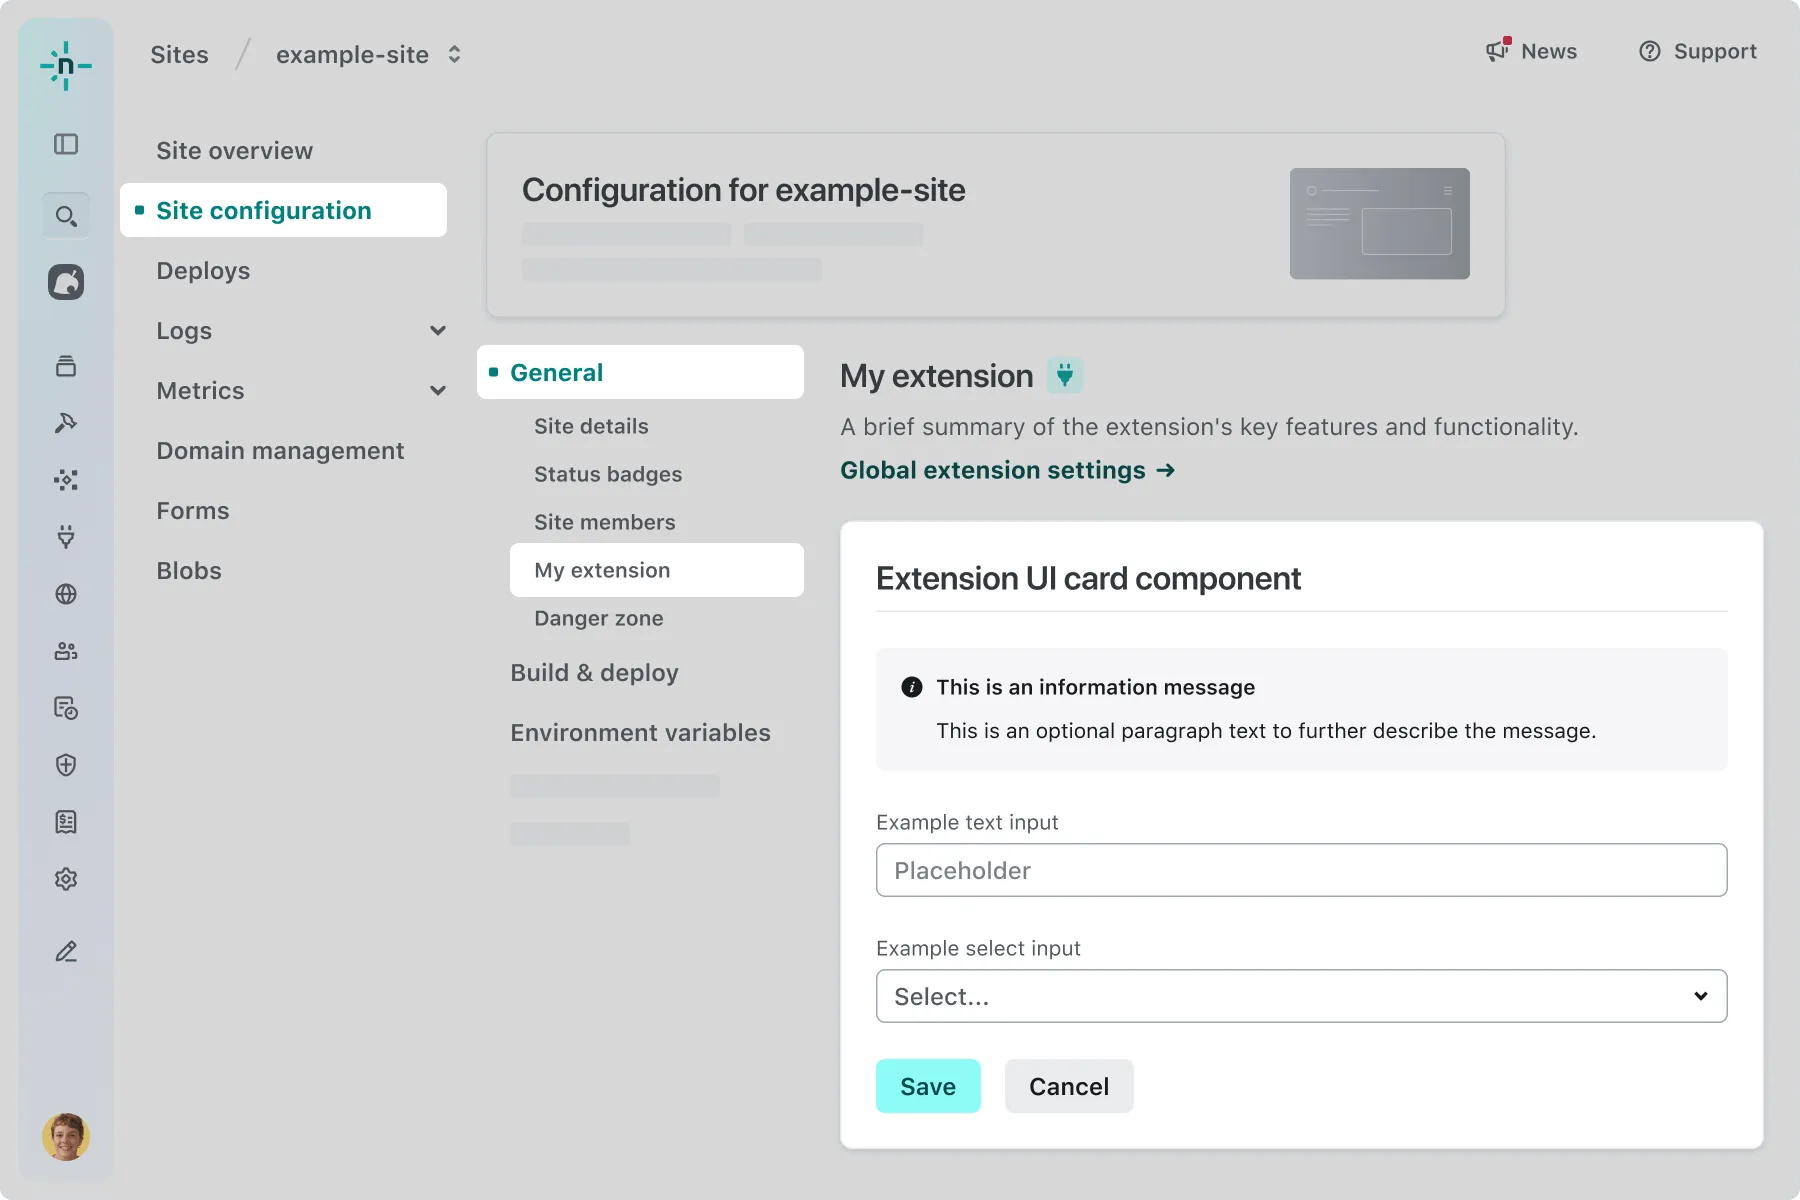
SiteGeneralConfigurationSurfaceextension.yaml: extension-site-general-configurationSection titled “Project access & security settings”
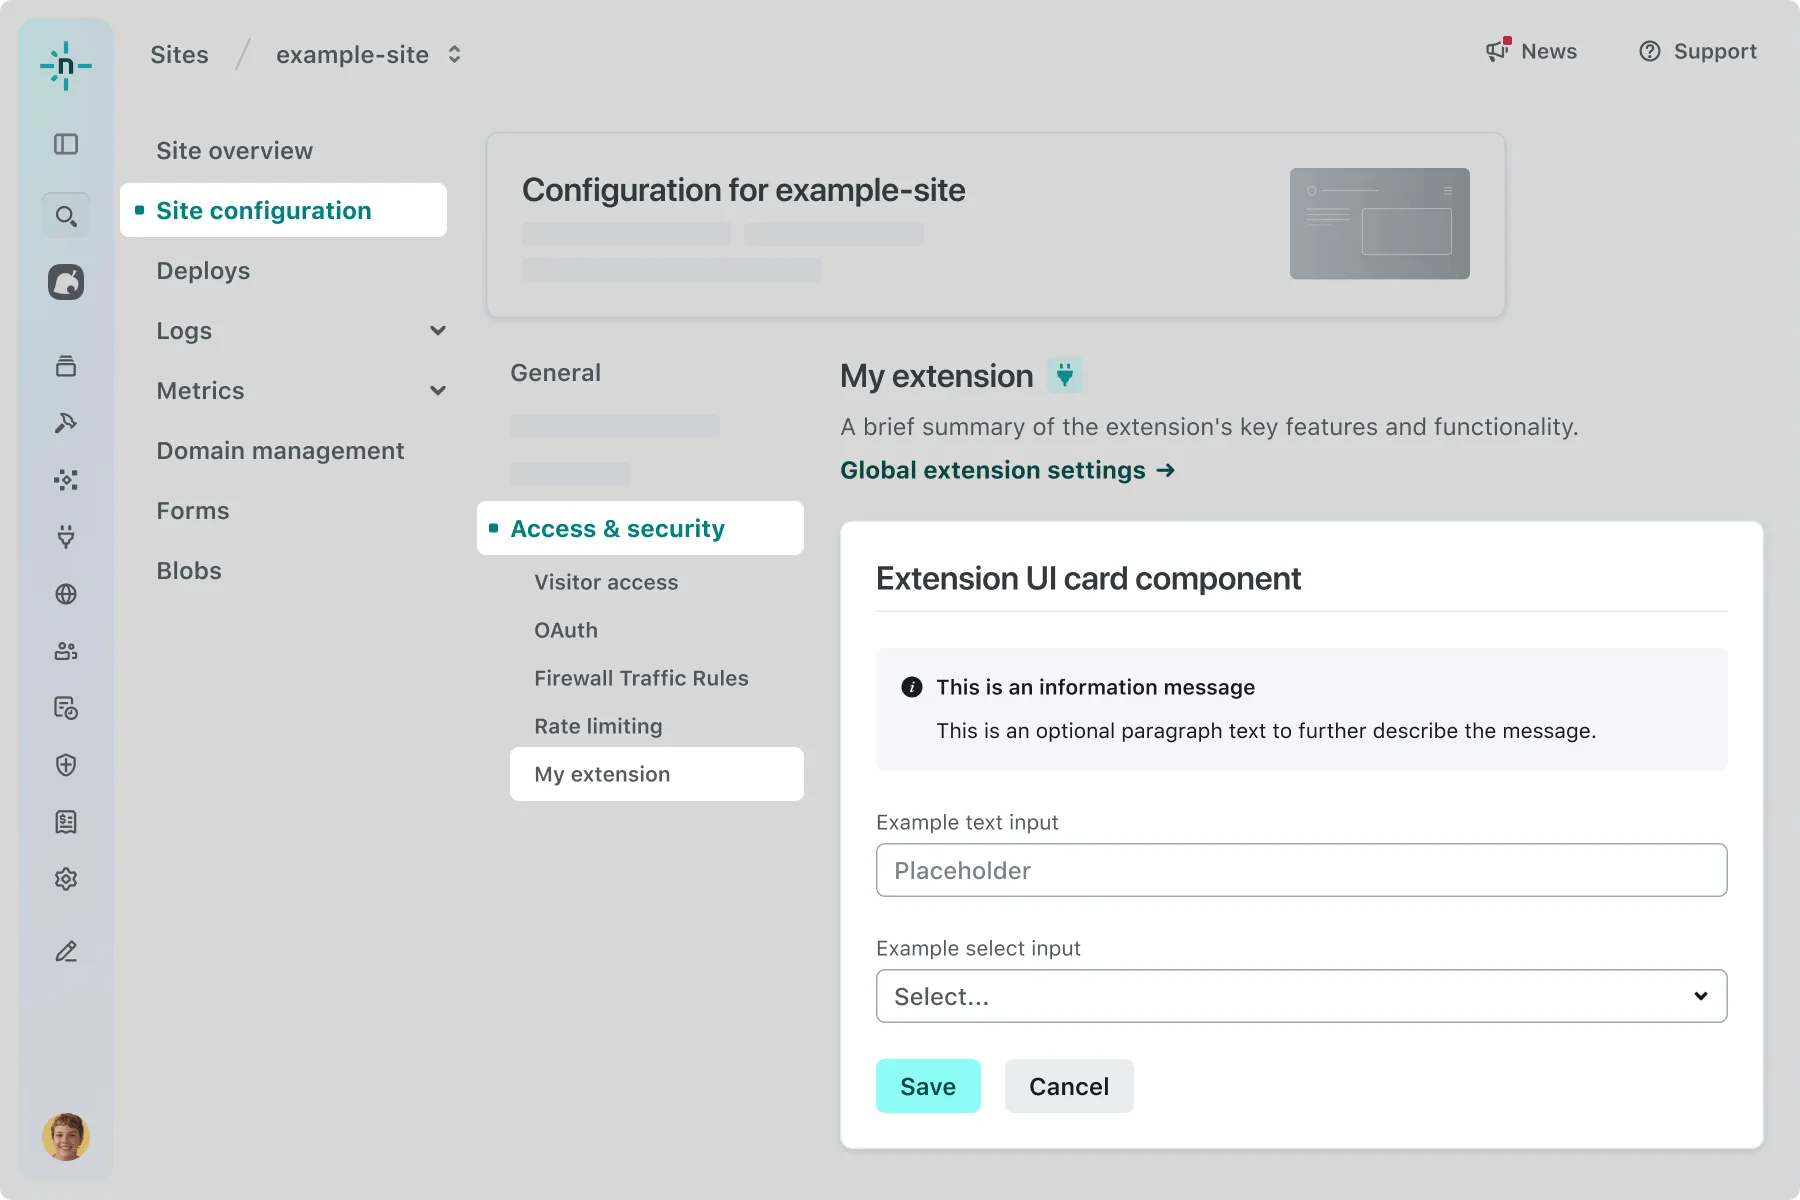
SiteAccessConfigurationSurfaceextension.yaml: extension-site-access-configurationSection titled “Project build & deploy settings”
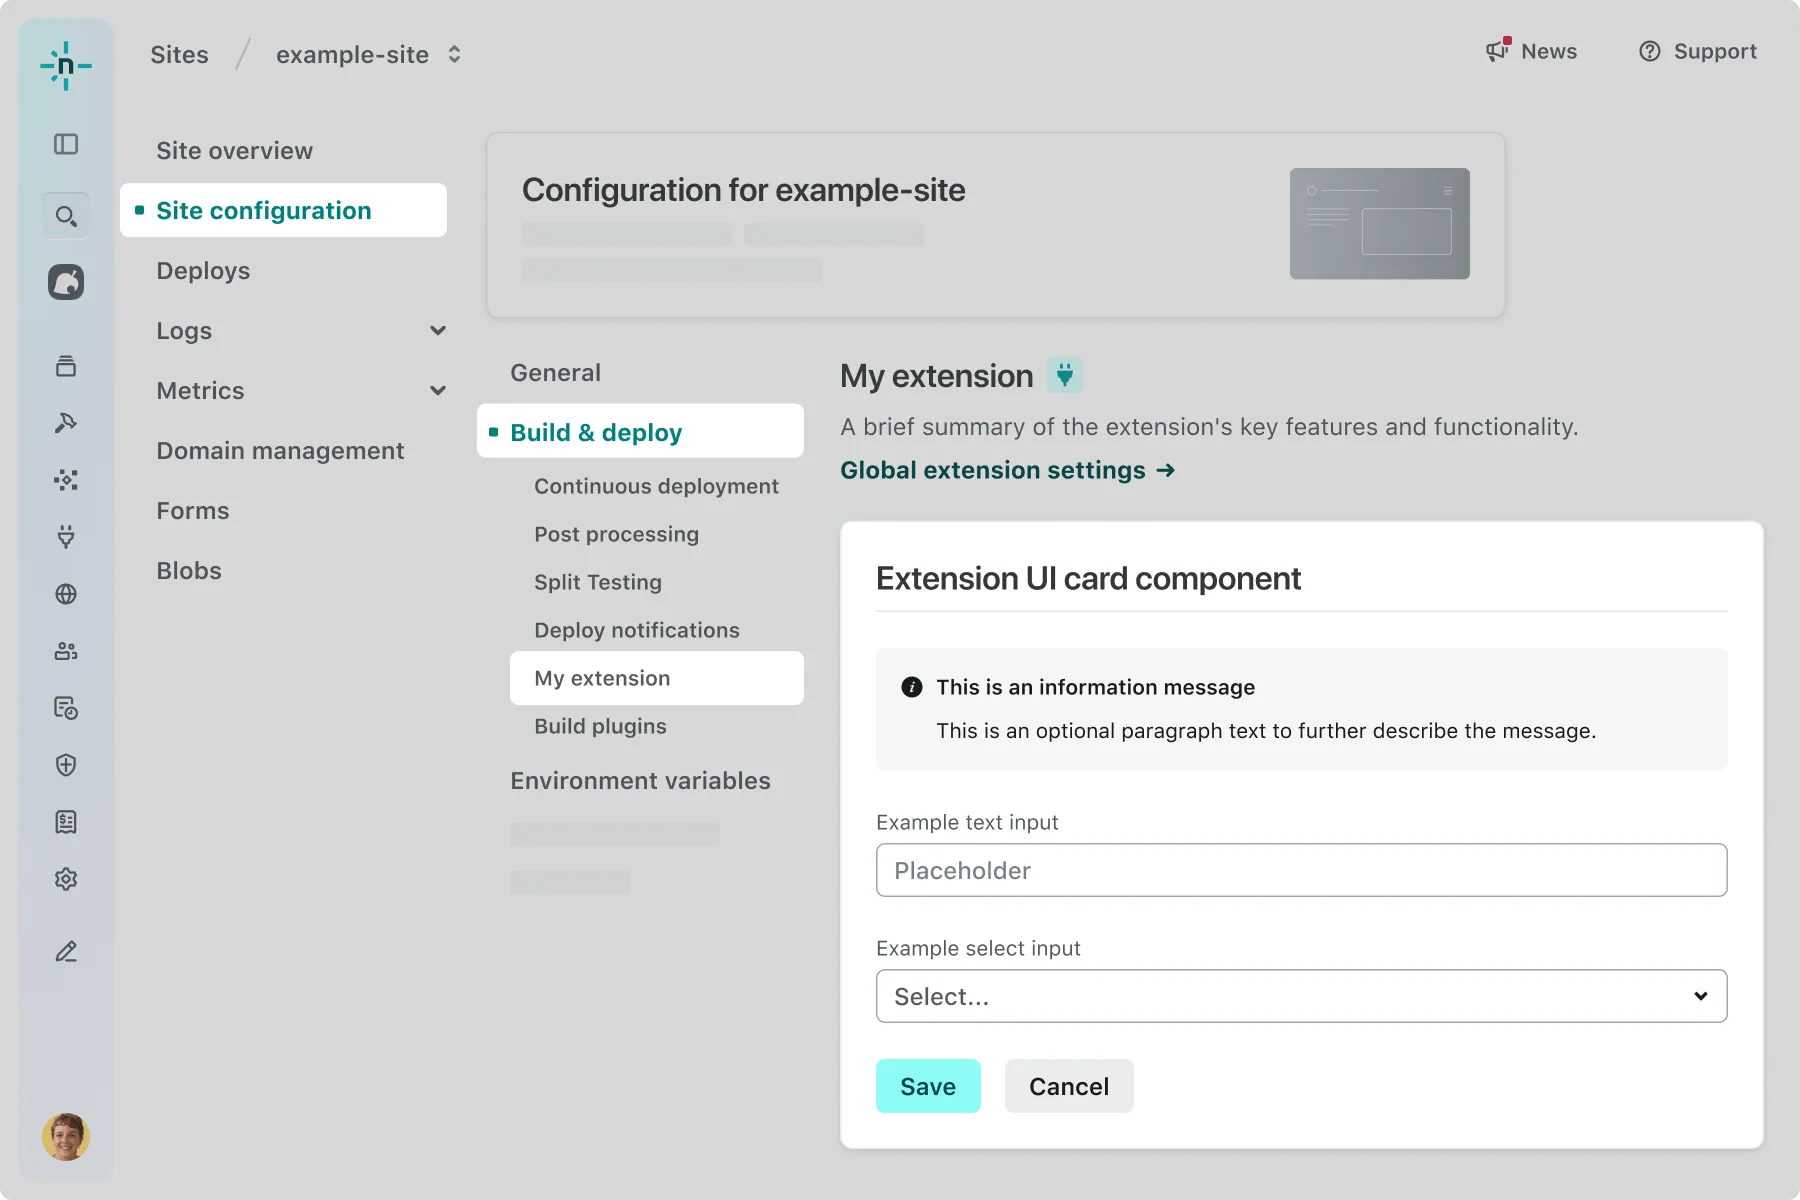
SiteBuildDeployConfigurationSurfaceextension.yaml: extension-site-build-and-deploy-configurationSection titled “Project notification settings”
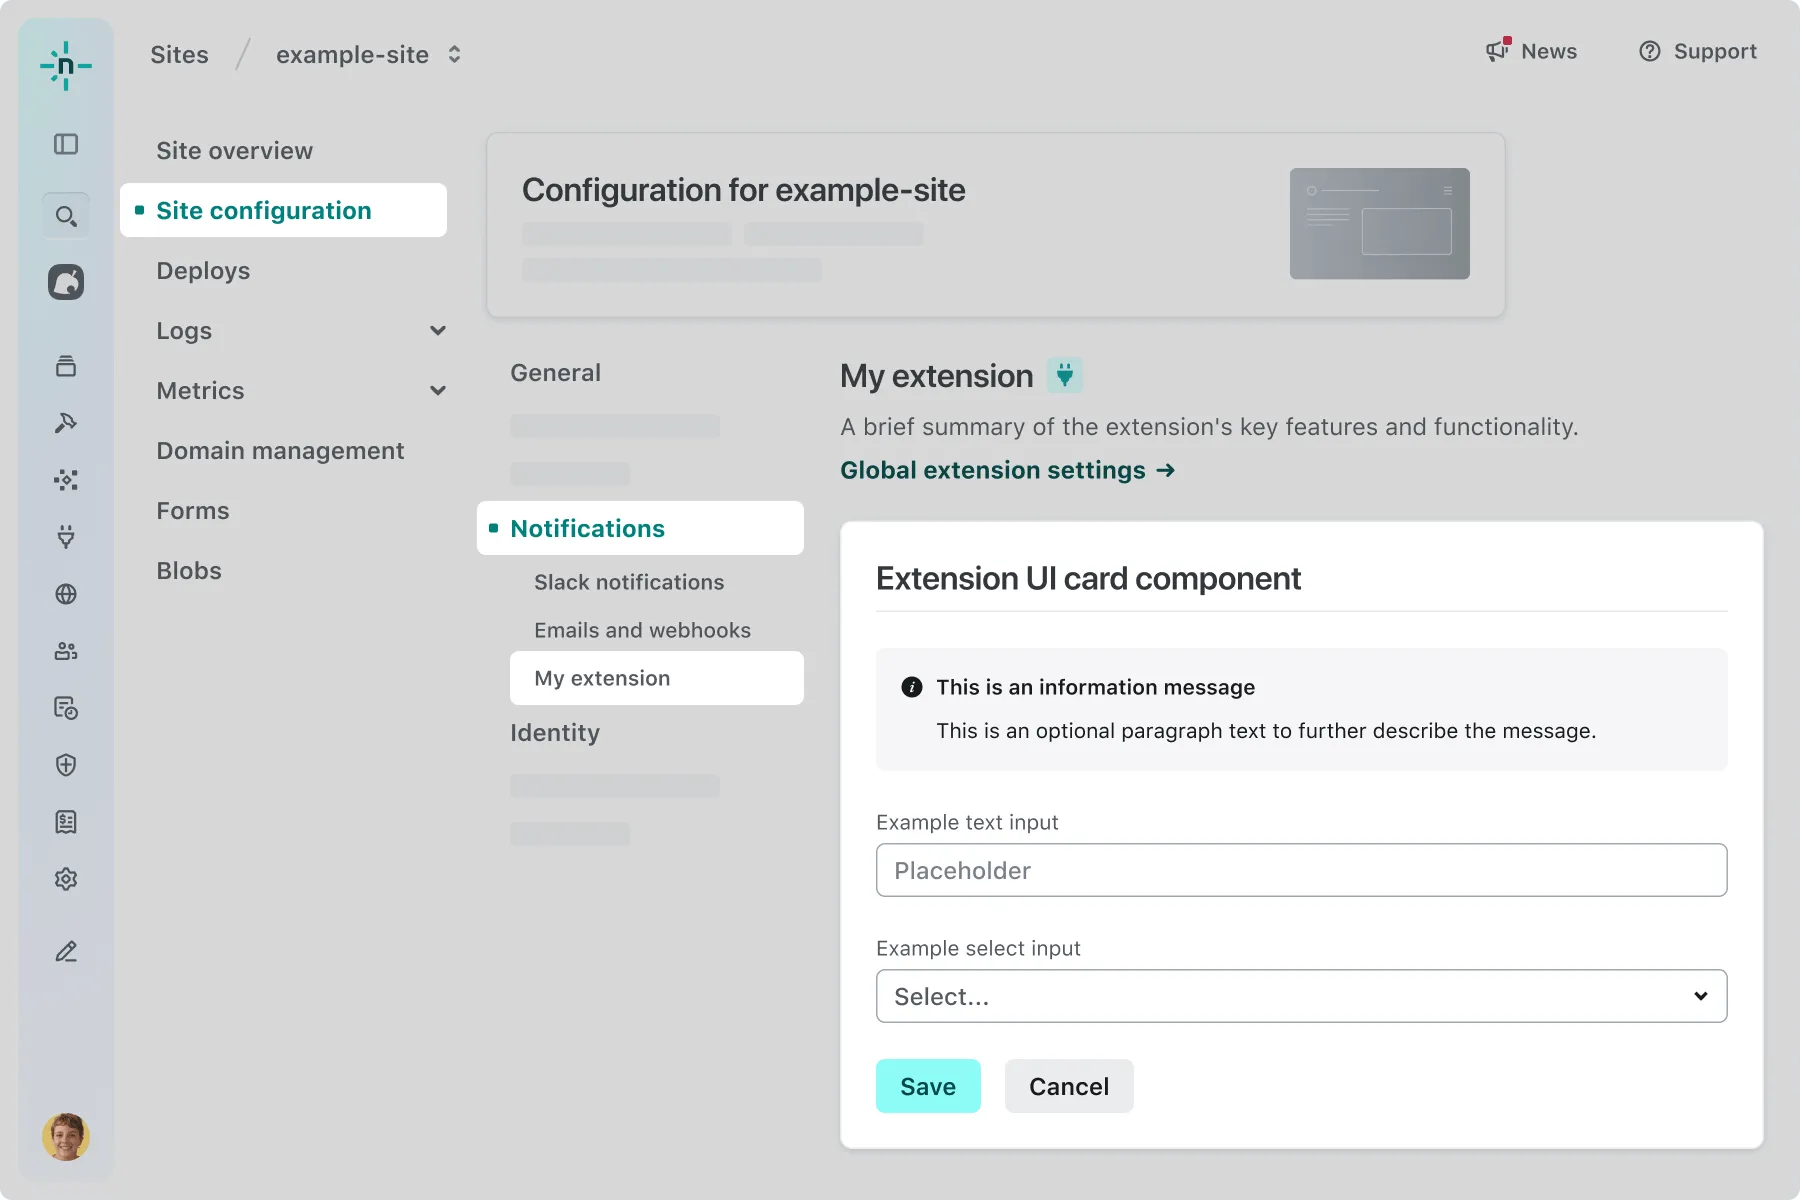
SiteNotificationsConfigurationSurfaceextension.yaml: extension-site-notifications-configurationSection titled “Top-level project section”
Note that this surface is sometimes referred to as the Top-Level Project Configuration surface.
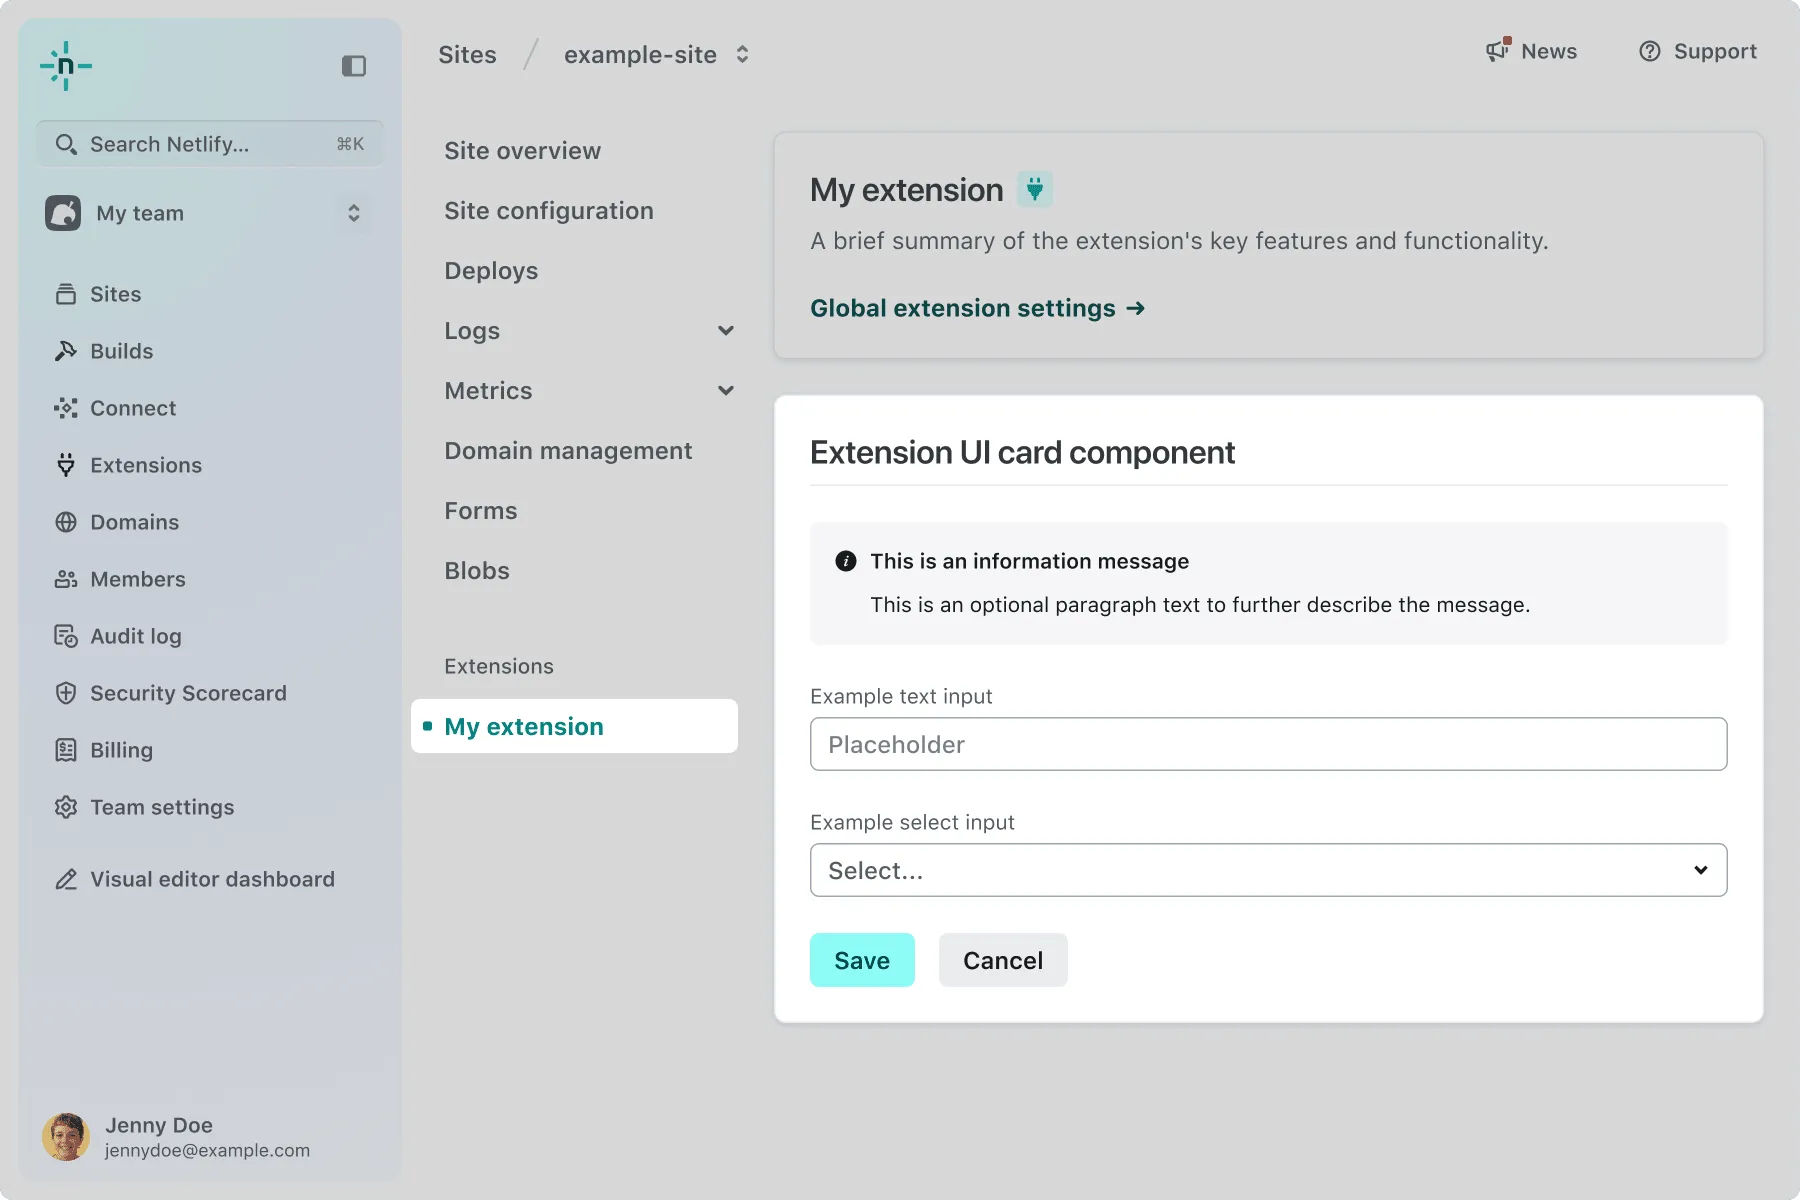
SiteConfigurationSurfaceextension.yaml: extension-top-level-site-configuration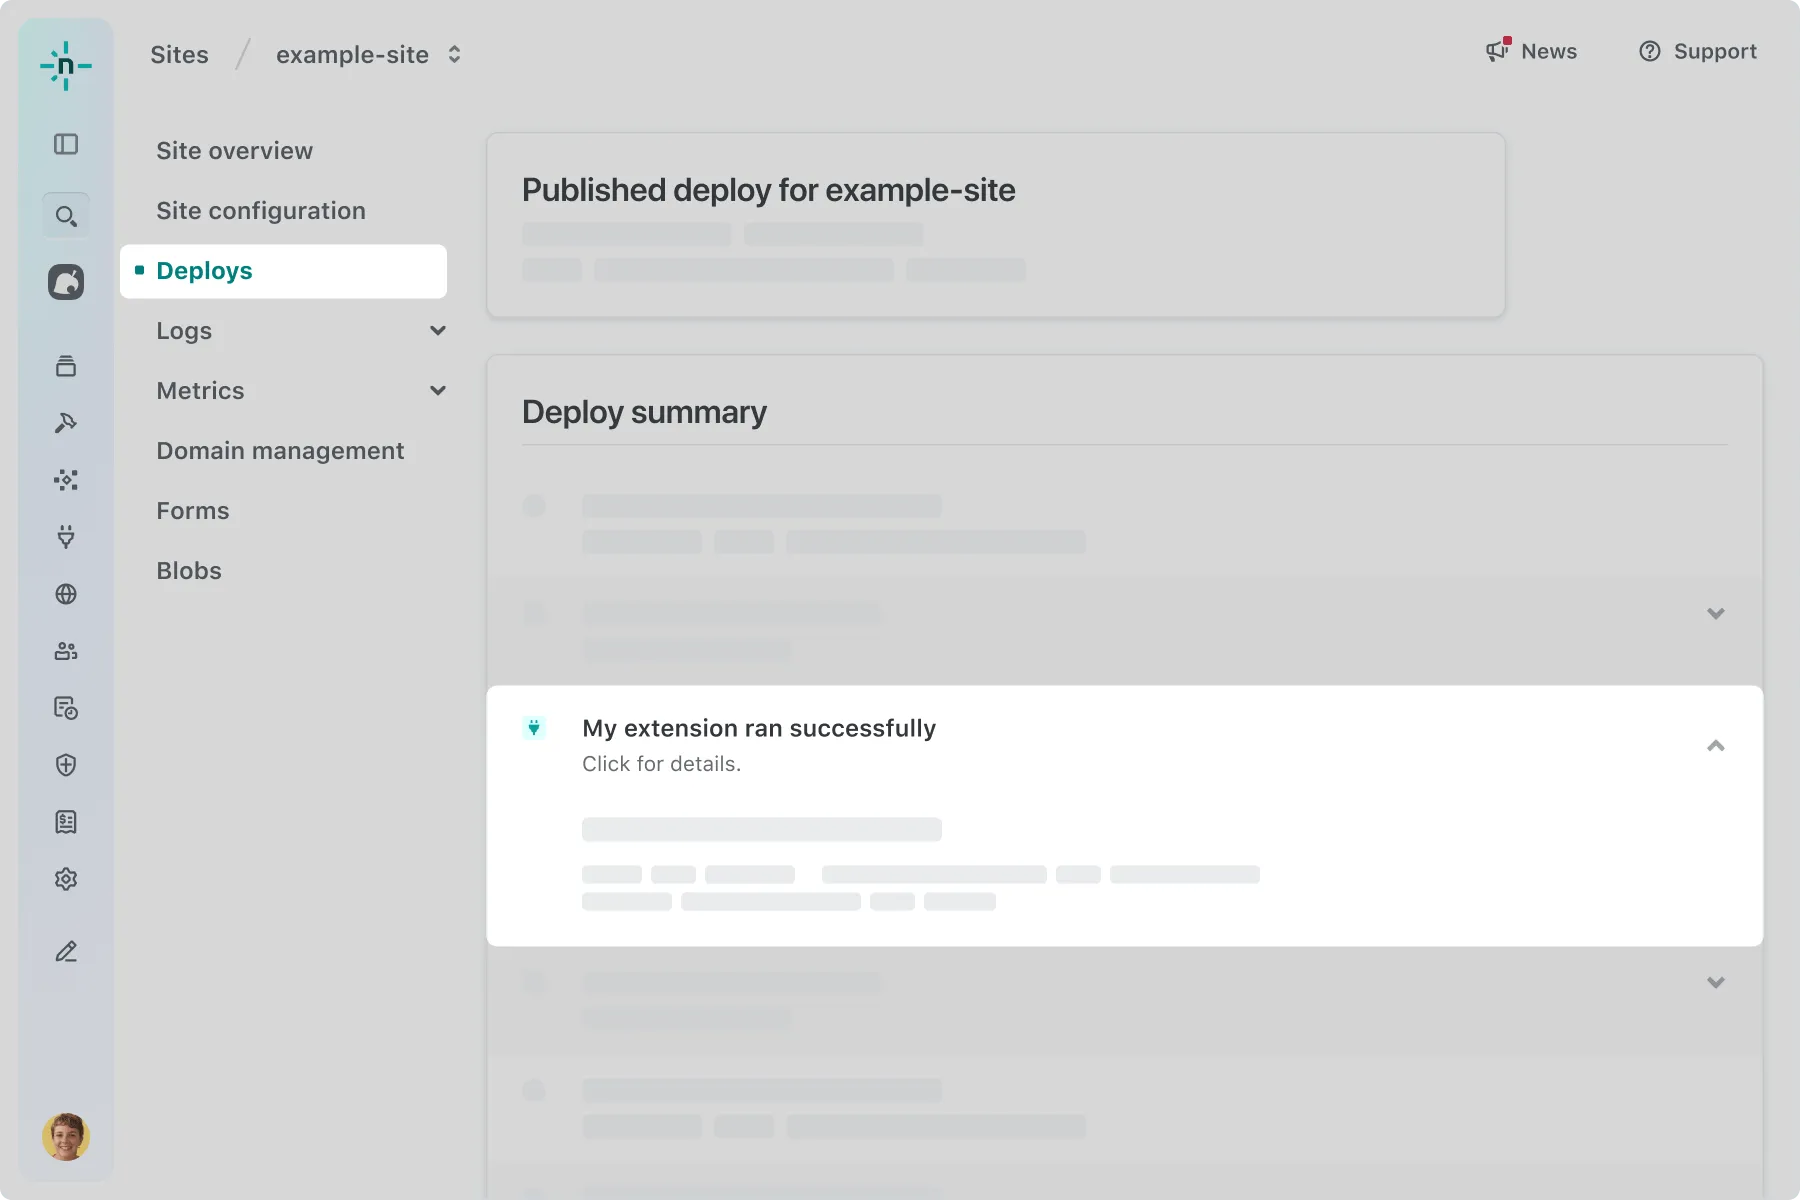
SiteDeploySurfaceextension.yaml: extension-site-deployNow that you’ve created an extension, reviewed it in the Netlify UI, and added a new surface, you can create rich interactions by creating an endpoint and calling it from the UI.
For more information about all of the components and surfaces available, refer to the extension UI reference docs.
此内容由惯性聚合(RSS阅读器)自动聚合整理,仅供阅读参考。 原文来自 — 版权归原作者所有。