1. 承上启下
2. 概念
(1) Node/Agent
Node又称为Agent(下文简称为Node),可以理解为节点,是Jenkins环境的重要组成部分,它用于执行Pipeline。
为了支持分布式CD,Jenkins设计了一个Controller对应多个Node/Agent的架构,Node可以与Controller部署在同一机器上,但是大部分情况应该是位于不同的机器上,甚至这些机器拥有不同的运行环境(Windows、Linux、Node.js、Java、Python)。
Controller和Node通过TCP或SSH连接,Controller的作用是管理、监控、编排(orchestrate)连接到自己的Node。Node的任务是接受Controller分配的任务并执行。
(2) Built-In Node
当我们安装完Jenkins登录后,首页右上方会给出提示:

意思是为了安全考量,推荐我们自己创建单独的Agent,而不是使用Jenkins自带的Node。
3. 消除警告
(1) 登录Jenkins,进入Dashboard->Manage Jenkins->Nodes and Clouds

(2) 此时,我们可以看到系统内建的Node

点击编辑,将其"Number of executors"调整为0。
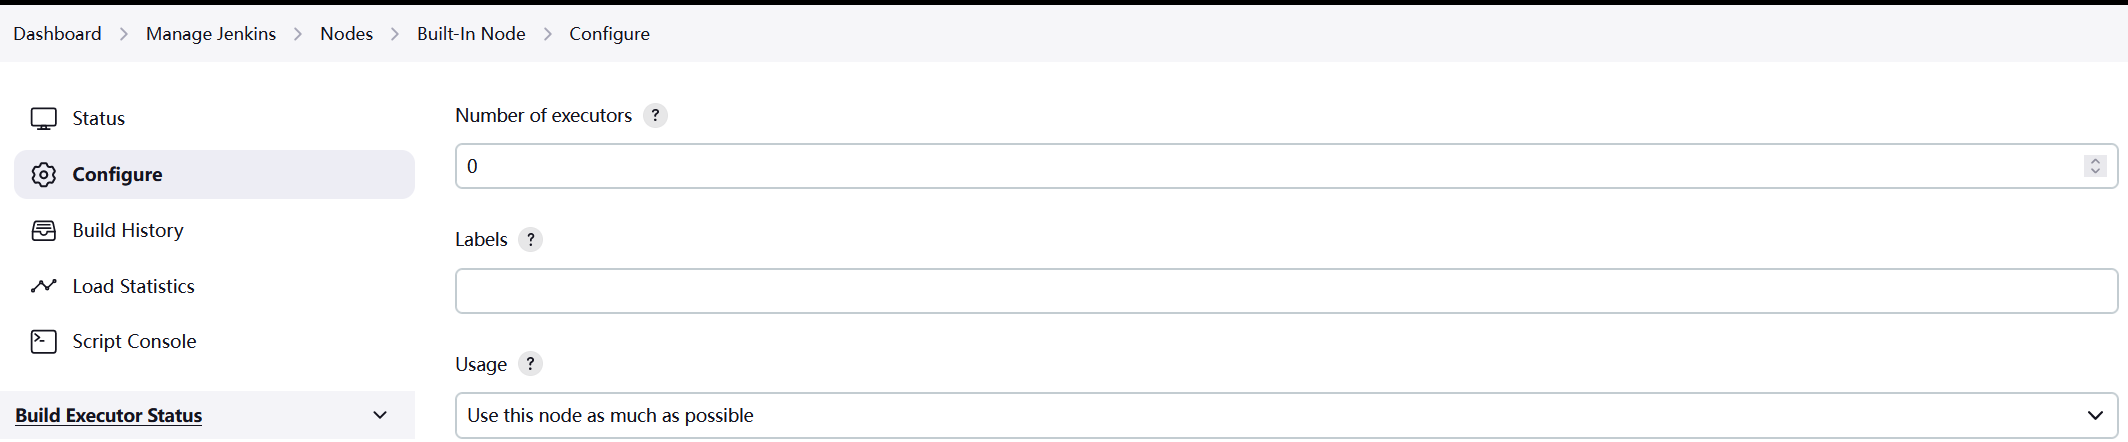
保存后,右上角的警告随之去除。
Jenkins支持两种Node部署方式,一种是SSH(主要用于远程Node部署),另一种是TCP方式,目前官方文档推荐使用SSH部署Node/Agent。
1. SSH
(1) 登录Jenkins主机
a. 切换用户
b. 生成SSH密钥对

c. 复制私钥和公钥内容后面配置需要用到
(2) 登录Node主机
a. 创建Node账号
b. 切换用户
c. 创建authorized_keys
mkdir -p ~/.ssh
touch ~/.ssh/authorized_keys
d. 将Jenkins主机生成的公钥(id_ed25519.pub)的内容复制到authorized_keys文件中;
e. 授权
chmod 600 ~/.ssh/authorized_keys
(3) 登录Jenkins主机
a. 切换用户
b. 测试
(4) 创建Credential
a. 进入Dashboard->Manage Jenkins->Credentials页面:

b. 点击Global链接,进入Global credentials (unrestricted)页面:

c. 点击右侧的"Add Credentials"按钮:

ID: 填写唯一标识符(需要Jenkins全局唯一),本文为jagent;
Username: 填写Node的用户名,本文为jagent;
Private Key: 选中Enter directly并将上面生成的jenkins的私钥(id_ed25519)复制到输入框。
注意:这里的Username是Node主机的用户名,但是私钥是Jenkins主机的私钥。
(5) 创建Node
a. 在Dashboard->Nodes页面,点击右上角的"+ New Node":
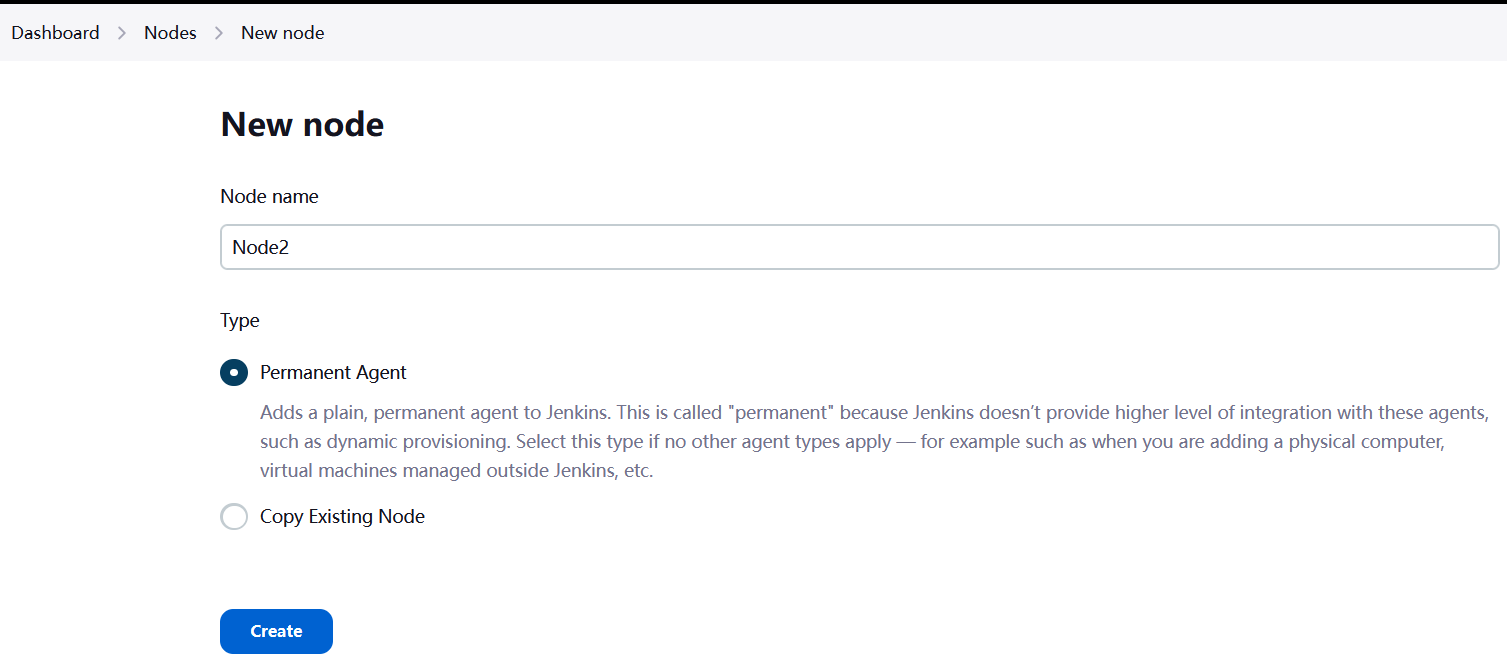
填写Node Name,选择Permanent Agent,点击"Create"。
b. 配置Node的其他属性
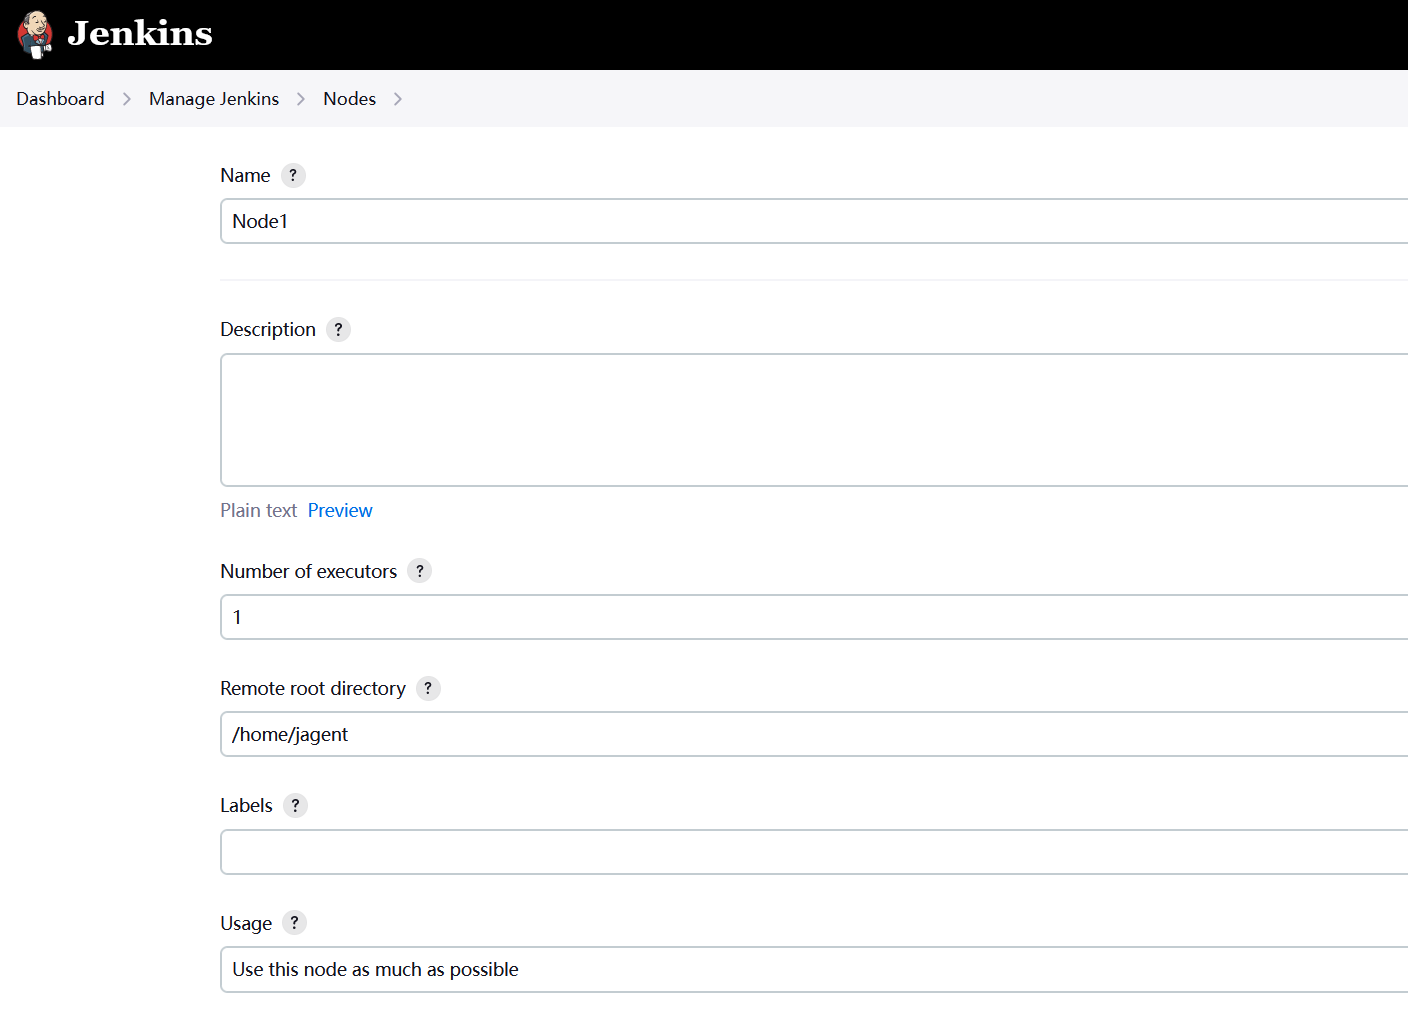

Name: 是必填项,不允许包含特殊字符(?*/\%!@#$^&|<>[]:;)
Number of executors: 同一时间执行Pipeline的个数,建议设置为Node所在服务器的CPU核心数;
Remote root directory: 是Node主机用户名的默认目录,本文为/home/jagent;
Launch method: 选择Launch agents via SSH;
Host: 输入Node的IP地址;
Credentials: 选择jagent;
Host Key Verification Strategy: 选择Known hosts file Verification Strategy
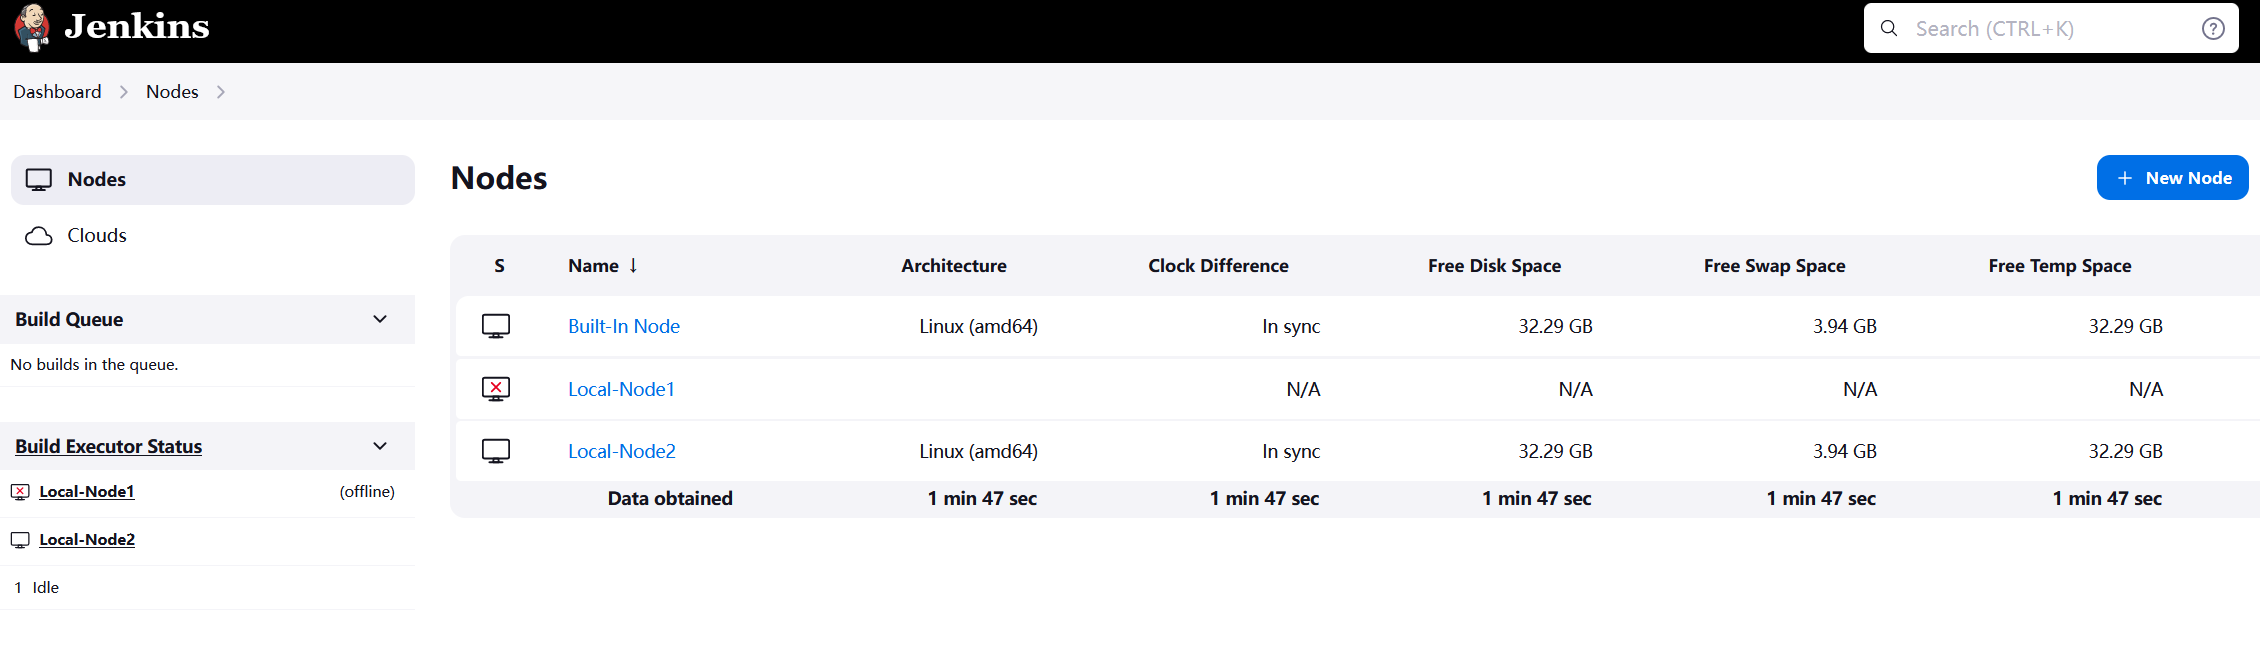
c. 保存后查看状态
2. TCP
(1) 配置Agent端口
进入Dashboard->Manage Jenkins->Security页面,找到Agents配置节:
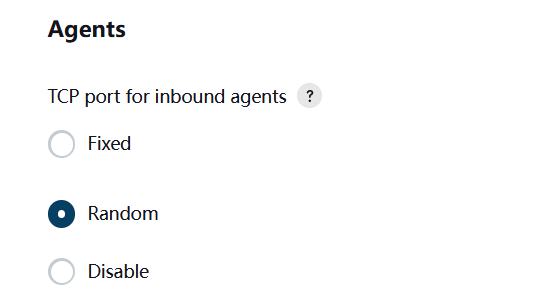
以下二选一:
a. 将TCP port for inbound agents的选项设置为Fixed并Save;
需要注意以下事项:
i. 端口号要与Jenkins默认端口号8080区别开,比如设置端口号为8090;
ii. 防火墙要开启8090:
sudo firewall-cmd --permanent --add-port=8090/tcp
sudo firewall-cmd --reload
b. 将TCP port for inbound agents的选项设置为Random并Save。
(2) 创建Node
a. 在Dashboard->Nodes页面,点击右上角的"+ New Node":
填写Node Name,选择Permanent Agent,点击"Create"。
b. 进一步配置Node的其他属性
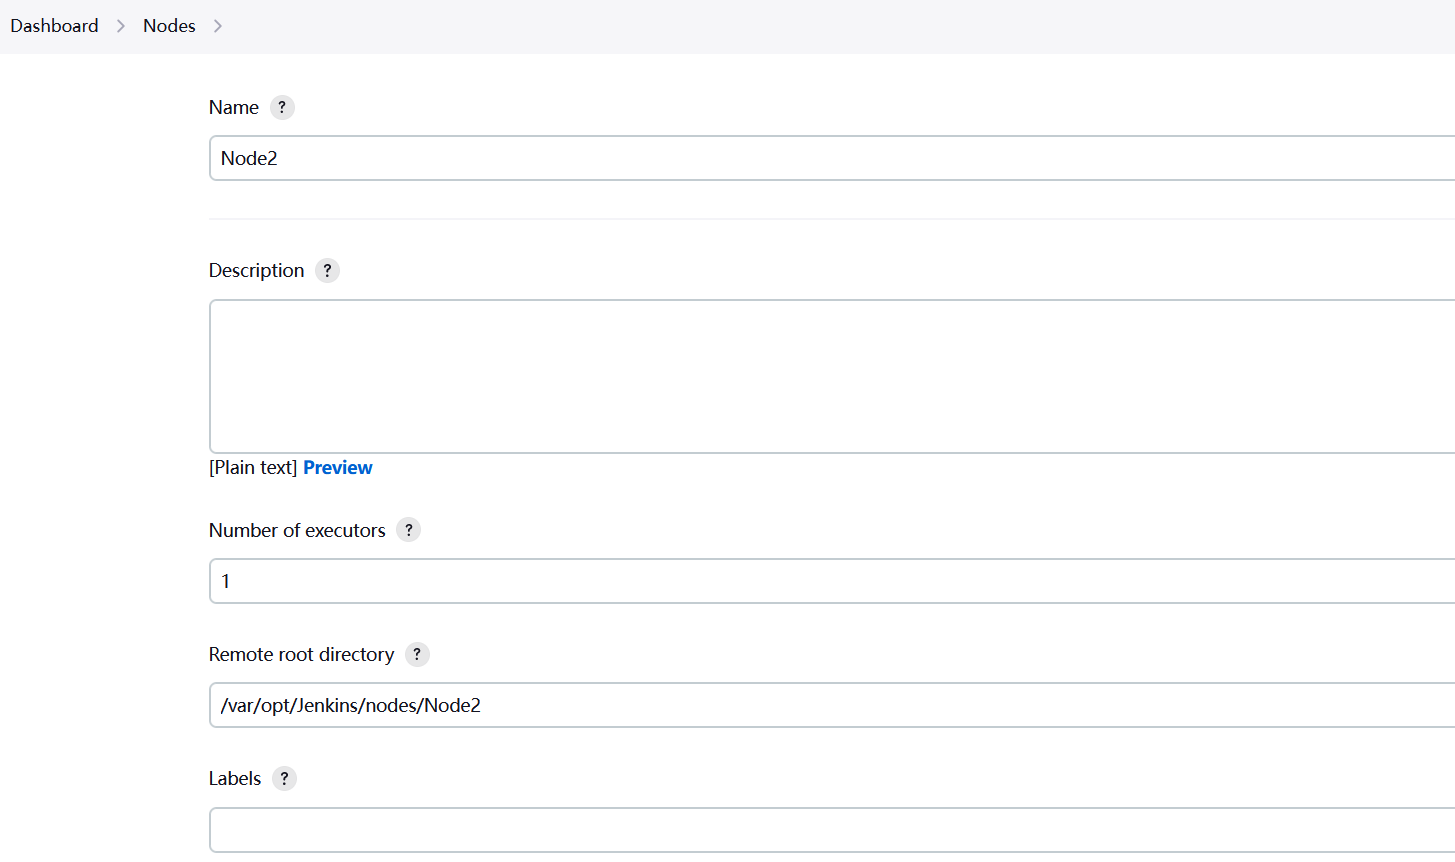
Name: 是必填项,不允许包含特殊字符(?*/\%!@#$^&|<>[]:;)
Number of executors: 同一时间执行Pipeline的个数,建议设置为Node所在服务器的CPU核心数;
Remote root directory: 是Node所在服务器分配给当前Node运行的目录,需要创建;
Labels: 标签是一个非常实用的功能,用于区分不同的Node类型,多个Labels用空格拆分。
设想一下,公司应用端分为Windows和OS,两者的编译和打包环境不同,Node1用于Windows环境,Labels值为"Windows";Node2用于OS环境,Lables值为Apple。在Pipeline的定义文件中,可以指定Pipeline所用的Node Labels,当启动Pipeline时,Jenkins会自动寻找合适的Node执行Pipeline。
(3) 配置Node/Agent所在机器
a. 创建目录
sudo mkdir -p /var/opt/Jenkins/nodes/Node1
sudo mkdir -p /var/opt/Jenkins/nodes/Node2
b. 下载agent.jar
curl -sO https://jenkins.example.com/jnlpJars/agent.jar
c. 启动Agent
java -Djavax.net.ssl.trustStore=/var/opt/java/cacerts -Djavax.net.ssl.trustStorePassword=changeit -jar agent.jar -jnlpUrl https://jenkins.example.com/computer/Node1/jenkins-agent.jnlp -secret "xxx" -workDir "/var/opt/Jenkins/nodes/Node1"
注意,如果Jenkins使用了自签名证书,则需要解决证书信任问题,可参考 Java自签名证书的信任处理
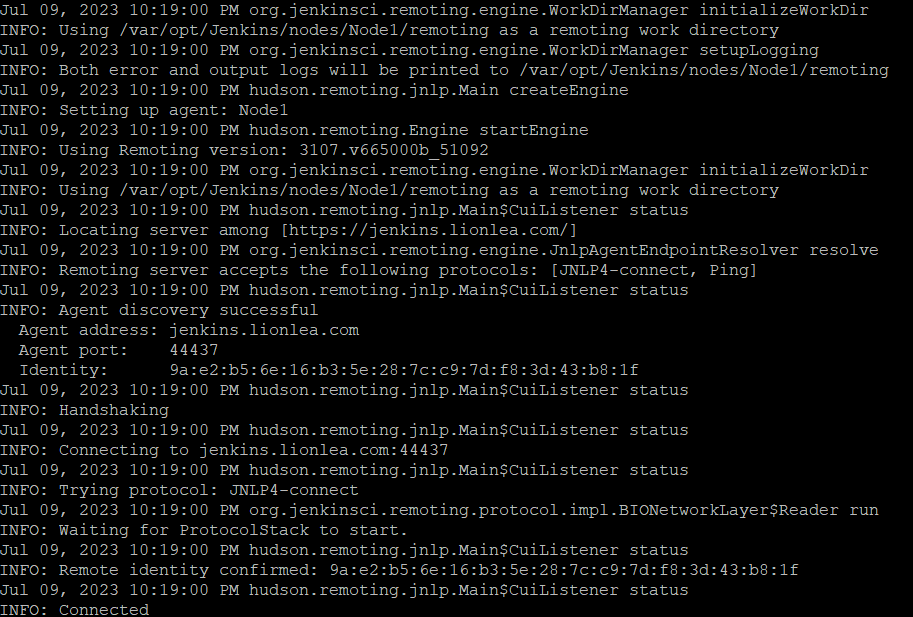
(4) 检查Node状态
a. 页面查看

b. 进程查看
1. 官方
https://www.jenkins.io/doc/book/using/using-agents/
2. 其他
https://ruepprich.com/jenkins-configure-node-on-localhost/
https://www.jenkins.io/blog/2022/12/27/run-jenkins-agent-as-a-service/
https://www.pluralsight.com/resources/blog/cloud/adding-a-jenkins-agent-node
https://stackoverflow.com/questions/41734737/why-jenkins-says-server-rejected-the-1-private-keys-while-launching-the-agen
此内容由惯性聚合(RSS阅读器)自动聚合整理,仅供阅读参考。 原文来自 — 版权归原作者所有。