


The process of installing a new theme on a WordPress website is generally easy and straightforward, which involves clicking upload and activating. But sometimes, the new theme installation process can fail, resulting in displaying the message “Theme installation failed”.
This error feels vague and unhelpful, especially to new users of WordPress. There are various factors that often lead to “WordPress theme installation failed”, such as incorrect theme file format, corrupted theme file, or server permission issues.
The article offers a detailed guide on how to fix the “WordPress theme installation failed” issue and also provides users with helpful prevention tips and the causes of the issue.
Key Takeaway :
In WordPress, a theme is a collection of files that controls the overall appearance of the website on the front end, without changing the actual content stored inside the WordPress website. In simple words, a WordPress theme is the “design layer” that sits on top of the WordPress website’s content.
The WordPress theme decides how everything on the site appears to the visitors, which includes page layout, color, fonts, menu styling, blog post design, spacing, and alignments.
A WordPress theme installation generally fails when the system fails to properly upload, extract, verify, or activate the theme files on your server. This failure can happen during different stages of installation, such as the upload stage, the extraction stage, the validation stage, or the activation stage.
Some of the major causes of WordPress theme upload failed are as follows:
It is among the biggest mistakes that users make, in which they upload an incorrect ZIP file of the theme.
It is among the most specific theme installation errors, in which WordPress requires every theme to include a file called “style.css”.
The hosting server of the WordPress website sets a limit on how large a file can be uploaded. If the file size of the theme ZIP exceeds the limit, the installation will fail.
If the theme file itself is broken, it will lead to interrupted downloads, unstable internet connections, incomplete ZIP creation, and file transfer errors.
The hosting server controls what is allowed to do in WordPress. If the permission file is incorrect, WordPress cannot upload files, extract ZIP archives, or write to the theme directory.
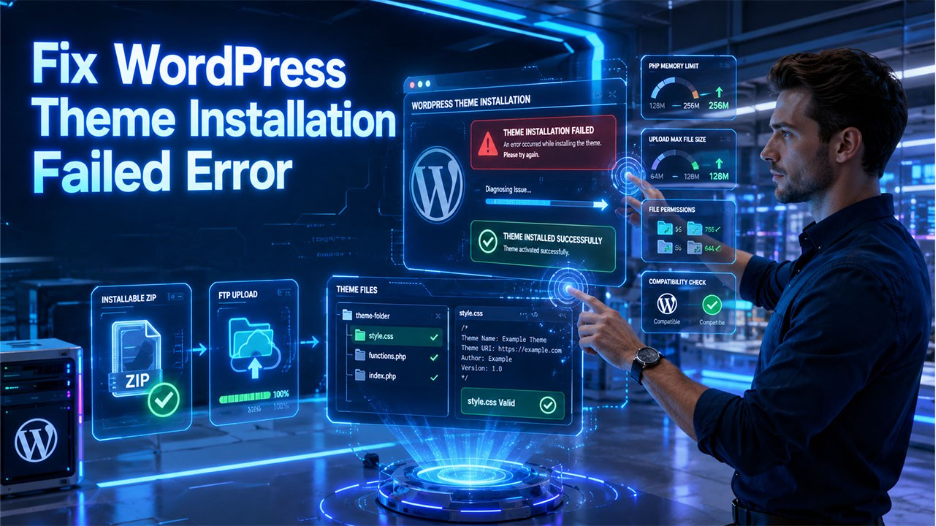
The step-by-step process to fix the WordPress theme upload failed error is as follows:
This is the first and most simple step that is overlooked by many. After downloading the theme file, extract the package and locate the “installable theme zip file“.
If the theme file size is large, WordPress may block it. To install large-size theme, go to WordPress Dashboard > Media > Add New.
If the dashboard upload keeps failing, use FTP. Download and install an FTP client, connect to your hosting server, go to /wp-content/themes/, upload the extracted theme folder, and go to the WordPress dashboard. After this, navigate to Appearance > Theme and activate the theme.
Incorrect permissions can also lead to a WordPress theme installation failure. For folders, recommended permissions are 755, and for files, it is 644.
A WordPress theme installation fails if the server runs out of memory while installing. Themes with heavy features require more memory, compared to the Lightweight WordPress Themes.
Compatibility issues can also lead to a “WordPress theme installation failed” error. Users need to check if the theme requires newer WordPress versions or an outdated PHP version.
Security plugins can also mistakenly block theme uploads. The user can temporarily deactivate the plugin, try installation again, and reactivate the plugin afterward.
If the error specifically states, “The theme is missing the style.css stylesheet”, then WordPress cannot recognize the structure of the theme. To fix this, open the theme folder and ensure the following:
theme-folder/
style.css
functions.php
index.php
When a theme installation fails in WordPress, and the error message is unhelpful, the user can use the Debugging trick to identify the exact cause.
For fixing debugging installation errors, users can follow the following steps:
To start debugging, users need access to the website’s files through cPanel File Manager, FTP Client, or Hosting file manager.
Locate the “wp-config.php” file in the root directory, and add or modify these lines:
define(‘WP_DEBUG’, true);
define(‘WP_DEBUG_LOG’, true);
define(‘WP_DEBUG_DISPLAY’, false);
Log in to the WordPress dashboard. Navigate to Appearance > Themes. Try installing the theme again.
After installation fails, access “/wp-content/debug.log“. Open the file and review the most recent entries.
The process of fixing the ” WordPress theme upload failed ” error is simple and straightforward. But by following a few best practices, users can minimize the chances of facing the issue in the future.
The source of the theme plays a significant role in its reliability. Themes downloaded from reputable developers and marketplaces are more likely to be regularly updated, properly coded, and compatible with the latest version of WordPress.
Before uploading the theme, the user can make sure to have an actual installable ZIP file rather than the entire download package.
An outdated version of WordPress can also lead to compatibility issues with newer themes. Theme developers can frequently build and test their products against the latest version of WordPress.
The hosting environment directly affects how themes are uploaded, extracted, and activated. Low-quality hosting plans often impose strict limitations that can also cause installation failures.
Creating a backup is a smart precaution, even when a theme installation is expected to work correctly. Backups allow users to restore the website quickly if something goes wrong.
The “WordPress Theme Installation Failed” error may look intimidating, but in most cases, the issue comes down to simple factors, like incorrect ZIP files, upload limits, or server restrictions. By following simple troubleshooting steps, users can quickly identify and resolve the root cause of the issue. To prevent the chances of errors in the future, users can adopt some preventive measures, like downloading themes from trusted sources, keeping WordPress updated, using reliable hosting, and creating regular backups.
In WordPress, users can fix “The package could not be installed” by verifying that the correct installable theme ZIP file is uploaded, checking server upload limits, and ensuring that the theme files are complete and uncorrupted.
User can increase the upload file size limit in WordPress through the hosting control panel, PHP settings, .htaccess file, or by contacting your hosting provider.
Yes, you can upload the extracted theme folder using an FTP client directly to the /wp-content/themes/ directory.
You can find the WordPress debug log file at /wp-content/debug.log, after enabling debug mode.
此内容由惯性聚合(RSS阅读器)自动聚合整理,仅供阅读参考。 原文来自 — 版权归原作者所有。