


Collages are epic. They grab attention and say a lot. But its not always easy to create one.
Before you create a collage, it's important to have a rough idea of how the final result should look. But don't worry if you don't have an idea yet. This article will provide you a step by step guide to create a collage. In the end, you will be ready to customize it as per your need.
Sounds good? Let's jump right into it.
We will use the following example - A collection of women's clothing.

This collage is created using the following URL:
https://ik.imagekit.io/ikmedia/white-canvas.png?tr=w-1245,h-1245:l-image,i-women-dress-1.jpg,lfo-top_left,w-600,h-600,b-15_FFFFFF,l-end:l-image,i-women-dress-2.jpg,lfo-top_right,w-600,h-600,b-15_FFFFFF,l-end:l-image,i-women-dress-3.jpg,lfo-bottom_left,w-600,h-600,b-15_FFFFFF,l-end:l-image,i-women-dress-4.jpg,lfo-bottom_right,w-600,h-600,b-15_FFFFFF,l-end:l-text,i-Women's Clothing,bg-00000080,pa-20,fs-60,co-FFFFFF,l-end:b-2_000000
The URL may look scary, but don't worry. I will break it down for you.
Basically, we will use text overlay layer in ImageKit.io to create a photo collage.
Let's understand the different parameters and the whole process so that you can create something on your own.
Notice that:
- This collage is made up of 4 images.
- All individual images have a white border of 15px (that is what creating a grid)
- There is a text "Women's Clothing" in the center.
- The whole image has a 2px black border.
These individual images are accessible separately through ImageKit.io URL-endpoint. For this example, we have uploaded them in the Media library, but it is up to you where you store them – ImageKit.io Media library or your storage. Both work the same way.
- https://ik.imagekit.io/ikmedia/women-dress-1.jpg
- https://ik.imagekit.io/ikmedia/women-dress-2.jpg
- https://ik.imagekit.io/ikmedia/women-dress-3.jpg
- https://ik.imagekit.io/ikmedia/women-dress-4.jpg
Now we want to join these individual images and create a big photo. For that, we will first need a white canvas.
Create a white canvas
To create a canvas of the desired dimension, you can upload this white image in your media library and use it as a base image.
Download the white canvas image.
For our example, the dimension of the white canvas will be 1245×1245. Each individual image is 600×600, separated with a 15px white border.
So its 15(left border)+600(top-left image)+15(middle border is collapsed)+600(top-right image)+15(right border) = 1245. Same goes for height.
The white canvas URL will be
https://ik.imagekit.io/ikmedia/white-canvas.png?tr=w-1245,h-1245
You can use width(w) and height(h) parameters to create any dimension you want. Now that we have canvas let's add these individual images on it.
Add individual images
Let's stitch the top-left image on the above canvas at x=0,y=0 using image overlay layer and chained transformations.
The URL becomes:
We have also added a white border of 15px using the border transformation i.e. b-15_FFFFFF. We can use many transformation parameters inside the image layer to modify the overlay before its placed on top of base image.
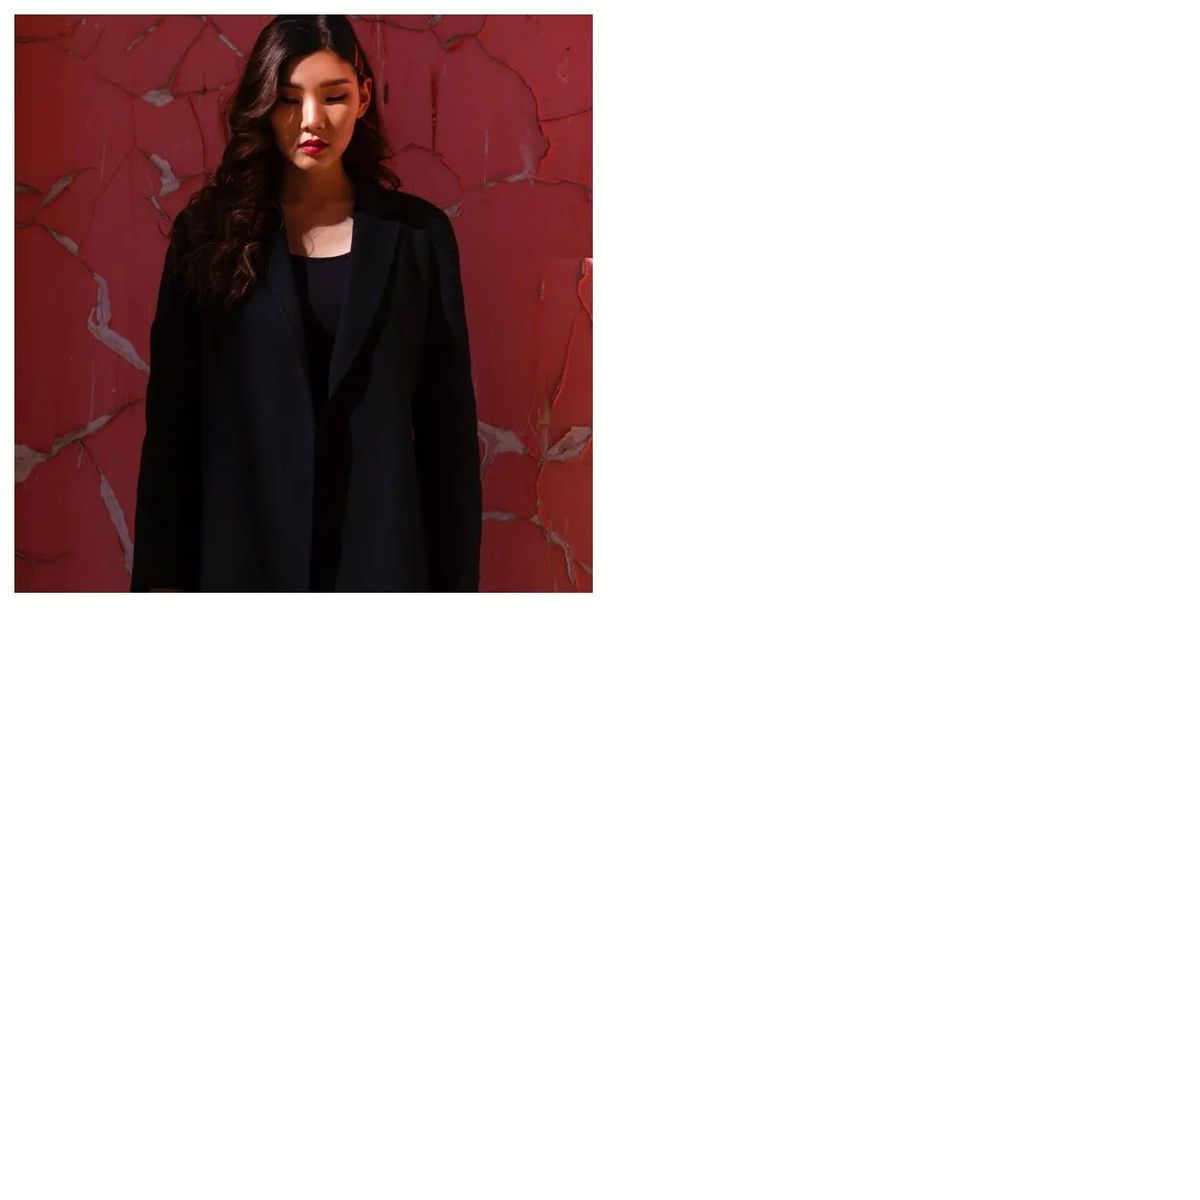
Let's stitch the remaining three images using chained transformation. Position of the layer can be controlled using lx and ly parameters:
- Top right image at x=615,y=0.
- Bottom left image at x=0,y=615
- Bottom right image at x=615,y-615
Now we have the following URL:

Now the position of the layer can be relative as well. That means we don't have to explicitly define lx and ly for each layer. We can simply use top_left, top_right, bottom_left and bottom_right for the 4 layers respectively. URL in that case becomes much simpler:
https://ik.imagekit.io/ikmedia/white-canvas.png?tr=w-1245,h-1245:l-image,i-women-dress-1.jpg,lfo-top_left,w-600,h-600,b-15_FFFFFF,l-end:l-image,i-women-dress-2.jpg,lfo-top_right,w-600,h-600,b-15_FFFFFF,l-end:l-image,i-women-dress-3.jpg,lfo-bottom_left,w-600,h-600,b-15_FFFFFF,l-end:l-image,i-women-dress-4.jpg,lfo-bottom_right,w-600,h-600,b-15_FFFFFF,l-end:l-text,i-Women's Clothing,bg-00000080,pa-20,fs-60,co-FFFFFF,l-end:b-2_000000
Add a text overlay
Let's add a text "Women's Clothing" on above image using text overlay layer in ImageKit.io.
Text can be added using i-Women%27s%20Clothing (its encoded) inside the text layer. After that we also need to add a black transparent background which can be controlled using the bg parameter i.e. bg-00000080. Again, you can use many transformations inside the text layer to modify the text font, size, color, padding & typography etc.
The URL becomes:
https://ik.imagekit.io/ikmedia/white-canvas.png?tr=w-1245,h-1245:l-image,i-women-dress-1.jpg,lfo-top_left,w-600,h-600,b-15_FFFFFF,l-end:l-image,i-women-dress-2.jpg,lfo-top_right,w-600,h-600,b-15_FFFFFF,l-end:l-image,i-women-dress-3.jpg,lfo-bottom_left,w-600,h-600,b-15_FFFFFF,l-end:l-image,i-women-dress-4.jpg,lfo-bottom_right,w-600,h-600,b-15_FFFFFF,l-end:l-text,i-Women's Clothing,bg-00000080,pa-20,fs-60,co-FFFFFF,l-end

Add a black border
To add a border we will use b parameter. Let's add a 2px black border using b-2_000000.
The URL becomes:
https://ik.imagekit.io/ikmedia/white-canvas.png?tr=w-1245,h-1245:l-image,i-women-dress-1.jpg,lfo-top_left,w-600,h-600,b-15_FFFFFF,l-end:l-image,i-women-dress-2.jpg,lfo-top_right,w-600,h-600,b-15_FFFFFF,l-end:l-image,i-women-dress-3.jpg,lfo-bottom_left,w-600,h-600,b-15_FFFFFF,l-end:l-image,i-women-dress-4.jpg,lfo-bottom_right,w-600,h-600,b-15_FFFFFF,l-end:l-text,i-Women's Clothing,bg-00000080,pa-20,fs-60,co-FFFFFF,l-end:b-2_000000

Conclusion
It becomes effortless to create engaging visuals when you have the ability to create stunning images dynamically, as shown above. The overall idea is:
- First select the individual images. These images can be returned from the backend API as well. And you can create a dynamic photo collage to showcase a product collection, or event cover.
- Decide the final layout and create a canvas accordingly using the white image.
- Add individual images using overlays in ImageKit.io
- That's it
Let us know about your use-case in the comments section.
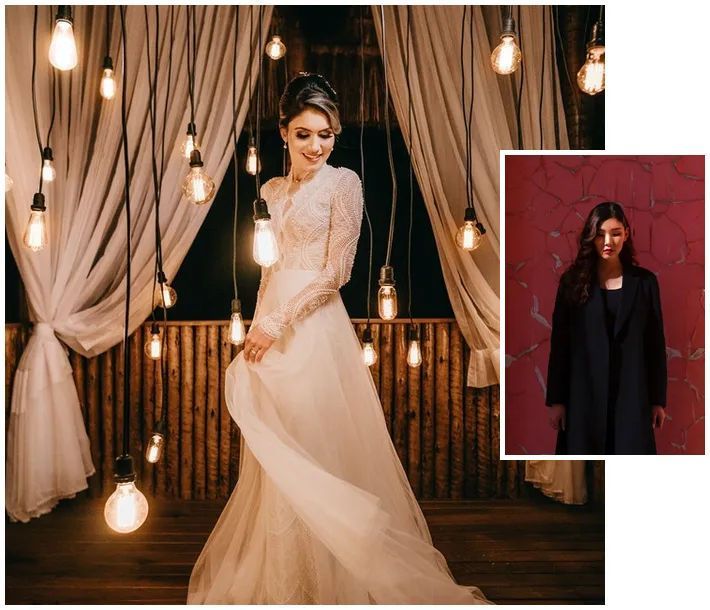
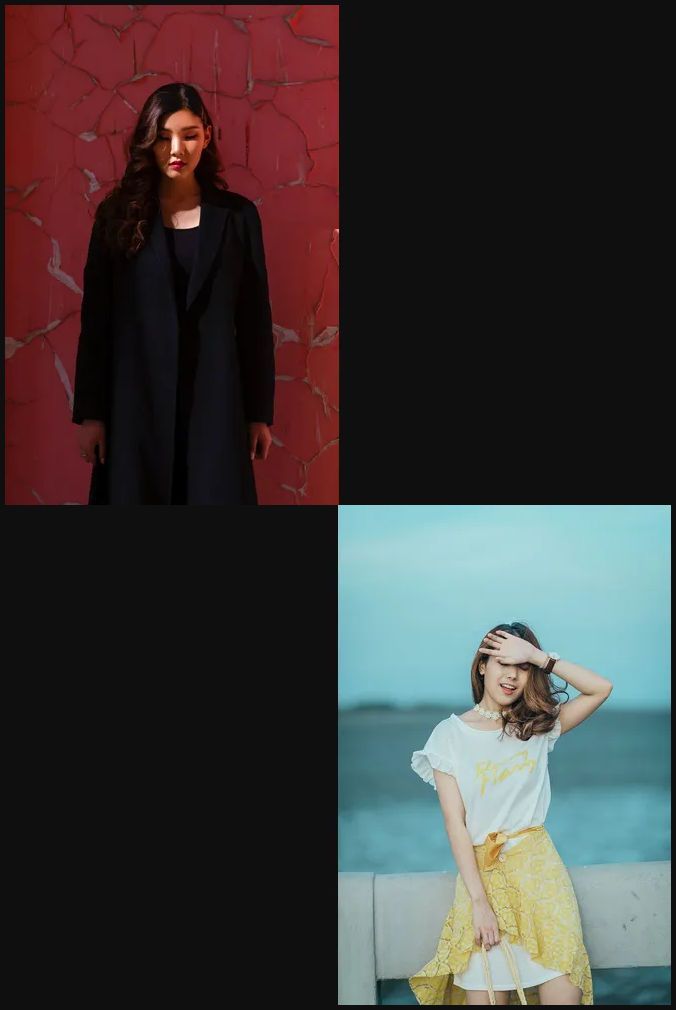
A few other examples
Where to go from here?
- Learn more about overlays from layers documentation.
- Try creating a collage and share it in the comments section for others.
- If you face any problem, reach out to us at support@imagekit.io. We will be happy to help!