


I’ve been using Netlify as my host for a while now and have consistently loved the experience. In my time with the service, I haven’t been utilizing it much more than a static site host.
I really want to use more of their features and make my static site more dynamic.
Demo: On this site{:target=“_blank”}
GitHub Repository: repo{:target=“_blank”}
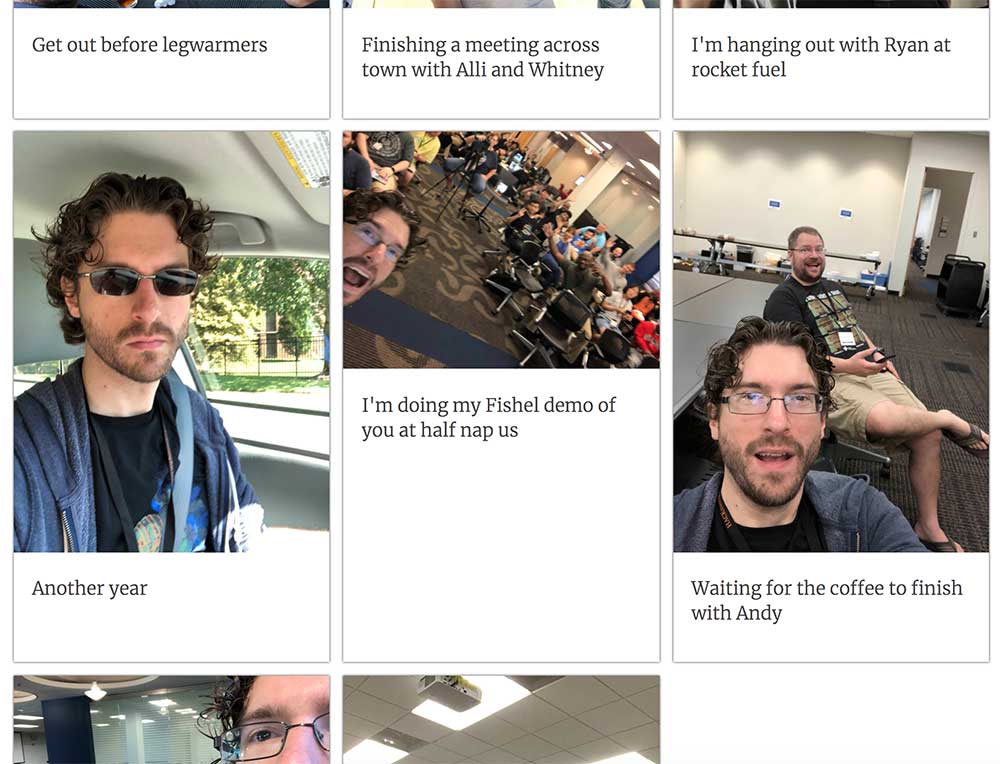
When iOS released Shortcuts with iOS12, I saw Netlify’s Twitter account share a video of someone deploying their site with a shortcut. I thought that was excellent, so I decided to go that route.
With this challenge, I wanted to learn more about Serverless functions and Netlify’s API. I did some reading and based my solution off of Phil Hawkworth’s excellent JAMstack comment engine functionality.
{% include ad-space.html %}
I decided on a small set of features. Take a short dictation and photo from shortcuts and post it as a status to my site.
Here was the flow I built from:
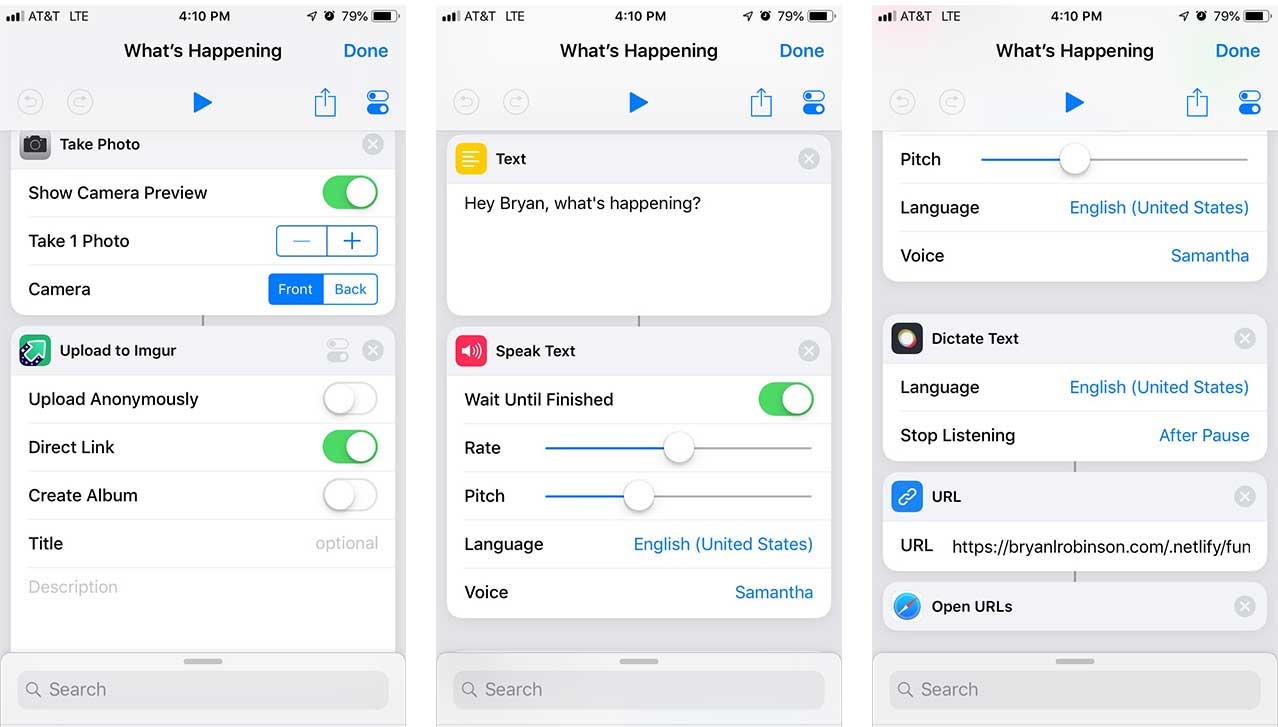
The iOS Shortcuts app allows you to automate many pieces of your workflow. It has access to multiple Apple apps as well as some third party apps.
Here’s the shortcut I’ve created:
Now that we’re sending the data to a URL on our site, we need something to handle that data. Remember, this is a static site.
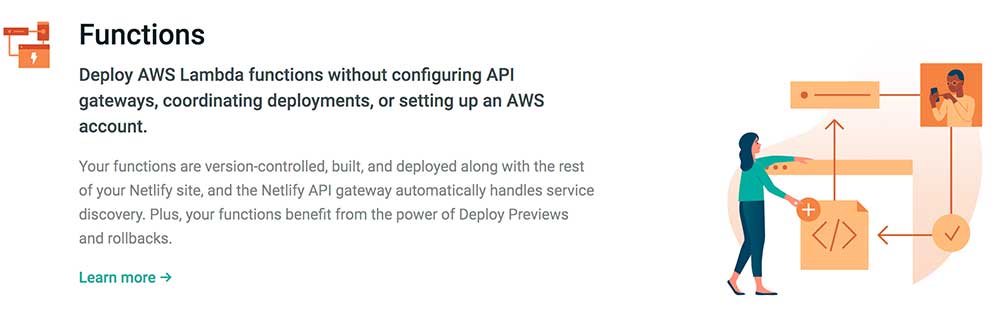
To do this, we can use Netlify’s awesome Functions. It’s important to note that this DOES cost money past a certain point. This sort of function would take a LOT of use to get past the free usage tier, though.
Our function is split into two parts: formatting data and posting data to a database.
In this area, I discovered my first issue. The URLs I was getting from Imgur’s iOS shortcut came in different formats. Both of the formats were not the pure image. I never found the root cause of the varying formats, but baked in protections for that. To get the direct image URL, all it took was rewriting the URL string with download in it.
// populate environment variables locally.
require('dotenv').config()

export function handler(event, context, callback) {
    const doingString = event.queryStringParameters.doing;
    const imgUrl = event.queryStringParameters.imgUrl;

    if(imgUrl) {
      let urlPieces = imgUrl.split('/');
      let photoId = urlPieces[urlPieces.length - 1];
      if (photoId.endsWith('.jpg')) {
        // Protects against imgur changing
        let idSplit = photoId.split('.');
        photoId = idSplit[0];
      }
      var imgDownloadLink = `https://imgur.com/download/${photoId}`
    }

    var payload = {
      'form-name' : process.env.FORM_NAME,
      'received': new Date().toString(),
      'doing': doingString,
      'imgUrl': imgDownloadLink
    };
    ...
}
export function handler(event, context, callback) {
...
var approvedURL = process.env.POST_FORM;

      request.post({'url':approvedURL, 'formData': payload }, function(err, httpResponse, body) {
        var msg;

        if (err) {
            msg = 'Post to status list failed:' + err;
            console.log(msg);
        } else {
            msg = 'Post to status list successful.'
            console.log(msg);
        }
        var msg = "Status posted. Deploy triggered.";

        console.log(msg);
        callback(null, {
            statusCode: 200,
            body: msg
        });
          return console.log(msg);
      });
  };
First, note that we’ll be using environment variables for our form endpoint as well as our form name. This removes “sensitive” data from our git repository. If someone has a form name, they can post to your forms and cost you money.
“Gotcha” No. 1: Simulating environment variables locally. There’s a lovely package on NPM called dotenv that I was able to set up to handle this. Create a .env file in your project (and don’t version control it) that houses your variables. Your JavaScript is able to read process.env.VARIABLE_NAME by running require('dotenv').config().
“Gotcha” No. 2: How do you post to a Netlify form? As it turns out, you can post to any URL on your site as long as you have the proper form name.
The rest of what’s happening in this code is a POST request using the Node “request” module to send our data to our form.
“Gotcha No. 3: In order for Netlify to understand our POST, our site has to have an HTML form with this name. Netlify uses the HTML in your repository to figure out what processing your site needs.
The site can handle this with a single route for all its forms. In this repository, I’m using a form-stub.html which isn’t linked anywhere.
In this example, we’re using Netlify’s form system as a database. You could create a third-party database with Firebase or a similar tool. In my case, I wanted to use as few third-parties as possible.
Most static site generators have some way of dealing with data files. In Jekyll, if you put JSON files in a _data directory, you gain access to those variables in your templates.
We’ll be requesting this data during the build process, so we need to utilize a task runner for this. My current tool of choice for tasks is GulpJS.
In this example, we use two Gulp tasks: one for building our data and one for downloading the images.
Before we can use the data, we’ve got to fetch it. Netlify provides a handy API for dealing with their forms. There’s a lovely GET method that will return the form submissions. This allows us to use the form functionality as a database for these updates.
Using this data, we’ll create a JSON file in _data to store our information.
To lower complexity for this example, we’ll clean the previous file first. To do this, we’ll use fs.truncate to truncate the file to 0 characters.
function cleanFile(filePath, callback) {
    fs.truncate(filePath, 0, callback);
}
Once we have our file cleaned, we need to create the new data from the API request’s body. We use Array.map() to create a the object for each status as expected by our Jekyll templates.
function buildStatuses(body) {
    let data = body.data;
    let imgId = getId(data.imgUrl);
    const status = {
        status: data.doing,
        imgUrl: data.imgUrl,
        localUrl: `/images/statusImages/${imgId}.jpg`,
        date: body.created_at
    };
    return status;
}
Once we have the data how we want it, we’ll use fs.writeFileSync() to write this array to our data file.
fs.writeFileSync(statusFile, JSON.stringify(statuses, null, 2), function (err) {
    if (err) {
        console.log(err);
    } else {
        console.log("Status data saved.");
    }
});
console.log(`${statusFile} rebuilt from data`);
Note: I’m utilizing synchronous versions of fs module functions. This made the process a bit easier and clearer.
I’m also using environment variables again to protect the form ID as well as my API key. Remember to always keep your sensitive data in these variables and not in your repo.
The finished Gulp task looks like this:
gulp.task('status:get', function () {
    // URL for data store
    let url = `https://api.netlify.com/api/v1/forms/${process.env.STATUS_FORM_ID}/submissions/?access_token=${process.env.API_AUTH}`;
    let statusFile = `./_data/statuses.json`;

    cleanFile(statusFile, function() {
        // Erases JSON file
        console.log(`${statusFile} cleaned`);
        request(url, function (err, response, body) {
            // console.log(body);
            if (!err && response.statusCode === 200) {
                let bodyArray = JSON.parse(body);
                let statuses = bodyArray.map(buildStatuses);

                // Write the status to a data file
                fs.writeFileSync(statusFile, JSON.stringify(statuses, null, 2), function (err) {
                    if (err) {
                        console.log(err);
                    } else {
                        console.log("Status data saved.");
                    }
                });
                console.log(`${statusFile} rebuilt from data`);

            } else {
                console.log("Couldn't get statuses from Netlify");
            }
        });
    });

});
Now that we have the data, we can write a function to fetch the images and store them locally. This will cut down on reliance of a third-party website to serve static content.
First, we need to determine all the images we need from the data. To do that, we’ll read the statuses.json file and grab the image IDs from the data.
function imageNeeds() {
    // Creates array of all image IDs in JSON file
    let idList = fs.readFileSync('_data/statuses.json', 'utf8', function(err, contents) {
        return statuses;
    });
    let jsonEncoded = JSON.parse(idList);
    const statusImageIds = jsonEncoded.map(status => { let split = status.imgUrl.split('/'); return split[split.length - 1]; });
    return statusImageIds;
}
From there, we could just download each image from Imgur to our project. When we have a lot of statuses, that could end up taking a long time.
To help mitigate that, I let this process run locally when I’m working on my site and then push the images to GitHub.
Then, I can compare the image IDs I need to what files already exist and only download the latest.
function currentlyDownloaded() {
    // Creates array of images currently in the project
    const files = fs.readdirSync('./images/statusImages', (err, files) => {
        return files;
    });
    const imageIds = files.map(imageUrl => imageUrl.replace('.jpg', ''));
    return imageIds;
}

const imageIdList = imageNeeds();
const downloadedIdList = currentlyDownloaded();

// Filters IDs to find images we need to download
let needToDownload = imageIdList.filter(e => {
    return ! downloadedIdList.includes(e);
});

needToDownload.forEach(fileId => {
    let url = `https://imgur.com/download/${fileId}`;
    let fileName = `./images/statusImages/${fileId}.jpg`
    download(url, fileName, function() {
        console.log(`Downloaded ${url}`);
    })
});
Jekyll has access to JSON data built directly into its templates. By utilizing site.data.<filename>, we gain access to the data either as an array to loop through or an object to pull data from.
In our case, we’ll loop through the data as an array using for status in site.data.statuses.
<article class="status">
    <img src="{{ status.localUrl }}">
    <p>{{ status.status }}</p>
</article>
Once we have everything configured the way we want, we need tell Gulp the order to run our commands. In this case, we want a development serving command and a production build command.
gulp.task('default', function () {
    runSequence('status:get', 'image:get', 'serve:jekyll');
});

gulp.task('build', function () {
    runSequence('status:get', 'image:get', 'build:jekyll', 'lambda:build');
});
The main differences in these commands are serving vs building Jekyll and adding Netlify’s lambda build command to the build functionality.
The lambda:build function runs a shell command for the Netlify-lambda-cli package.
netlify-lambda build lambda_build
In this instance lambda_build is the name of the directory in which our lambda function’s source exists. The source then gets published to the functions directory which Netlify is expecting.
For local testing, you can run netlify-lambda server lambda_build and it will run a server for you.
I believe the future is in static architecture. This is a small snapshot at building that future.
There’s a lot of things in this project that felt a little wonky. They felt that way because my brain is used to thinking of things in terms of server code. Once I got past that, I felt POWERFUL.
This seems ridiculous in some ways, but there’s immense power to be hand by offloading your server to someone else. There’s immense performance by handling all pages as static HTML.
It’s an interesting time to be doing this work. What would you build in this workflow?
此内容由惯性聚合(RSS阅读器)自动聚合整理,仅供阅读参考。 原文来自 — 版权归原作者所有。