


I swapped out the switches in my Advantage360, my most expensive keyboard, and broke it.
Want to watch the YouTube version?
So, my advice is, if you’re thinking about de-soldering the stock keys of the Kinesis Advantage360, and soldering in your own, don’t.
There, can’t be any clearer than that, can I?
I broke my board and invalidated my warranty. Is that what you want? No, right, off you go.
If you’re still here, you might be wondering what the rest of the post is about? Well, here is the thing. I managed to get my keyboard fixed and have now have lubed and filmed Gateron Oil King switches in, and it feels and sounds absolutely sublime.
So, maybe it was worth it after all? Let me explain what’s involved and you can make your own mind up.
Why?
Of all the keyboards I have, the one I find most comfortable is the Advantage 360 Pro. I’m not saying it is the best all around keyboard, just the one I find most comfortable.
Now, one of the rubs with the 360, after spending a sizeable sum to get it in the first instance, is that it comes ‘stock’ with soldered in Gateron Brown switches. They are not terrible switches, but there are certainly better options. But the 360 is not a hot-swappable board so you are stuck with them.
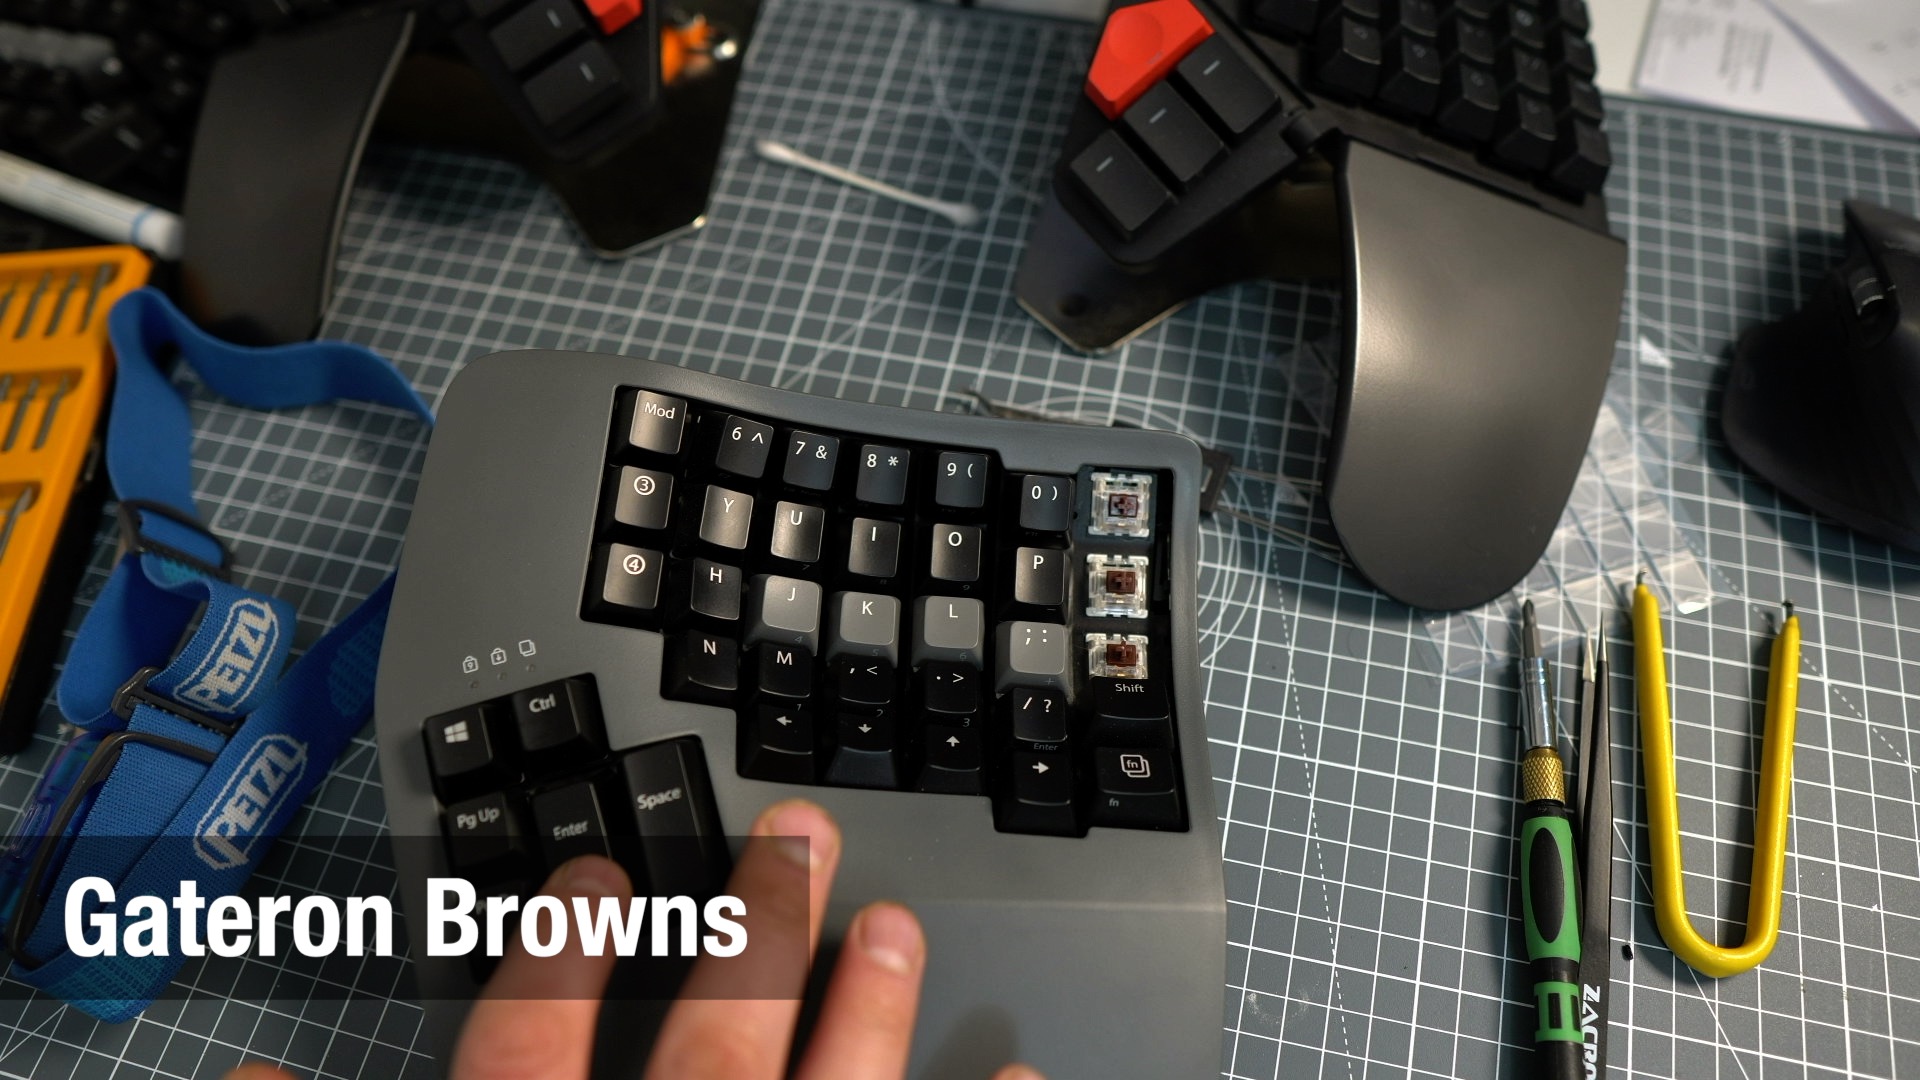
You can get other switches put in, if you order from Upgrade Keyboards in the US, but that is considerably more expensive still, and if you are in Europe, like me, you can be looking at a bill approaching $1000.
I think the single best upgrade you can do on the 360, for a better feel and sound signature, is to swap out the stock keycaps to the Kinesis PBT ones, but obviously, blank keycaps aren’t for everyone. I had done that initially but after months of using this board, and reading of other people who had successfully replaced the switches, I decided to take a go myself.
So, first off, I lubed and filmed 80 Gateron Oil King switches. I’m a big fan of the Oil Kings, as right out of the bag they feel and sound really good, but as I was only doing this key switch once, I went the whole hog, and hand-lubed them with Krytox 205g0 grease. There are far more detailed videos on how to lube your switches but here is an overview for the uninitiated.
Essentially, you pop open the switch, clean off any existing oil with alcohol, then re-apply your own lube. Don’t overdo it. Less it more. I also added switch films, which are just thin pieces of plastic or foam which sit between the top and bottom housing of the switch. It’s supposed to stop any wobble between the two parts of the housing but I don’t think the Oil Kings actually needed it. I couldn’t really tell any benefit to be honest.
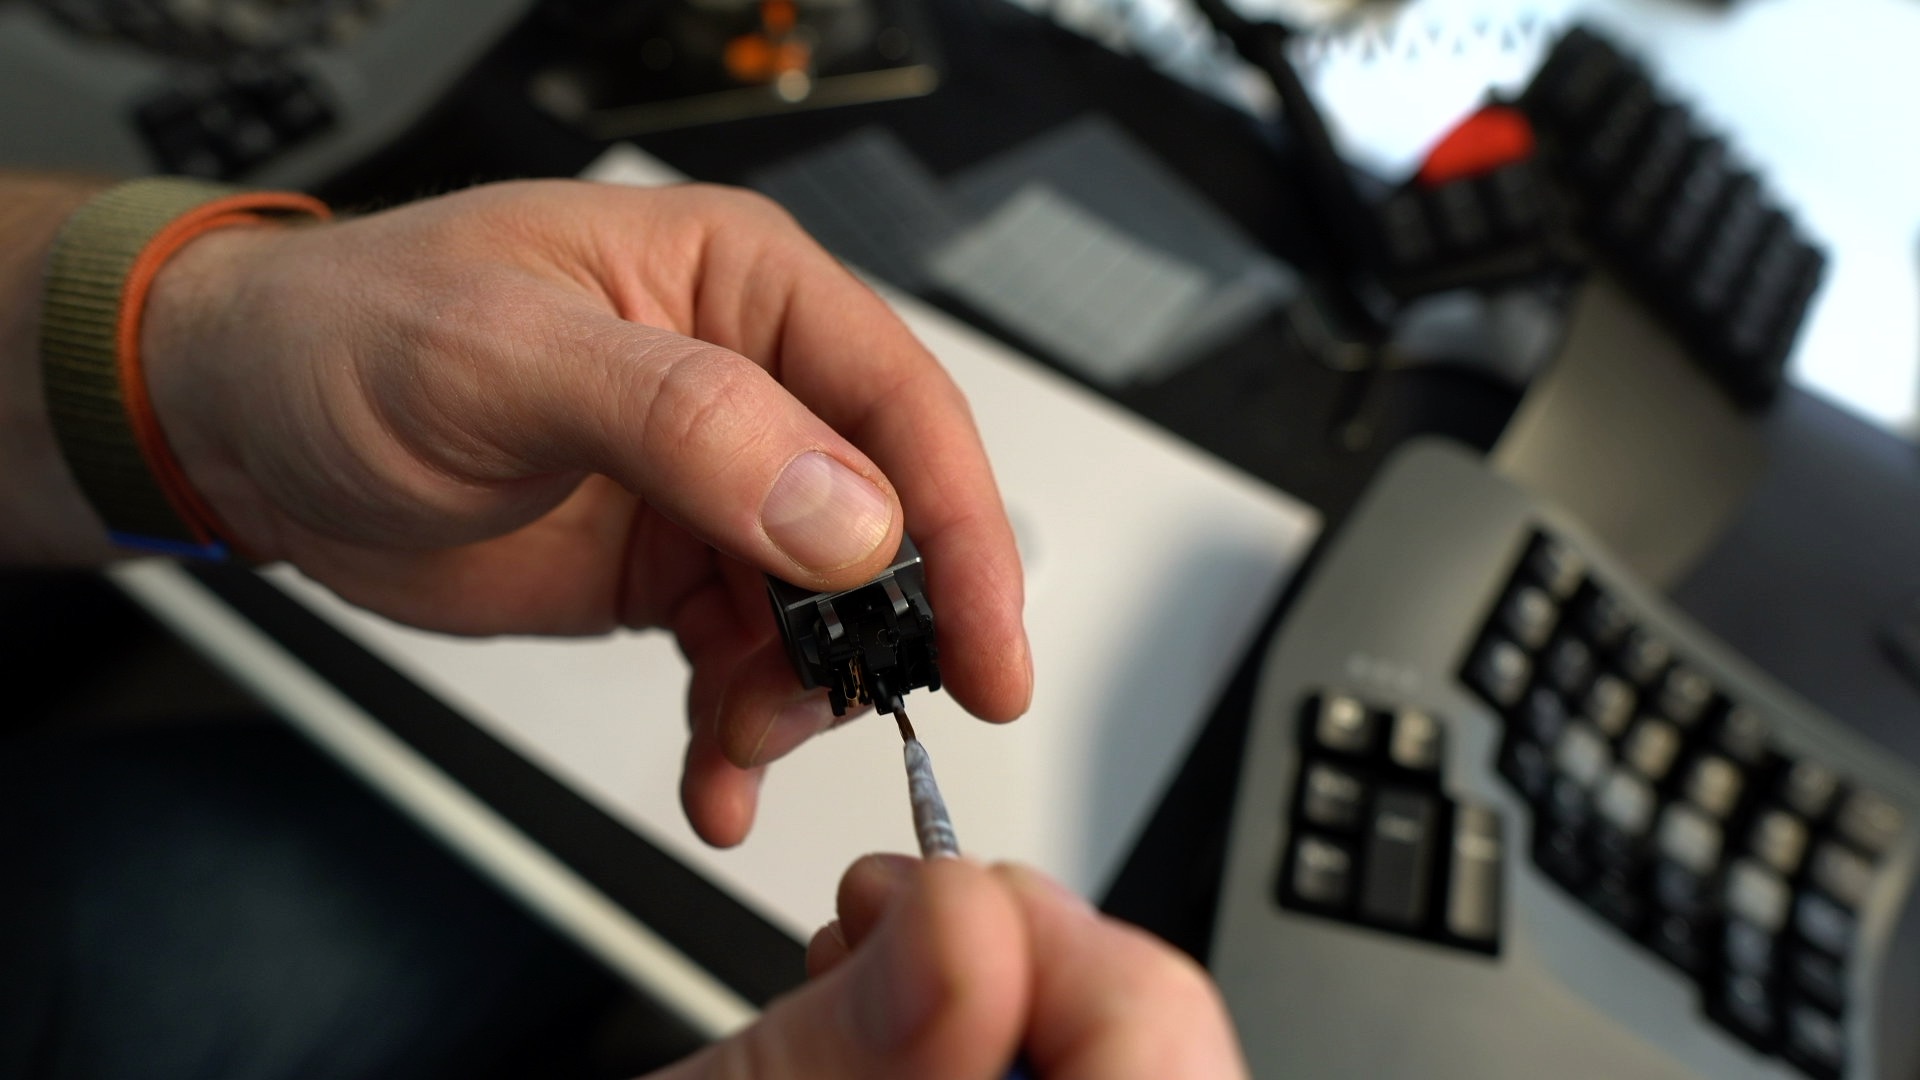
So with the new switches ready, I just needed to get in to the keyboard.
The process
Getting into the 360 is very straightforward. Five screws on the bottom of each side and you are in. There is no glue so it’s good to know if you ever need to replace the battery, doing so is pretty much idiot-proof. When you are working on it, I’d also recommend disconnecting the battery, just to be on the safe side.
The top half with the PCB in lifts away so you don’t even need to disconnect the ribbon cables.
When you do lift the top up and off, watch you don’t lose the switch on each half, as the plastic part just sits on the switch itself.
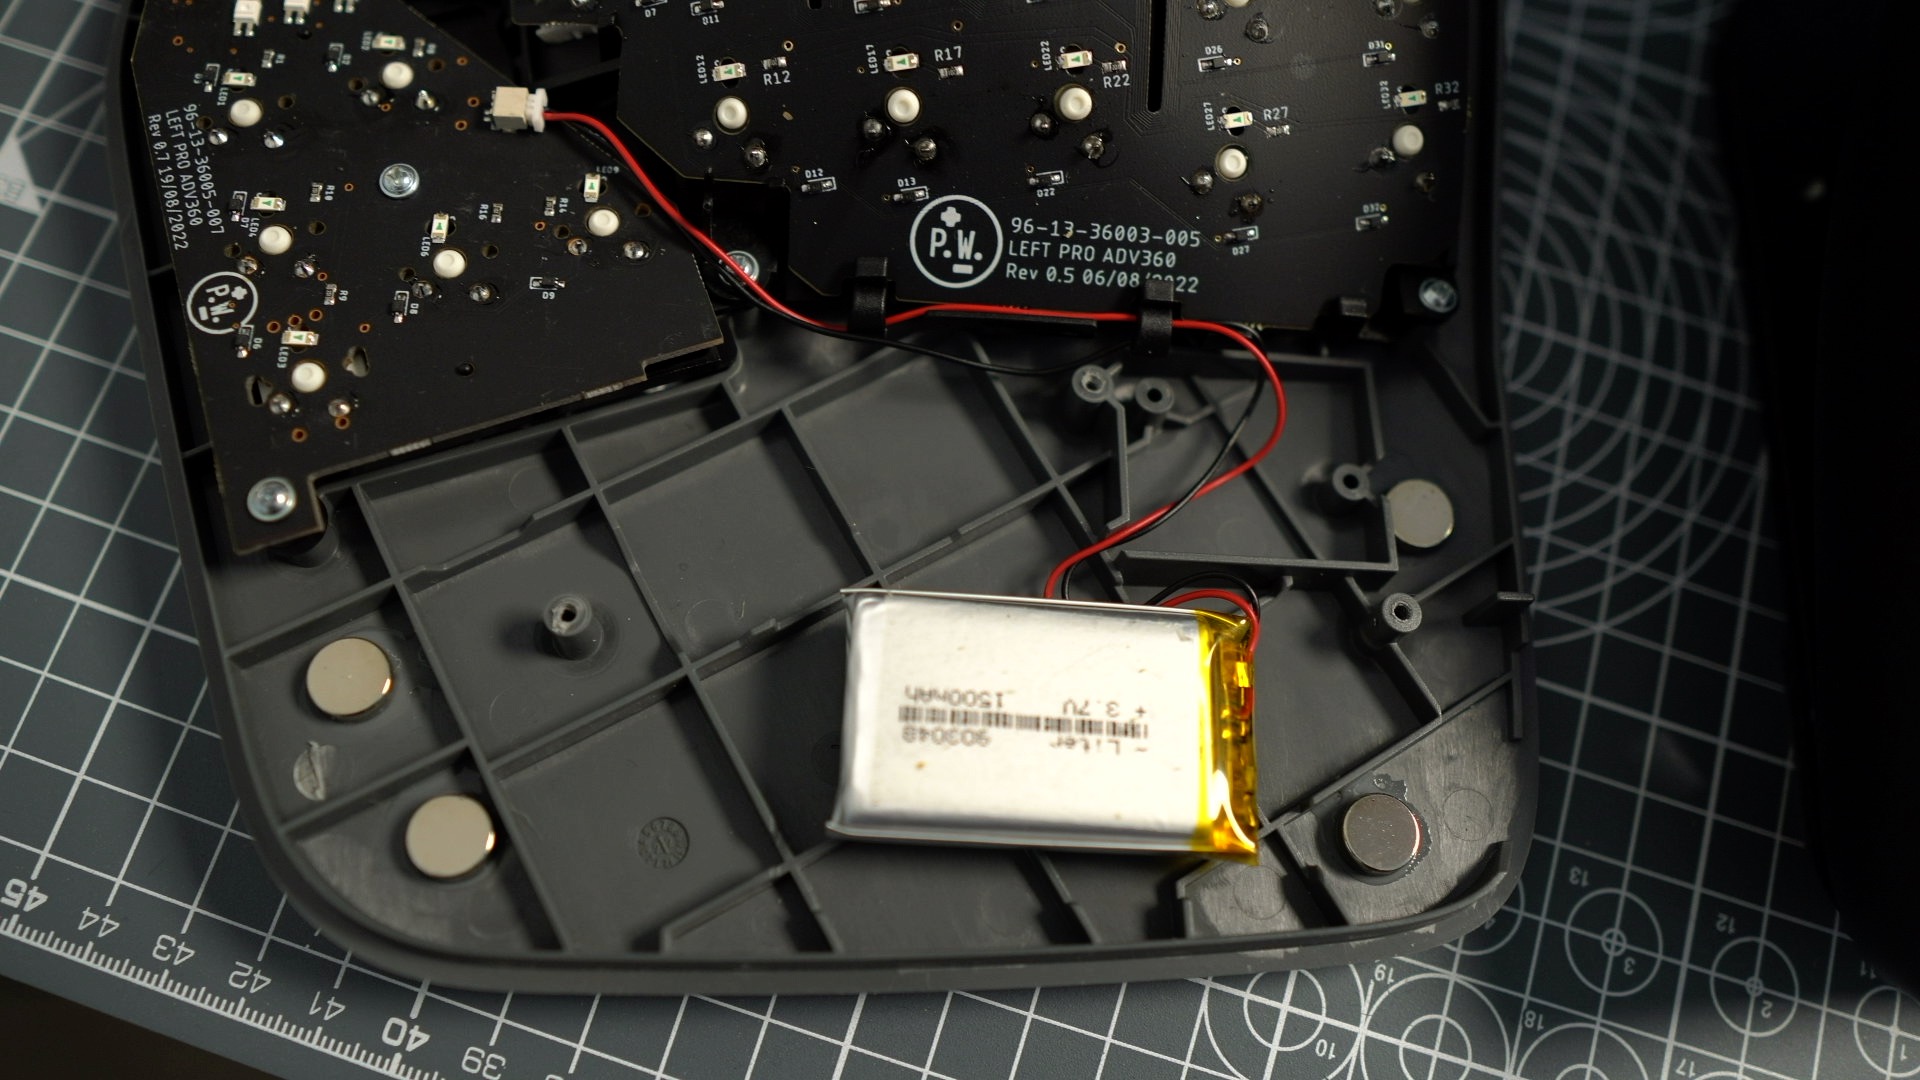
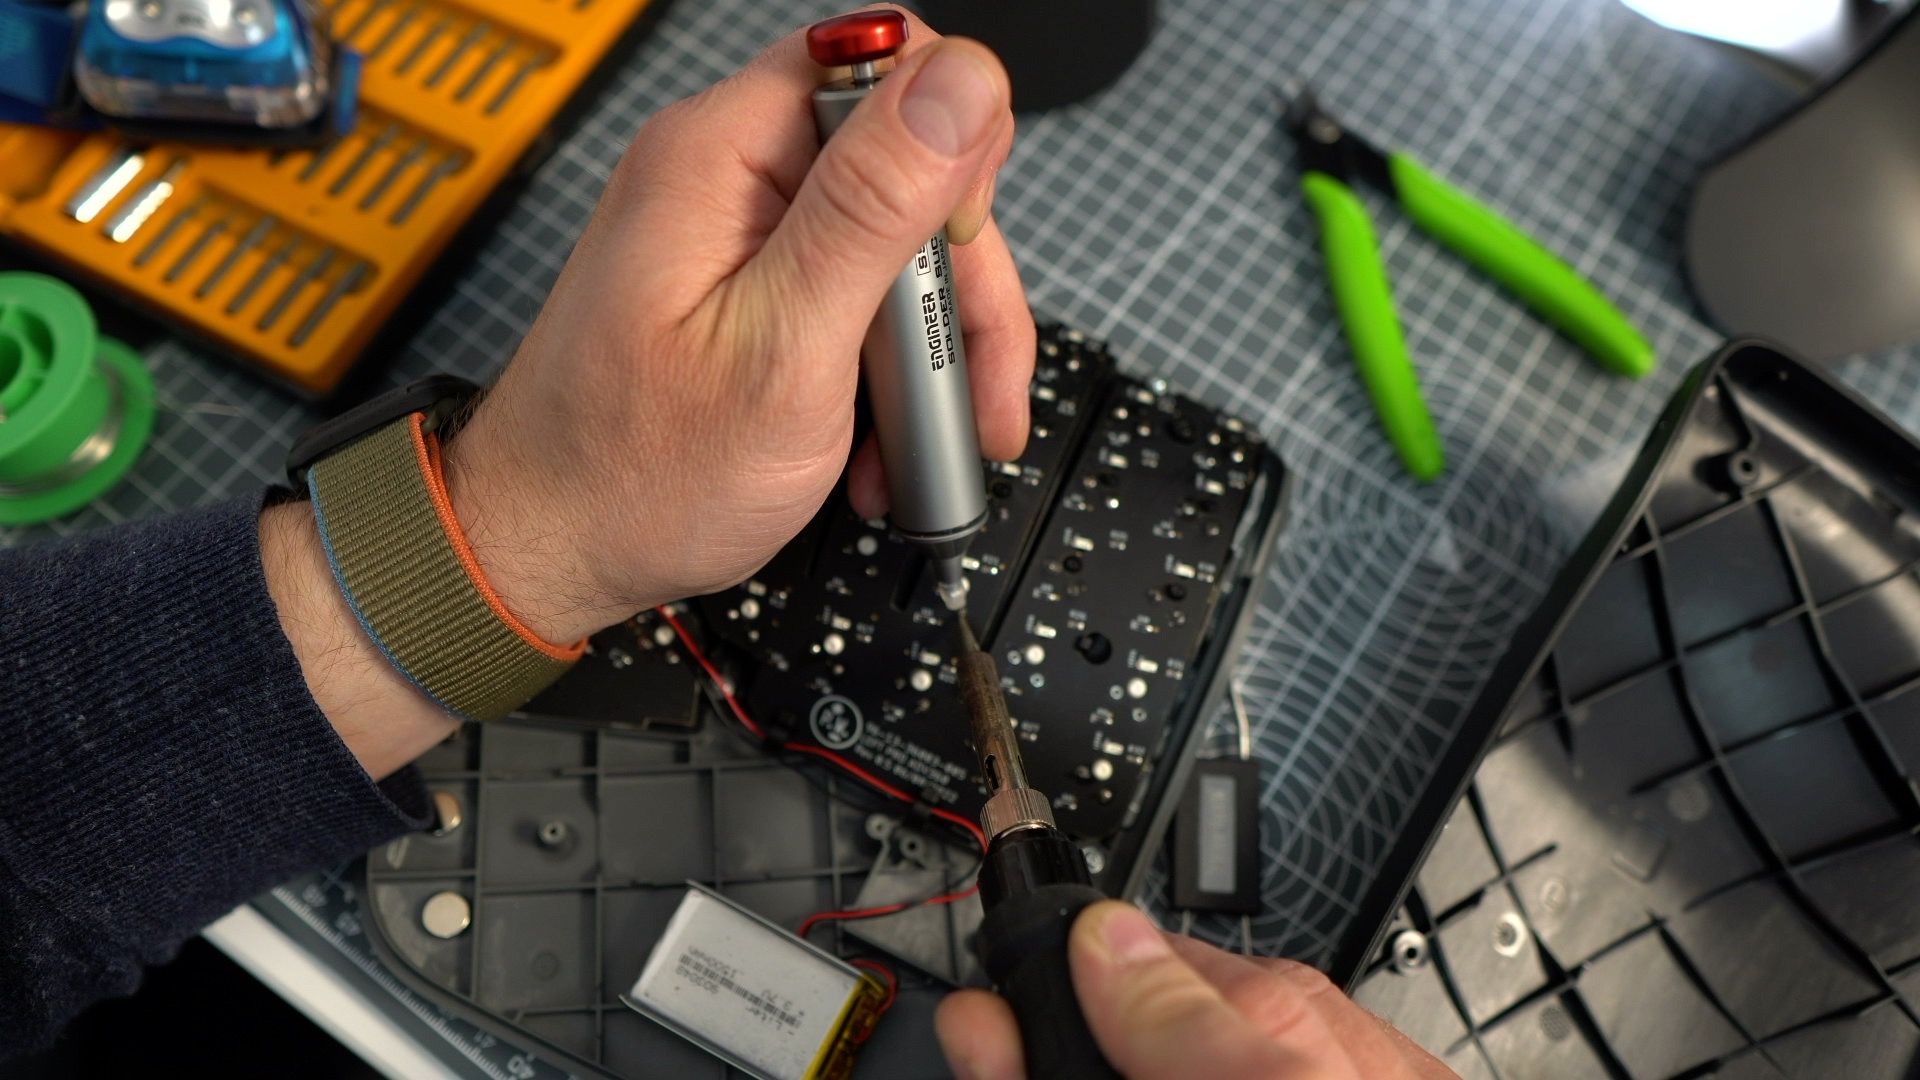
The premise of replacing the switches is simple, you melt the existing solder on each switch pin, suck it out of the way, pull out the existing switch, stick in the new one and solder it back in place.
So to do this you are going to need a soldering iron, some solder, and a decent solder sucker. I can really recommend this one. I’ve used other, cheaper suckers before but this is the Rolls Royce of suckers. It’s about £18 and worth every penny. It made the process of hoovering up the solder a far easier.
I would also recommend you replace a row at a time, that way the flexible PCB is held in place by the other soldered in switches as you go.
So, you want your iron at about 315-350C heat, you hold your iron tip on the pin for a couple of seconds until you see the solder melt and then you press the button on the primed sucker. Easy, right? On everything other than the thumb clusters, I did find it easy, but the thumb clusters were really, really hard.
What went wrong
On the thumb clusters I just couldn’t get all the solder out that had melted down through the switch pin holes.
In retrospect, having finally figured out a decent way to deal with them, I think the key is, when you think you have got rid of the solder, get your switch puller on the other side, and give the switch a little wiggle. If you can’t see the pins moving easily on the opposite side, you still have solder on one of the pins. In that situation, you will likely want to reflow some fresh solder onto the pin, let it cool and then try re-sucking the pin as before, hopefully pulling the older solder with it. On the thumb switches, on more than one key, I had to do this at least 4-5 times. So do not rush, and don’t try to add any force to yank it out, even gently; only an idiot coughs would do that. Just reflow, suck it, and see where you are.
I damaged one of the pin holes by pulling too hard and ended up bringing the collar out on the switch. More on that shortly.
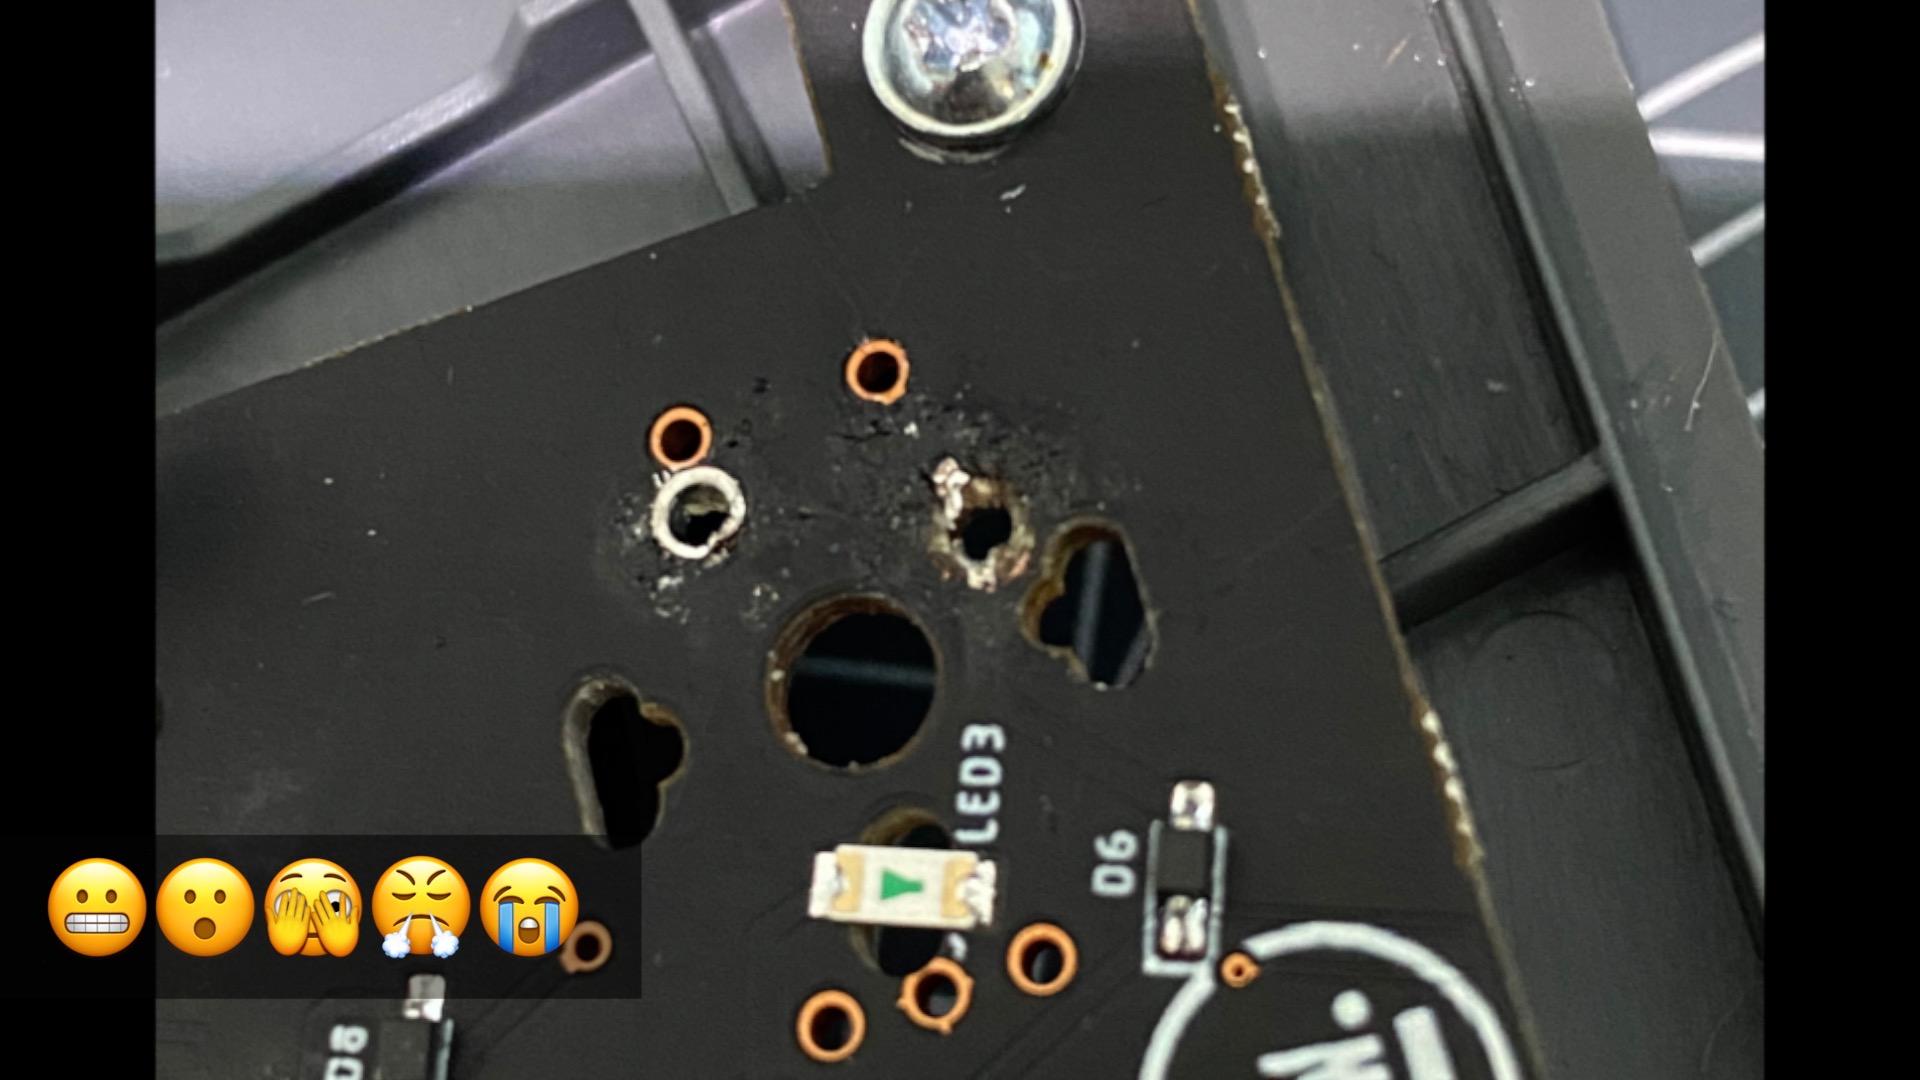
Soldering the new switches in is far less fraught. I learnt to solder by watching Joe Gaz videos and then just doing lots of practice so I hardly have a professional qualification but I have enough experience to tell you, if you haven’t done any soldering before, absolutely don’t try this as your first attempt!
To solder the new switches you click your switch in place, put the iron tip on the pin and hole edge at the same time, and push the solder onto the iron. The solder melts and runs in to the hole. You then lift your iron and you should have a decently soldered pin. If you have switches with the extra plastic legs, like I did with the Oil Kings I was using, you will need flush cutters to cut those away first. However, the thumb PCBs on my Advantage actually had the extra holes so I didn’t need to do that for the 12 switches there.
So despite due diligence, when all my new switches were in, my keyboard didn’t work correctly. I have to tell you, that was pretty crushing.
I managed to fix the hole that I’d pulled the collar through, by making a new collar with the leg of a diode. Incredibly that actually worked but I was still left with other problems.
The zero key didn’t register and one row on the right hand side registered the same keys as the row above. I wanted to cry and break things; at the same time. Incredibly, I didn’t.
After hours of frustration trying to figure out what I had done, I had to admit it; once again, my ambition had exceeded my skill.
My board needed Elvish medicine.
Getting it fixed
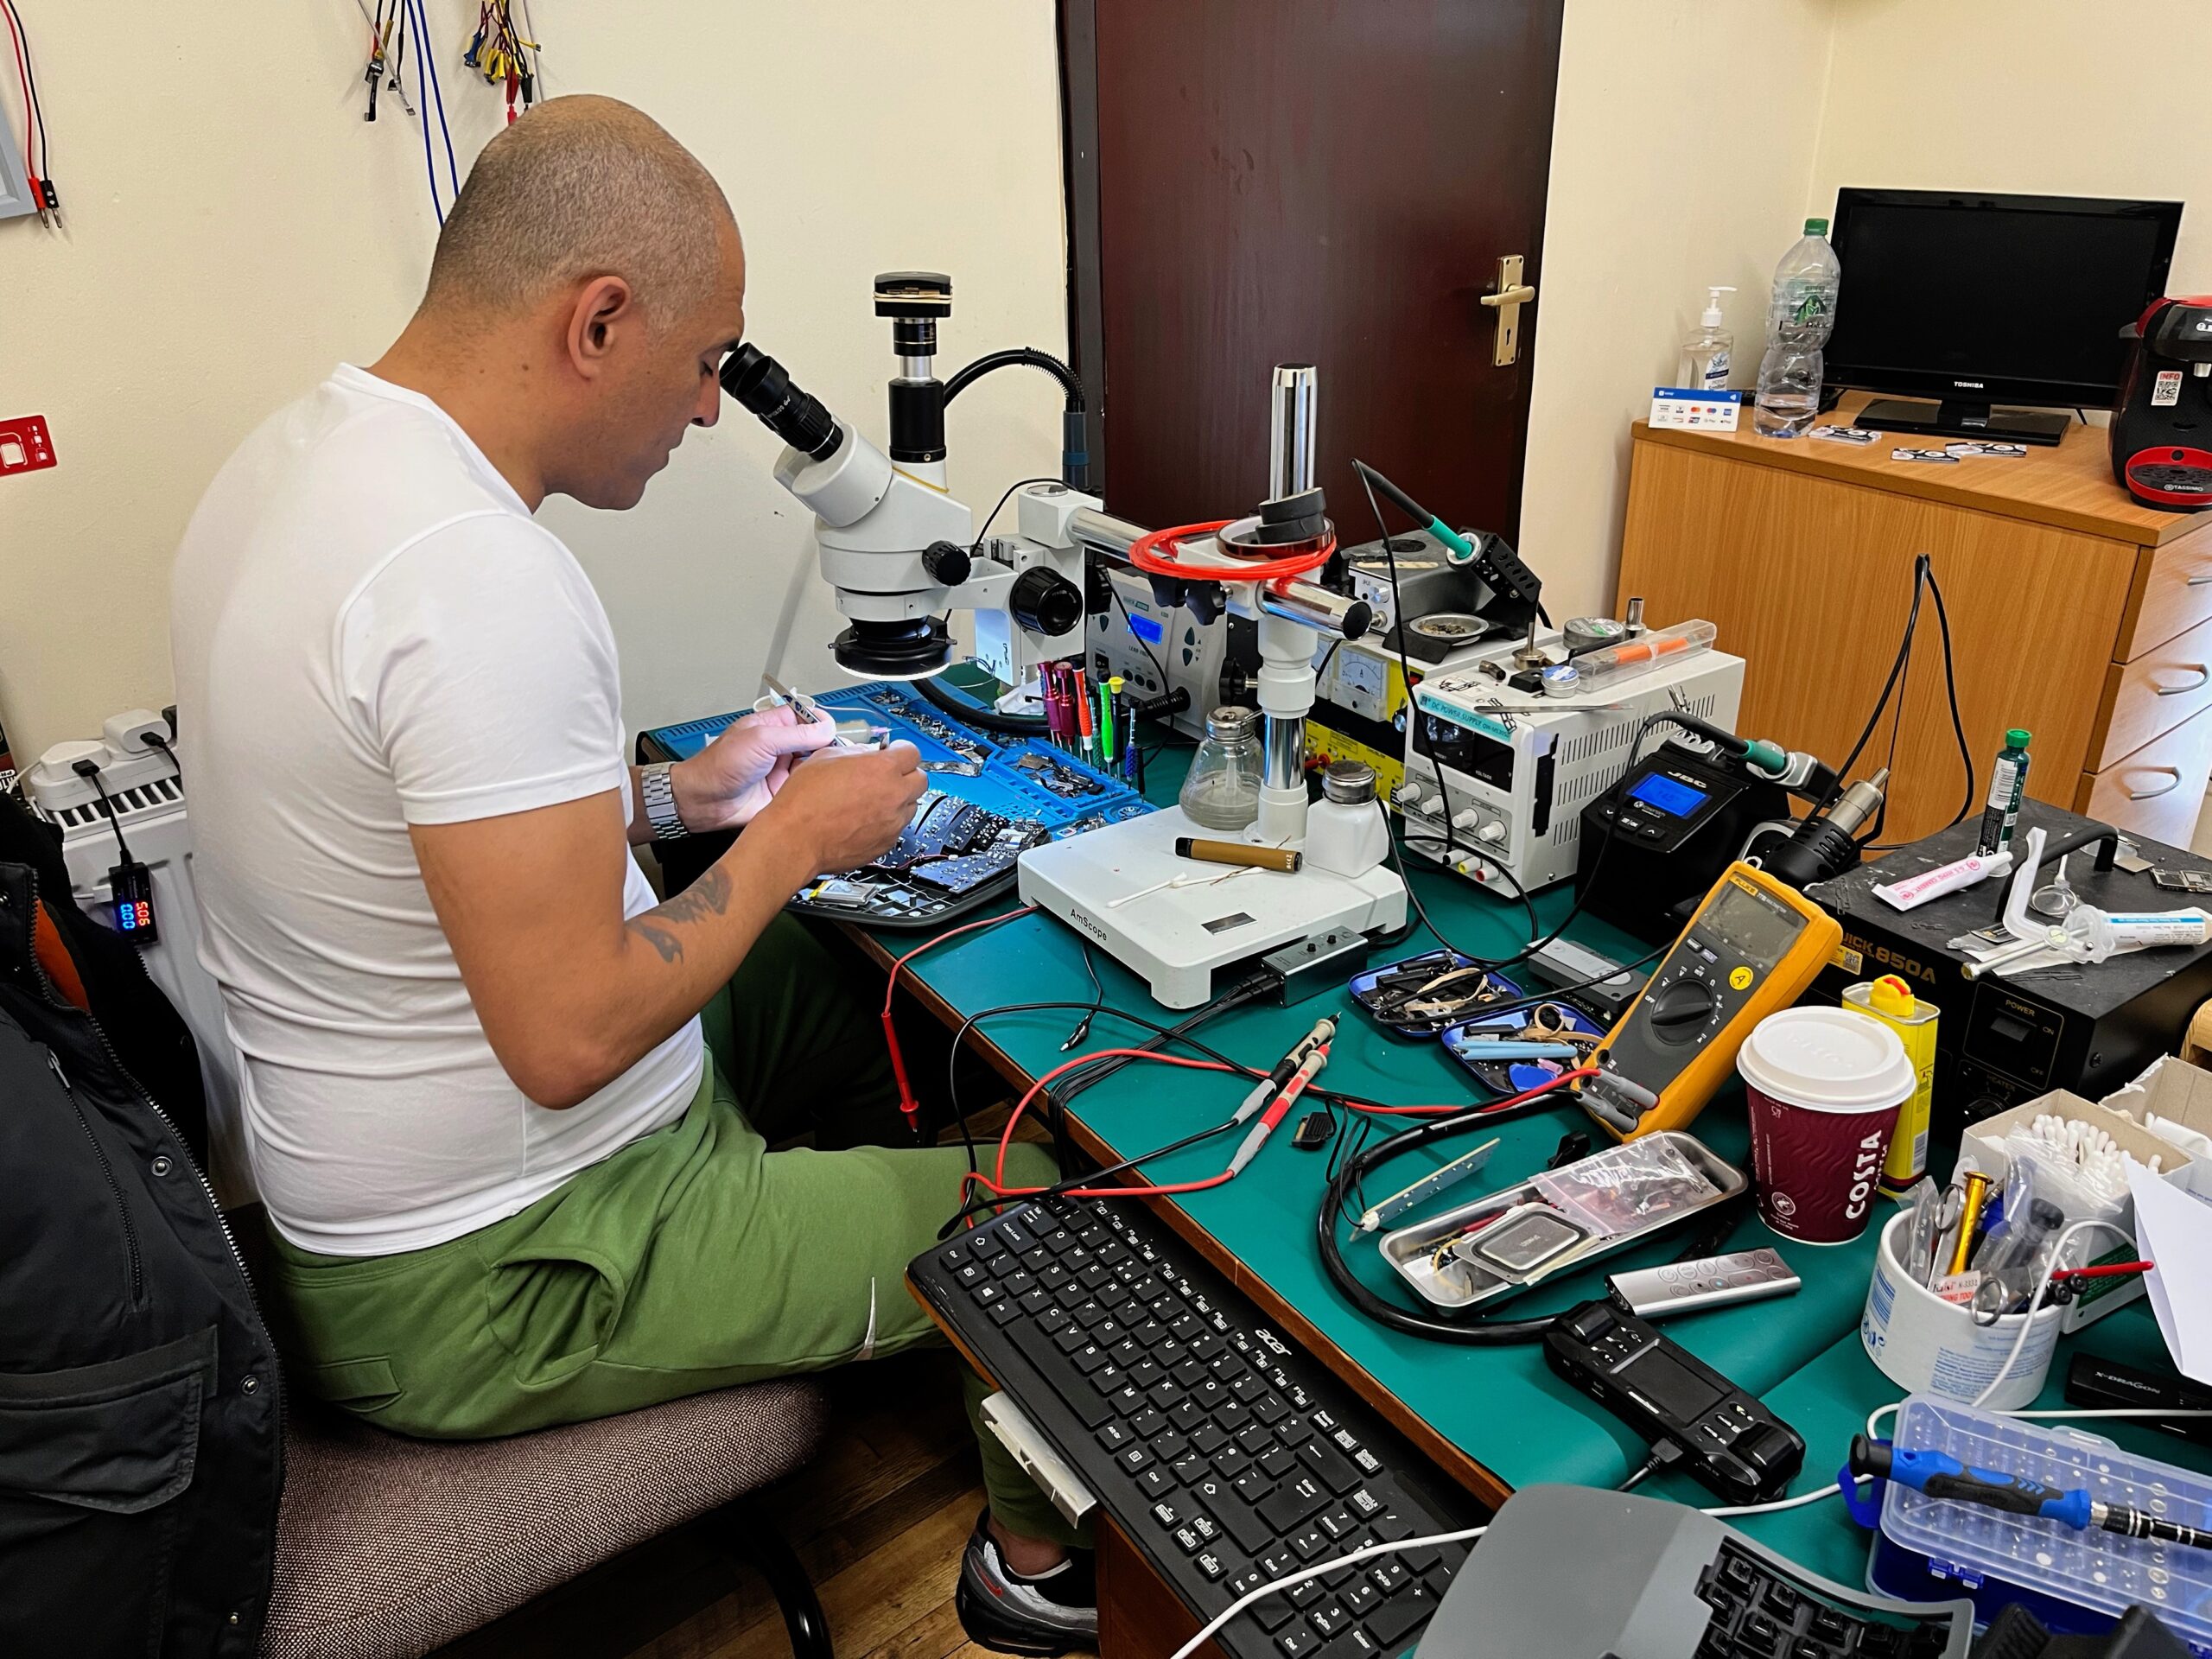
As luck would have it, less than a 20 minute drive from me I found an electronics wizard who managed to fix my board. It turns out I had damaged a track and managed to get a spec of solder on the microprocessor of the board that was causing a short, leading to the repeated row. An hour after walking in, I was ecstatic to be walking back out with a working 360.
If you are anywhere in the UK, near Stoke On Trent, and need something electronic fixing, I can certainly recommend Karim at micro-soldering.
It might actually of been worth it
Now it’s fixed and I am using it, I have to tell you it sounds and feels, to me at least, absolutely glorious.
The hand-lubed and filmed Oil Kings just feel incredible. So, maybe it was worth it?
Sensible Ben would tell you no, it definitely isn’t. If you are in the US, make sure you use Upgrade Keyboards and suck up the extra cost at the outset. That way you will get a professional job and an in tact warranty.
Gung-Ho Ben would say, if you are in the Europe, and you don’t want to, or can’t afford the Upgrade Keyboard route. It’s possible.
If you have solid soldering skills, and the back up of a local electronics company that can get the microscope on any things that you might mess up, and you don’t mind the hours of tedium of hand lubing and filming 76 switches, then maybe go for it.
There were hours where I was so angry at myself for even attempting this. There was nothing actually wrong with the board and I got to a point where I thought I’d destroyed it. But luckily, eventually it turned out OK.
And the truth is, with these switches in, this modified Advantage360 is the best feeling and sounding keyboard I have ever had, and I’m really pleased with the final outcome.