


Note: This post was originally published and updated in 2013. IcoMoon is still around, but has a very different look than when I made this article. I personally haven't used it in a long time, due to the nature of my work. However, this article still gets a lot of traffic. Just know that what you see below is quite out of date.
Note: This post was updated on December 18th, 2013, to use new screenshots that show the recent redesign to the IcoMoon App.
I've become a huge fan of using icon fonts recently. I love the fact that graphics elements that are implemented this way are vector based & stylable with CSS. It makes them really easy and flexible to work with.
One of the things that you will have to confront, though, is how to actually get an icon font that you can use. That is where IcoMoon comes in. It is an online service that lets you generate a custom-built icon font, using icons that are either open licensed or for-pay.
I've used IcoMoon on a couple of projects lately, and wanted to share what I've learned. I'm going to break this into three seperate posts:
These articles are intended for front end developers, or anyone who is in the business of actually creating working HTML & CSS for websites.
I'm going to assume that you know how to write HTML and CSS to a fairly high degree. The concept of attribute selectors is not foreign to you.
I'm not going to cover how to create a font from scratch - there are libraries full of books on just that subject. This also isn't a primer on drawing icons themselves.
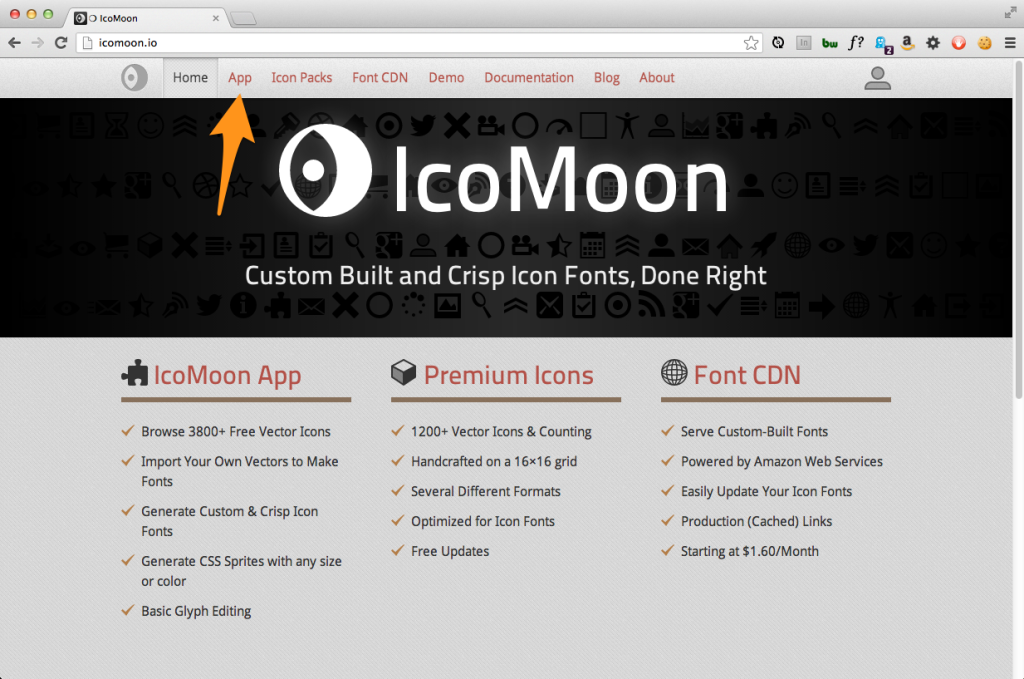
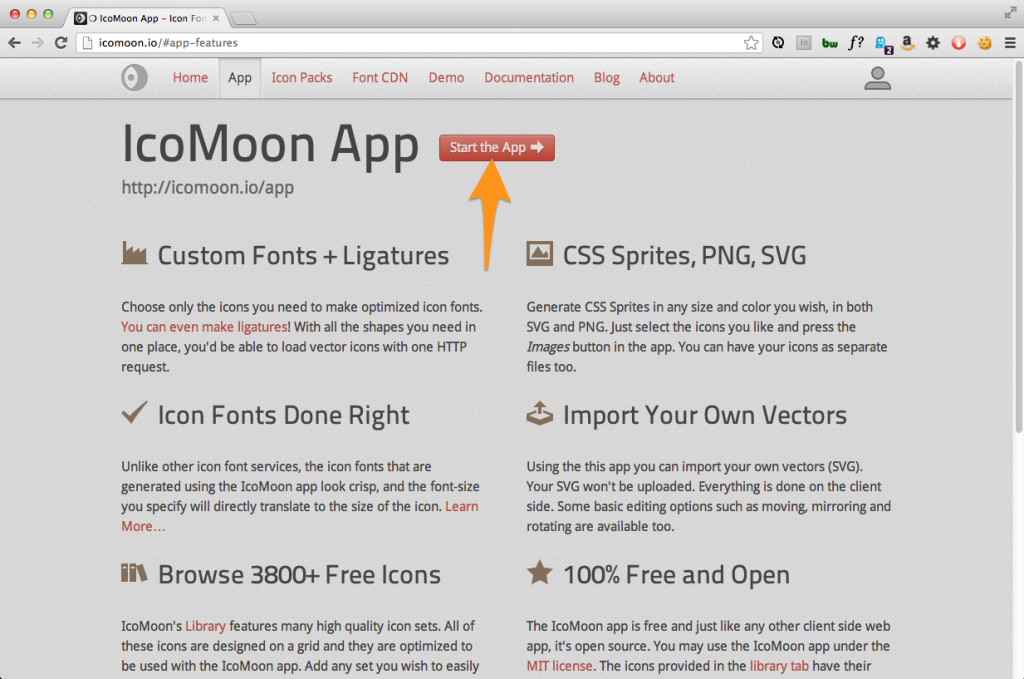
The IcoMoon site actually has a few facets to it - you can download packs of vectors files to use in design work. To use the font generator, you need to click on the "App" link, then the "Launch App" button.
Now - the fun part - picking out icons! Take a look at the default set of IcoMoon icons and see if anything strikes your fancy. In my case, I want to use this rocket ship:
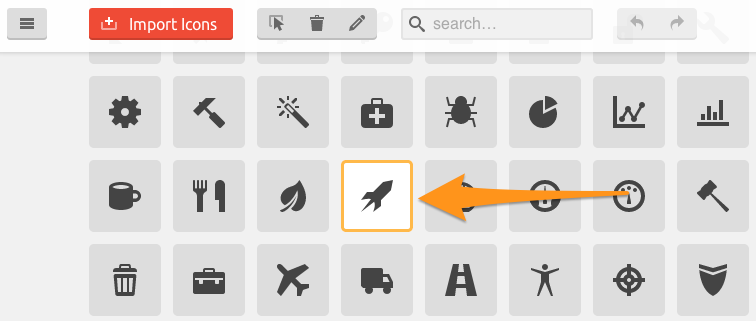
Go nuts! Pick out as many icons as you want to use, or have use for. My icon fonts tend to end up in the 20-30 icon range.
Be sure to read the third part of this series for some ninja level stuff you can do at this stage
When you've added all the icons that you want, you need to click on the font button at the bottom of the screen to get ready to generate a font:
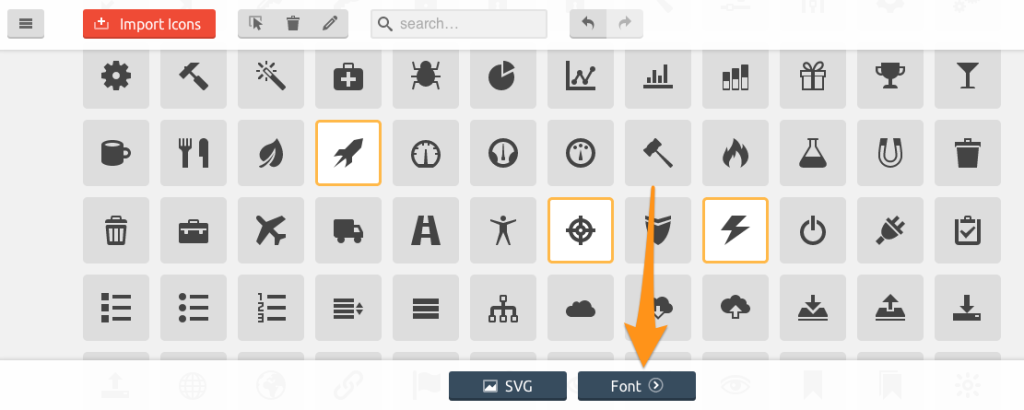
This takes you to the "Font" screen, which shows you every icon that you've selected, as well as the unicode character for it (more on that in a bit).
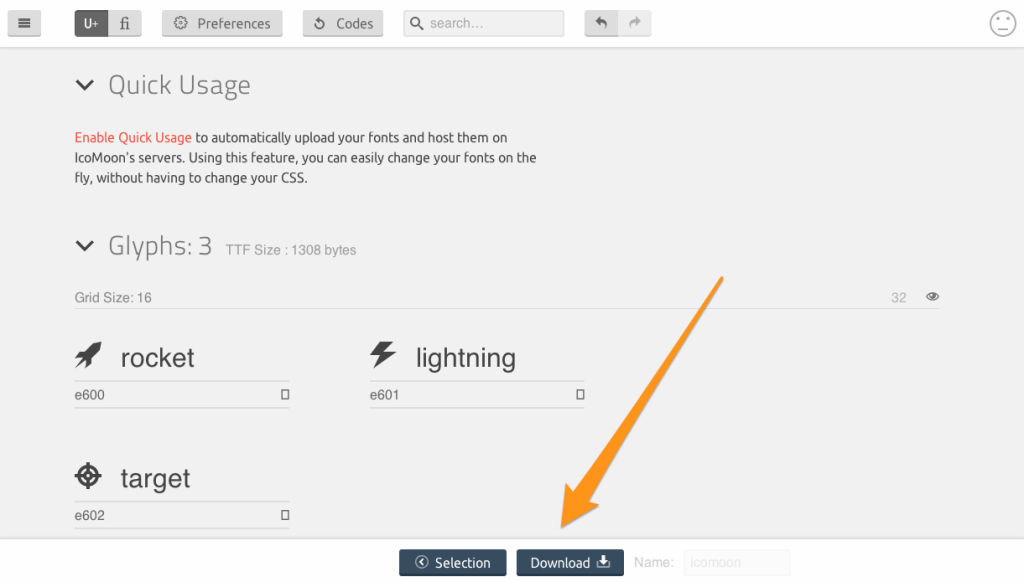
Now click "Download" and IcoMoon will kick out a zip file, with your custom icon font(s) in it.
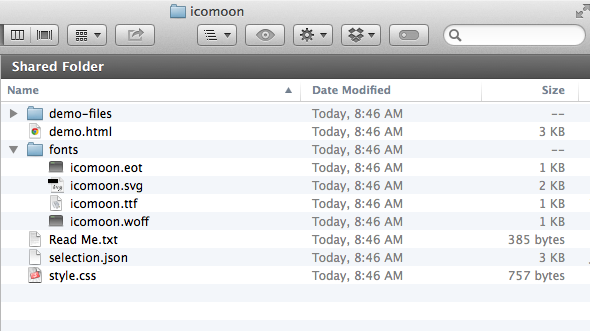
IcoMoon gives you a few things when it generates your font -
The way I generally roll is to have a directory in my project, on the same level as /css/, called 'fonts', and I drop this whole IcoMoon folder into it. Then I copy the four font files that I need and put those copies into the top level of /fonts/.
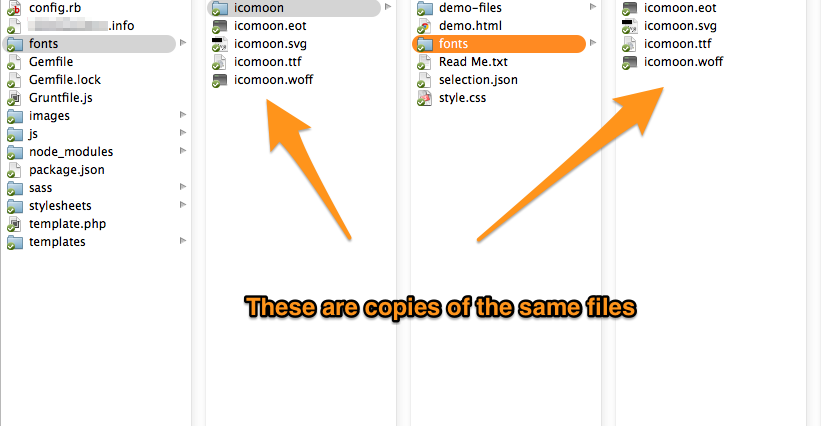
Why copy? You will see in part 2.
In order to actually use the icons in your icon font, you will have to 1) add your icon font via CSS and 2) insert your icons.
If you open the provided style.css from IcoMoon, you will see the @font-face rule that you will need:
@font-face {
  font-family: "icomoon";
  src: url("fonts/icomoon.eot");
  src: url("fonts/icomoon.eot?#iefix") format("embedded-opentype"), url("fonts/icomoon.woff")
      format("woff"), url("fonts/icomoon.ttf") format("truetype"), url("fonts/icomoon.svg#icomoon")
      format("svg");
  font-weight: normal;
  font-style: normal;
}
You will need to adjust the paths to the font files to suit the relationship between your CSS file and your font files. I almost always have to insert '../' into the font path in my projects:
src: url("../fonts/icomoon.eot");To insert your icons, you can go about it two ways:
The majority of the time, you will be inserting new pieces of markup. The trick is to have a data attribute attached to your icon element. The convention suggested by IcoMoon is to use a <span> with a 'data-icon' attribute:
<span aria-hidden="true" data-icon="" class="down-arrow"></span>You could just as easily use an <i> element as has been suggested elsewhere. The key is the data-icon attribute, and it's contents.
That is because, if you look at the downloaded style.css, in order to have your icons show up, you need a piece of CSS that looks like this:
[data-icon]:before {
  font-family: "icomoon";
  content: attr(data-icon);
  speak: none;
  font-weight: normal;
  font-variant: normal;
  text-transform: none;
  line-height: 1;
  -webkit-font-smoothing: antialiased;
}
What this does is target any element that has the data-icon attribute, and using the :before pseudo element, inserts whatever the contents of that attribute actually is. Just be sure to use the right HTML entity for the icon you want, which you can figure out by looking at the provided index.html.
I've kind of covered this previously. If you find yourself in a situation where altering your markup is difficult (and you aren't worried about IE < 8), you can insert icons via :before or :after pseduo elements. The trick is to just 'escape' the HTML entity that references the icon you want:
.foo:before {
  content: "\e001";
  font-family: "icomoon";
  speak: none;
}
You can then style this however you want - with font size, color, css transitions, etc.
So that is a basic run down of how to get started with IcoMoon. Be sure to catch the next part of this series where I will go over the workflow that I've found works (for me) when working with IcoMoon's icon fonts.
此内容由惯性聚合(RSS阅读器)自动聚合整理,仅供阅读参考。 原文来自 — 版权归原作者所有。