


Please keep in mind that this is a "Super Simple Start" article. That means that target audience for this article is people who have experience with Remix and are curious about how the bits and pieces work without all the nice things Remix provides for you out of the box. Because of that, this article might make it seem like Remix is harder to use than it really is. This is not a good article to read if you're just getting started with Remix or want an introduction to it.
I'll write a good beginner's guide article soon.
Remix has me more excited about building better websites than anything else
since I started using React back in 2015. I have so much to say about it, but
for this blog post, we're going to remove as many distractions as possible and
give remix the "super simple start" treatment. So, even though Remix has a fancy
npx create-remix@latest thing you can run (which is much easier than what I'm
going to show you), we're going to skip that and build a simple remix app from
absolutely nothing to running so we can inspect each bit required to get it
going.
Before we get started, create a folder for our project. I'm going to be super original and put mine on the desktop with the folder name "super-simple-start-to-remix". Alright, now we're ready to go!
We can install Remix together with the other packages we need to get things started like we always do:
npm install react react-dom
npm install --save-dev @remix-run/dev
Cool, with those things installed, let's configure Remix. Create a
remix.config.js:
module.exports = {}
Yup, that's all you need. The defaults all work fine, but remix won't build without the config file, so we'll create that.
Let's add a build script to our package.json:
{
	"scripts": {
		"build": "remix build"
	},
	"dependencies": {
		"react": "^18.2.0",
		"react-dom": "^18.2.0"
	},
	"devDependencies": {
		"@remix-run/dev": "^1.6.5"
	}
}
Sweet, let's run the build!
npm run build

Building Remix app in production mode...
Missing "entry.client" file in ~/Desktop/super-simple-start-to-remix/app
Ah, yeah, let's add that file:
mkdir app
touch app/entry.client.jsx
And run the build again:
npm run build

Building Remix app in production mode...
Missing "entry.server" file in ~/Desktop/super-simple-start-to-remix/app
Ok, let's add that one:
touch app/entry.server.jsx
And again:
npm run build

Building Remix app in production mode...
Missing "root" file in ~/Desktop/super-simple-start-to-remix/app
Maybe this is the last one?
touch app/root.jsx
Ok, let's run the build one more time:
npm run build

Building Remix app in production mode...
Built in 234ms
Success! Let's check out our file structure now. Here it is pre-build (ignoring
node_modules):
.
├── app
│   ├── entry.client.jsx
│   ├── entry.server.jsx
│   └── root.jsx
├── package-lock.json
├── package.json
└── remix.config.js
And once we run npm run build remix creates a few files for us:
.
├── app
│   ├── entry.client.jsx
│   ├── entry.server.jsx
│   └── root.jsx
├── build
│   ├── assets.json
│   └── index.js
├── package-lock.json
├── package.json
├── public
│   └── build
│       ├── _shared
│       │   └── chunk-DH6LPQ4Z.js
│       ├── entry.client-CY7AAJ4Q.js
│       ├── manifest-12E650A9.js
│       └── root-JHXSOSD4.js
└── remix.config.js
Note: Remix supports TypeScript out of the box, but we're keeping this simple.
Also, because we plan to use JSX in these files, they need the .jsx
extension. Remix uses esbuild which requires a .jsx or .tsx extension if
you want to use JSX.
Sweet! We built it... Now what?
Remix is a server-side rendering React framework. So far we've just got it compiling things for us. Let's actually get a server running and show something on the screen.
Let's start by filling in the root.jsx with something. This is the root
element Remix will render:
import * as React from 'react'

export default function App() {
	const [count, setCount] = React.useState(0)
	return (
		<html>
			<head>
				<title>My First Remix App</title>
			</head>
			<body>
				<p>This is a remix app. Hooray!</p>
				<button onClick={() => setCount((c) => c + 1)}>{count}</button>
			</body>
		</html>
	)
}
It's neat that we get to render the <html> element right? Yeah, that's cooler
than you think it is I promise you.
Ok, next, let's fill in the entry.client.jsx:
import { RemixBrowser } from '@remix-run/react'
import { hydrateRoot } from 'react-dom/client'

hydrateRoot(document, <RemixBrowser />)
What's that? We're... HYDRATING the document?! How neat is that?!
And finally, let's fill in the entry.server.jsx:
import ReactDOMServer from 'react-dom/server'
import { RemixServer } from '@remix-run/react'

export default function handleRequest(
	request,
	responseStatusCode,
	responseHeaders,
	remixContext,
) {
	const markup = ReactDOMServer.renderToString(
		<RemixServer context={remixContext} url={request.url} />,
	)

	responseHeaders.set('Content-Type', 'text/html')

	return new Response(`<!DOCTYPE html>${markup}`, {
		status: responseStatusCode,
		headers: responseHeaders,
	})
}
This one's pretty cool too. So we export a default function that accepts
everything we need, and we get to return the response. That Response object
is a real Response object (or, at least the node-equivalent of one).
Learn more on freaking MDN!
(Sorry, I just really love this part of Remix).
I really love how much control we get here. We are in charge of calling
renderToString and hydrate. That gives us a lot of power and it also means
we don't need to learn extra special APIs Remix made for us and they don't need
to make extra-special options to customize any of this, because the control is
in our hands. Very cool.
Alright, let's try running the build again!
npm run build

Building Remix app in production mode...
The path "@remix-run/react" is imported in app/entry.server.jsx but "@remix-run/react" was not found in your node_modules. Did you forget to install it?

✘ [ERROR] Could not resolve "@remix-run/react"

    app/entry.client.jsx:1:29:
      1 │ import { RemixBrowser } from "@remix-run/react";
        ╵                              ~~~~~~~~~~~~~~~~~~

  You can mark the path "@remix-run/react" as external to exclude it from the bundle, which will remove this error.


Build failed with 1 error:
app/entry.client.jsx:1:29: ERROR: Could not resolve "@remix-run/react"
Oh, right, we're using the @remix-run/react package for the RemixBrowser and
RemixServer components. Let's install that:
npm install @remix-run/react
Now let's try the build again:
npm run build

Building Remix app in production mode...
Built in 121ms
Sweet! It worked 🎉 So now we actually have something real that'll run and build. Onto the next step!
There are @remix-run/{adapter} packages that we can use for server-side
platform-specific stuff. Currently, here are all the adapters we can use
currently:
Deploy anywhere you can ship node and/or a docker container:
@remix-run/node@remix-run/express@remix-run/serveDeploy to specific platforms (serverless etc.):
@remix-run/deno@remix-run/architect@remix-run/vercel@remix-run/netlify@remix-run/cloudflare-workersAnd you can even build your own adapter. Most adapters are just a couple hundred lines of code (and some aren't even that much).
The primary thing these adapters do is convert the Request/Response from the platform-specific objects to the Web-standard Request/Response (or a polyfilled version of that).
For our simple app, we're going to use @remix-run/serve which is built on top
of @remix-run/express which actually is built on top of @remix-run/node. So
this can deploy anywhere you can deploy a node server. The cool thing is that
if you want to deploy anywhere else you totally can and you just need to swap
out the adapter you're using in the package.json and so long as your own code
and other dependencies are supported by the platform, you should be good to go.
Let's install @remix-run/serve.
npm install @remix-run/serve
Alright, so we want to "develop" our app right? So let's add dev script to our
package.json:
{
	"scripts": {
		"build": "remix build",
		"dev": "remix dev"
	},
	"dependencies": {
		"@remix-run/react": "^1.6.5",
		"@remix-run/serve": "^1.6.5",
		"react": "^18.2.0",
		"react-dom": "^18.2.0"
	},
	"devDependencies": {
		"@remix-run/dev": "^1.6.5"
	}
}
And now if we run npm run dev we'll get this output:
Watching Remix app in development mode...
💿 Built in 156ms
Remix App Server started at http://localhost:3000 (http://192.168.115.103:3000)
That output shows that remix dev does two things:
Remix App Server started at http://localhost:3000: This comes from
remix-serve which is running a simple express server based on what's in the
build directory.💿 Built in 156ms: This comes from remix build which is running in watch
mode and development mode.Whenever we make a change, the output in build is updated and the express
server picks up those changes.
One other thing remix dev does is start a websocket with the browser to
support live reload. Currently there's no support for "Hot Module Replacement"
(HMR) and I know that for a lot of people that's a ship stopper, but I encourage
you to stick around. Eventually HMR will be supported. Personally, I'm actually
totally cool with that. I never trusted HMR in apps anyway (though it's awesome
in tools like storybook) and always did a full-page refresh even with HMR setup.
Additionally, since a lot of the code you write with remix is server-side, you
typically want a full-page refresh anyway to get all the server-side code to run
again. Again, HMR will come in the future.
Ok, great, let's get this opened up! Navigate to localhost:3000 and poof:
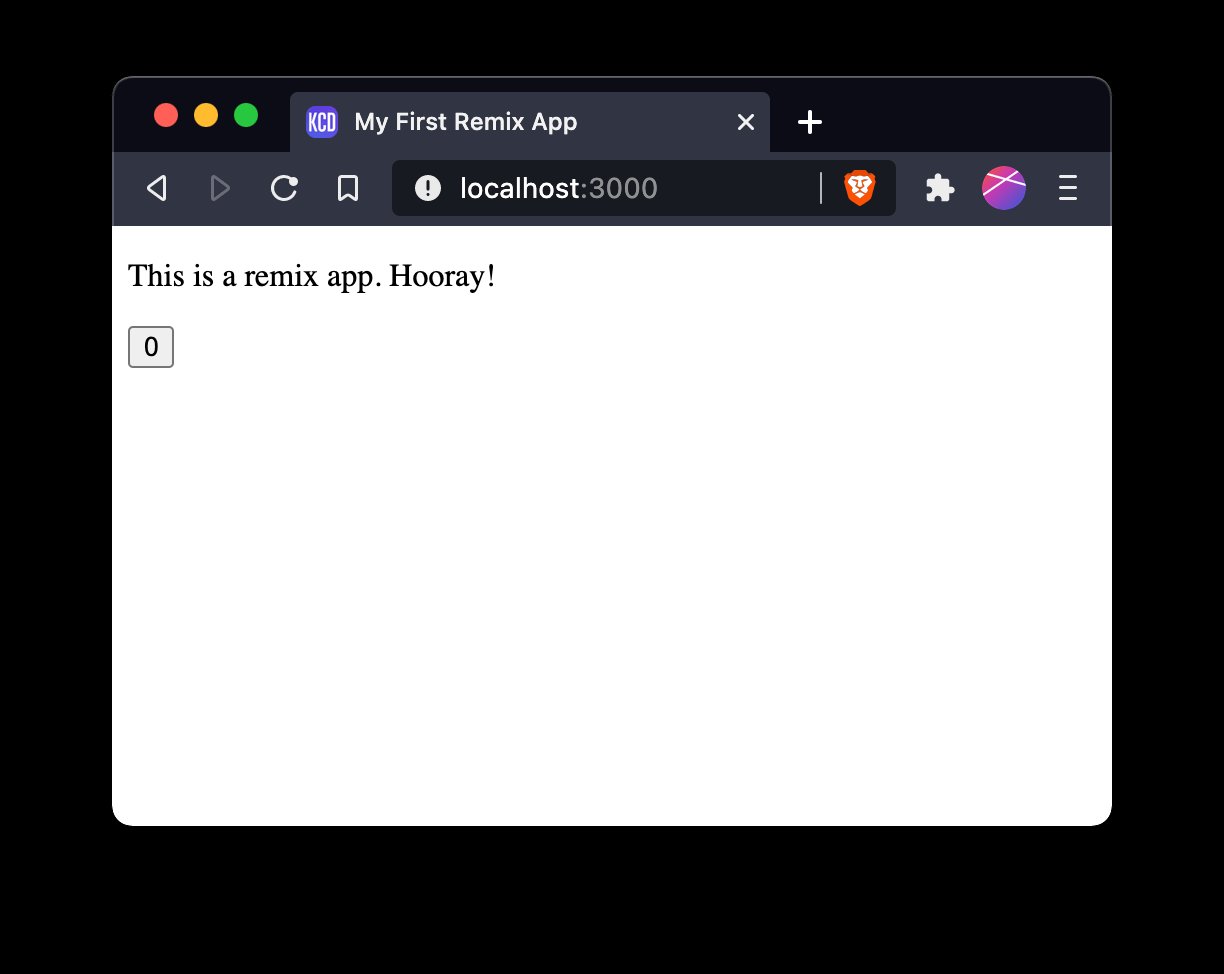
But oh no! If we click that button nothing happens. Weird... I thought this was a react app. Let's take a look at the network tab:
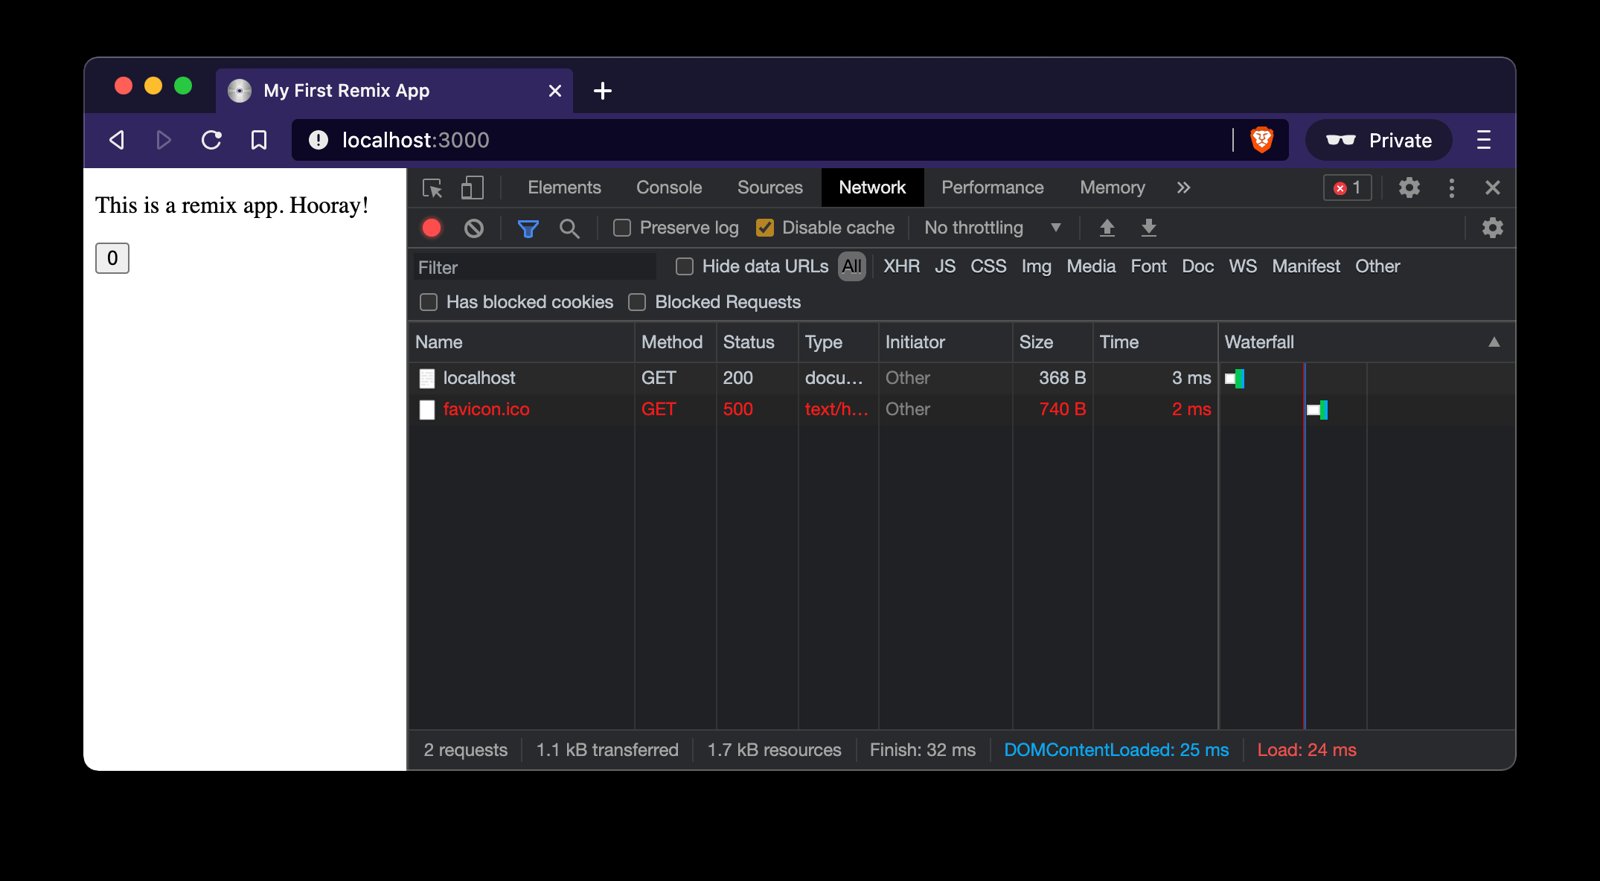
Notice anything missing? Oh yeah! No JavaScript! Yup, that's right, with Remix
you get to choose whether you load any JavaScript at all. And it's not a
configuration thing. Remember how we are in charge of the entire document
starting from <html>? Cool right? So let's update our app/root.jsx to
include the script tag. Remix conveniently gives us a component we can render to
render that script tag:
import * as React from 'react'
import { Scripts } from '@remix-run/react'

export default function App() {
	const [count, setCount] = React.useState(0)
	return (
		<html>
			<head>
				<title>My First Remix App</title>
			</head>
			<body>
				<p>This is a remix app. Hooray!</p>
				<button onClick={() => setCount((c) => c + 1)}>{count}</button>
				<Scripts />
			</body>
		</html>
	)
}
Also that missing favicon thing is annoying so I'll add this cool CD as a favicon:
Just put that .ico file in the public directory. @remix-run/serve will
automatically serve files in that directory and the browser (which by looks for
that file by default) will be able to get it that way.
Neato, let's try that now:
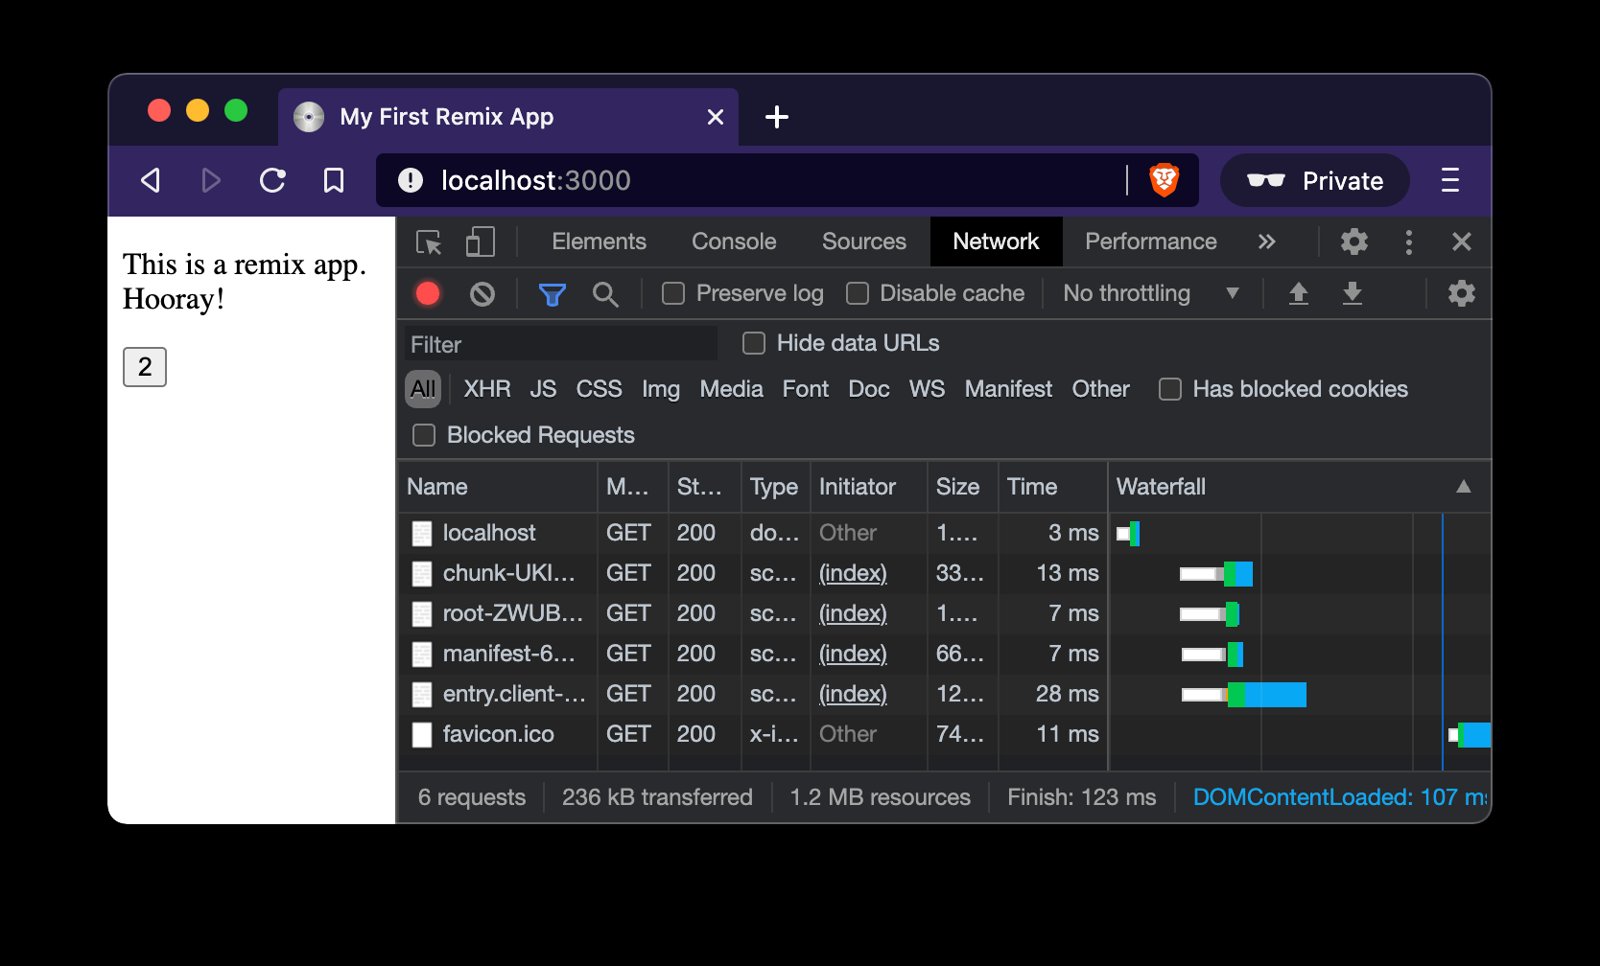
And if we "view source" on the document here's what we get (formatted):
<!doctype html>
<html>
	<head>
		<title>My First Remix App</title>
	</head>
	<body>
		<p>This is a remix app. Hooray!</p>
		<button>0</button>
		<link rel="modulepreload" href="/build/_shared/chunk-PYN2BJX3.js" />
		<link rel="modulepreload" href="/build/root-FYPD7R2X.js" />
		<script>
			window.__remixContext = {
				actionData: undefined,
				appState: {
					trackBoundaries: true,
					trackCatchBoundaries: true,
					catchBoundaryRouteId: null,
					renderBoundaryRouteId: null,
					loaderBoundaryRouteId: null,
					error: undefined,
					catch: undefined,
				},
				matches: [
					{
						params: {},
						pathname: '/',
						route: {
							id: 'root',
							parentId: undefined,
							path: '',
							index: undefined,
							caseSensitive: undefined,
							module: '/build/root-FYPD7R2X.js',
							imports: undefined,
							hasAction: false,
							hasLoader: false,
							hasCatchBoundary: false,
							hasErrorBoundary: false,
						},
					},
				],
				routeData: {},
			}
		</script>
		<script src="/build/manifest-142295AD.js"></script>
		<script type="module">
			import * as route0 from '/build/root-FYPD7R2X.js'
			window.__remixRouteModules = { root: route0 }
		</script>
		<script src="/build/entry.client-UK7WD5HF.js" type="module"></script>
	</body>
</html>
So that's neat. Not only does Remix add script tags, but it also preloads things for us, so we don't have a waterfall (you'll notice the network tab has all resources starting to load at the same time). This gets even more interesting when we start routing, but we'll keep things simple.
Alright, let's build and run this thing locally. So first we need to run the production build to get everything minified and have React optimize itself for production:
npm run build

Building Remix app in production mode...
Built in 281ms
Now, let's add a start script to run remix-serve for our build directory:
{
	"scripts": {
		"build": "remix build",
		"dev": "remix dev",
		"start": "remix-serve ./build"
	},
	"dependencies": {
		"@remix-run/react": "^1.6.5",
		"@remix-run/serve": "^1.6.5",
		"react": "^18.2.0",
		"react-dom": "^18.2.0"
	},
	"devDependencies": {
		"@remix-run/dev": "^1.6.5"
	}
}
One other thing we'll want to do is set the NODE_ENV to production so any
dependencies we use that operate slightly differently in production mode will
work as expected, so let's add cross-env and set the NODE_ENV with that:
{
	"scripts": {
		"build": "remix build",
		"dev": "remix dev",
		"start": "cross-env NODE_ENV=production remix-serve ./build"
	},
	"dependencies": {
		"@remix-run/react": "^1.6.5",
		"@remix-run/serve": "^1.6.5",
		"cross-env": "^7.0.3",
		"react": "^18.2.0",
		"react-dom": "^18.2.0"
	},
	"devDependencies": {
		"@remix-run/dev": "^1.6.5"
	}
}
Cool, so let's get it started:
npm start

Remix App Server started at http://localhost:3000 (http://192.168.115.103:3000)
And if we open that up, we'll see it's working perfectly:
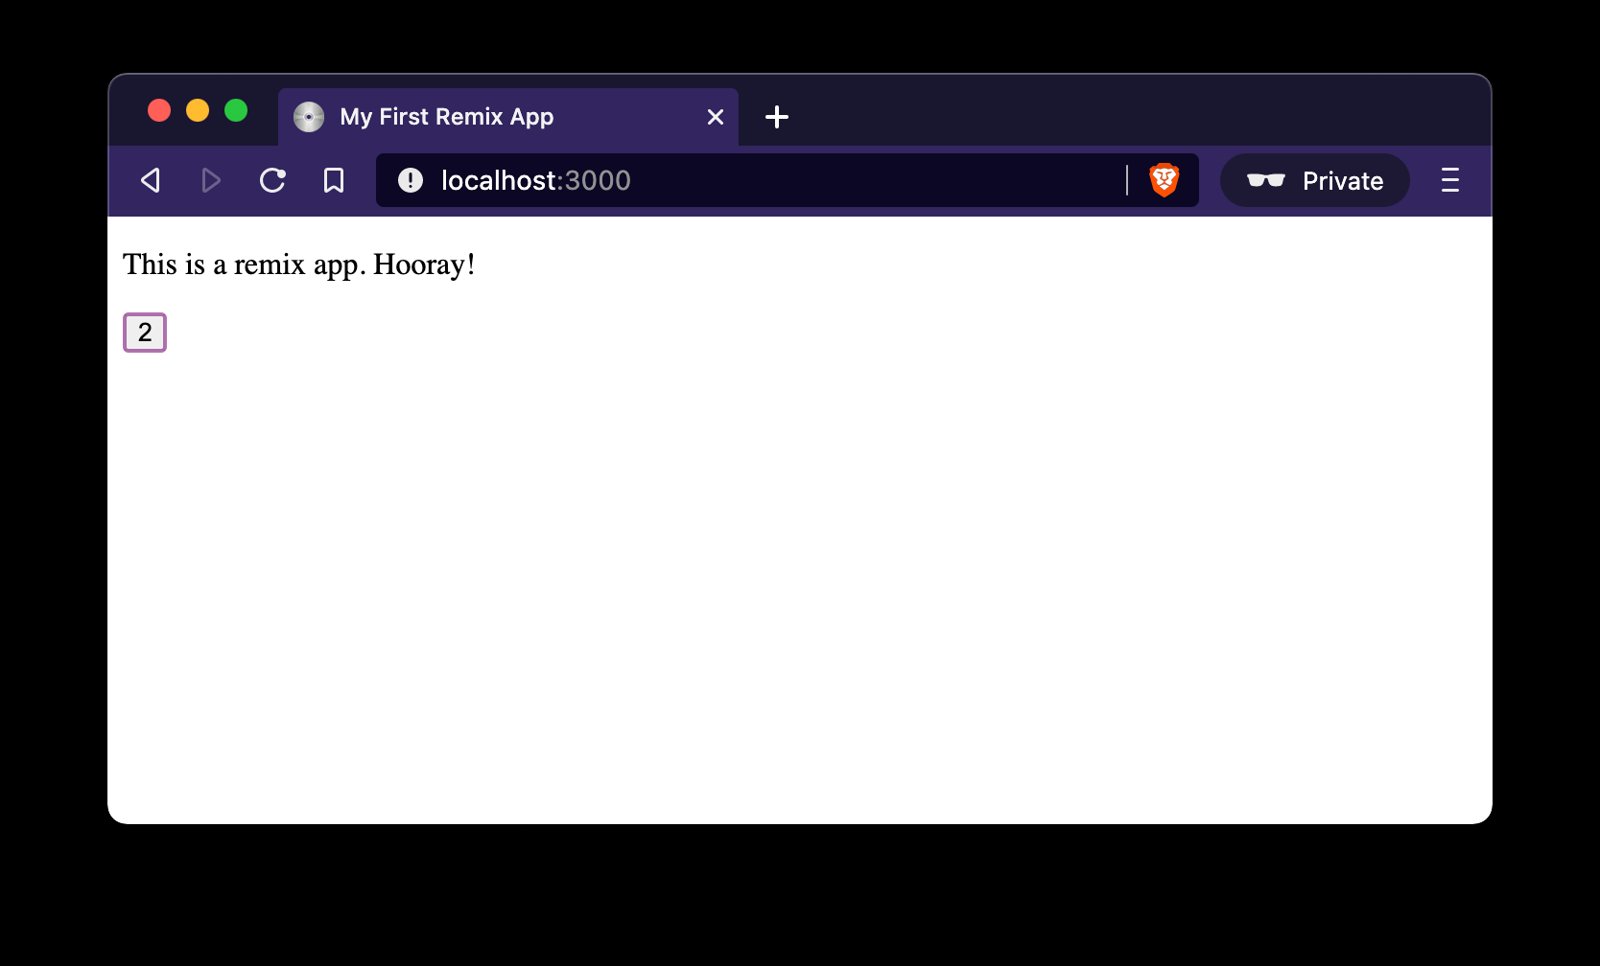
Hooray!
You have a lot of options for actually deploying your Remix app to production
and when you set up Remix the easy way (via npx create-remix@latest) it'll let
you choose which supported service you'd like to use and it'll spit out all the
config and instructions to get started that you need, so I'm not going to cover
that here.
There is so much more to Remix, but this is a "super simple start" so I wanted
to do as little as possible to show you where all the moving pieces are to get
something up and running with Remix. Like I said, npx create-remix@latest
makes all this a snap, but hopefully this walkthrough helped you get an idea of
what parts of remix does what.
You can find the code for this walkthrough here: kentcdodds/super-simple-start-to-remix
Enjoy!
此内容由惯性聚合(RSS阅读器)自动聚合整理,仅供阅读参考。 原文来自 — 版权归原作者所有。
